
CURT 60" x 20" Aluminum Tray Cargo Carrier (Folding 2" Shank, 500 lbs.) Receiver Hitch Mounted Cargo CarrierCURTOriginal price was $295.95. Current price is $182.99.In Stock
View productOur in-house experts typically reply within one business day.

CURT
On Sale Today
Original price was $603.95. Current price is $418.99.You save $184.96 (31%)
Free Shipping
Ships free on all orders
 Authorized Dealer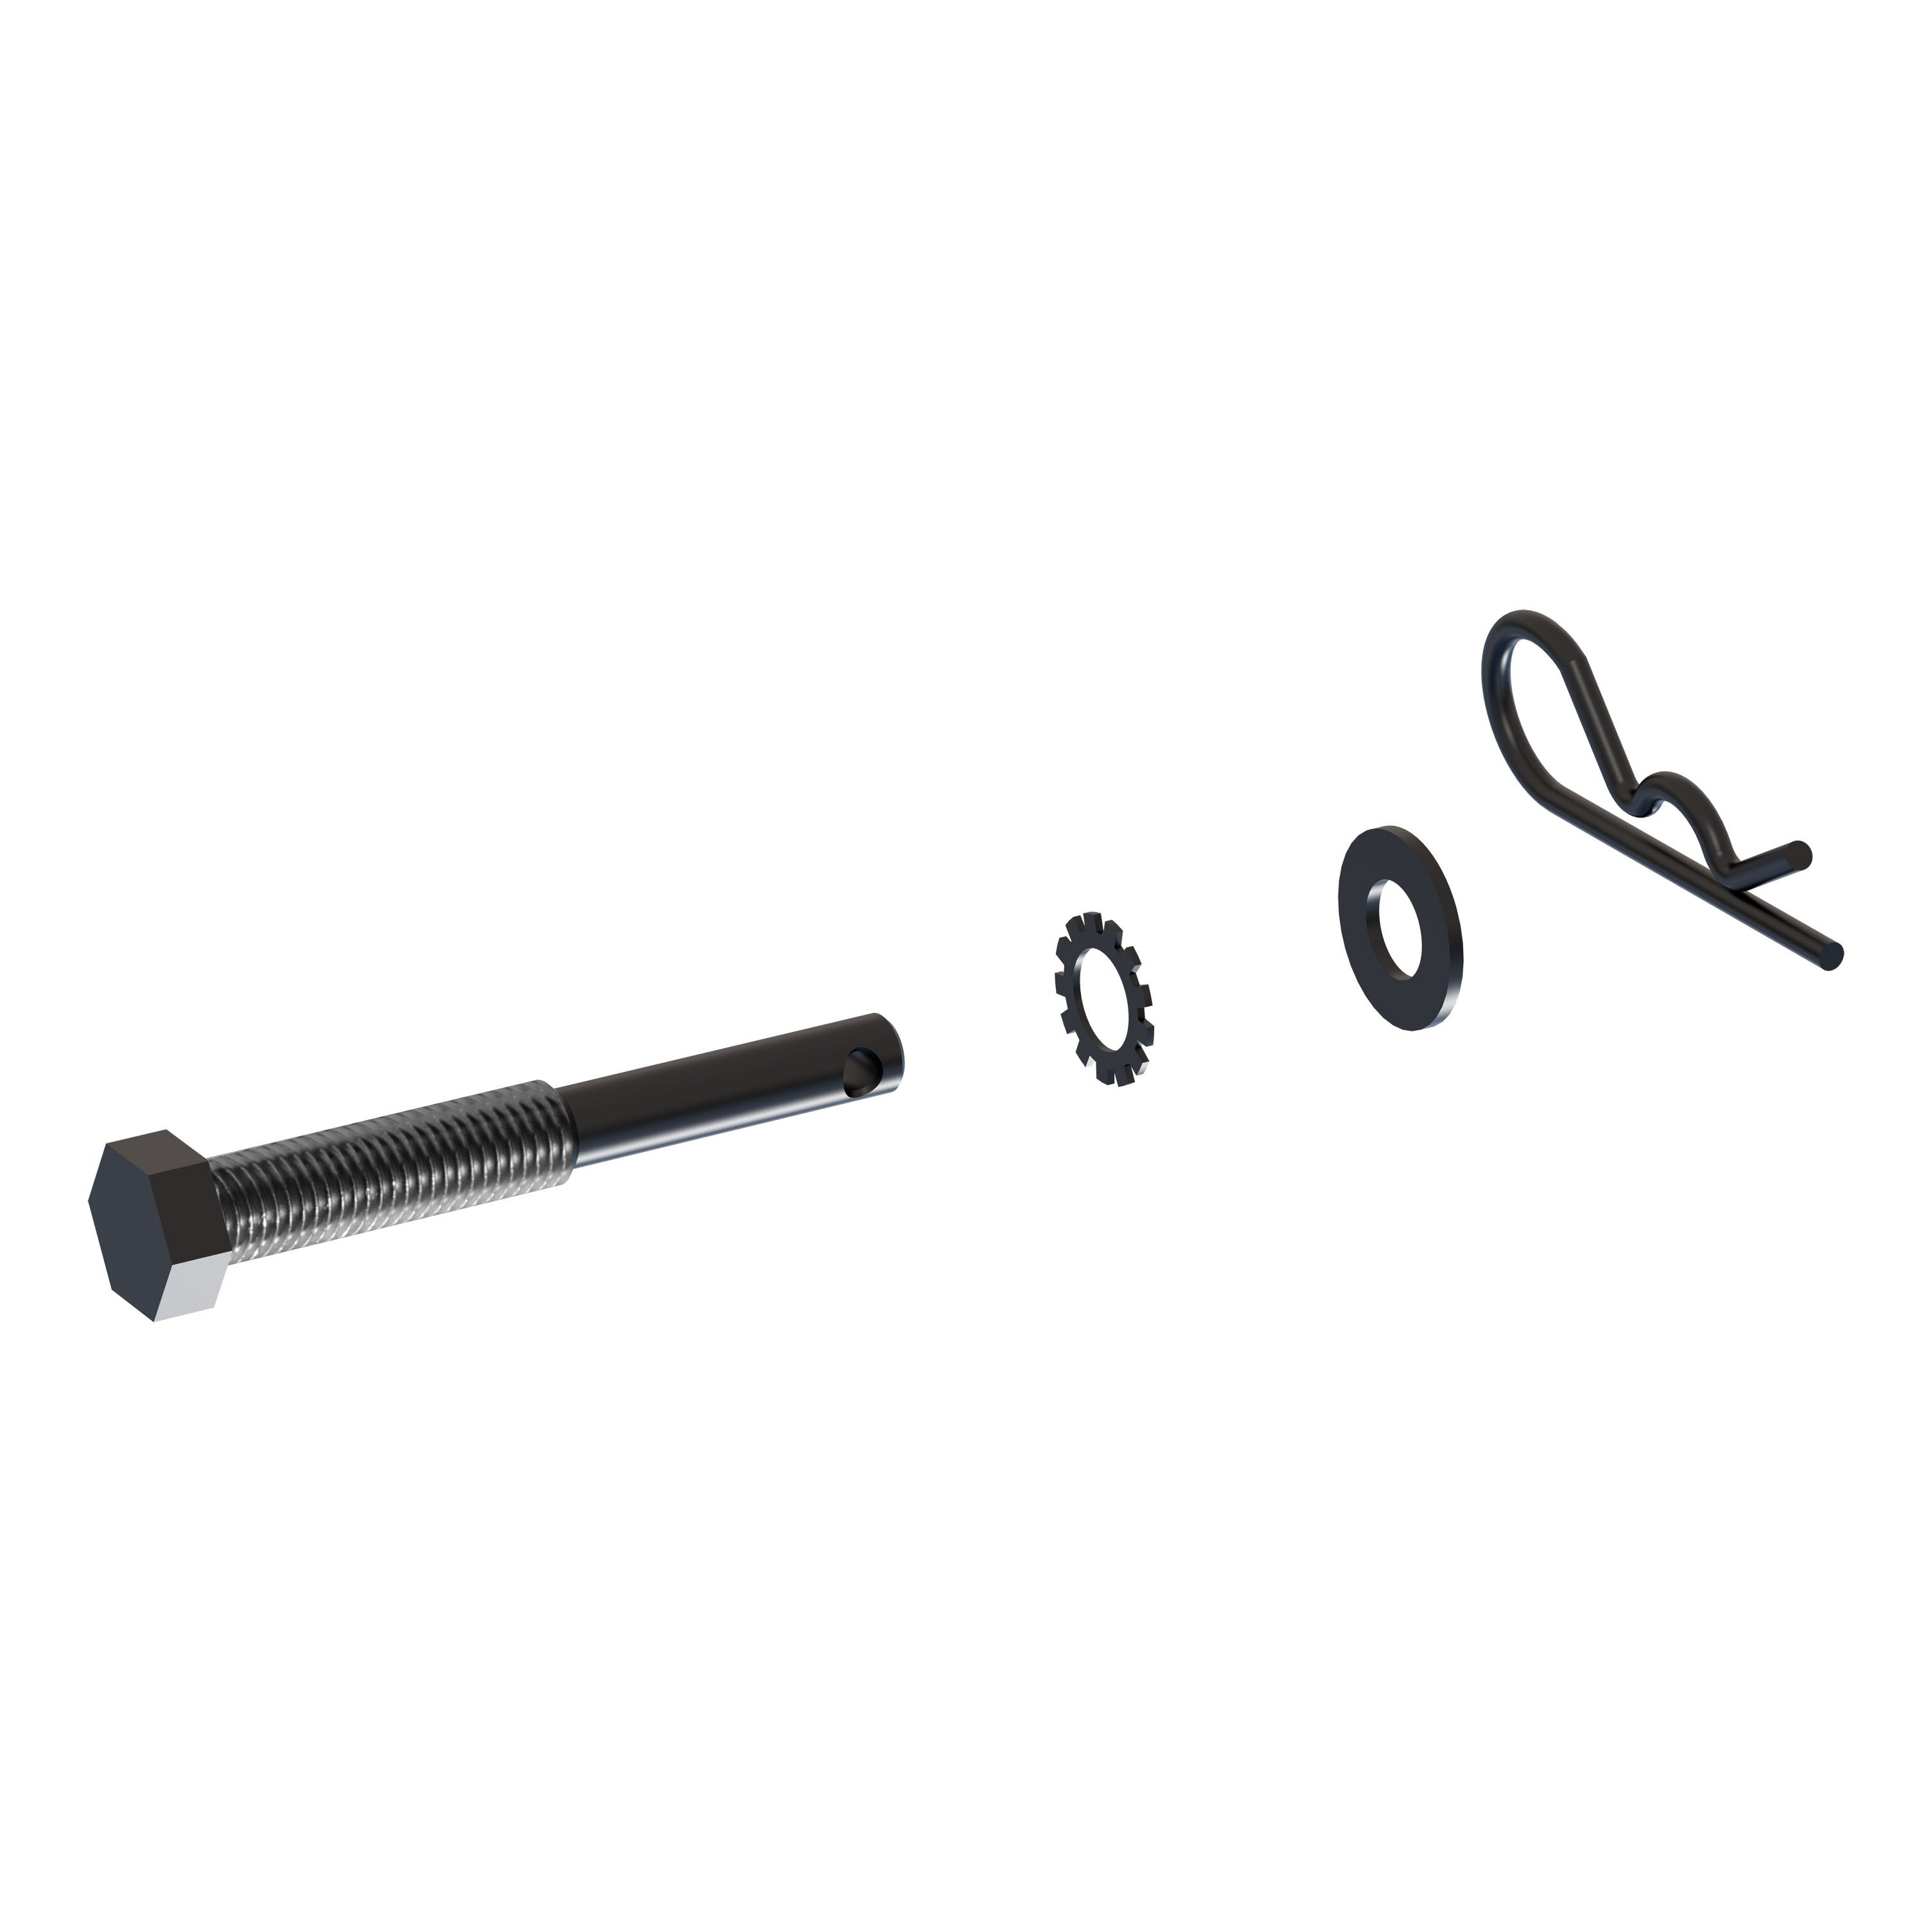






Always the correct part
We know our products
Quality Products
Free Shipping!
Always the correct part
We know our products
Quality Products
Free Shipping!
Quick Ship
In stock and ready to ship — order now!
Shipping from Eau Claire, WIFREE SHIPPING
Estimated delivery Wed, Sep 23 - Fri, Sep 25
Order before 2 PM EST Monday–Friday for same-day processing
Guaranteed safe & secure checkout
Includes cargo carrier with ramp and anti-rattle hitch pin
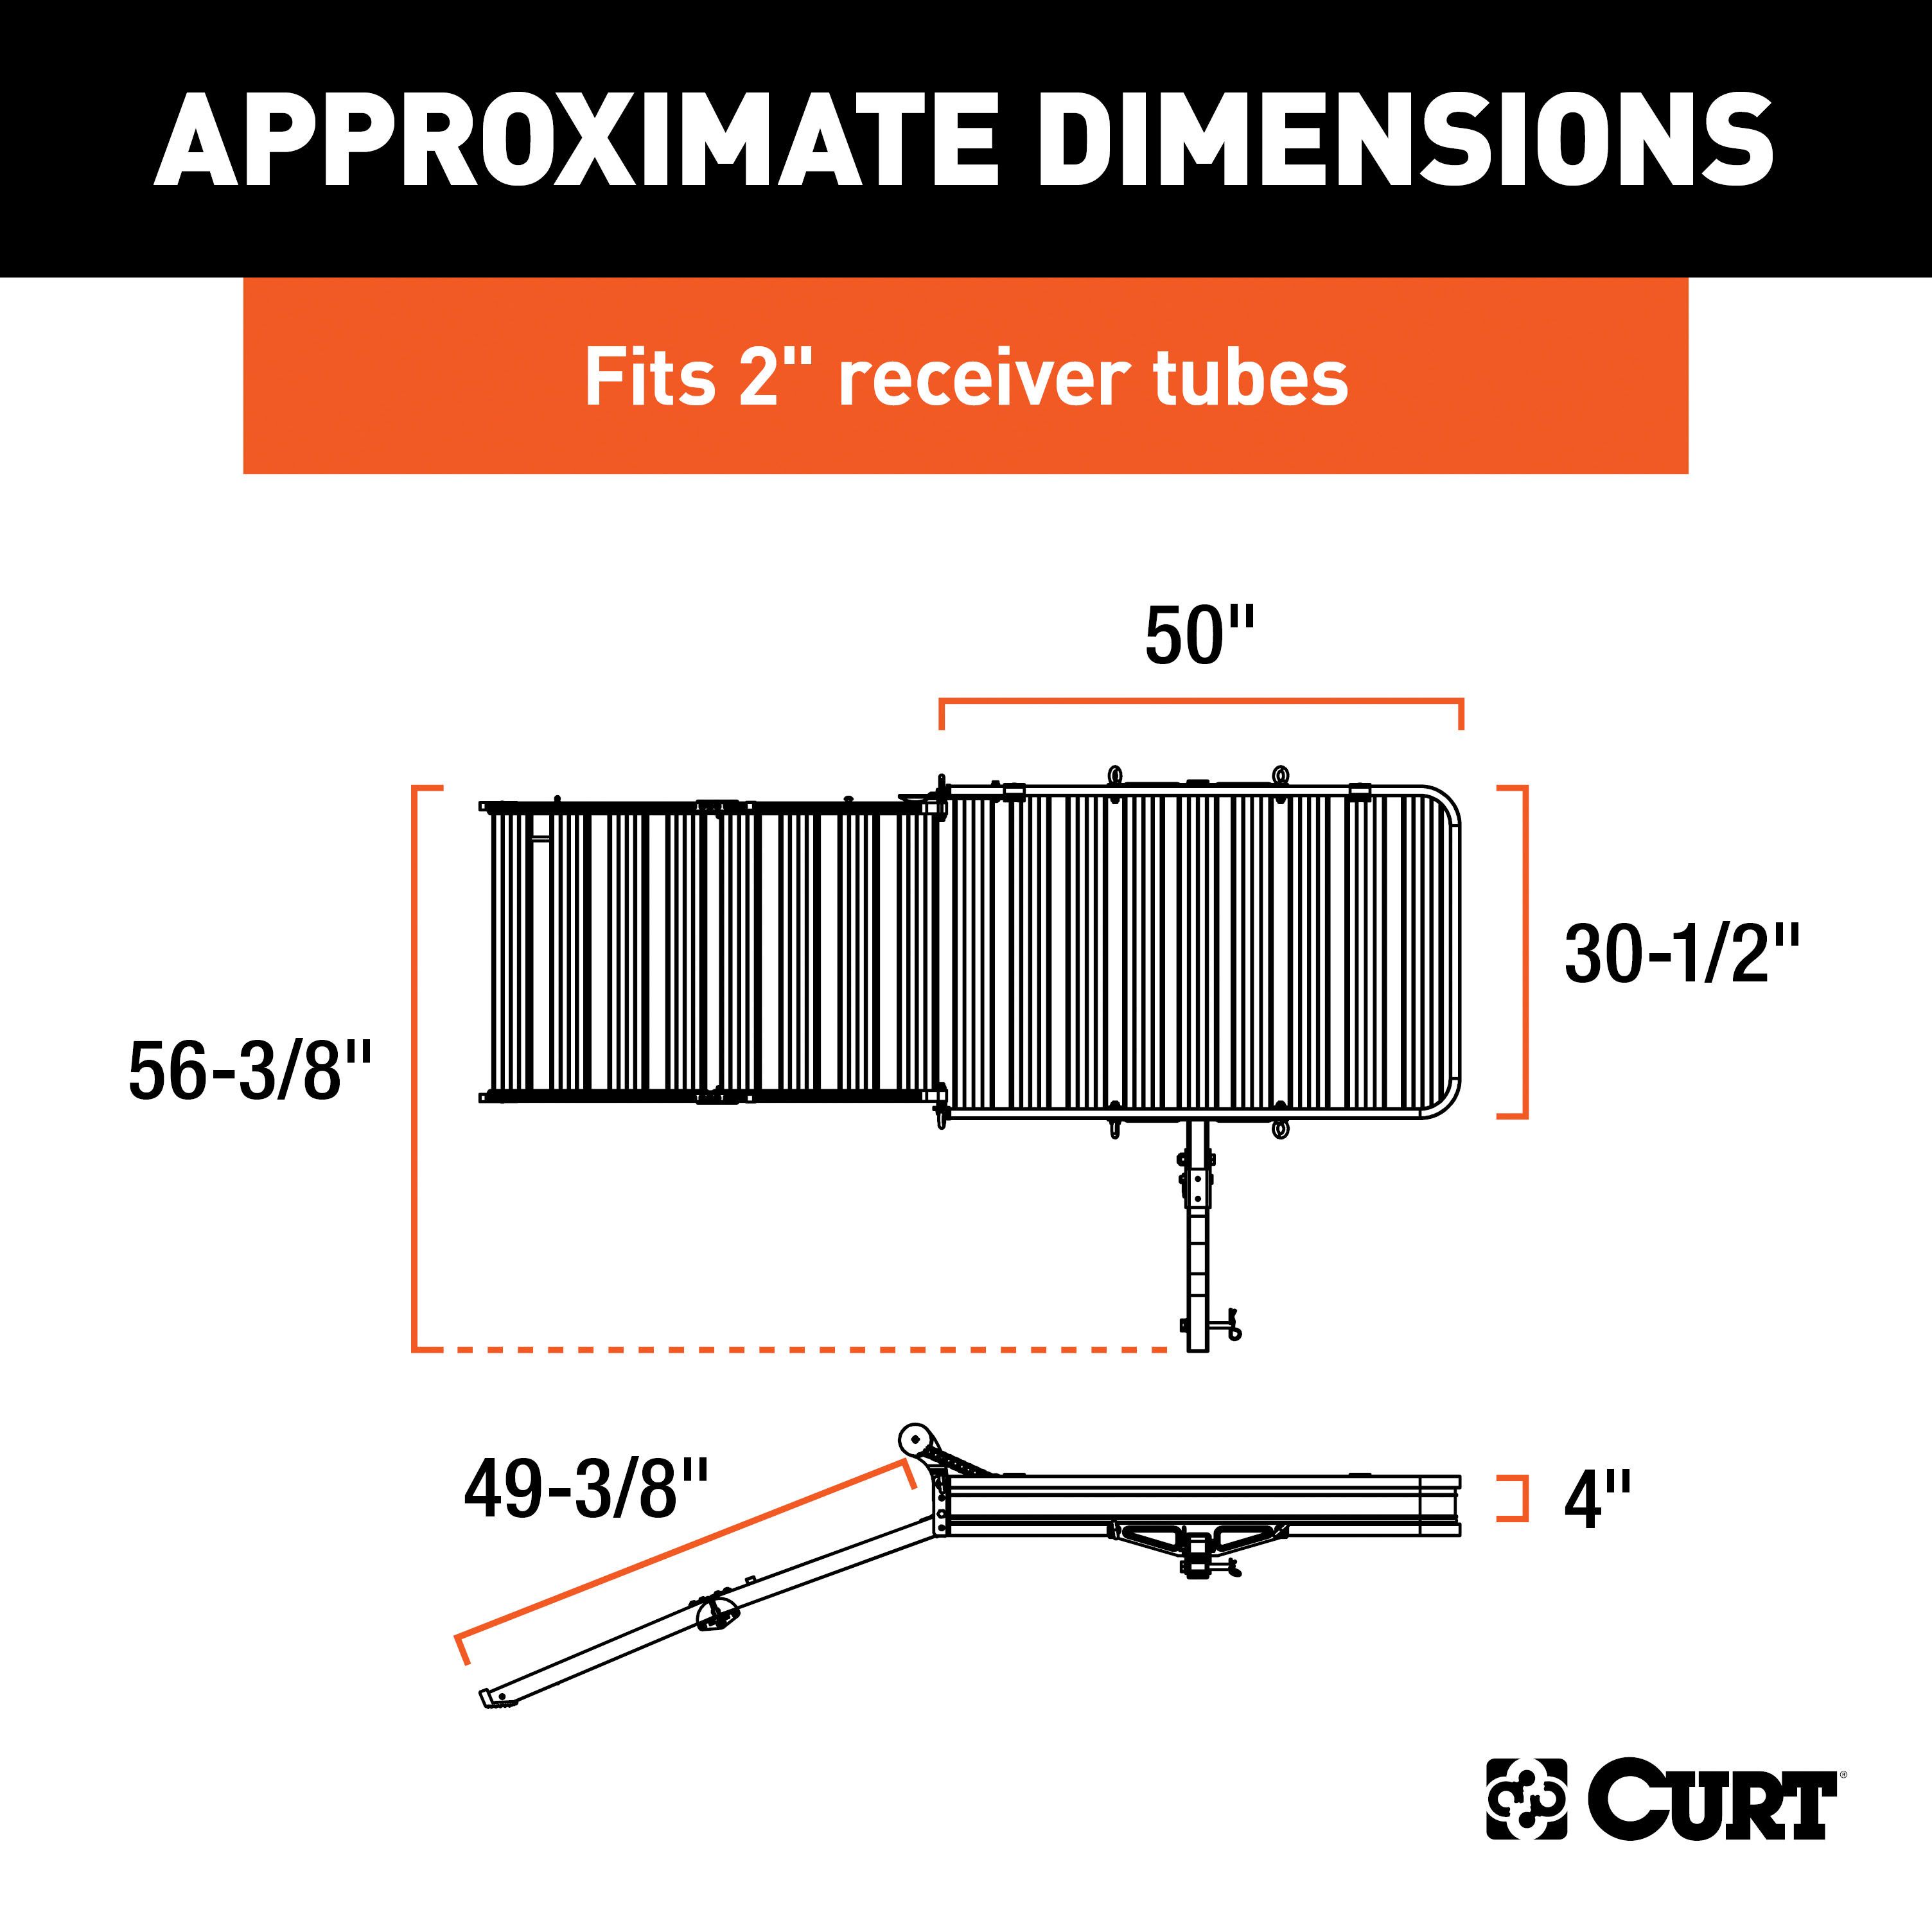
Hitch carrier dimensions 50" x 30-1/2" x 4"

Includes cargo carrier with ramp and anti-rattle hitch pin
Warranty: Limited Lifetime
Receiver Tube Size (Inches): 2 IN
Finish: CARBIDE BLACK POWDER COAT
Installation Time Exact (Minutes): 0
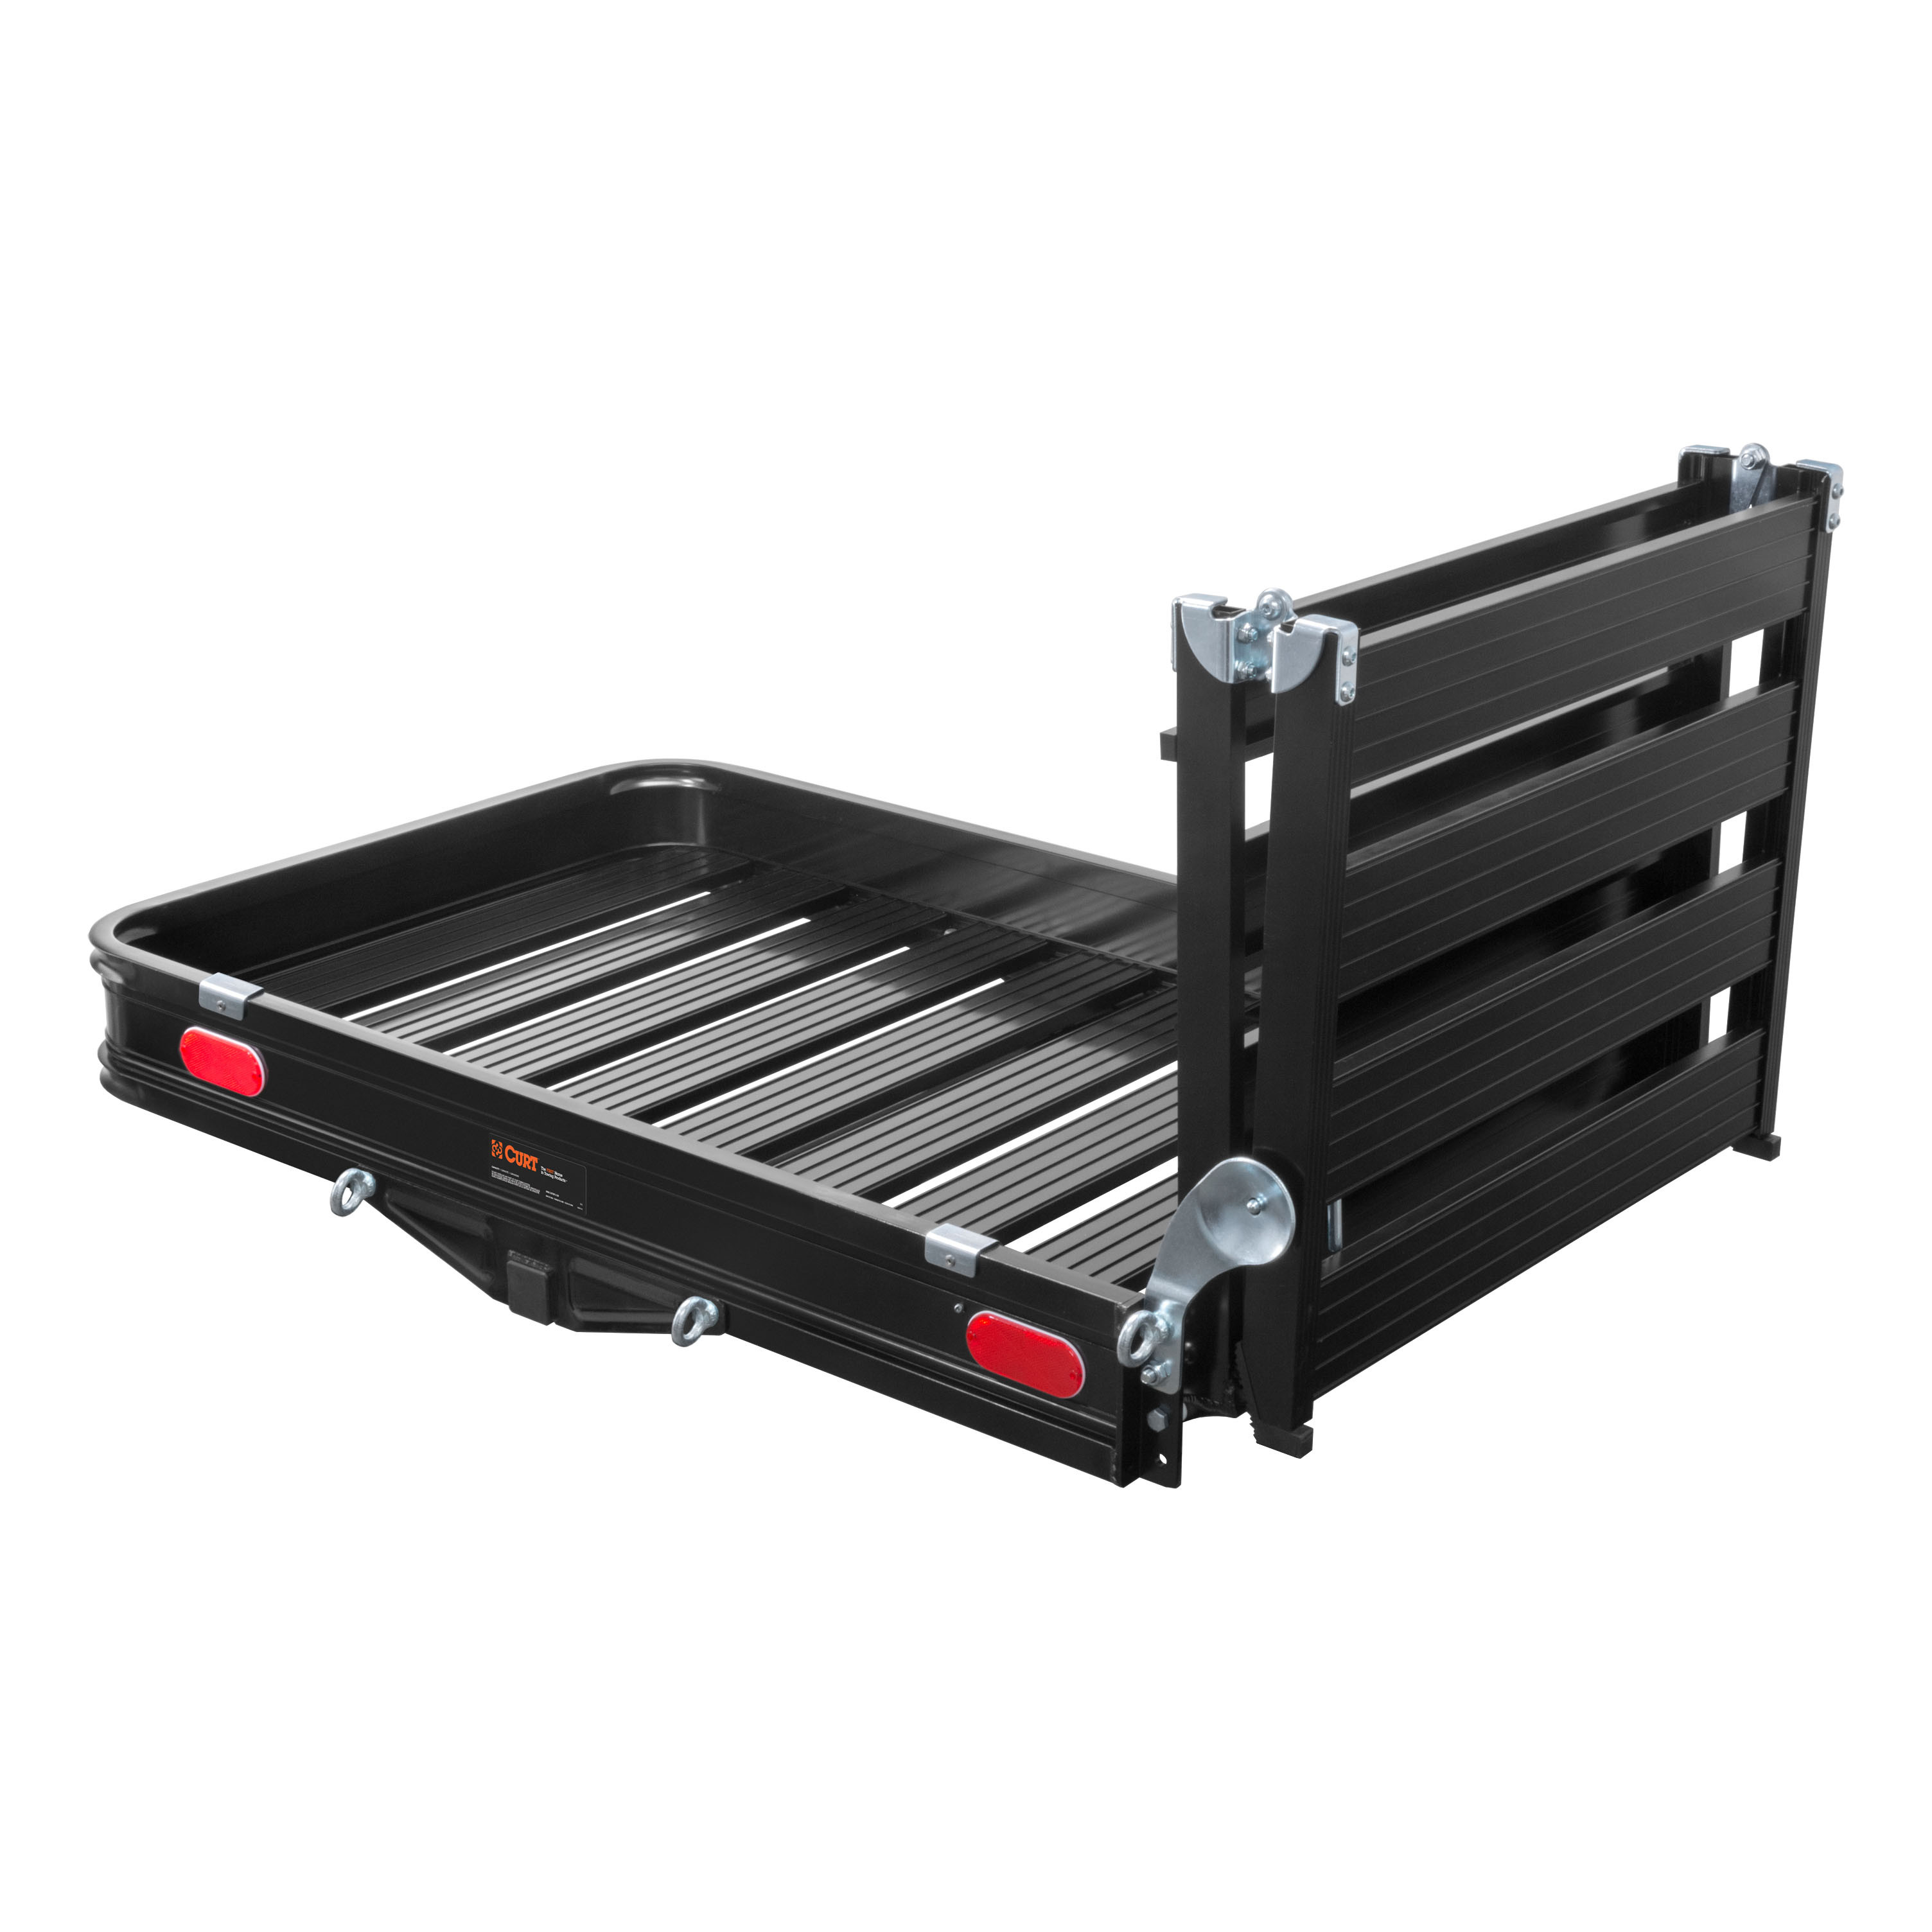
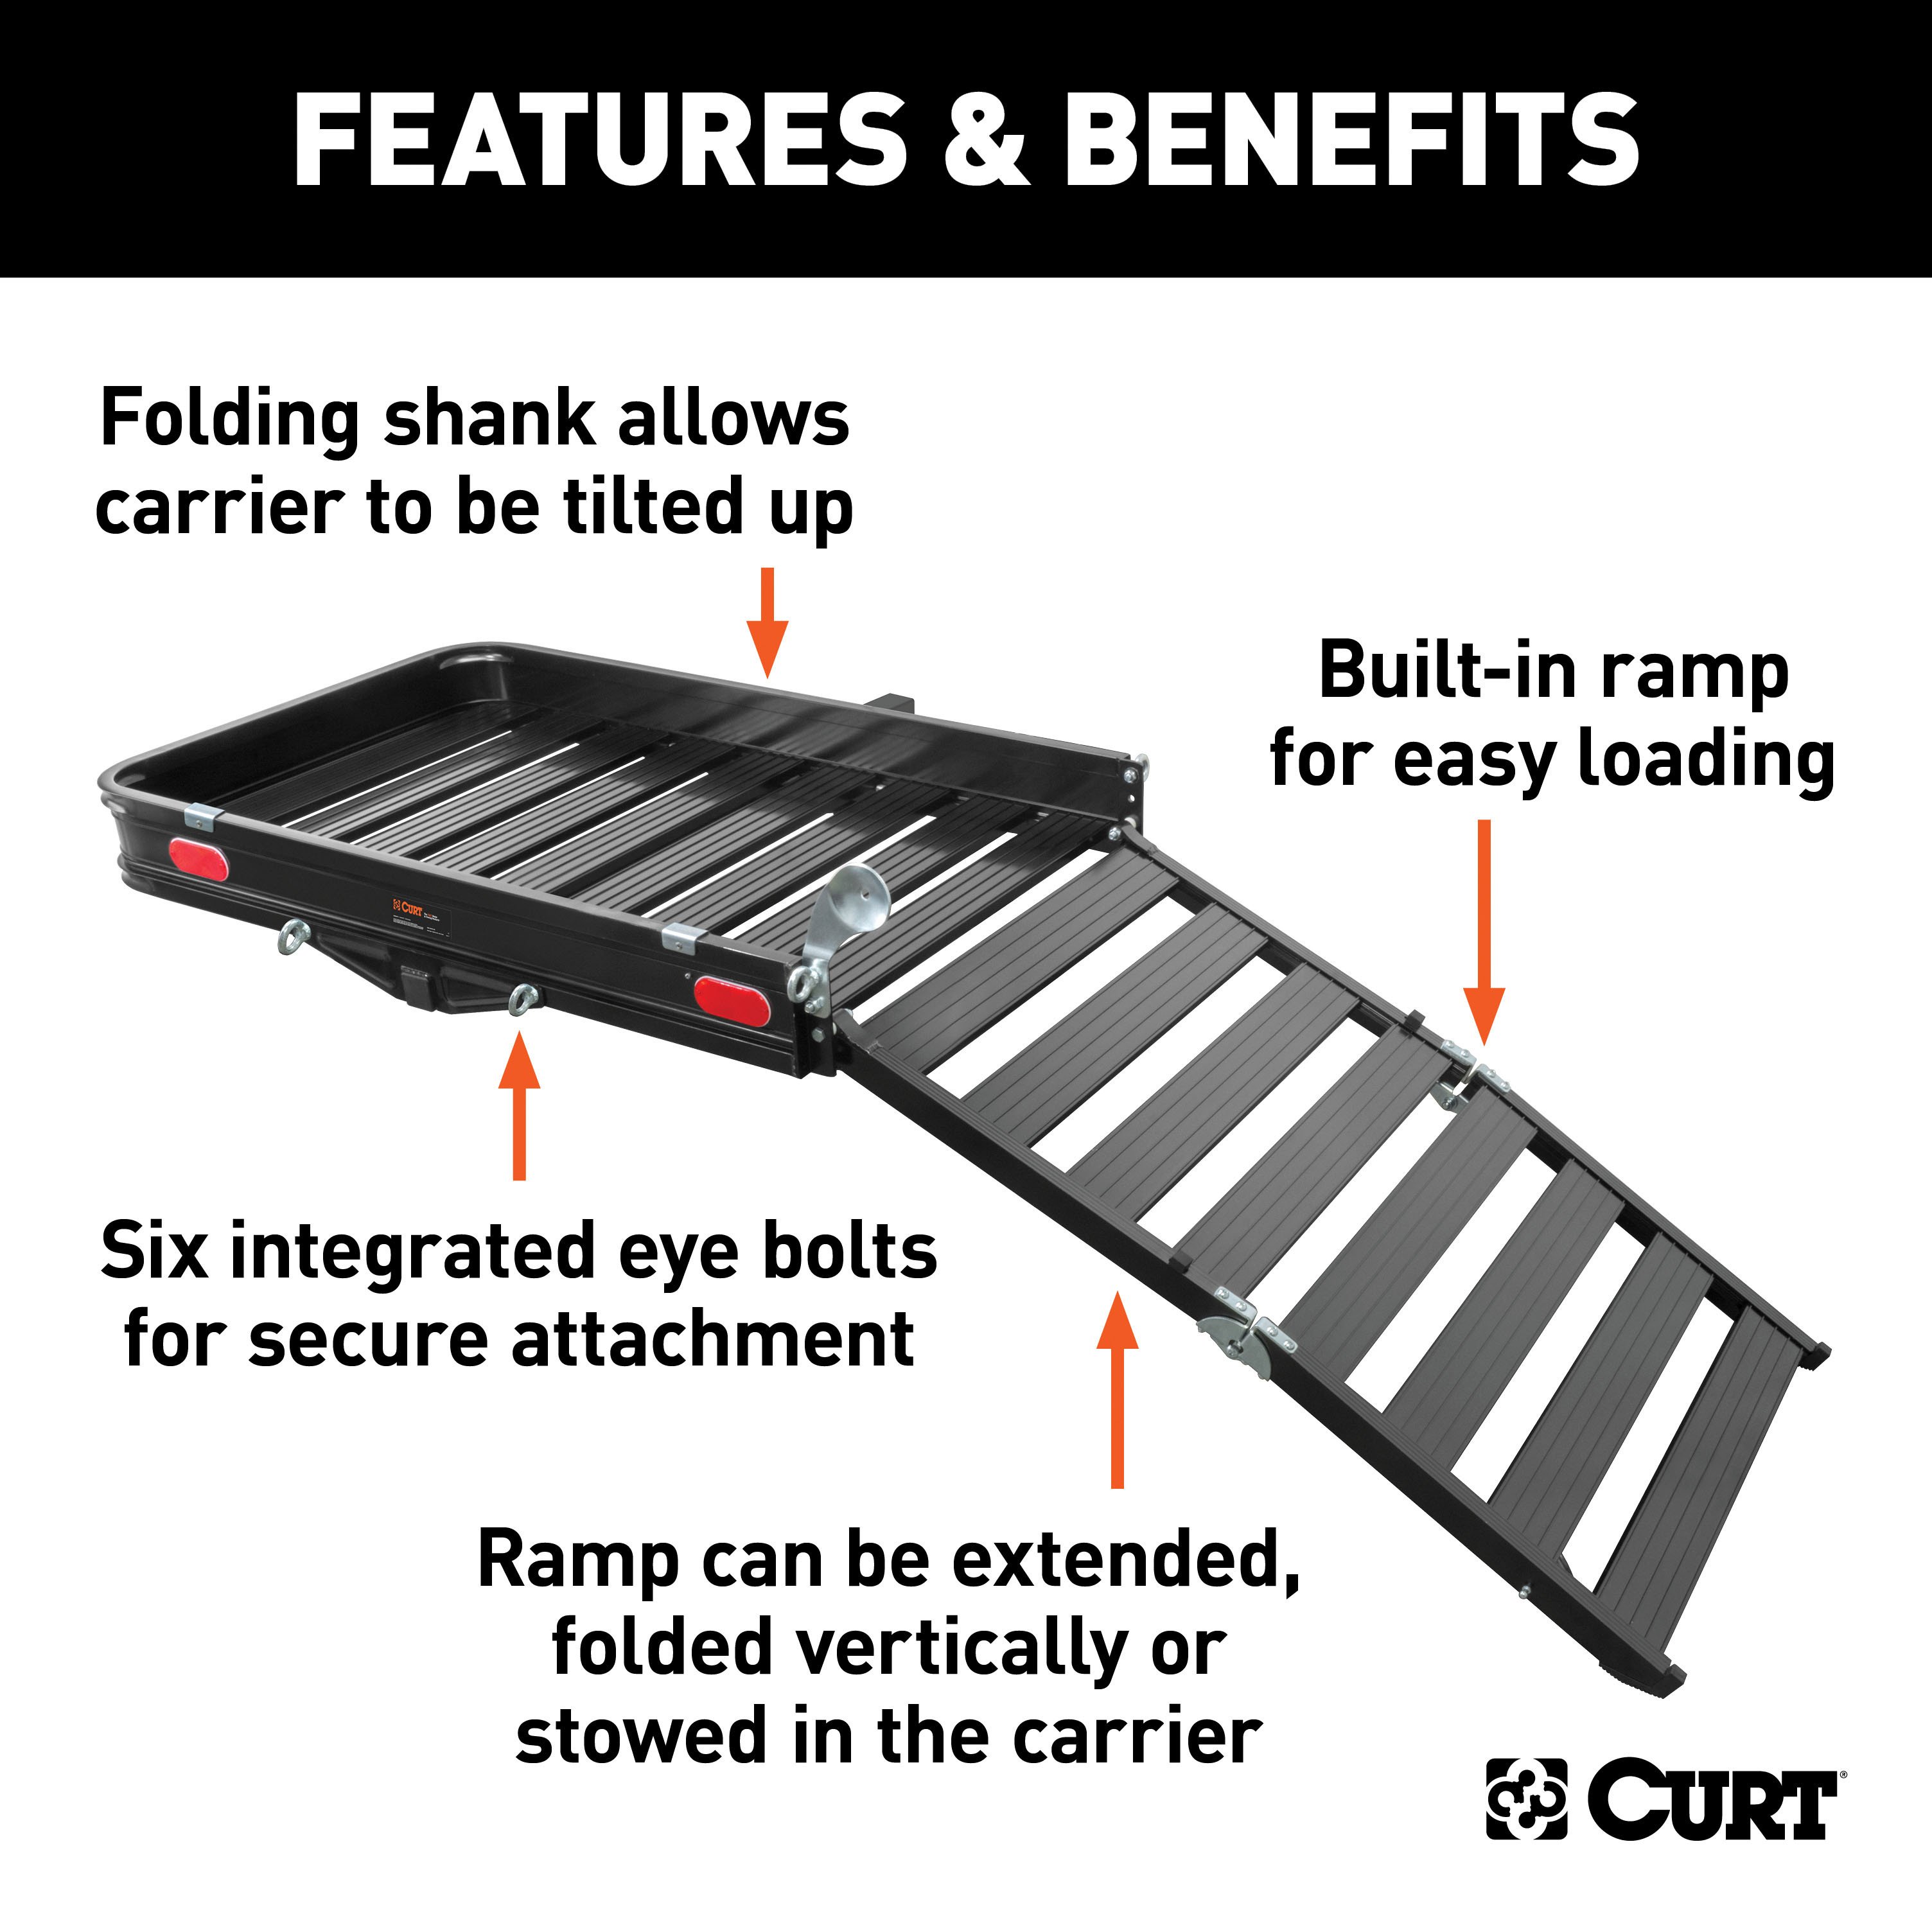
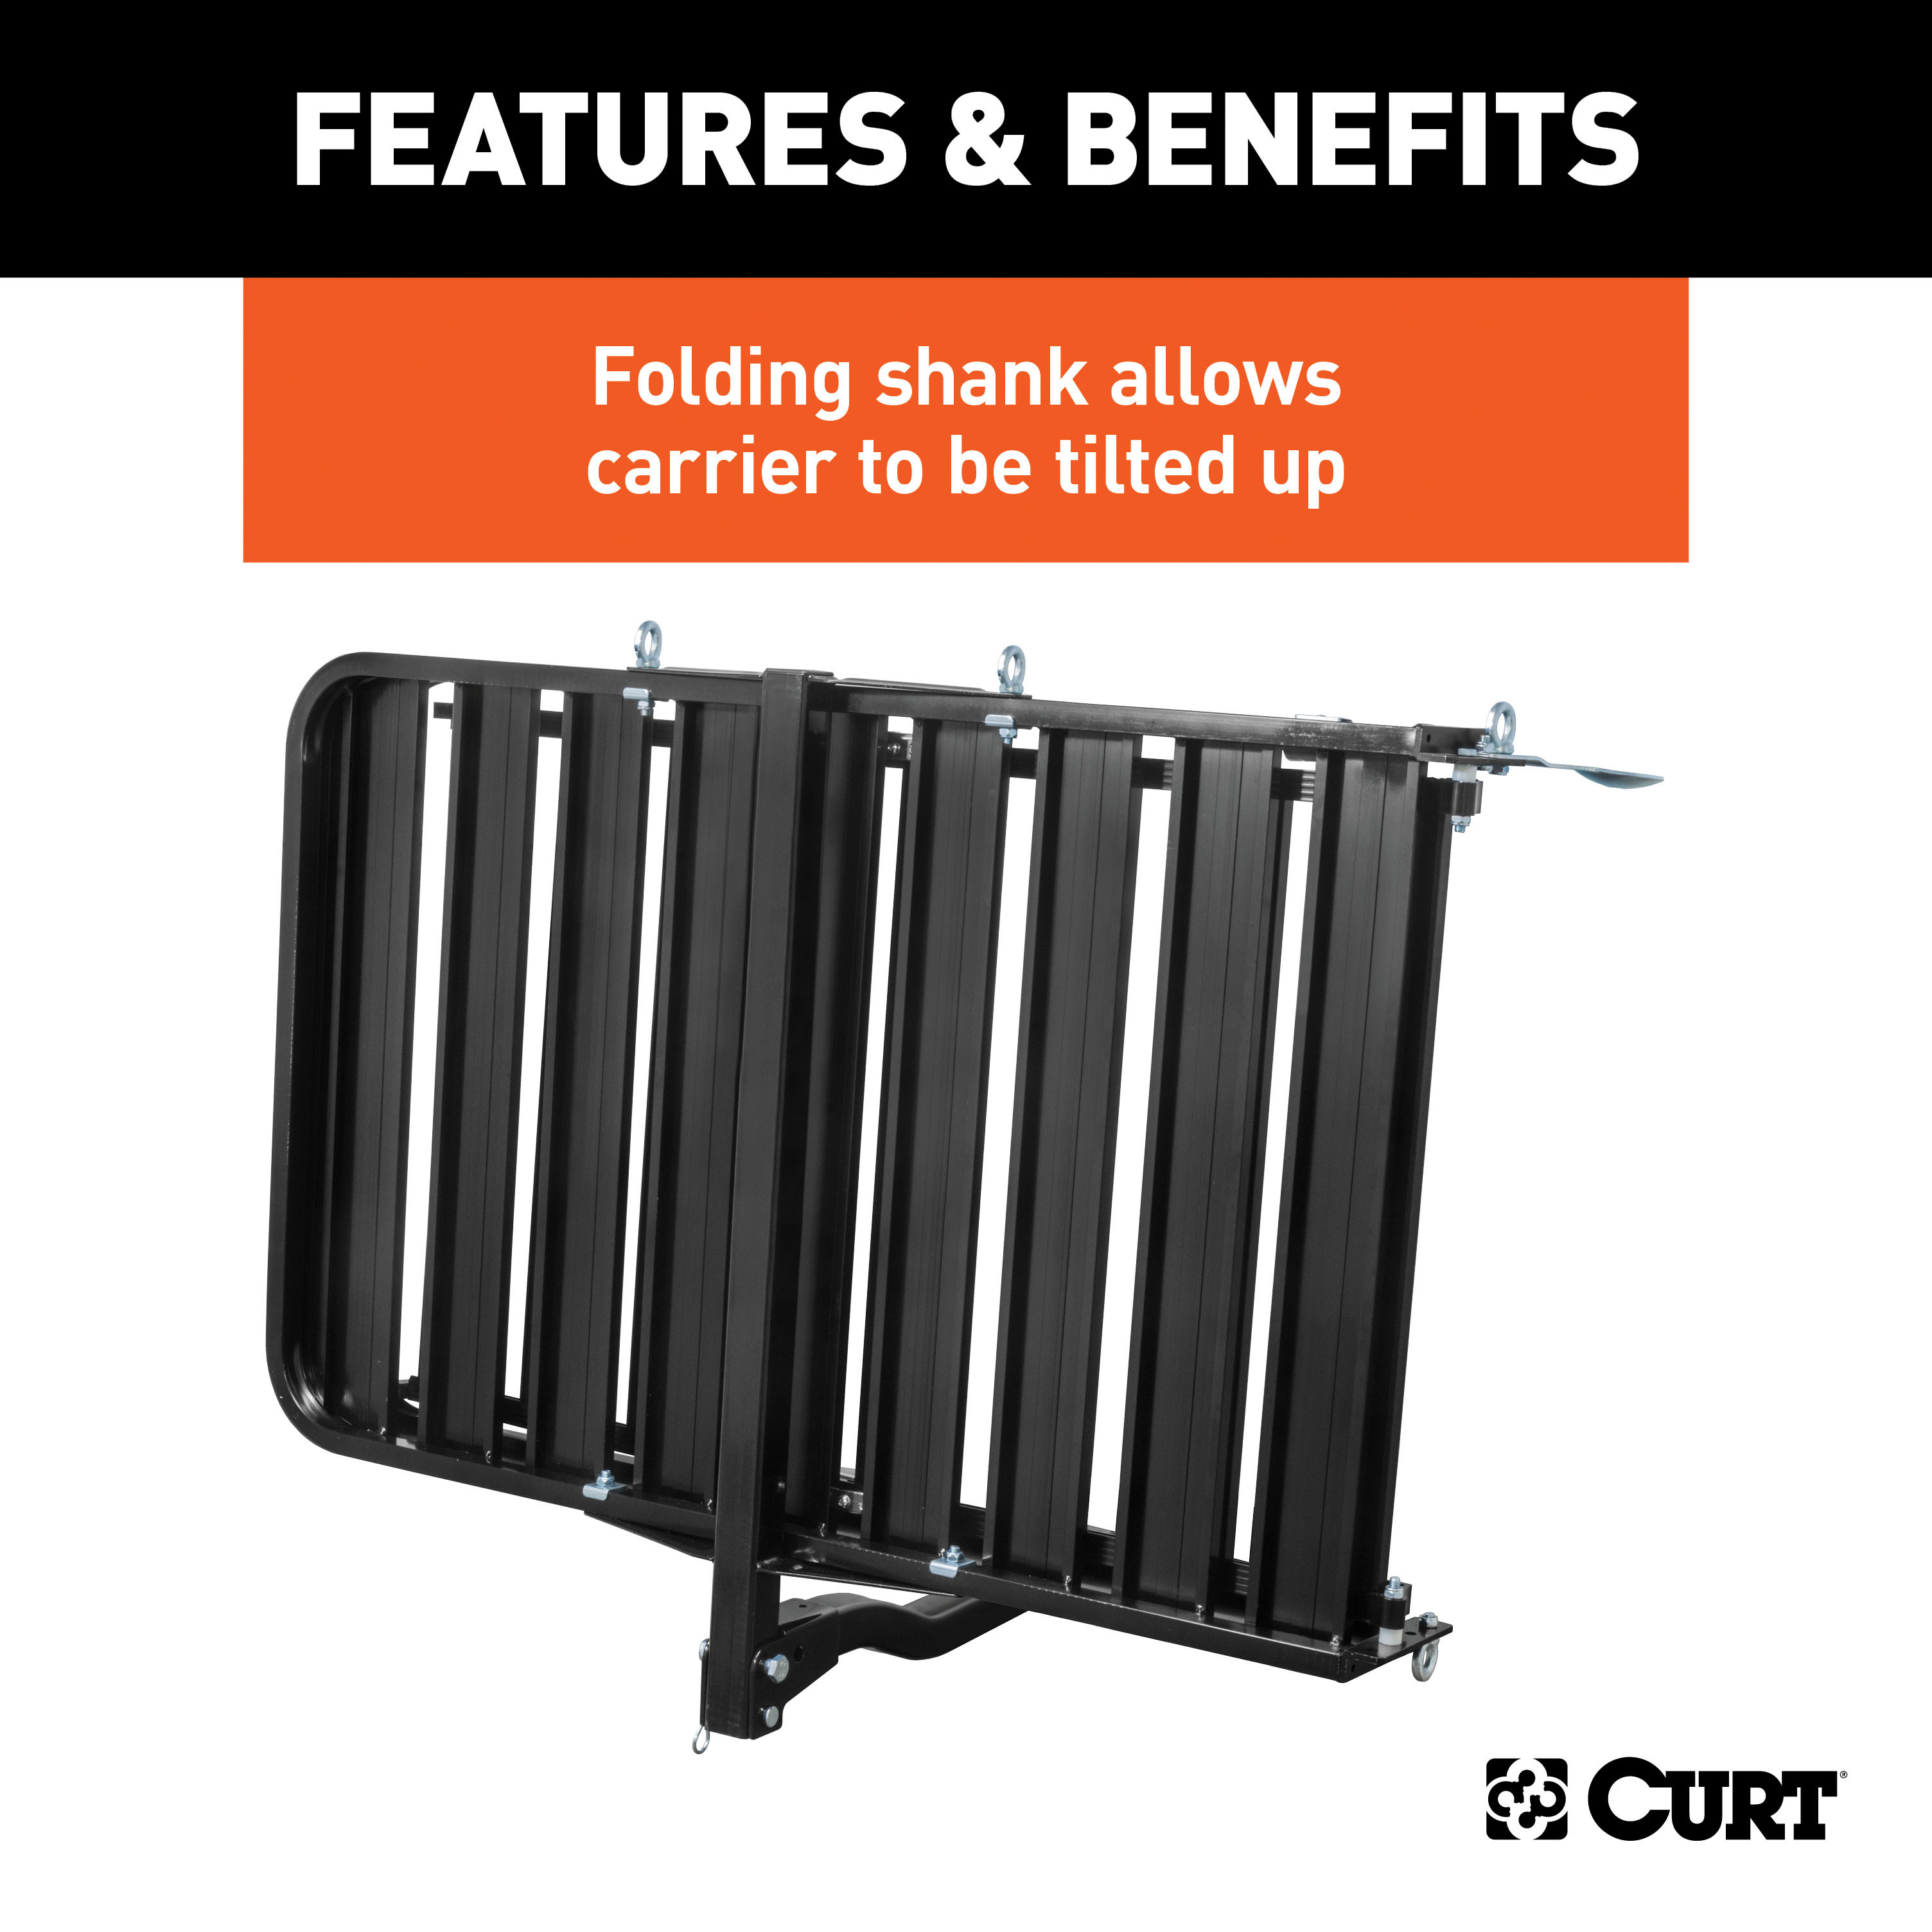
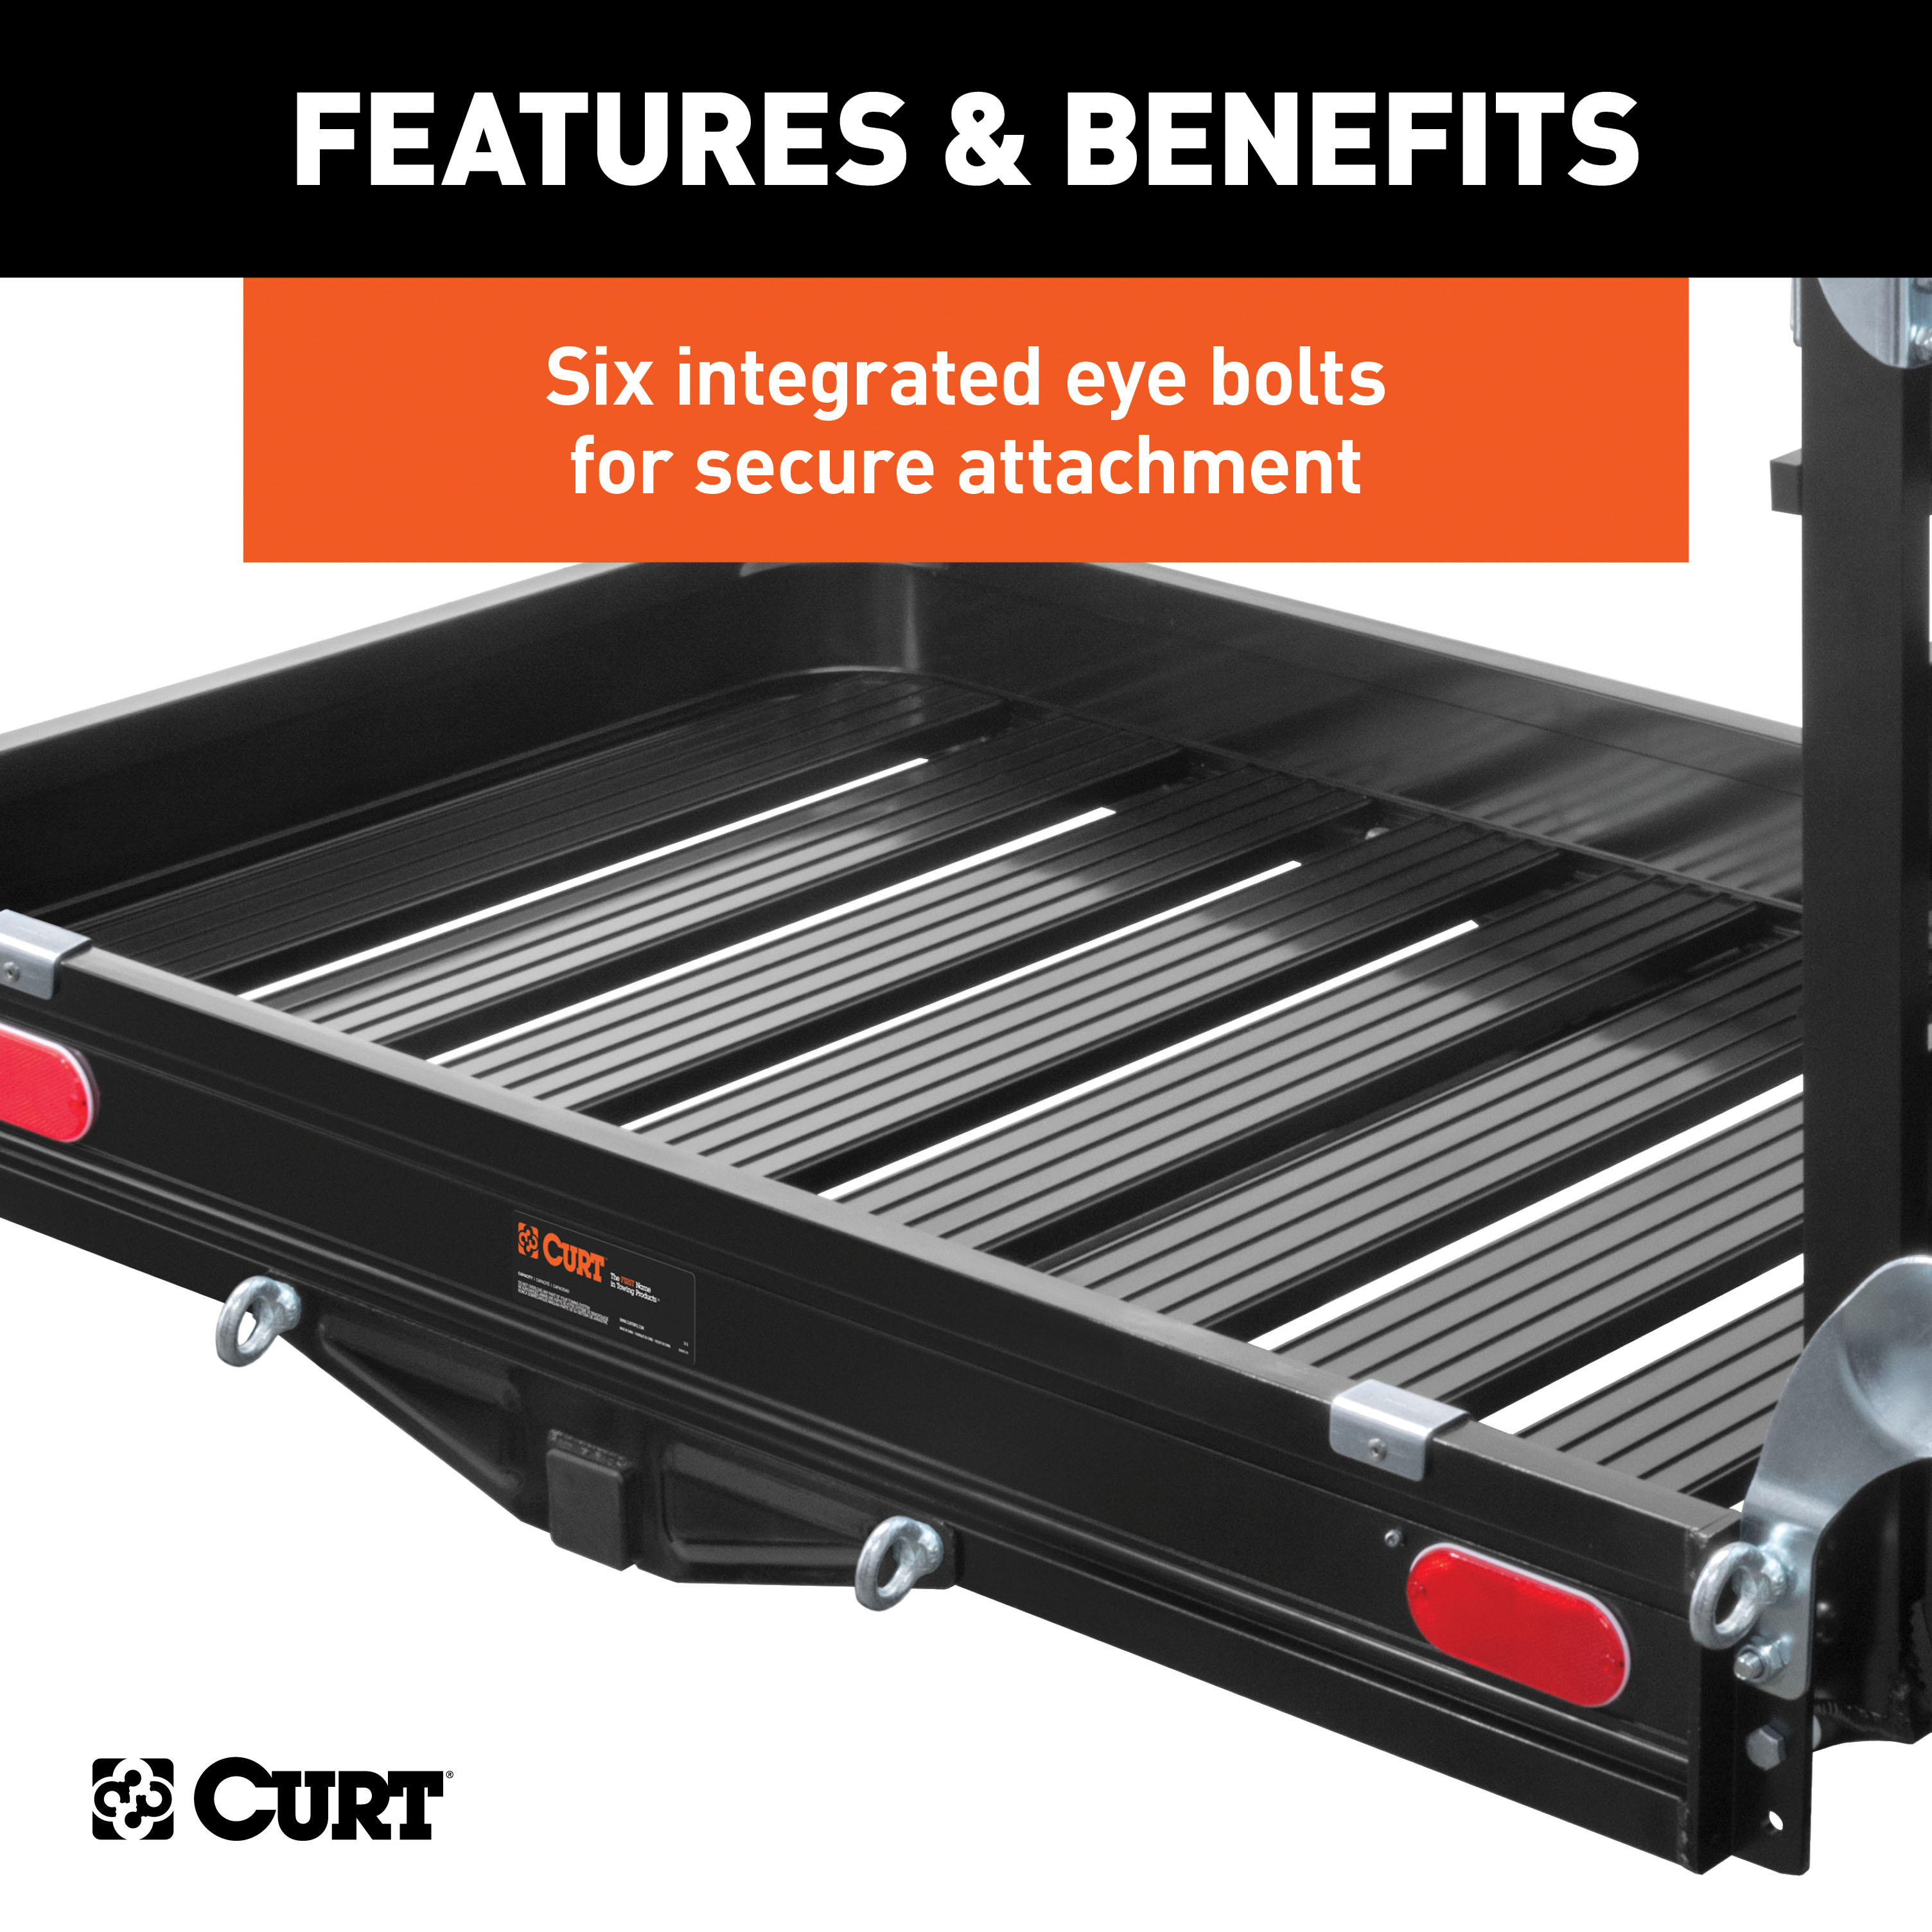
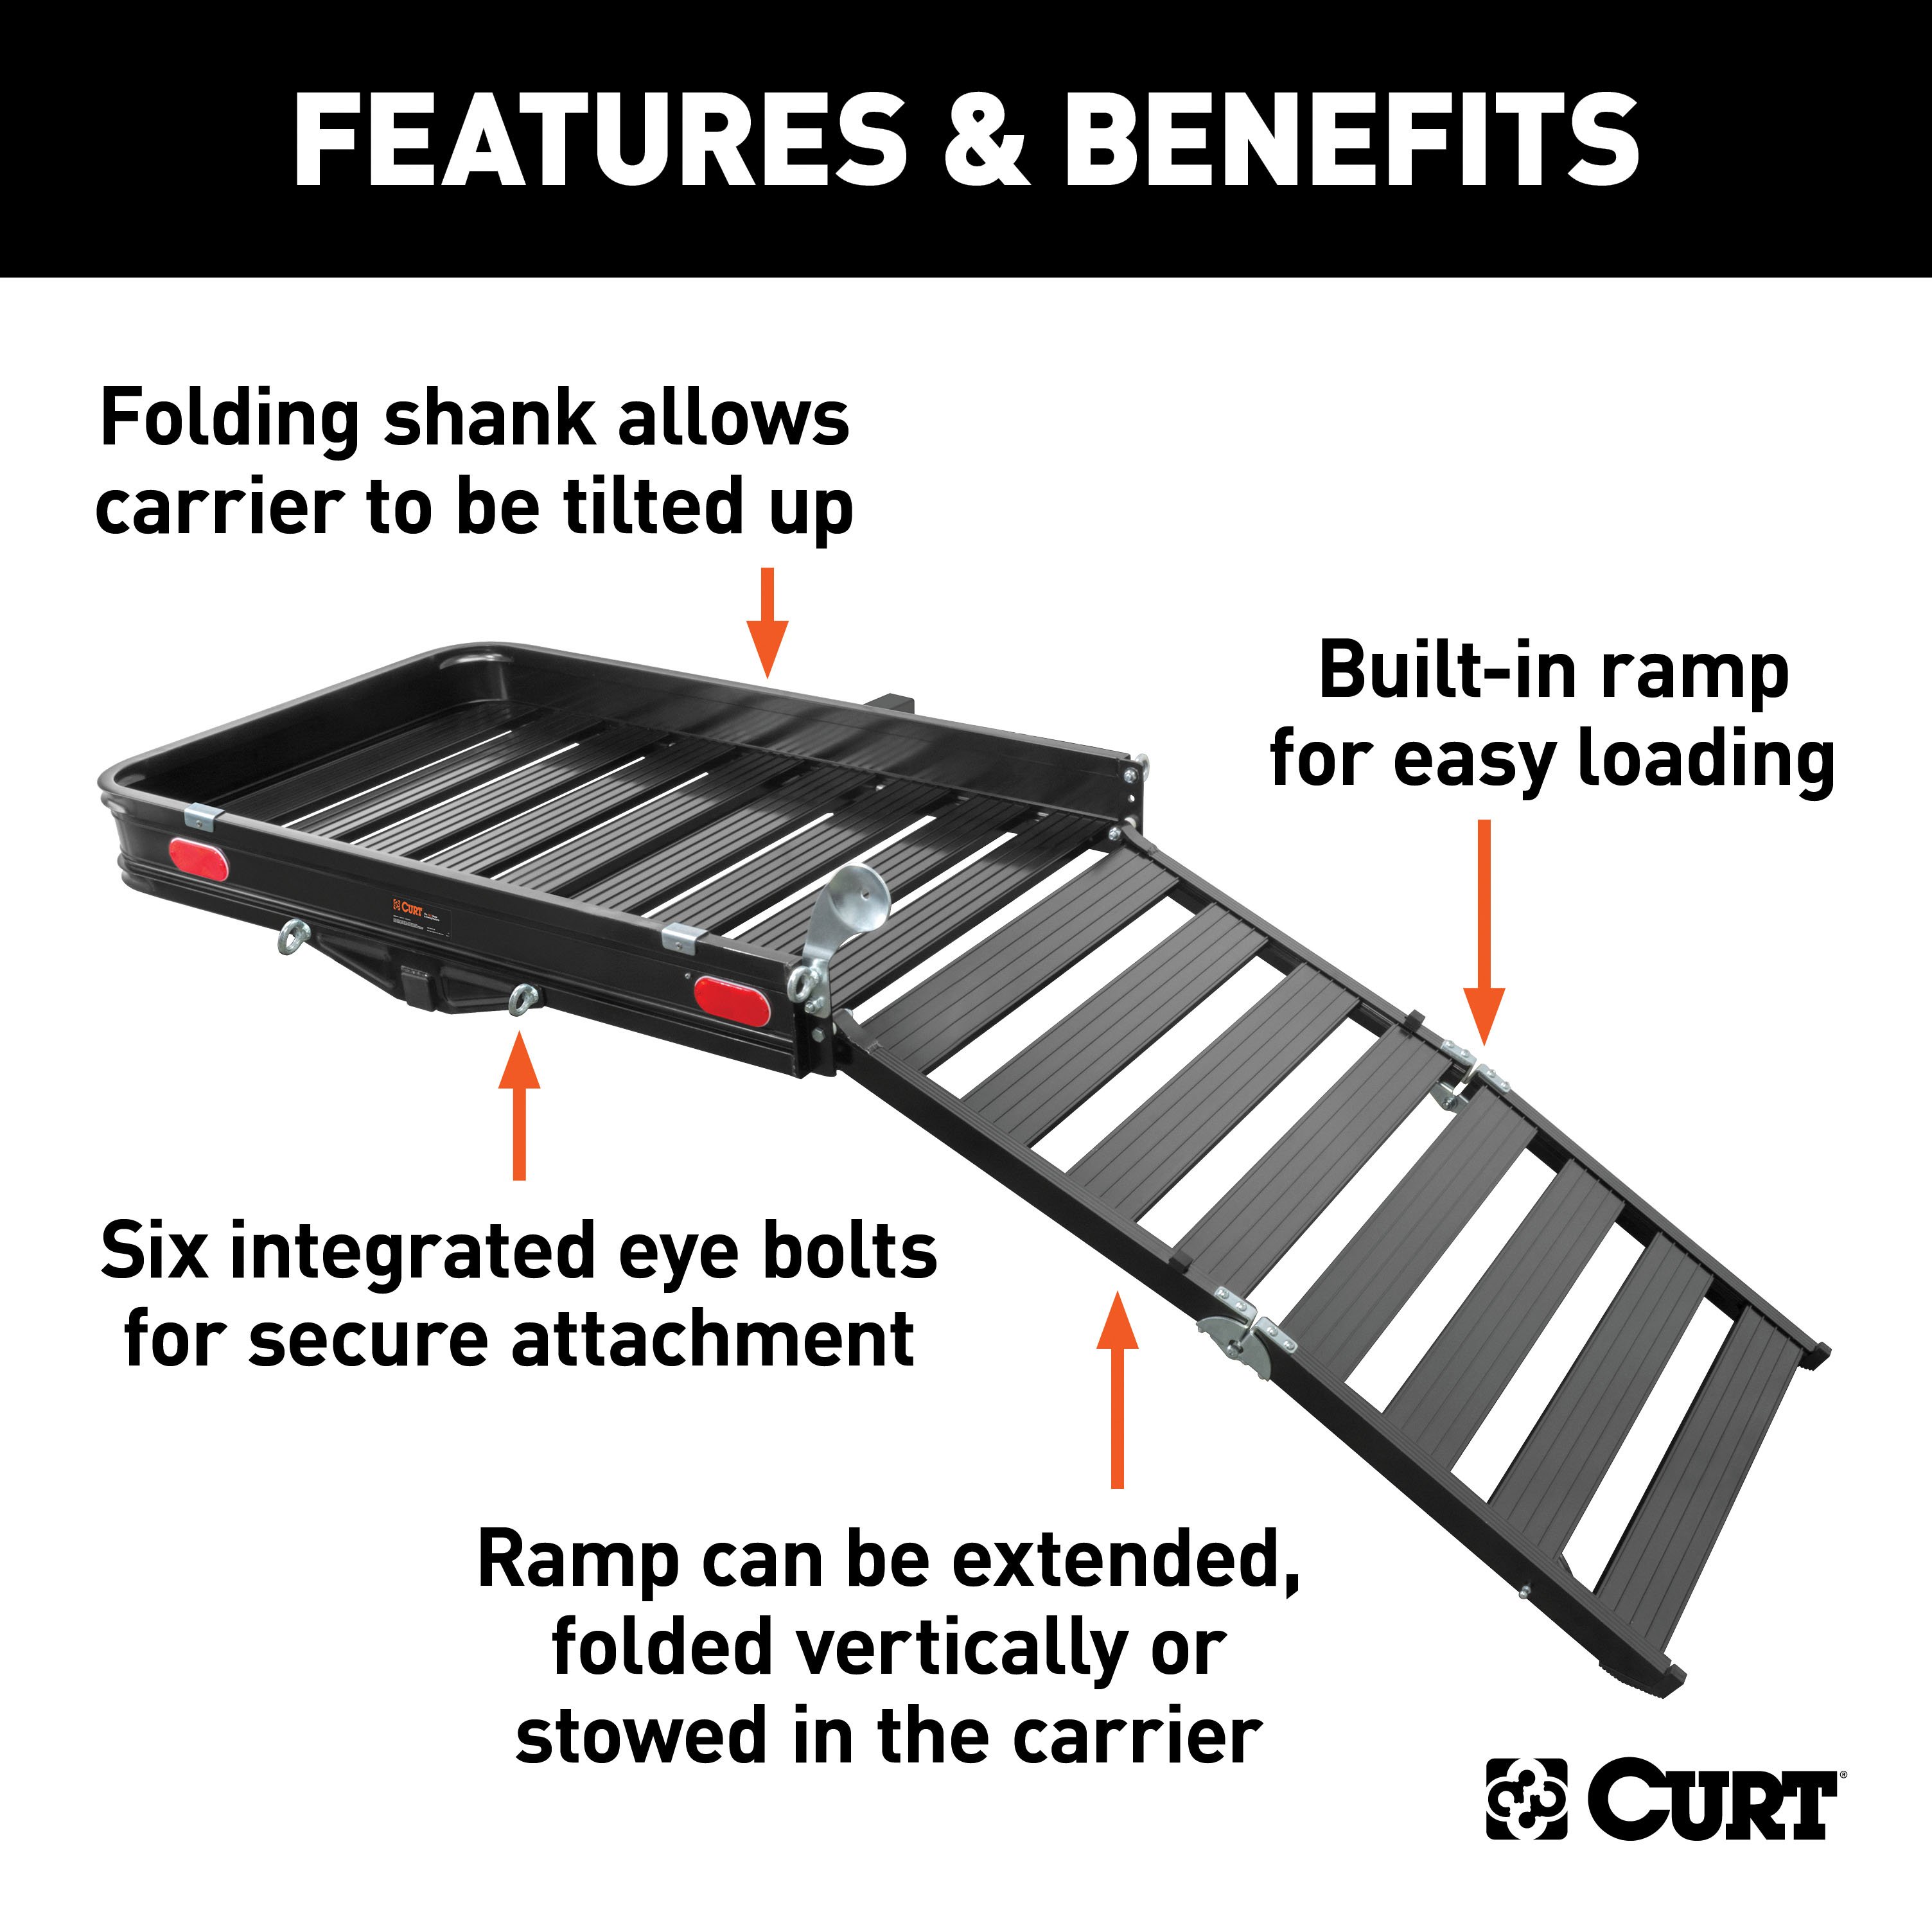
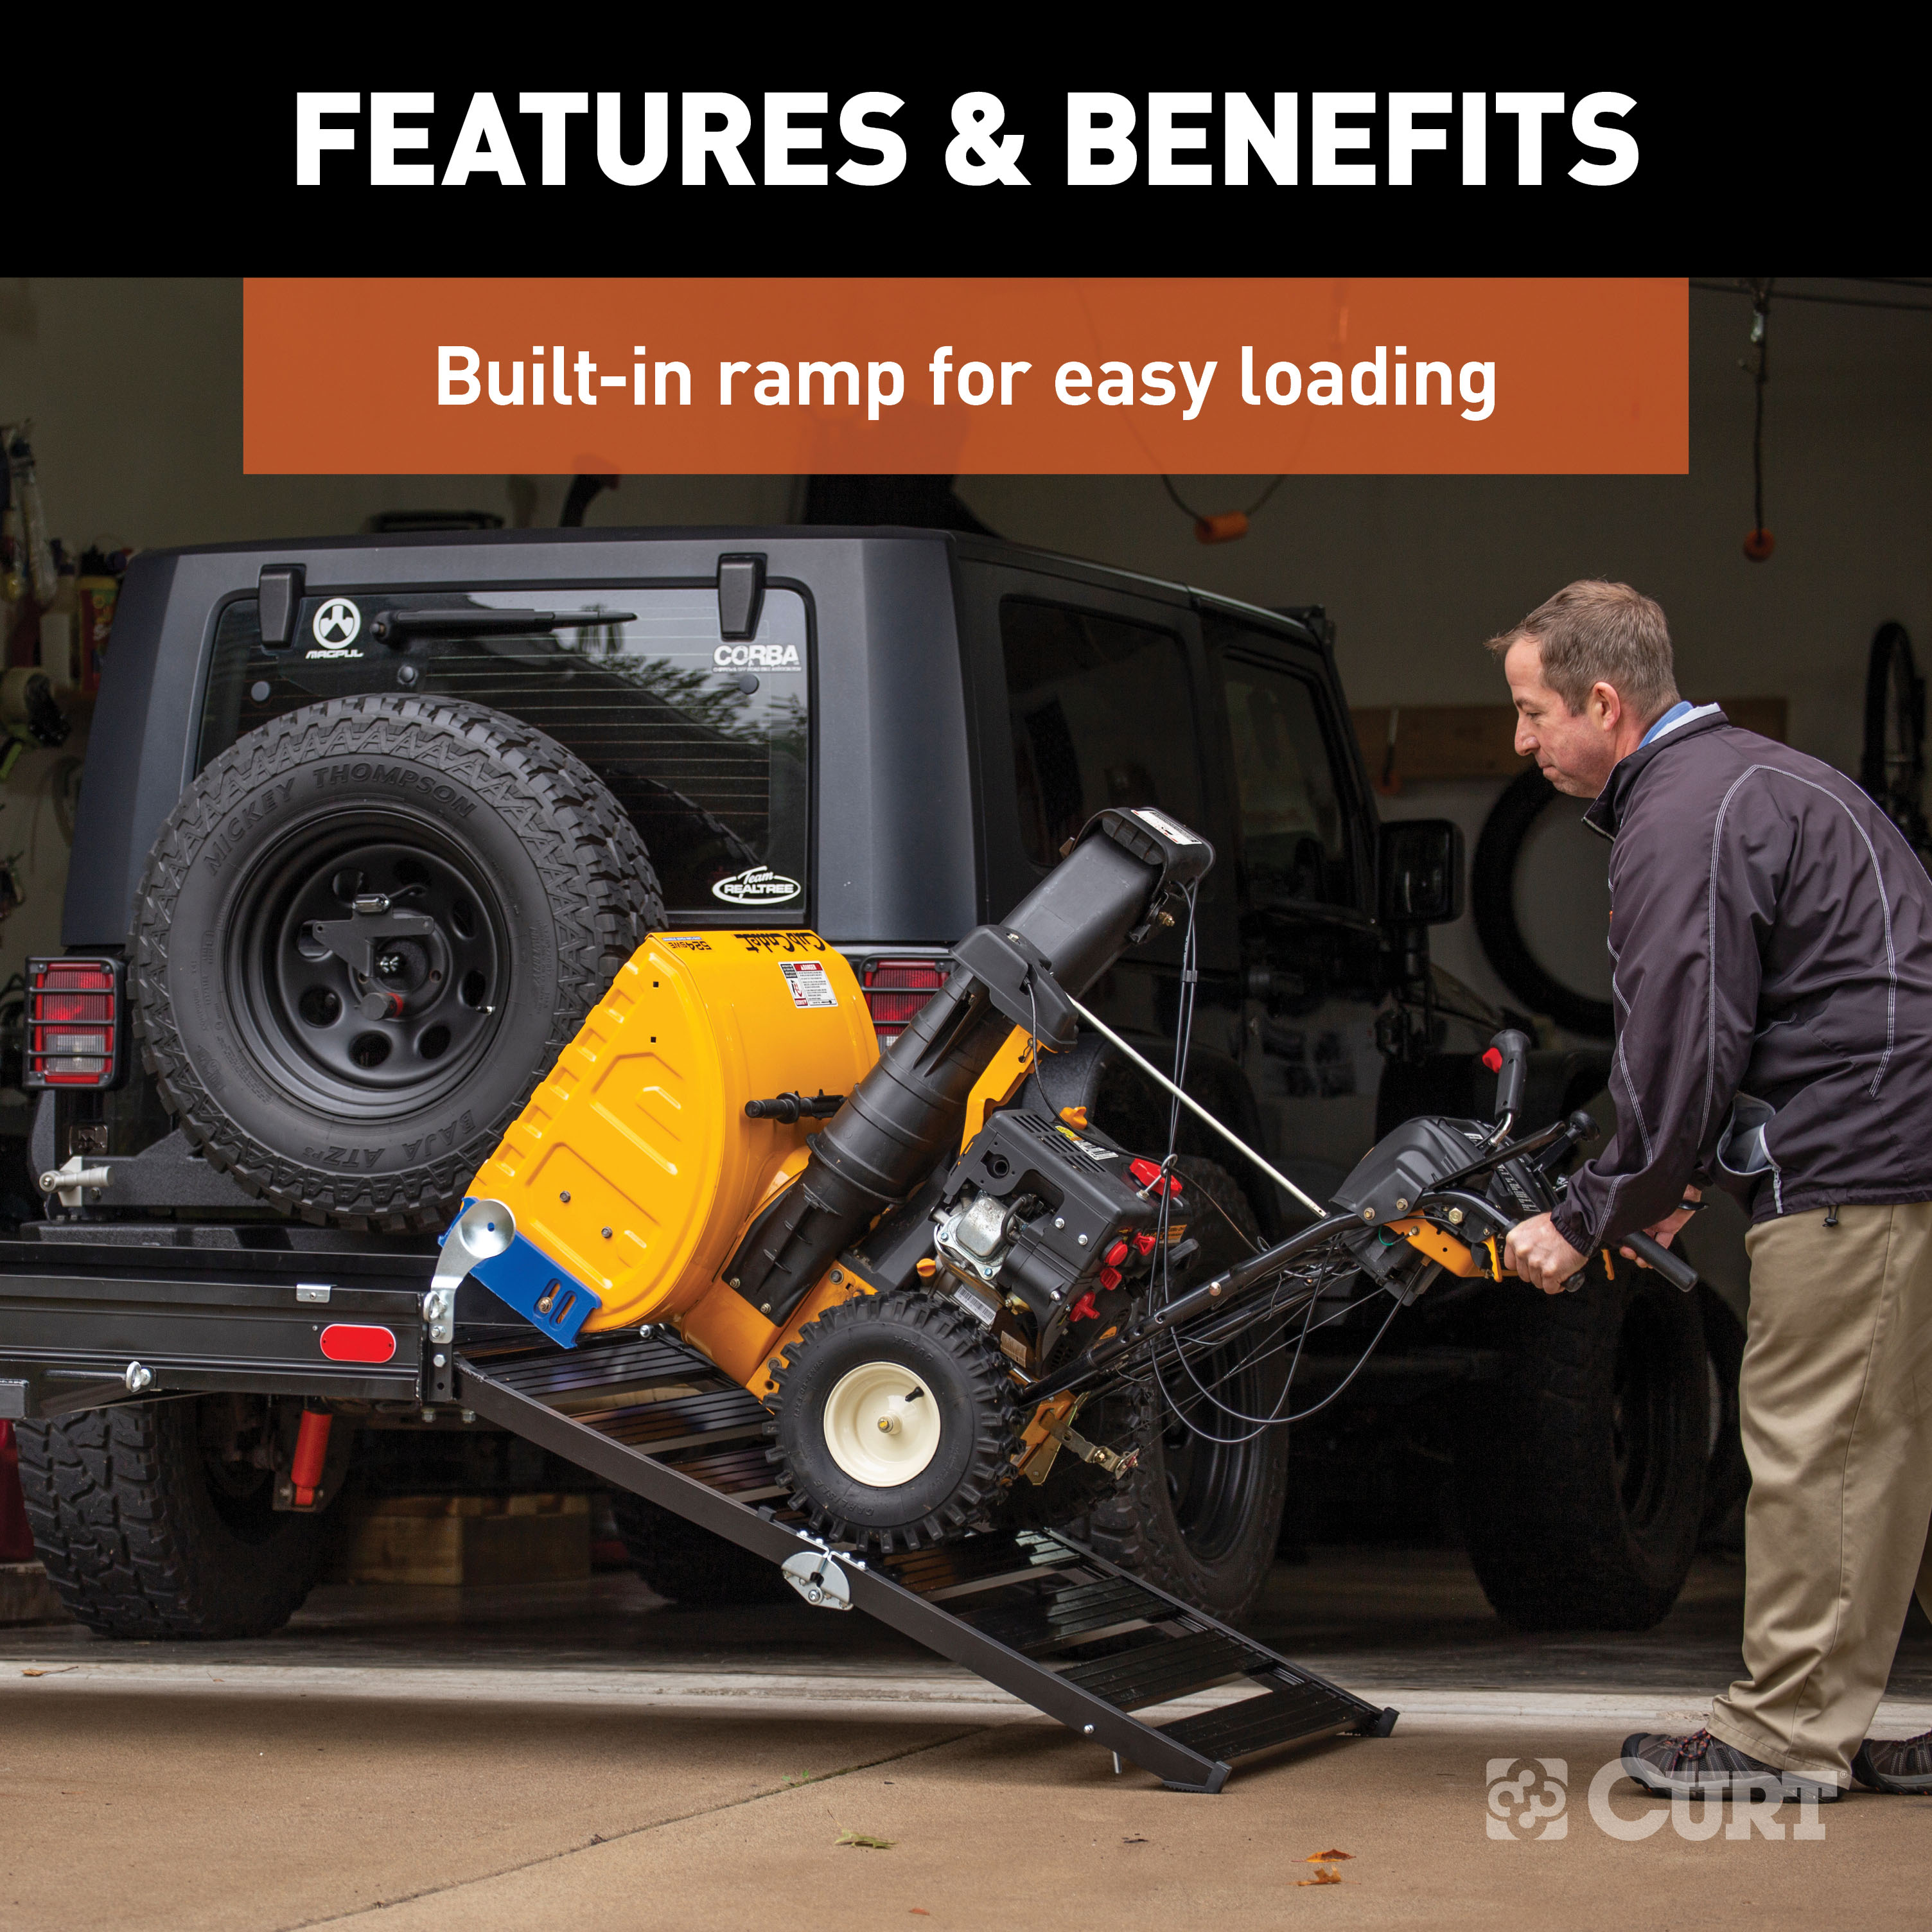
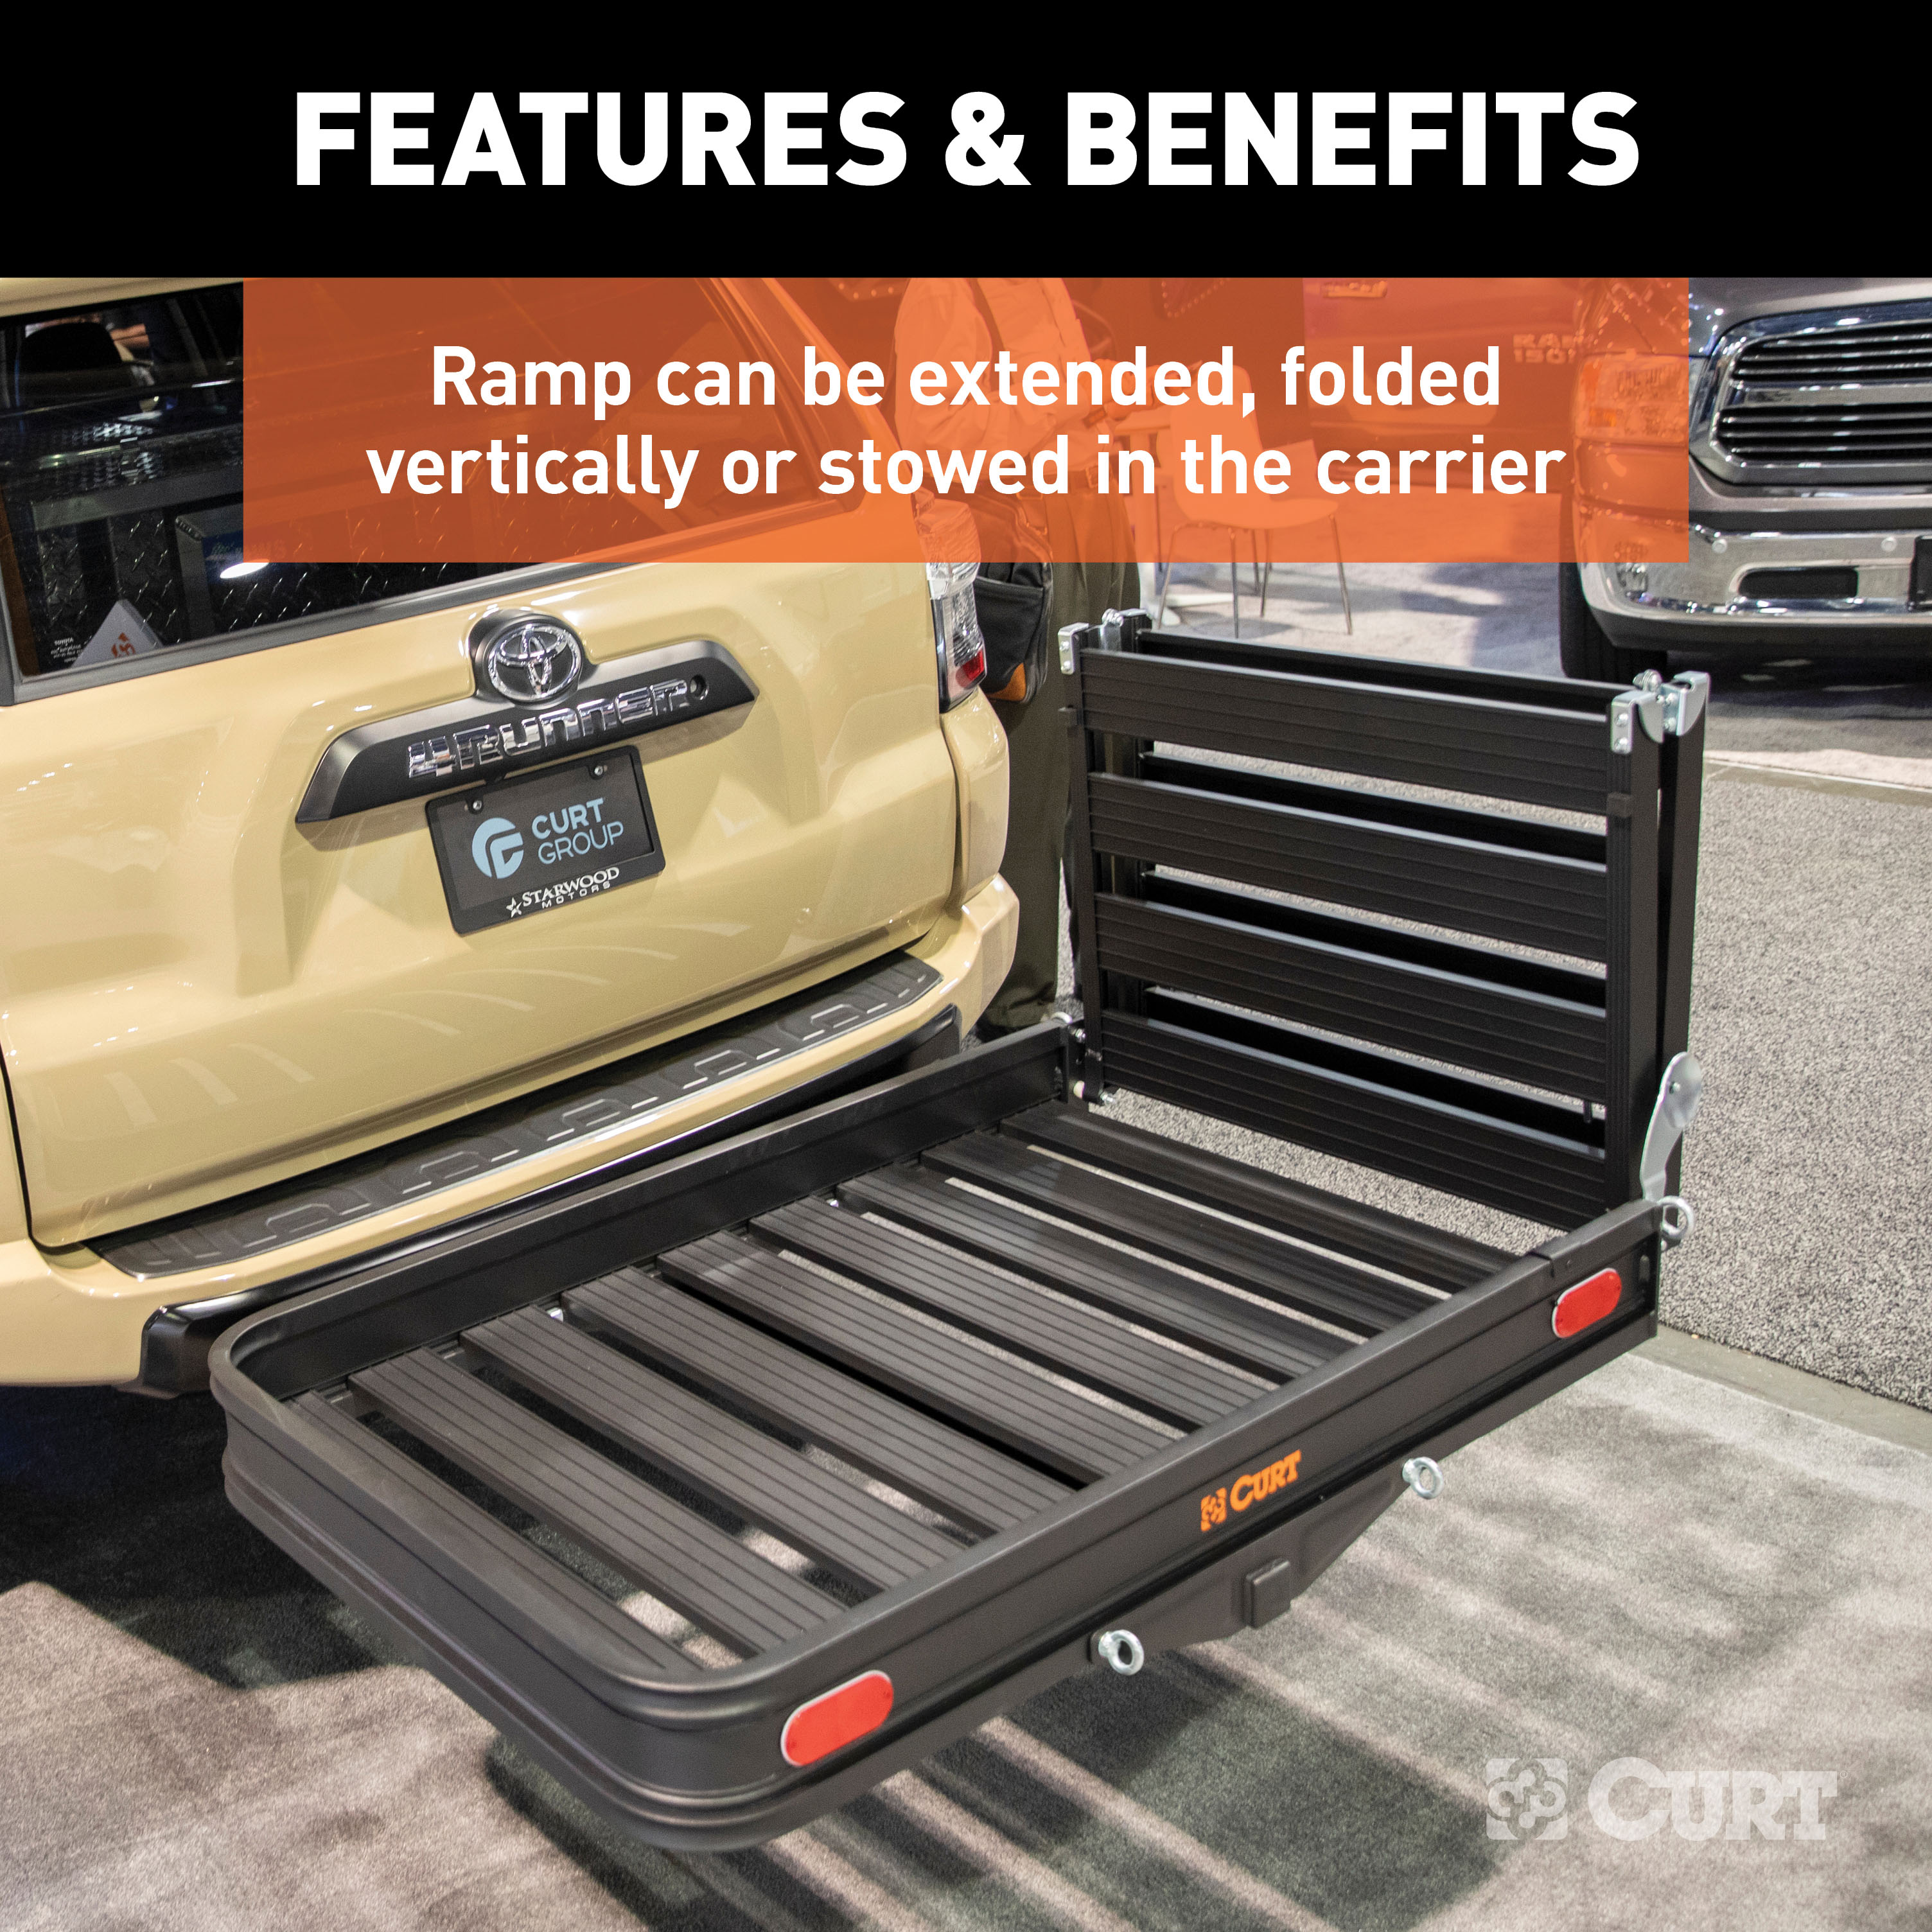
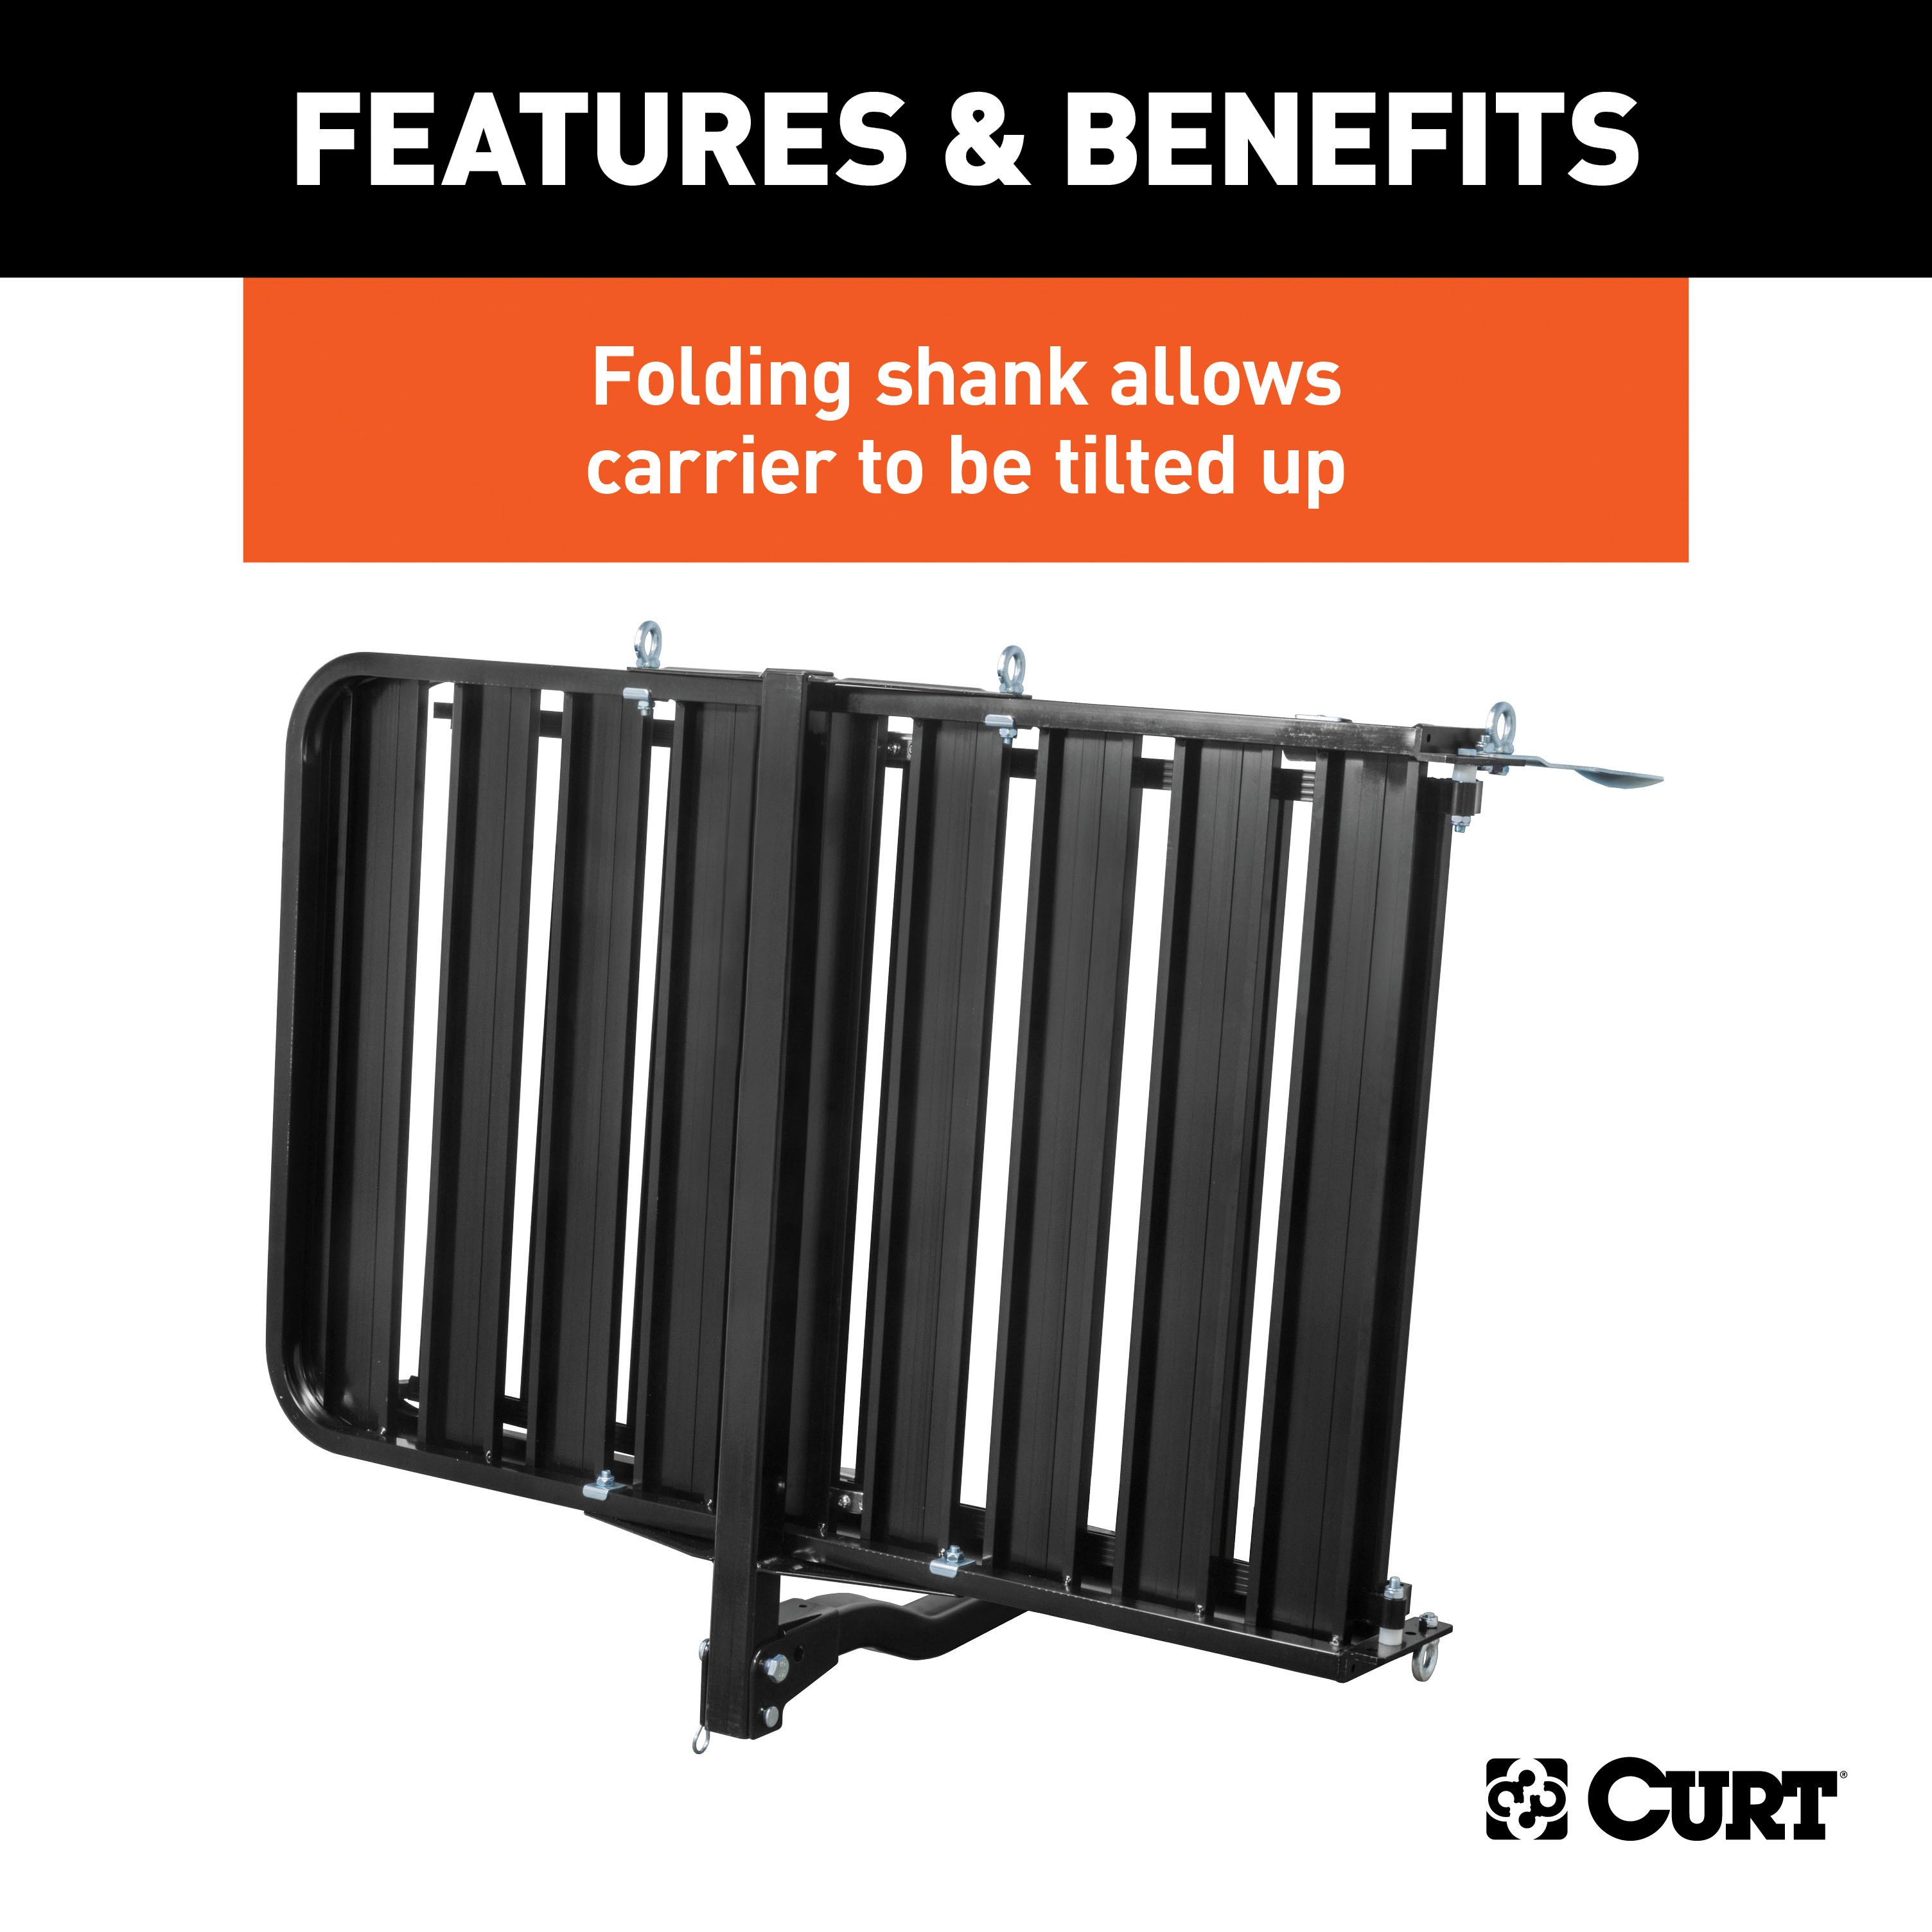
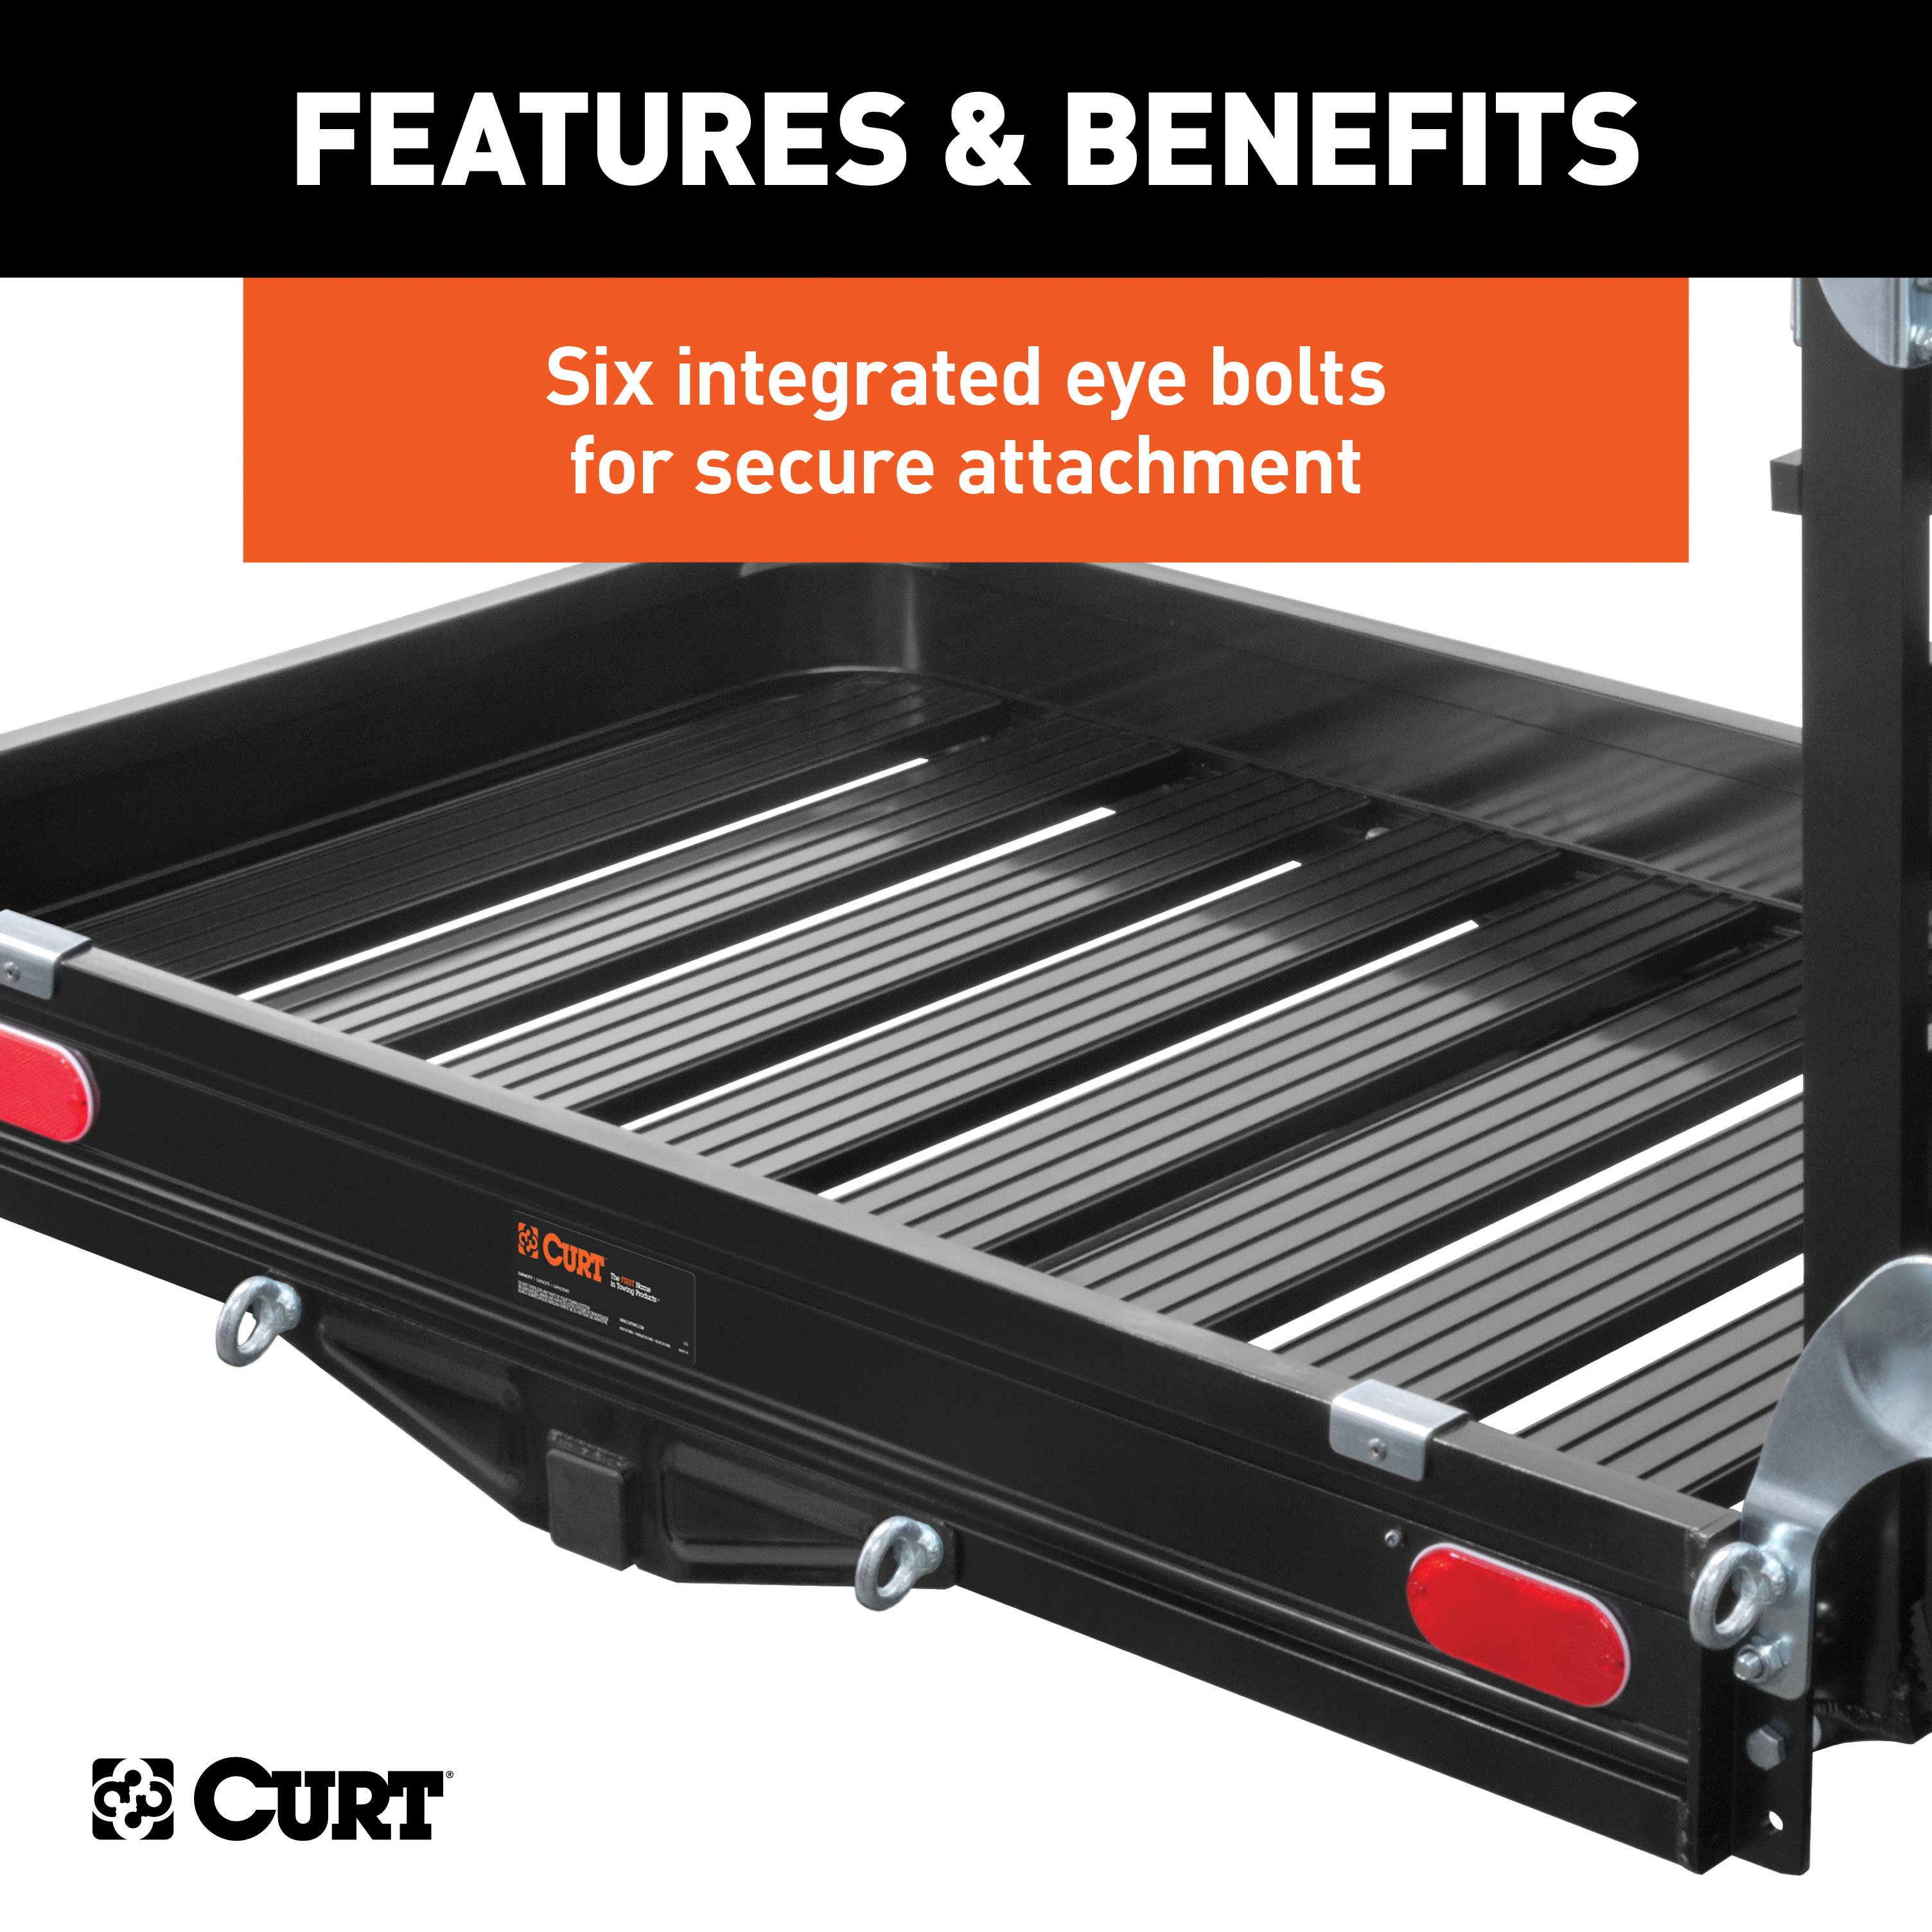
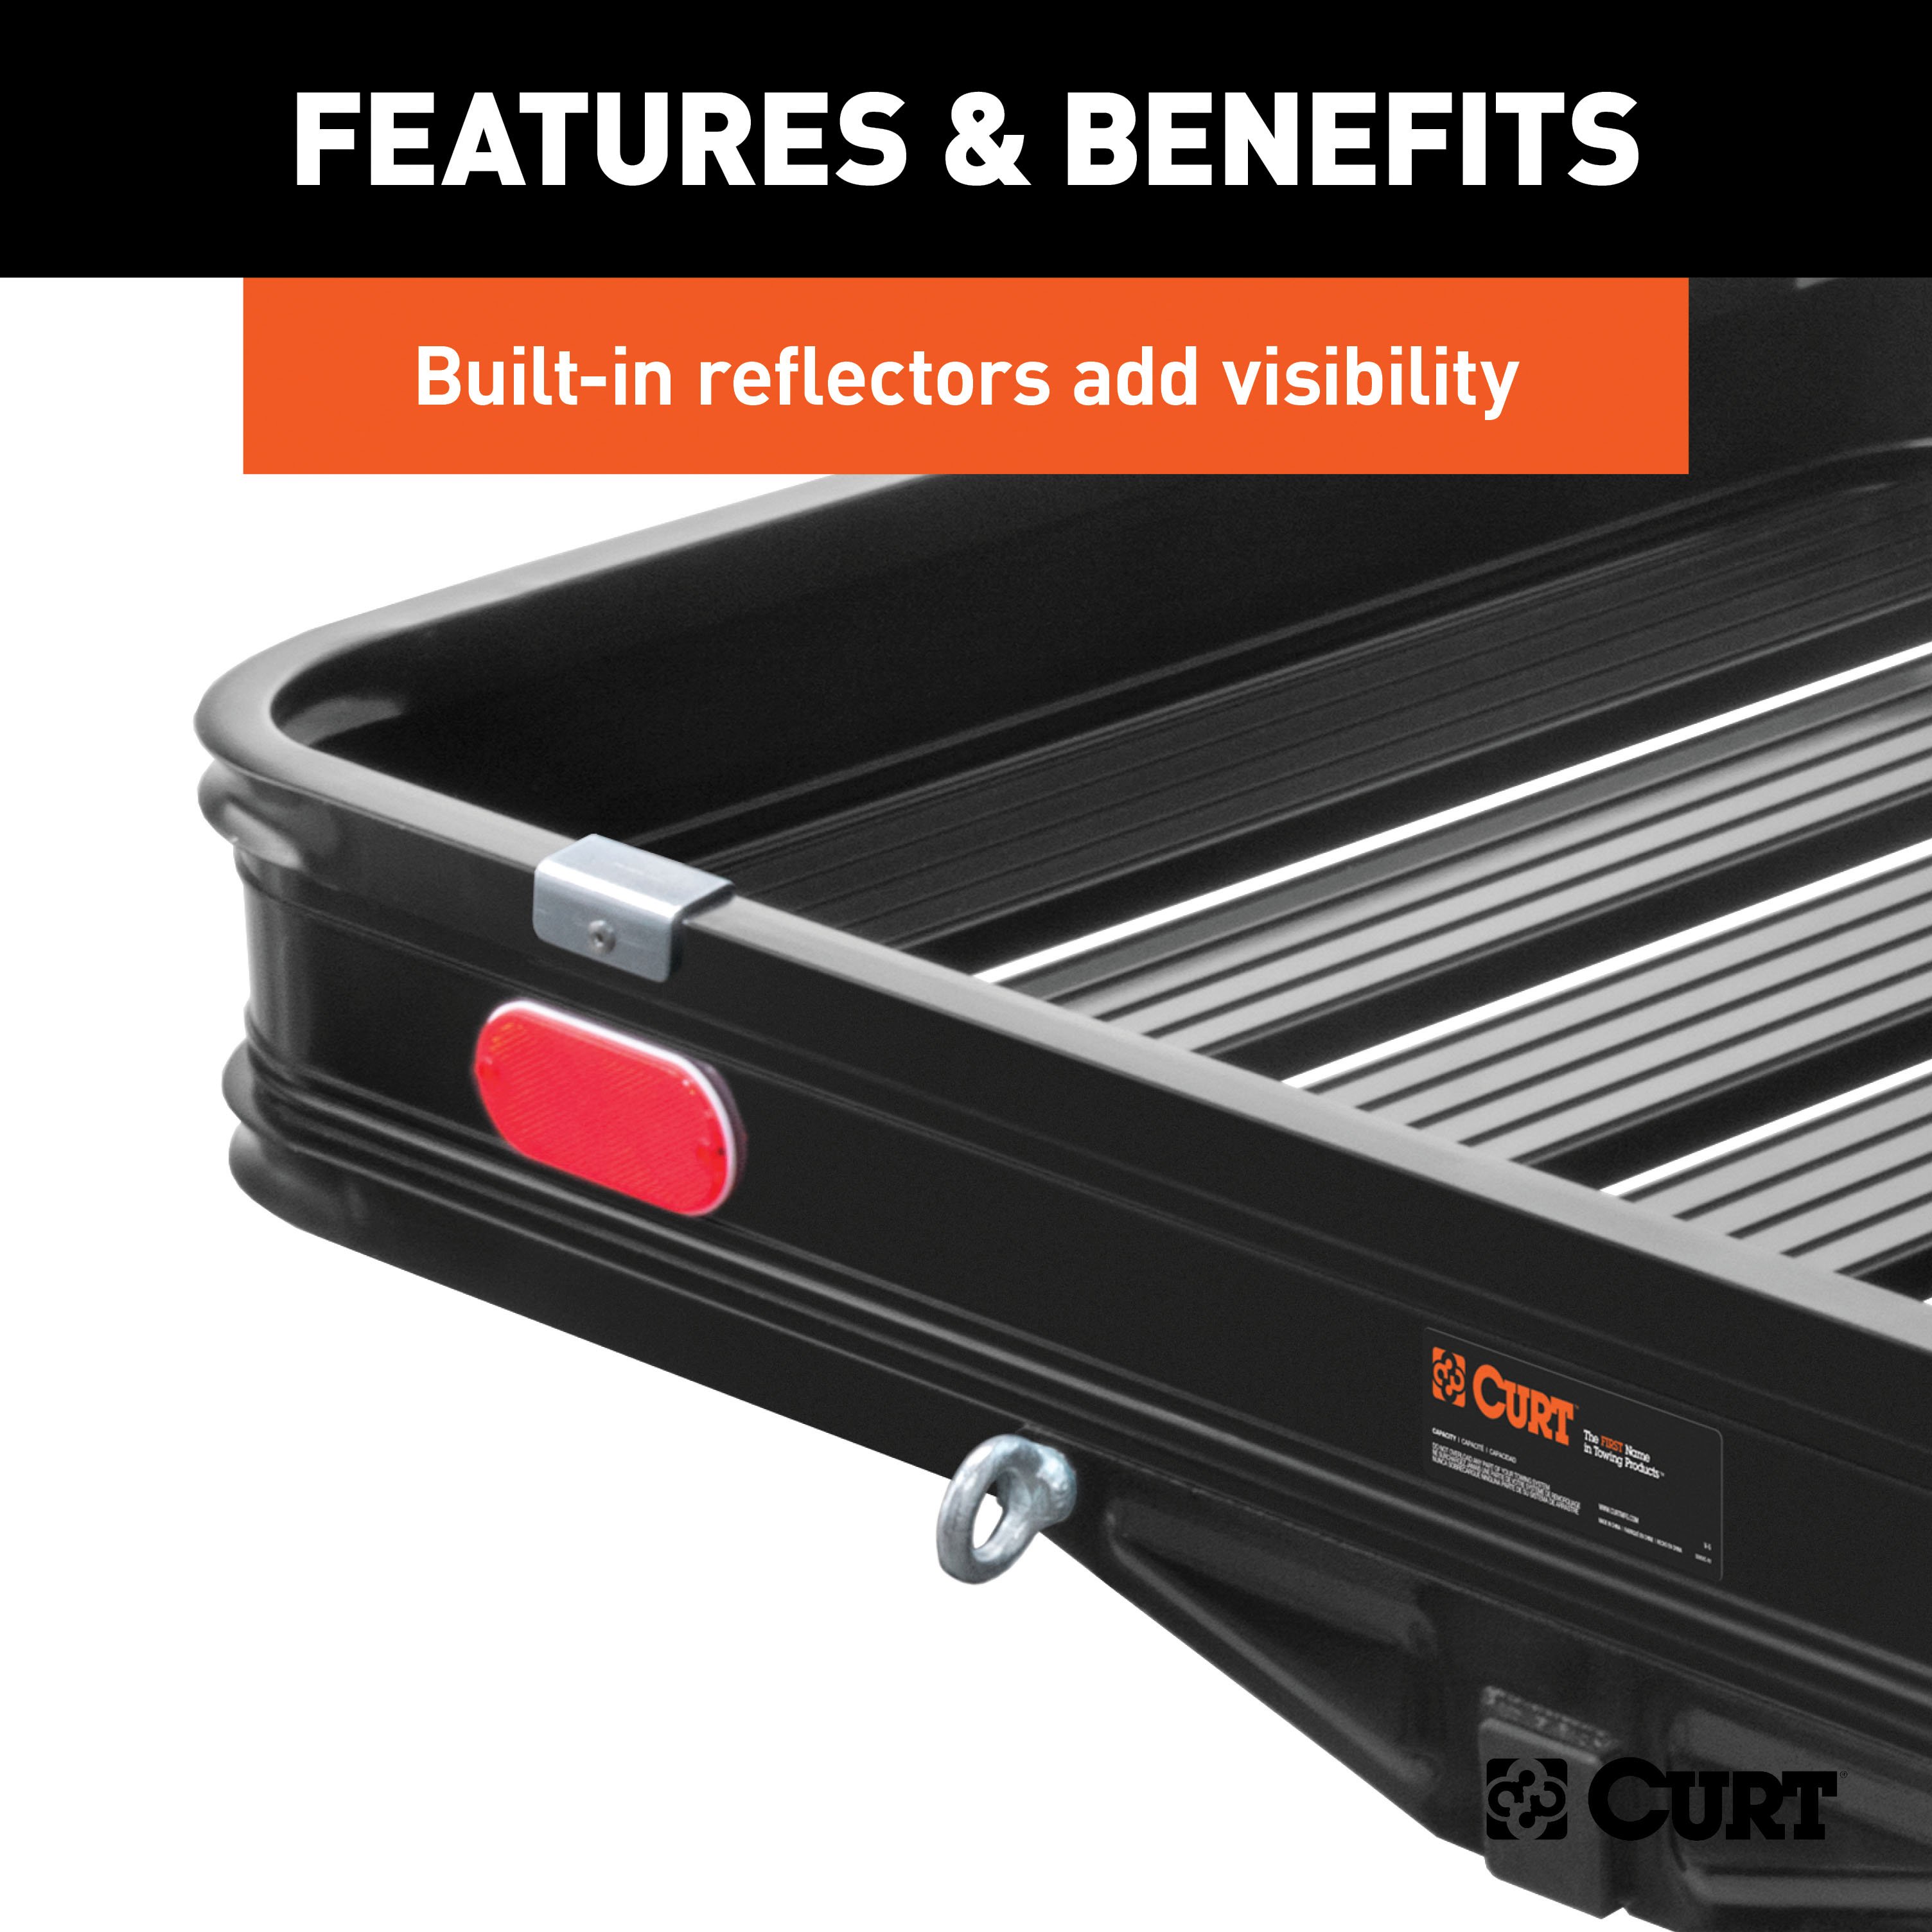
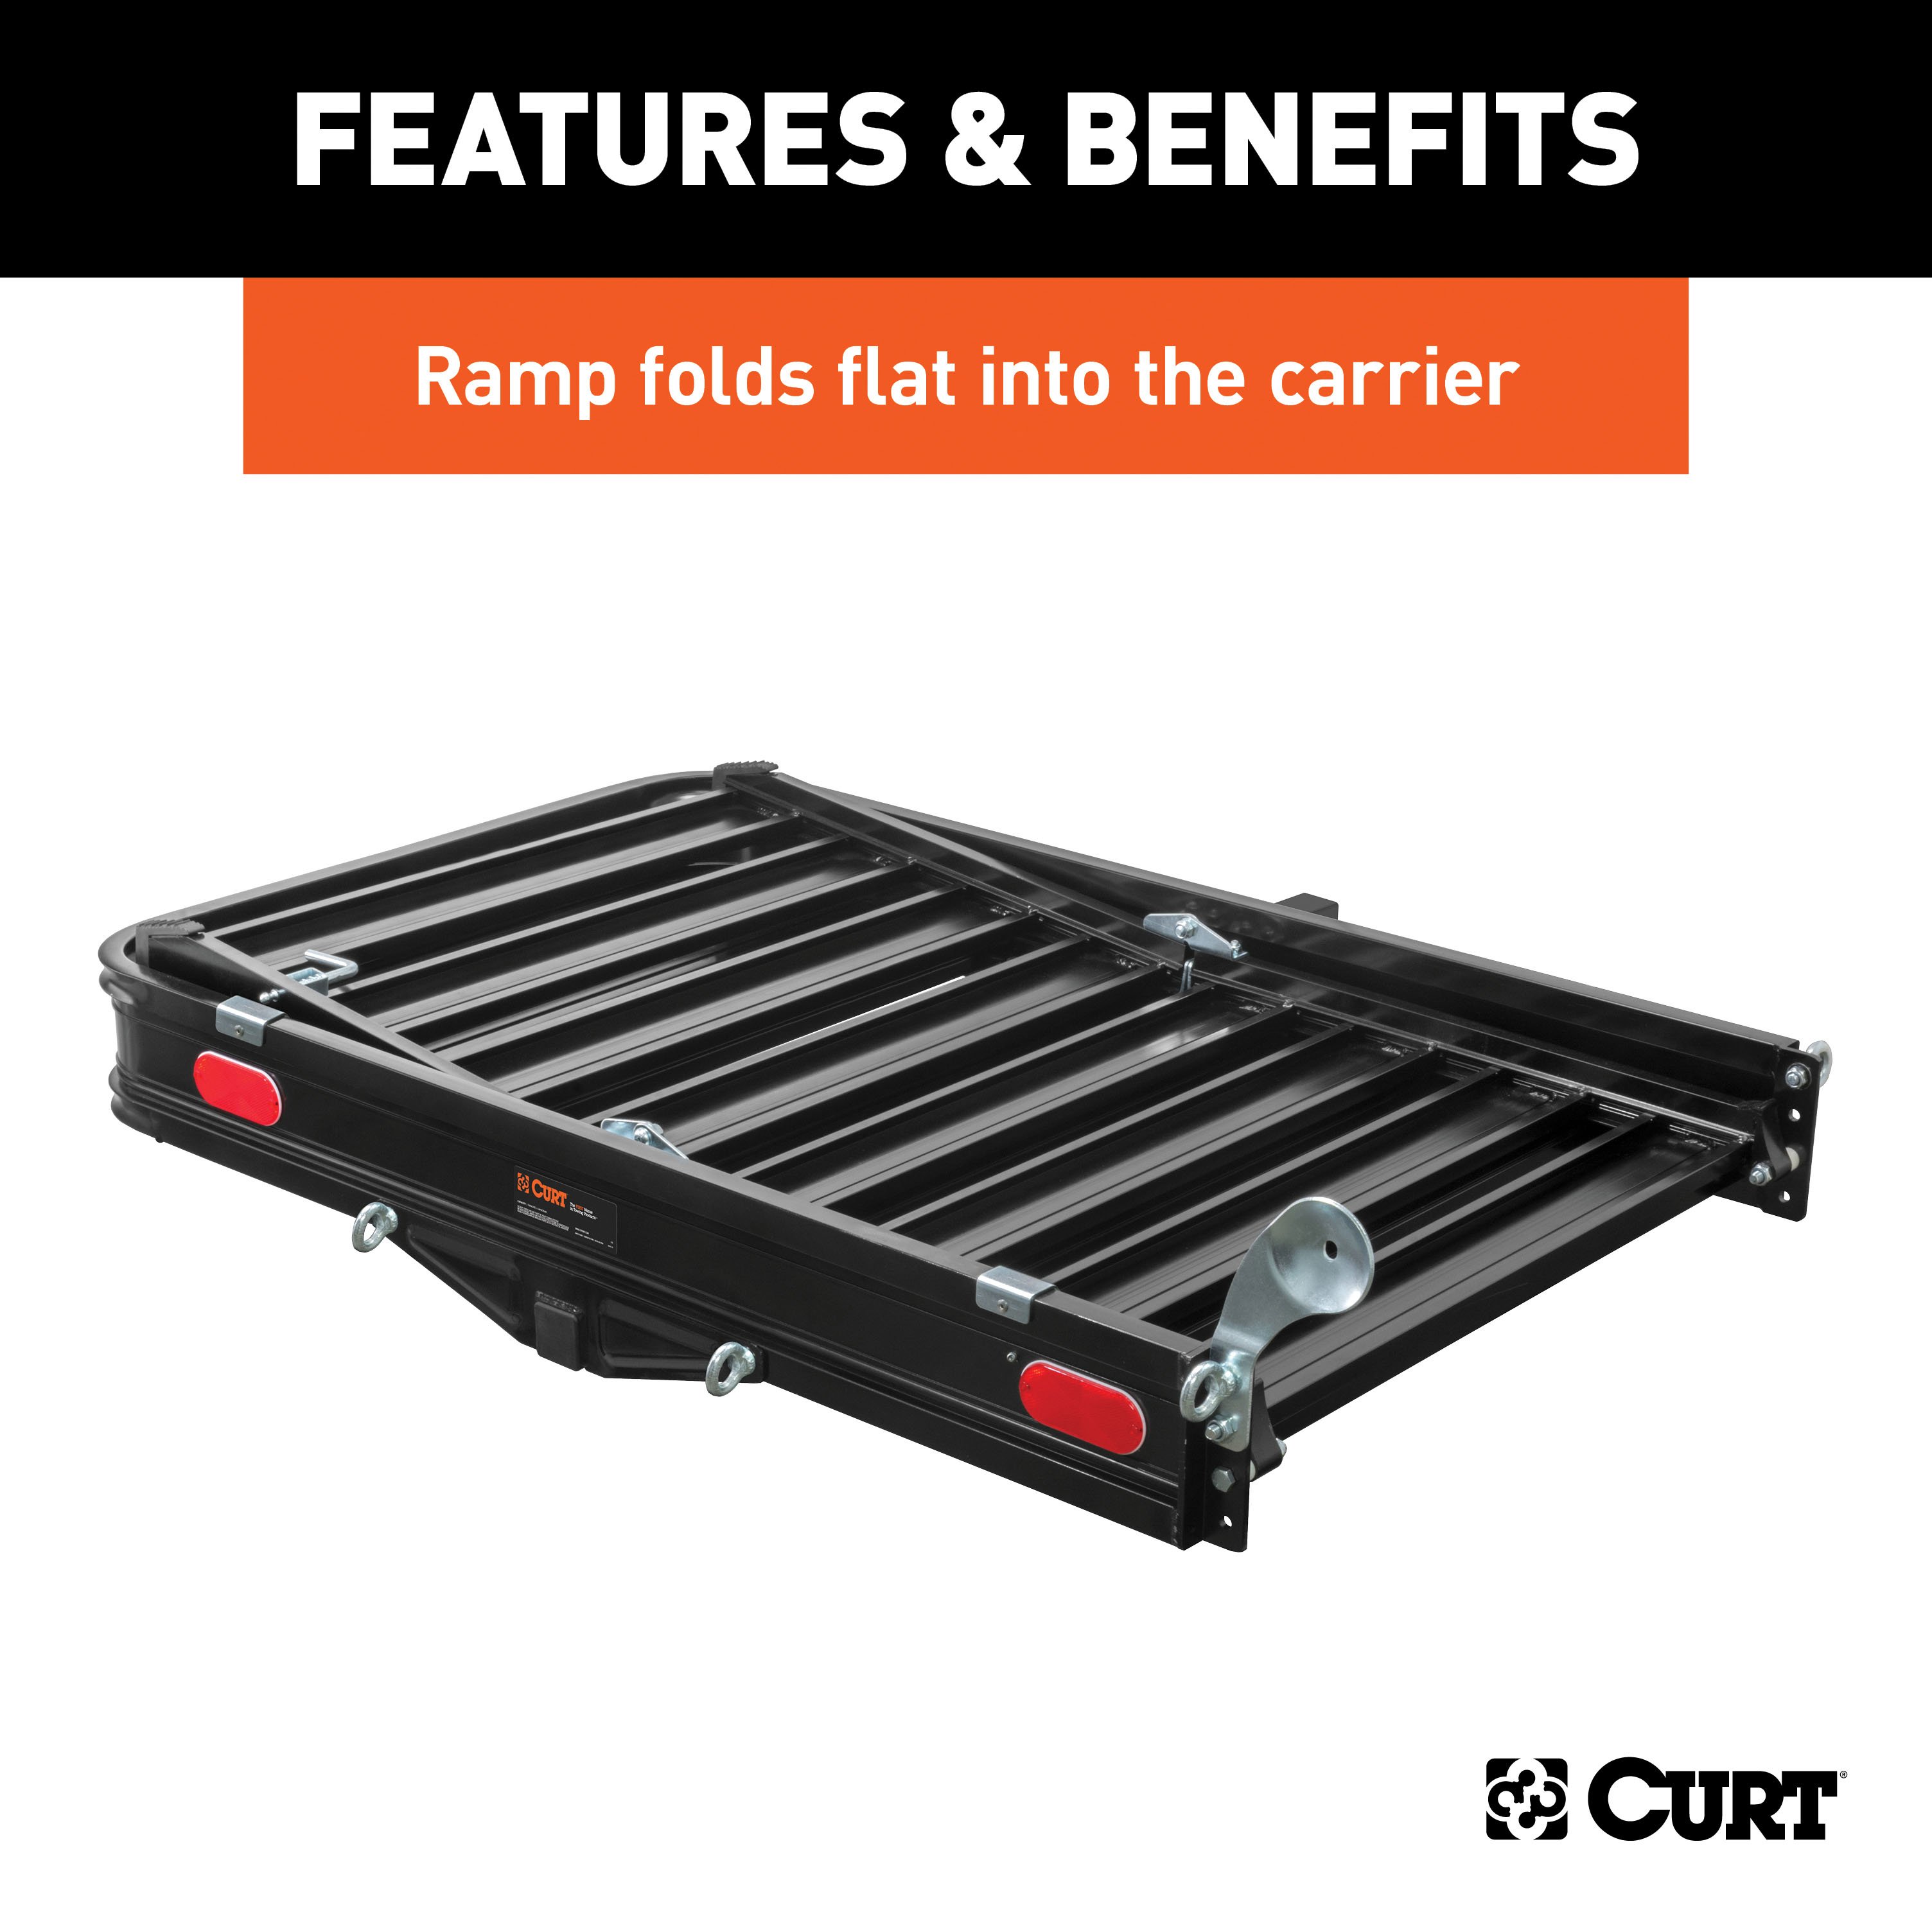
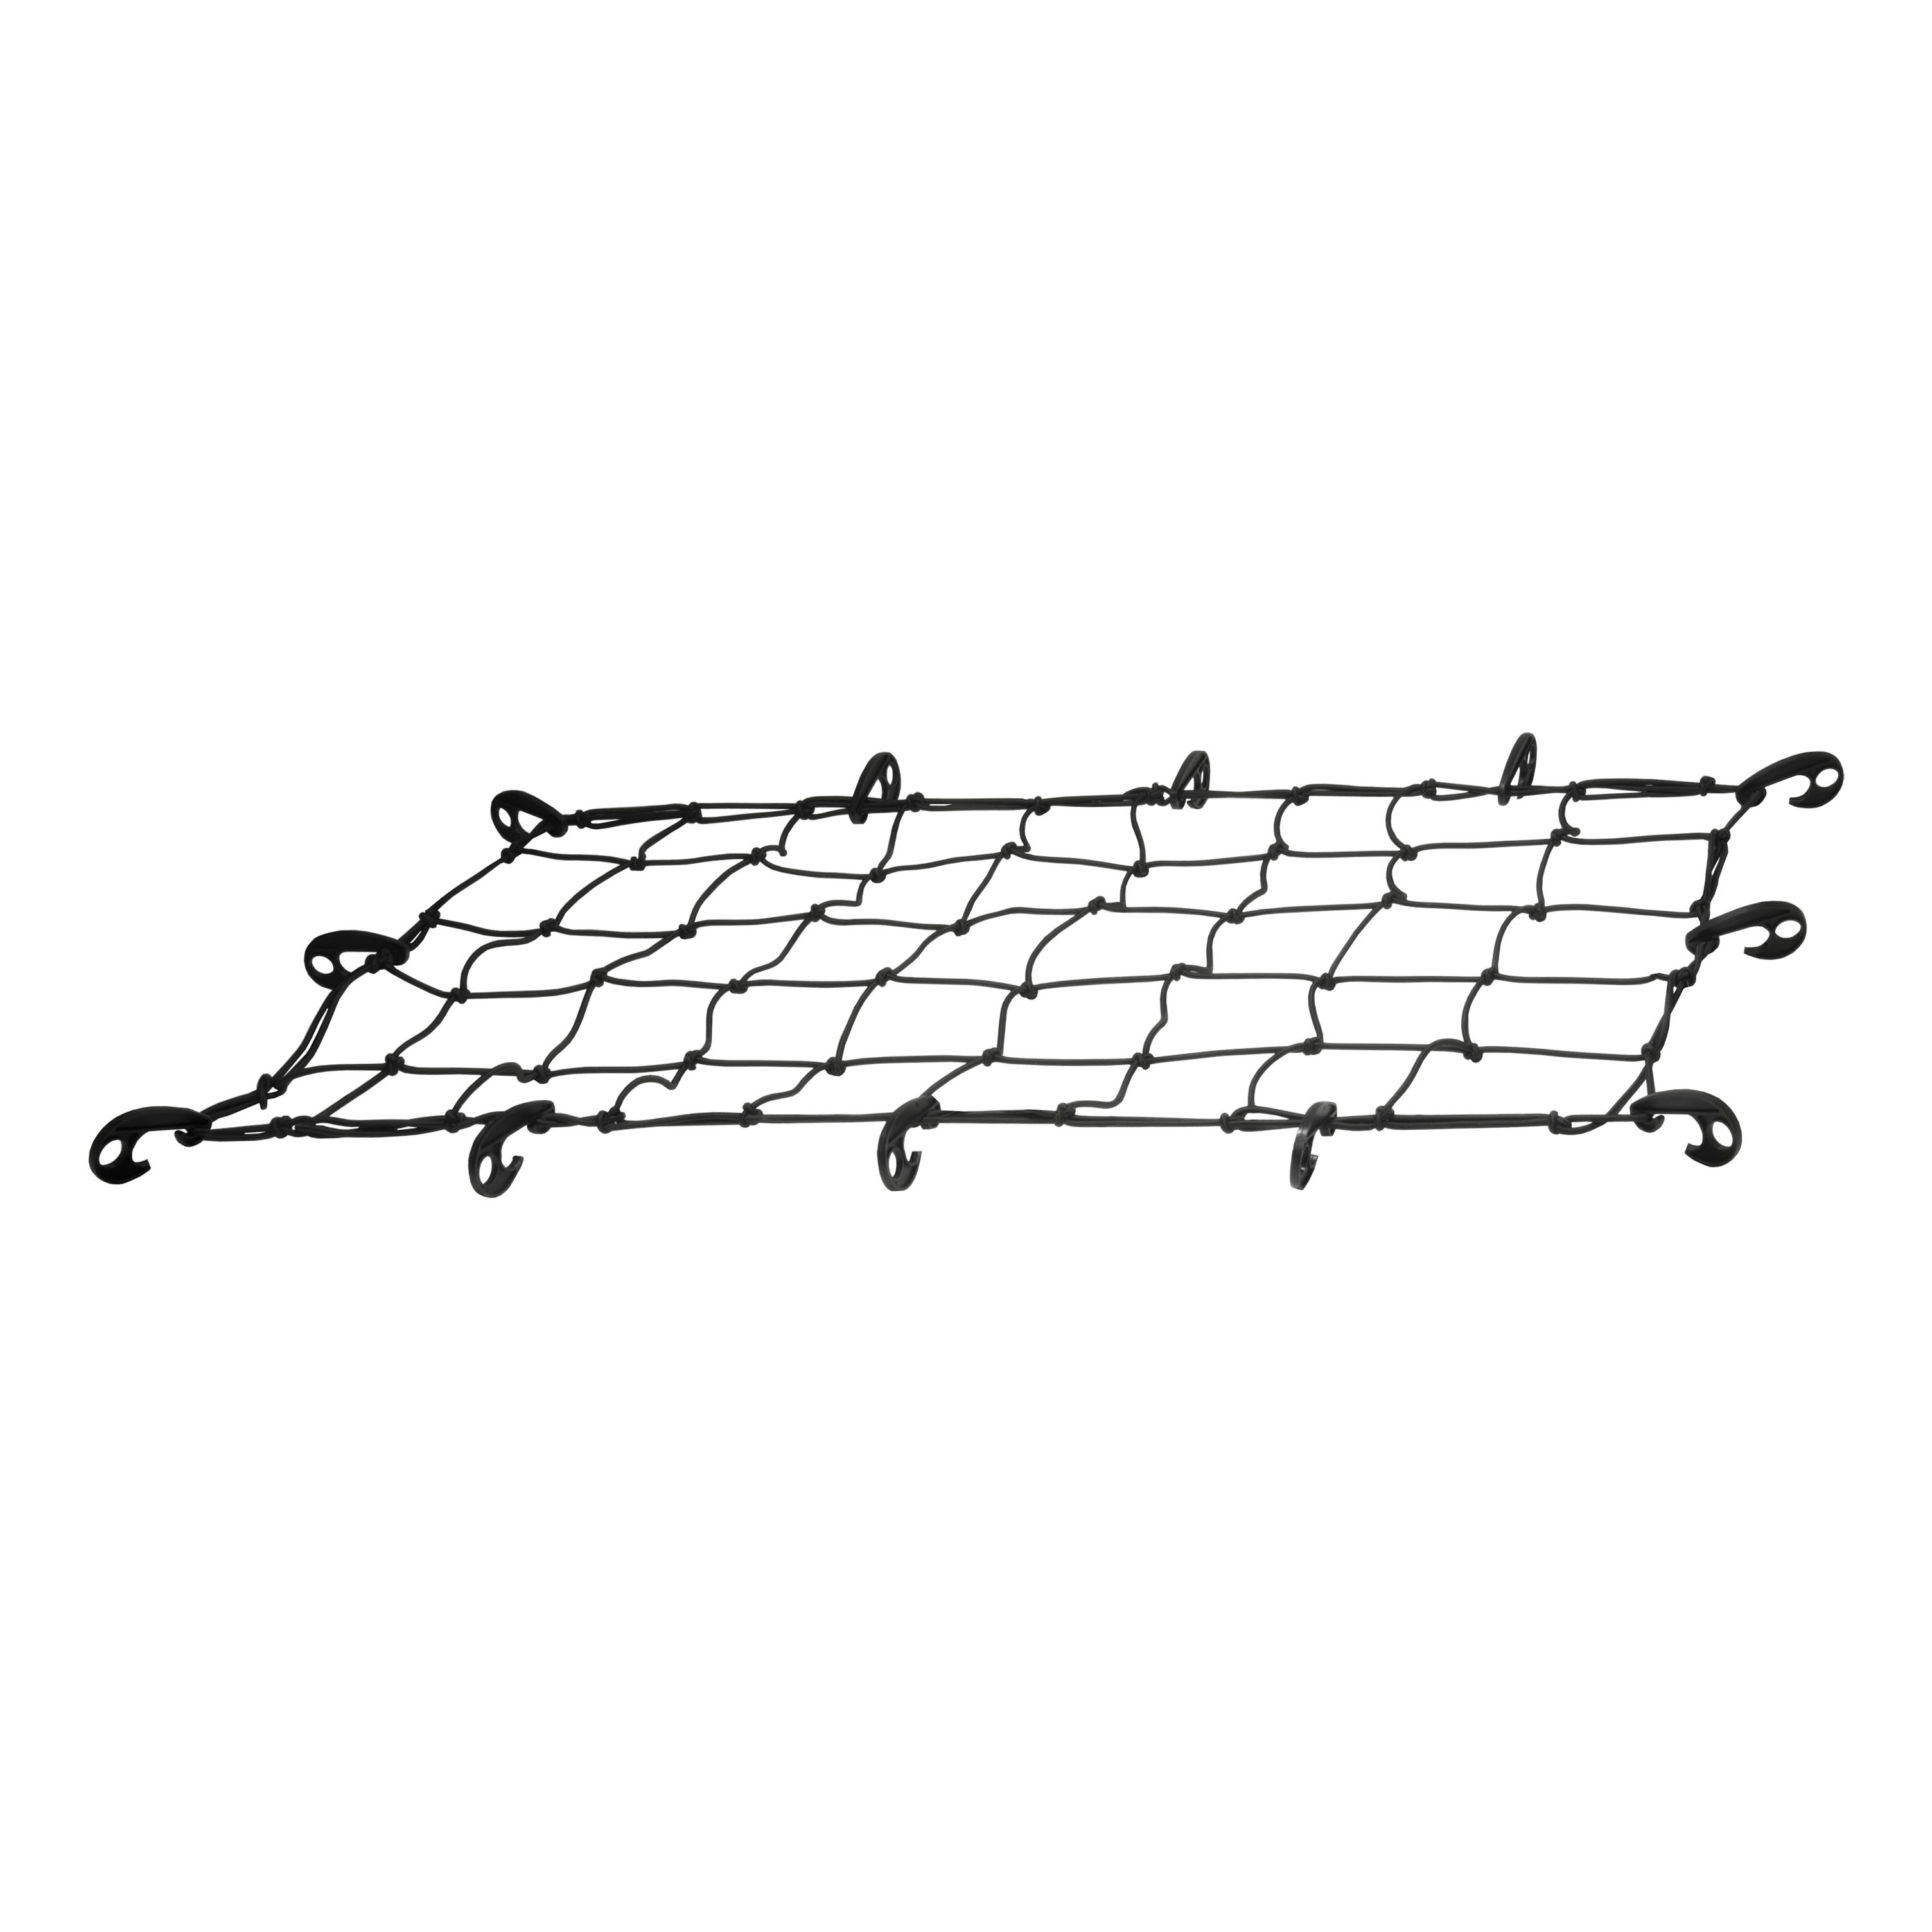
The CURT aluminum trailer hitch cargo carrier with ramp provides an innovative solution for transporting a mobility scooter, push mower, snow blower or other large cargo. It features a unique double-folding ramp that folds in half vertically during travel to greatly reduce wind resistance and drag. The ramp also folds out to allow for easy loading of a power scooter chair or other cargo, and it folds into the cargo basket itself for easy storage and portability when not in use. This scooter hitch carrier is rated for 500 pounds, featuring a high-strength, welded aluminum tubular frame. The basket bolts together quickly and easily with eight bolts, and it comes with a standard 2-inch shank to fit most class 3, class 4 and class 5 hitches. For maximum safety while traveling, this trailer hitch cargo carrier with ramp features an anti-rattle threaded shank to deter vibrations and wobbling of the cargo. It is also equipped with built-in reflectors for increased visibility. When not in use, the CURT aluminum hitch carrier with ramp can be folded up with its folding shank, promoting safer parking and helping to eliminate obstructions. This hitch carrier basket is constructed from lightweight, highly corrosion-resistant aluminum and has a durable carbide black powder coat finish for extra protection against the elements. The cargo carrier measures 50 inches x 30-1/2 inches x 4 inches, and it comes with an anti-rattle hitch pin to readily install on the vehicle after assembly. It also features eye-bolts along the outer walls, providing convenient tiedown points for fastening cargo ratchet straps, rope, a cargo net or bungees.

CURT offers a variety of high-quality trailer hitches and accessories for select vehicle models. Find the perfect fit for your towing needs at TowUniverse.
CURT, a Lippert brand, offers a complete line of towing products and is the leading manufacturer of custom-fit trailer hitches. We offer the broadest selection of custom-fit hitches, and each one is designed, welded, and coated in Wisconsin.
CURT is also a leader in flat towing products, as well as 5th wheel, gooseneck, and weight distribution hitches, ball mounts, electrical components, cargo solutions, and other towing accessories.
For everything from passenger cars and vans to full-size pickups and SUVs, CURT is 'The First Name in Towing Products®.'

Experts available to answer your questions
Call 888-634-9494Rediscover "Us" Time | Tested. Proven. Safe. Towing Products
The weight capacity is 500 lbs (227 kg). You must distribute the weight evenly on the platform when hauling a load.
No. This carrier is not intended for transporting people. It is designed for cargo only.
Use mild automotive detergent and water. Do not use dish detergent, abrasive cleaners, abrasive pads, wire brushes or other similar products, as these may damage the finish.
Do not carry flammable items on the carrier. Do not allow exhaust fumes to blow directly on items in the carrier, as this is a fire hazard.
No. Do not carry loads wider or deeper than the carrier. Loads must fit within the carrier's dimensions.
You will need: open wrench 17mm, adjustable wrench, open wrench 24mm, socket 17mm, torque wrench, and hex key 6mm.
The carrier requires a vehicle receiver tube hitch. The shank assembly inserts into the vehicle's receiver tube and is secured with an M16 anti-rattle hitch pin.
Step 1 is to align the holes in the upper ramp (#19) and lower ramp (#20) hinge brackets. Insert an M10 button socket cap screw (#18) into each hinge and secure with an M10 lock nut (#3), ensuring the hinge operates freely.
Place the bottom bracket (#1) on the bottom of the carrier frame (#5) and line up the square holes. Insert an M10 eye bolt (#4) through the bottom bracket, carrier frame and U-clamp (#2) in all four locations. The head of the eye bolt will be on the outside of the carrier frame. Secure with M10 lock nuts (#3). Snug the hardware but do not fully tighten at this stage.
Insert an M10 eye bolt (#8) through the upper hole in the fixed plate and the upper hole in the carrier frame, and secure with an M10 lock nut (#3). Insert an M10 button socket cap screw (#7) through the lower hole in the carrier frame and the lower hole in the fixed plate, and secure with an M10 lock nut. Insert an M10 eye bolt into the top hole of the carrier frame, slide an M10 flat washer (#9) onto the eye bolt, and secure with an M10 lock nut.
Align the two upper holes in the shank assembly (#10) with both holes in the bottom bracket (#1). Insert an M16 hex head bolt (#11) through the hole in the shank assembly nearest to the cargo area and secure with an M16 lock nut (#12), tightening until the shank assembly still pivots freely. Insert a pin (#13) into the other upper hole and secure with a clip (#14). Then insert the shank assembly into the vehicle's receiver tube, aligning the hole in the shank assembly with the hole in the receiver.
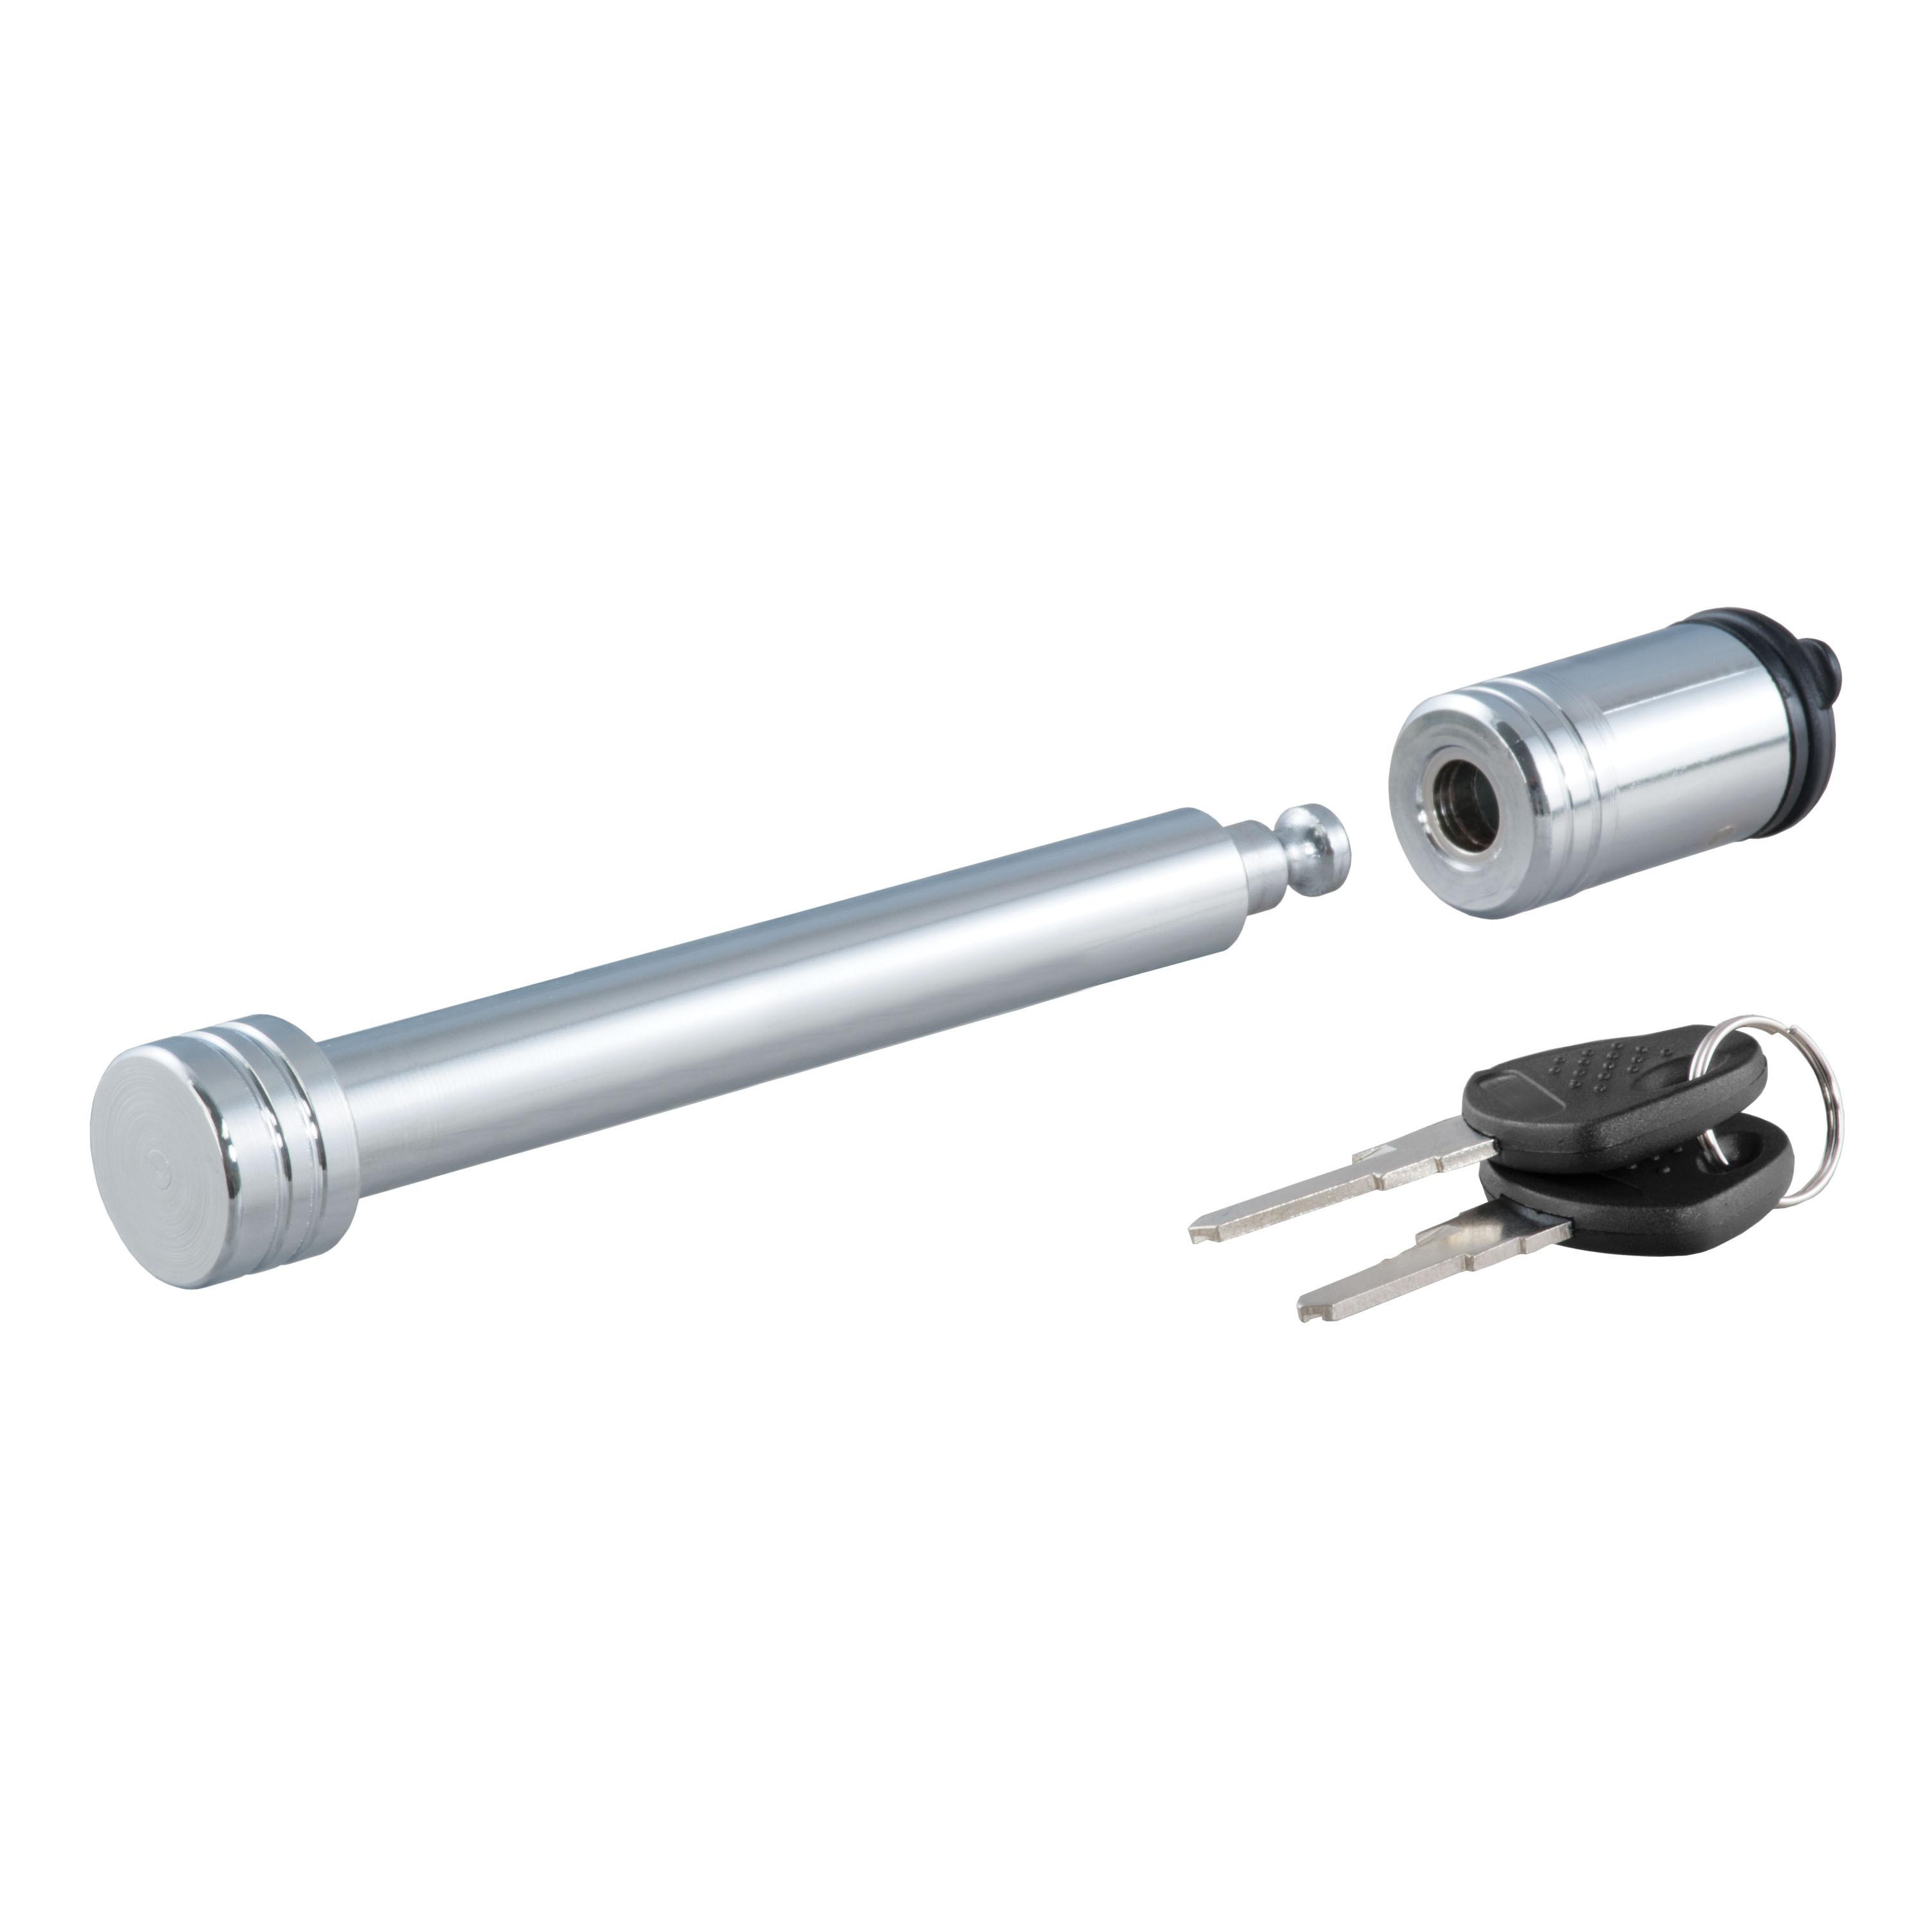
Insert the M16 spring washer (#16) and M16 flat washer (#17) onto the M16 anti-rattle hitch pin (#15). Insert the M16 hitch pin through the receiver tube and the shank assembly hole. Tighten until there is no longer any rattle. Insert a clip through the M16 hitch pin.
With the ramp in the upright position, the upper ramp (#19) and the rubber foot of the lower ramp (#20) must be in contact with each other. Both sections of the ramp need to be moved together to allow the proper angle for the locking pin to align with the hole on the fixed plate. Once aligned, fasten the rubber belt on the step bolt of the ramp.
All M10 hardware in Steps 2 and 3 should be torqued to 12 ft-lbs. This includes the eye bolts, button socket cap screws, and lock nuts used to attach the bottom bracket, carrier frame, and fixed plate.
No. In Step 2, snug the M10 hardware but do not fully tighten. All M10 hardware is fully torqued to 12 ft-lbs at the end of Step 3. The M16 hex head bolt in Step 4 should be tightened only until the shank assembly still pivots freely.
The CURT 18112 requires a vehicle receiver tube hitch. Check your vehicle's hitch specifications to confirm compatibility. The manual does not list specific vehicle models or years.
You will need: 17mm and 24mm open wrenches, adjustable wrench, 17mm socket, torque wrench, and 6mm hex key.
No drilling is required. The carrier uses existing holes in the receiver tube and pre-drilled holes in the carrier components.
Torque all M10 hardware to 12 ft-lbs. This applies to the eye bolts, button socket cap screws, and lock nuts in Steps 2 and 3.
The weight capacity is 500 lbs (227 kg). Distribute weight evenly and do not exceed this limit.
No. Do not carry flammable items on the carrier, and do not allow exhaust fumes to blow directly on items in the carrier, as this is a fire hazard.
The upper ramp (#19) and the rubber foot of the lower ramp (#20) must be in contact with each other. Both sections of the ramp need to be moved together to allow the proper angle for the locking pin to align with the hole on the fixed plate. Ensure both ramp sections are positioned correctly and move them together as a unit until alignment is achieved.
The M16 anti-rattle hitch pin (#15) may not be tightened sufficiently. Tighten the M16 hitch pin (with the spring washer #16 and flat washer #17 installed) until there is no longer any rattle. Ensure the clip is inserted through the M16 hitch pin to secure it in place.
In Step 1, the M10 button socket cap screws (#18) in the ramp hinges should be tightened only enough to secure the hinge while ensuring it operates freely. If the hinge is too tight, loosen the M10 lock nuts (#3) slightly until the hinge moves freely without excessive play.
No reviews have been added for this product.

Total for 4 items:
$608.81$827.90