Ask a Question About This Product
Our in-house experts typically reply within one business day.
Our in-house experts typically reply within one business day.

CURT





Always the correct part
We know our products
Quality Products
Free Shipping!
Always the correct part
We know our products
Quality Products
Free Shipping!
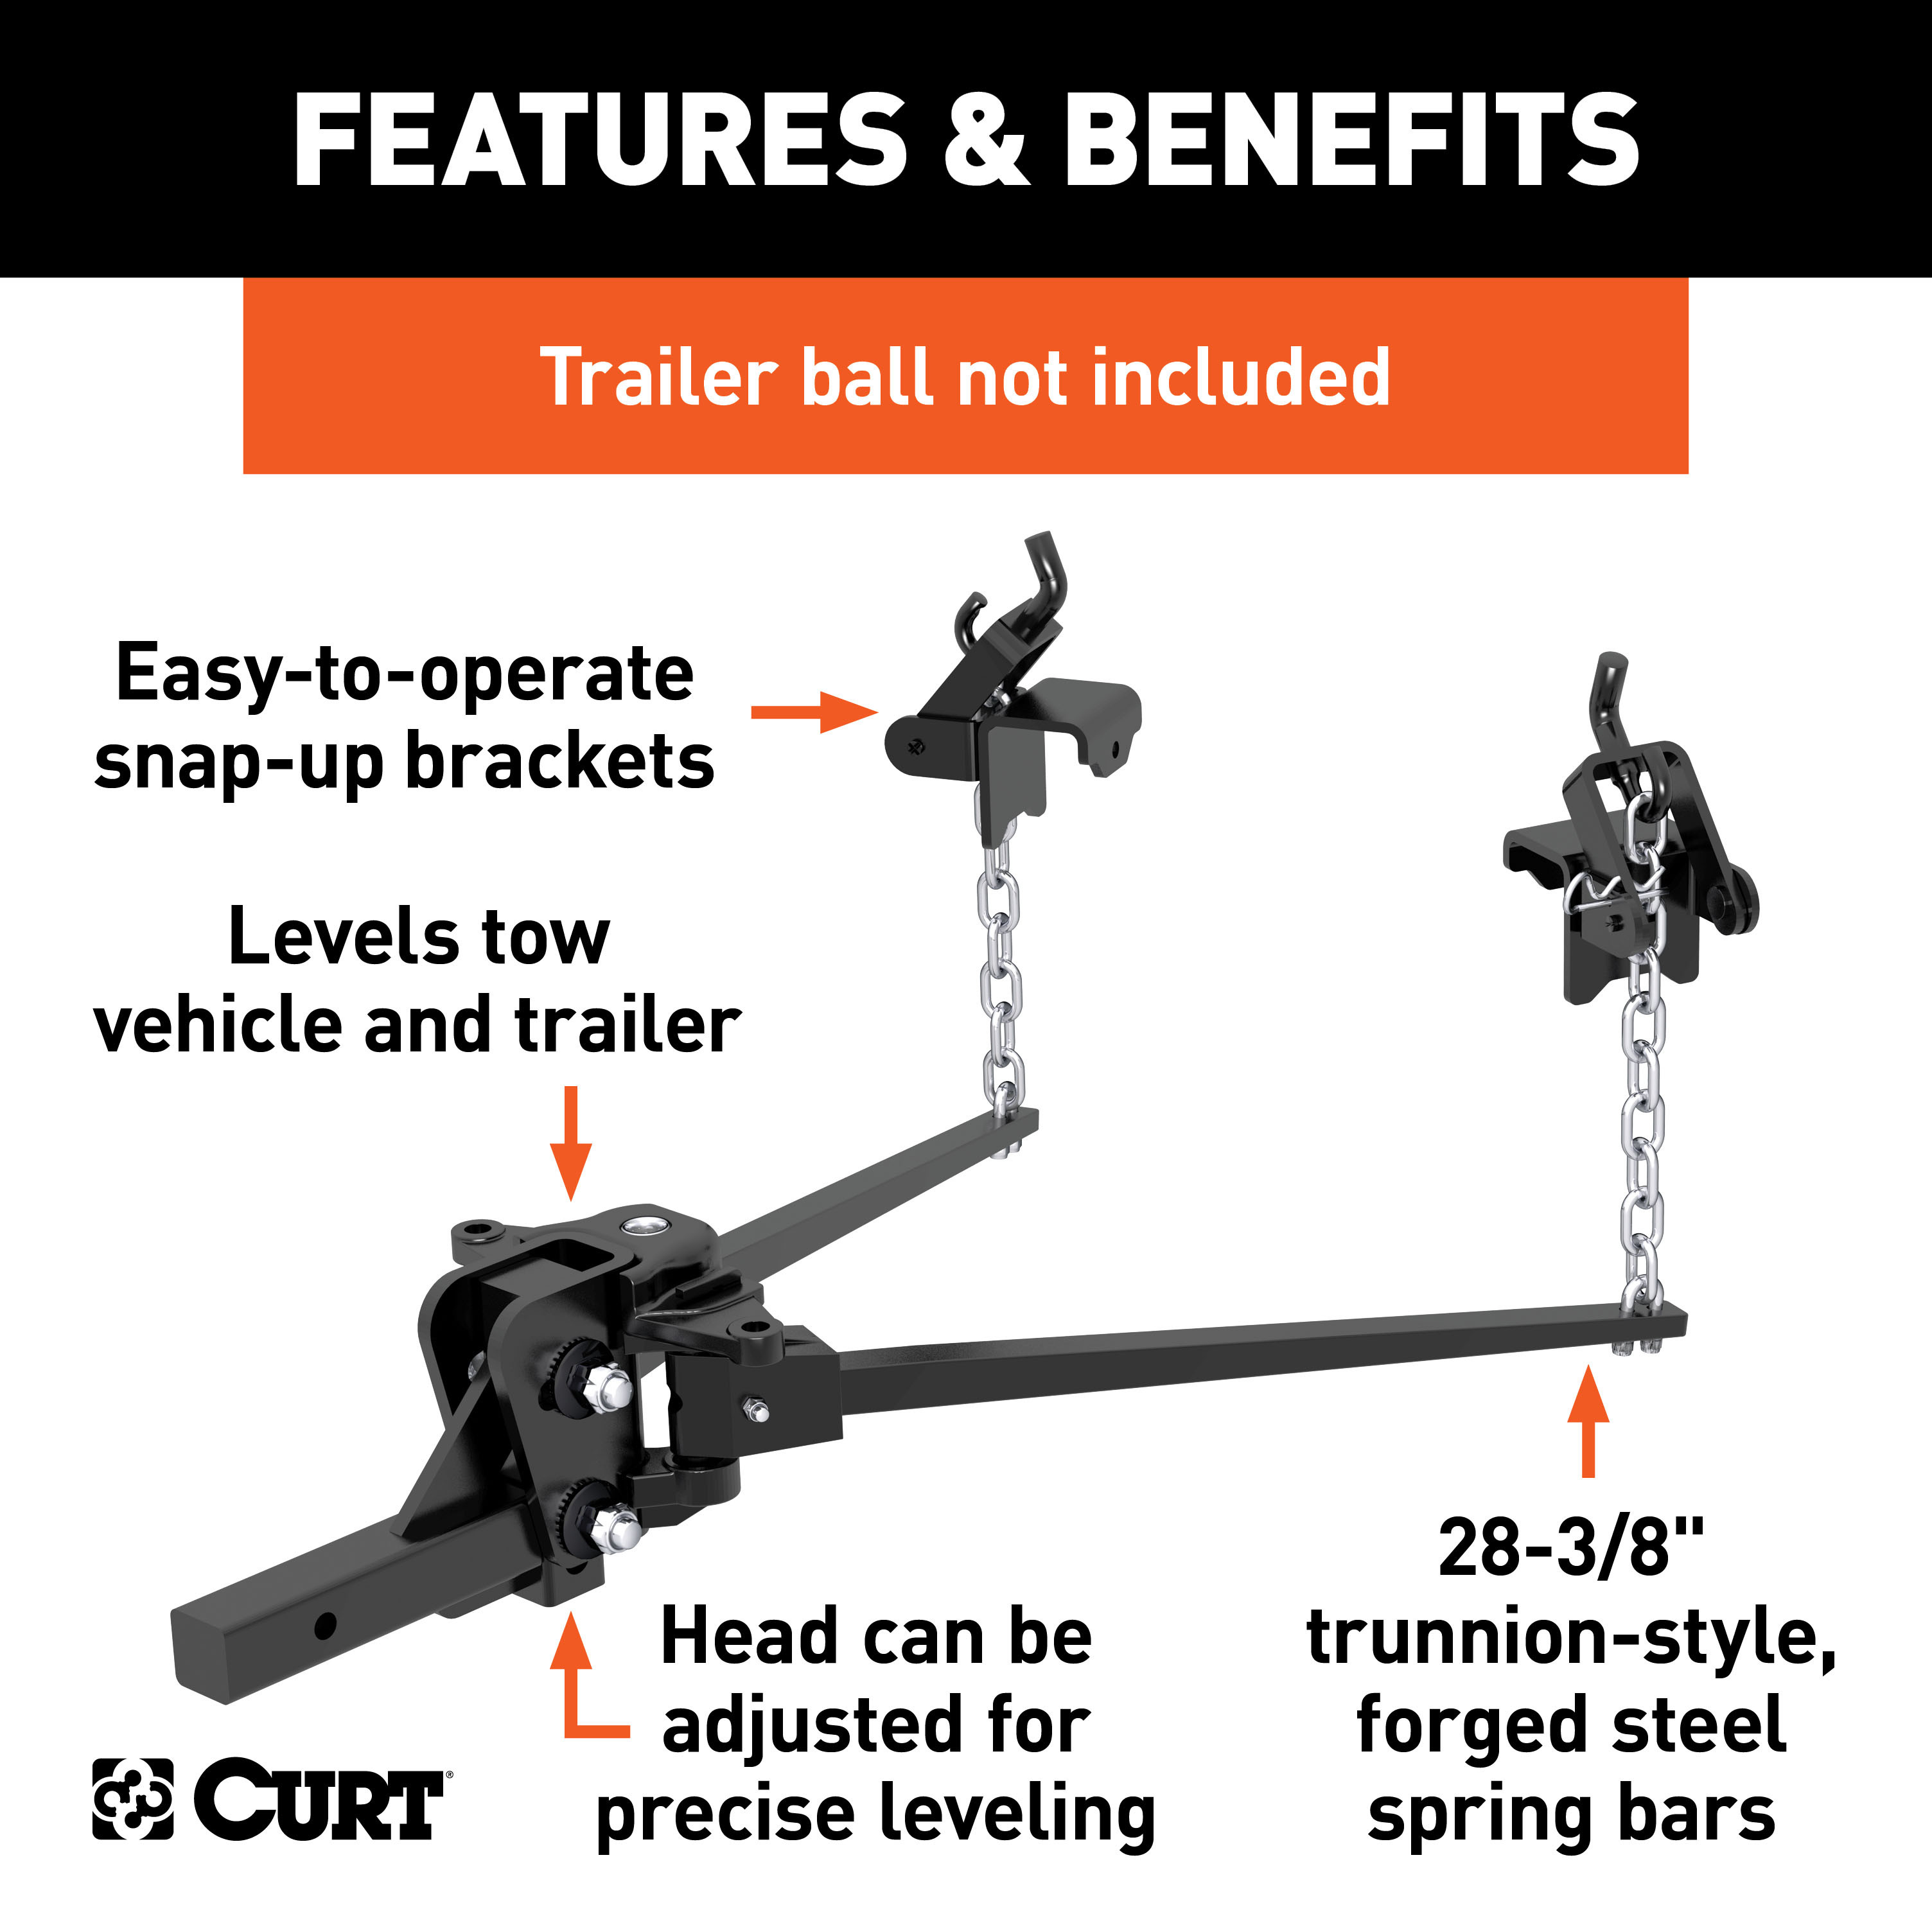
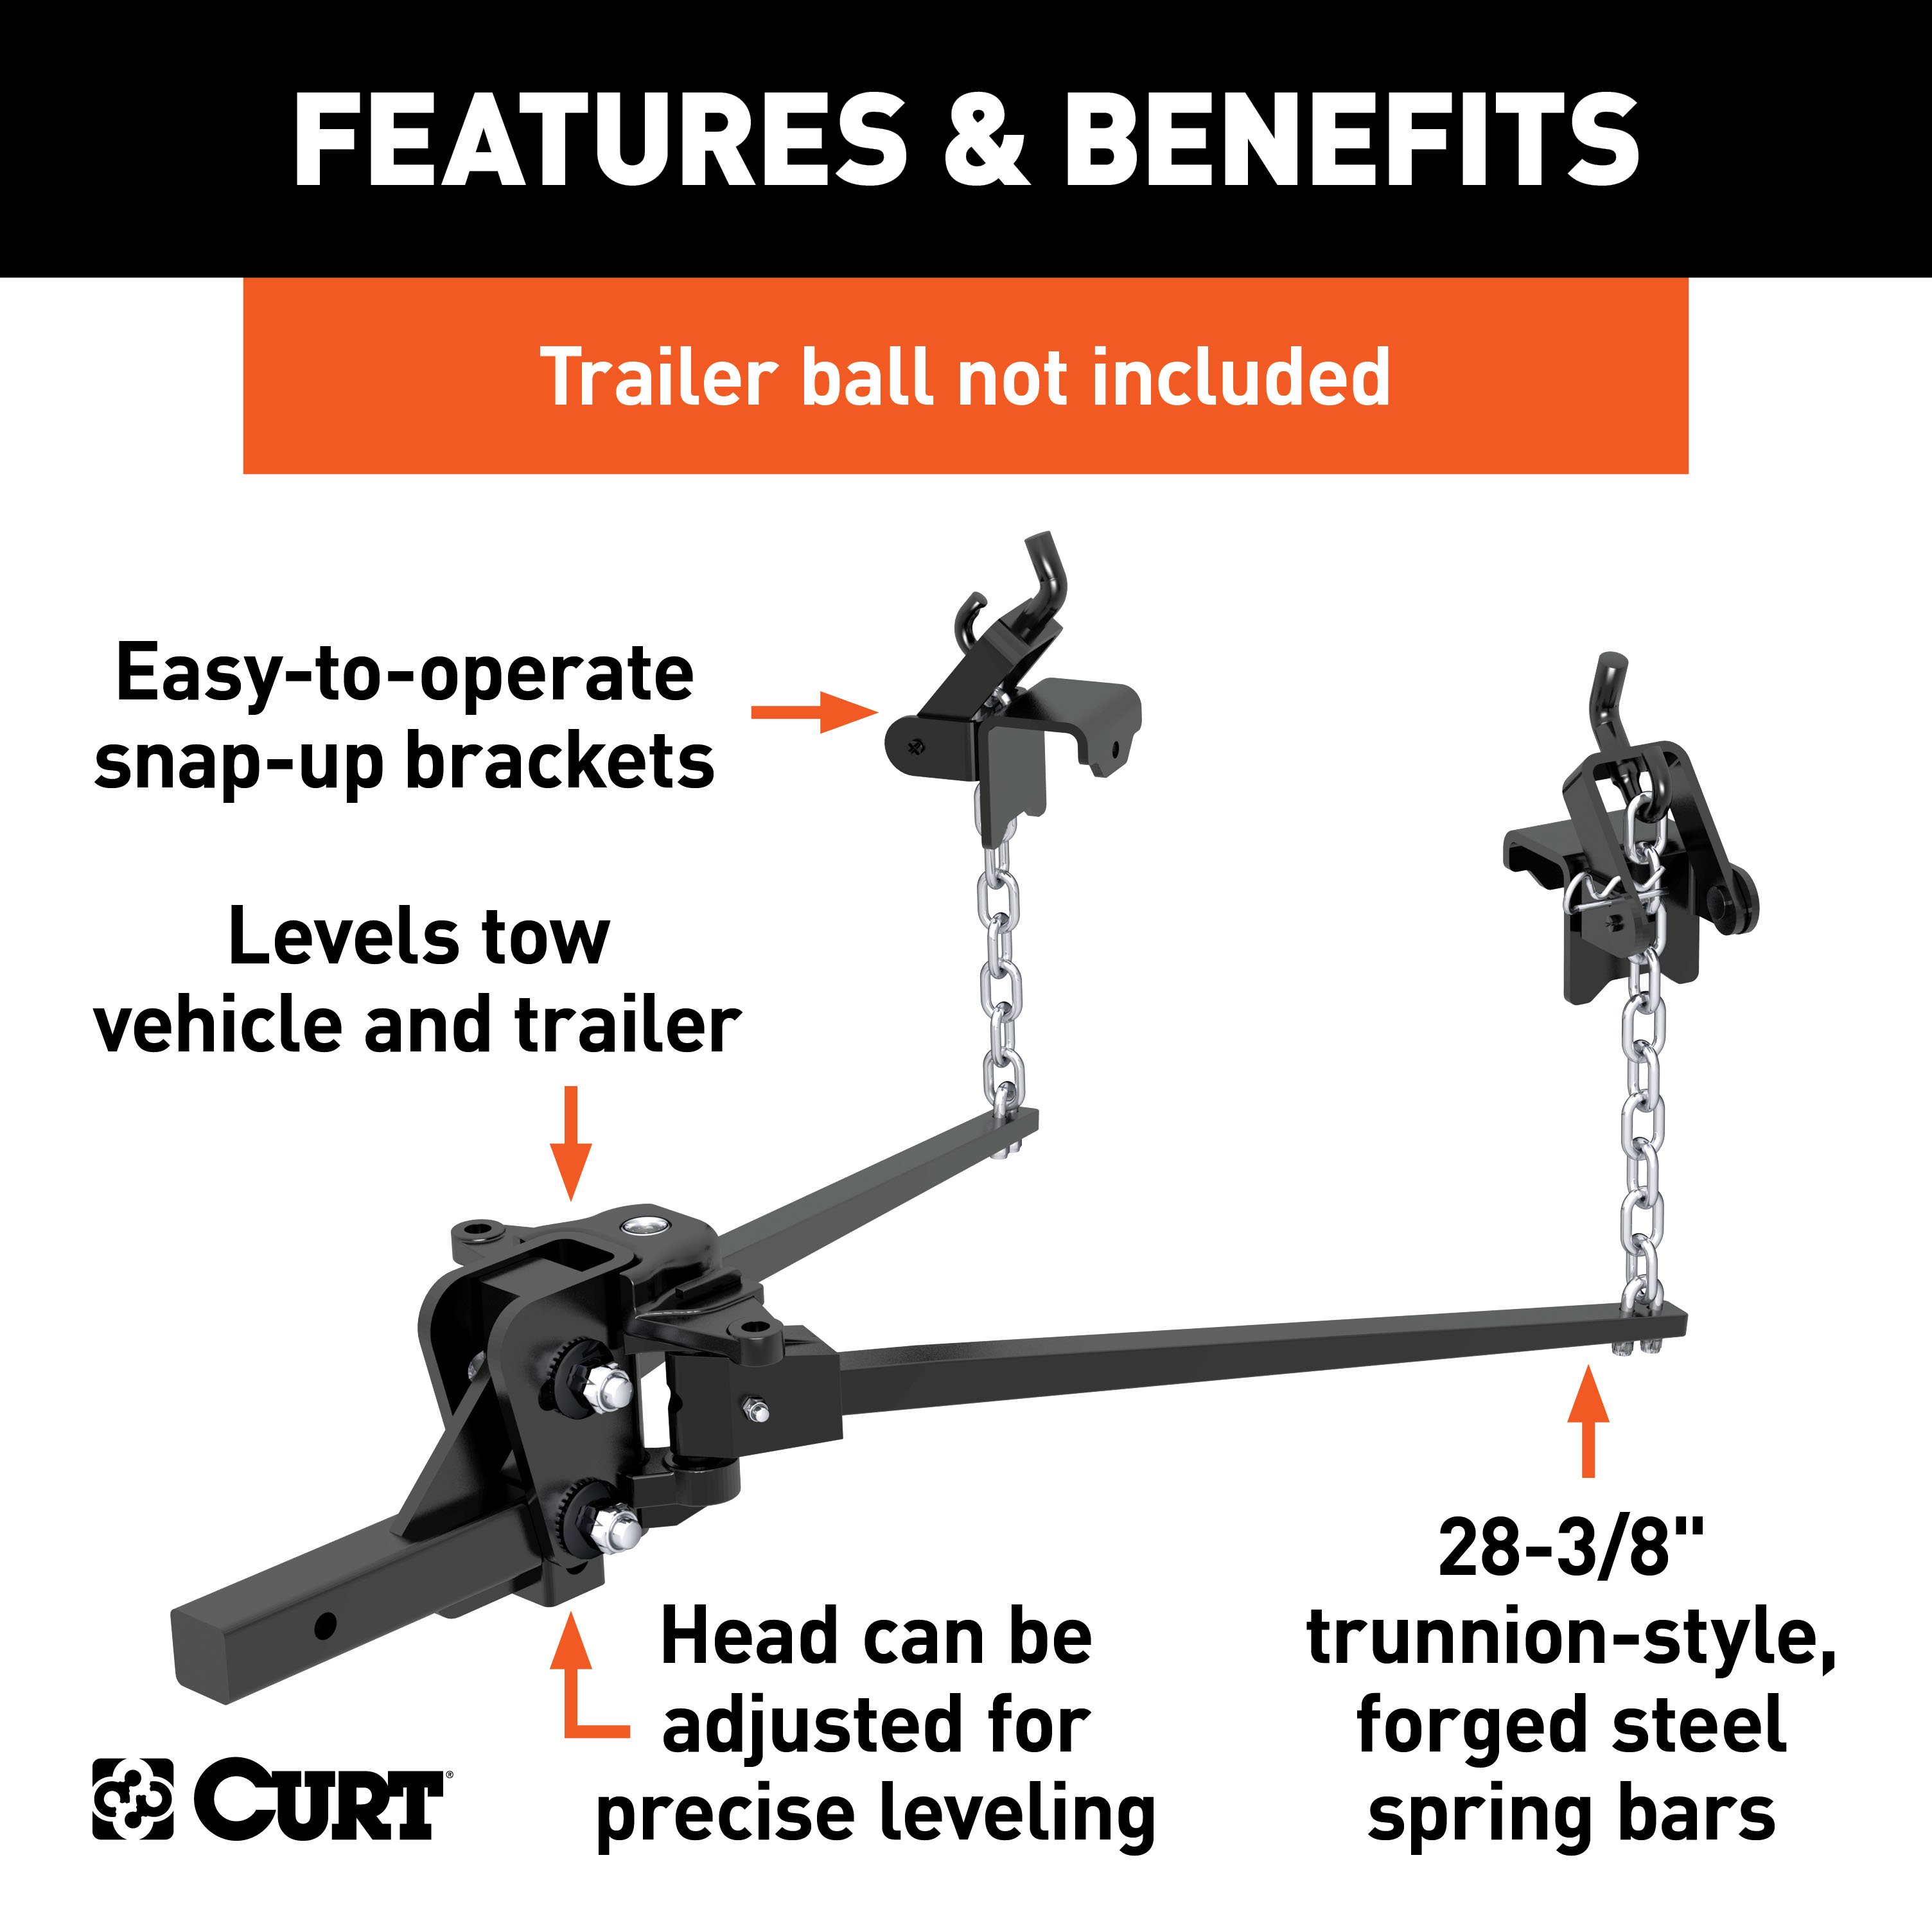
Includes shank, spring bars, head, hookup brackets, pin & clip
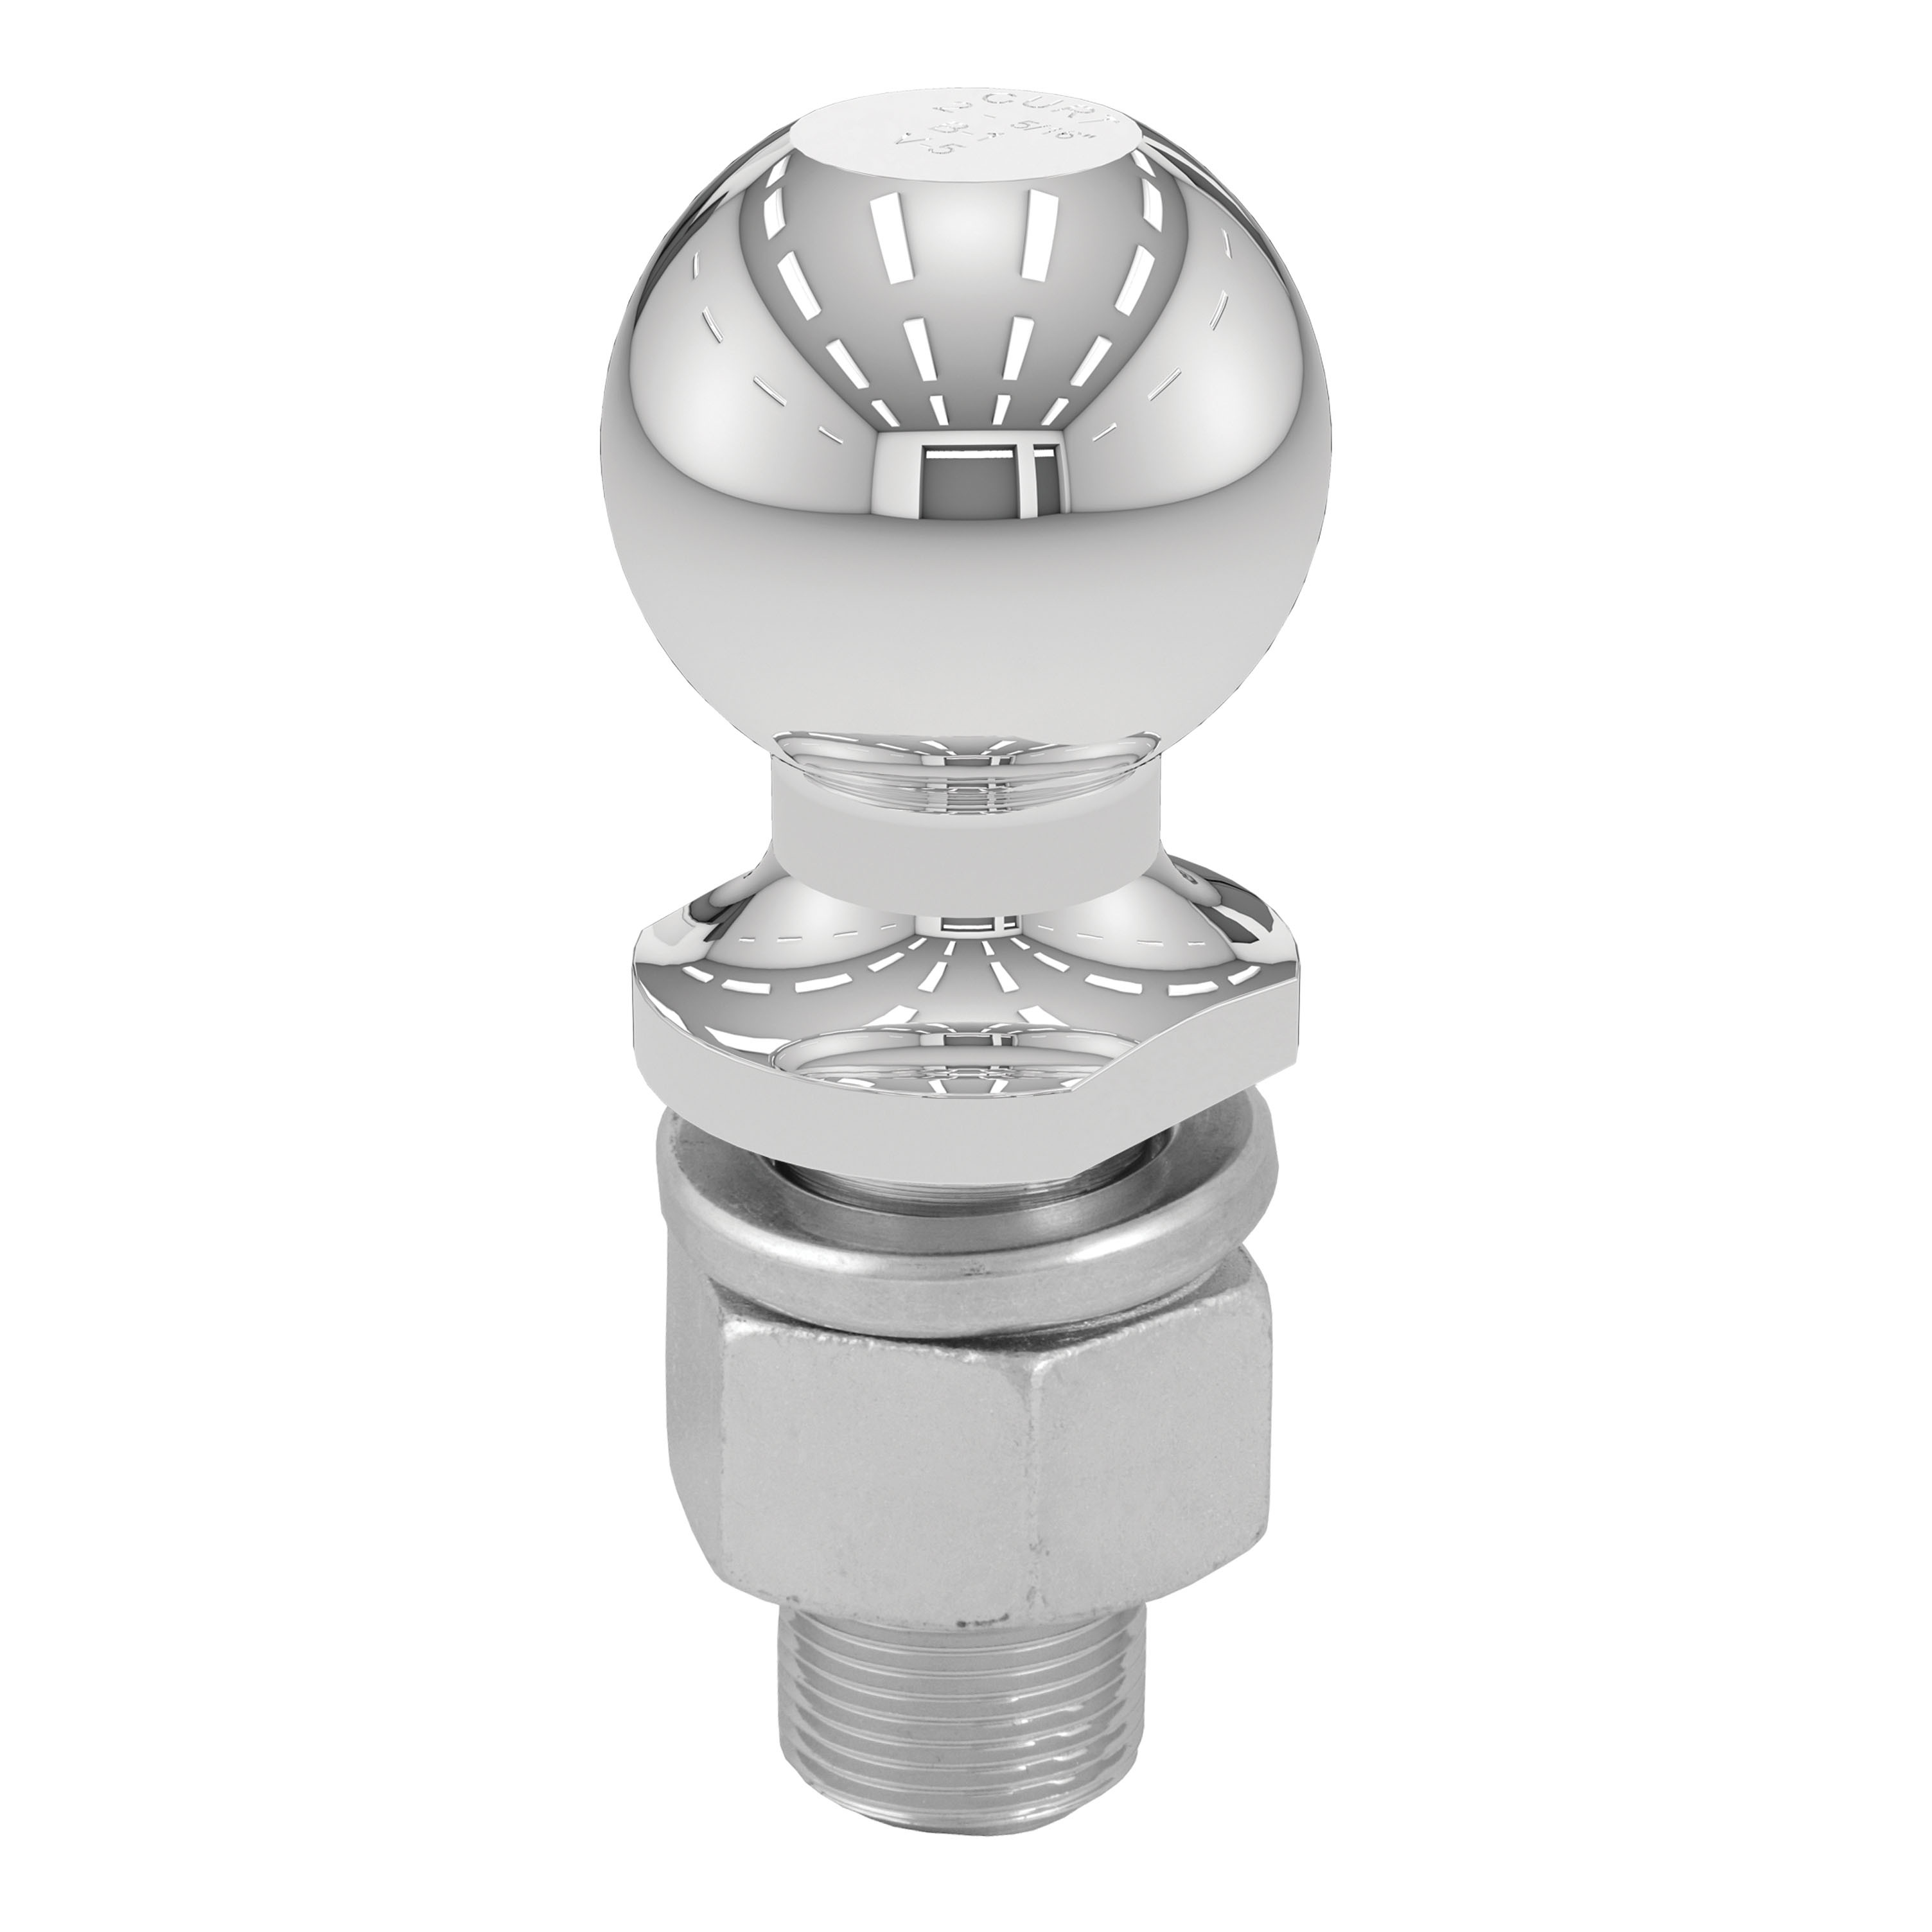
Trailer ball not included

Includes shank, spring bars, head, hookup brackets, pin & clip
Warranty: Limited Lifetime Warranty (One-Year Finish, One-Year Parts)
Color: Black
Finish: CARBIDE BLACK POWDER COAT
WC / TW (Pounds): 1,500 LB
WC Tongue Weight (Pounds): 1,500 LB
Gross Trailer Weight (Pounds): 15,000 LB
Installation Time Exact (Minutes): 0
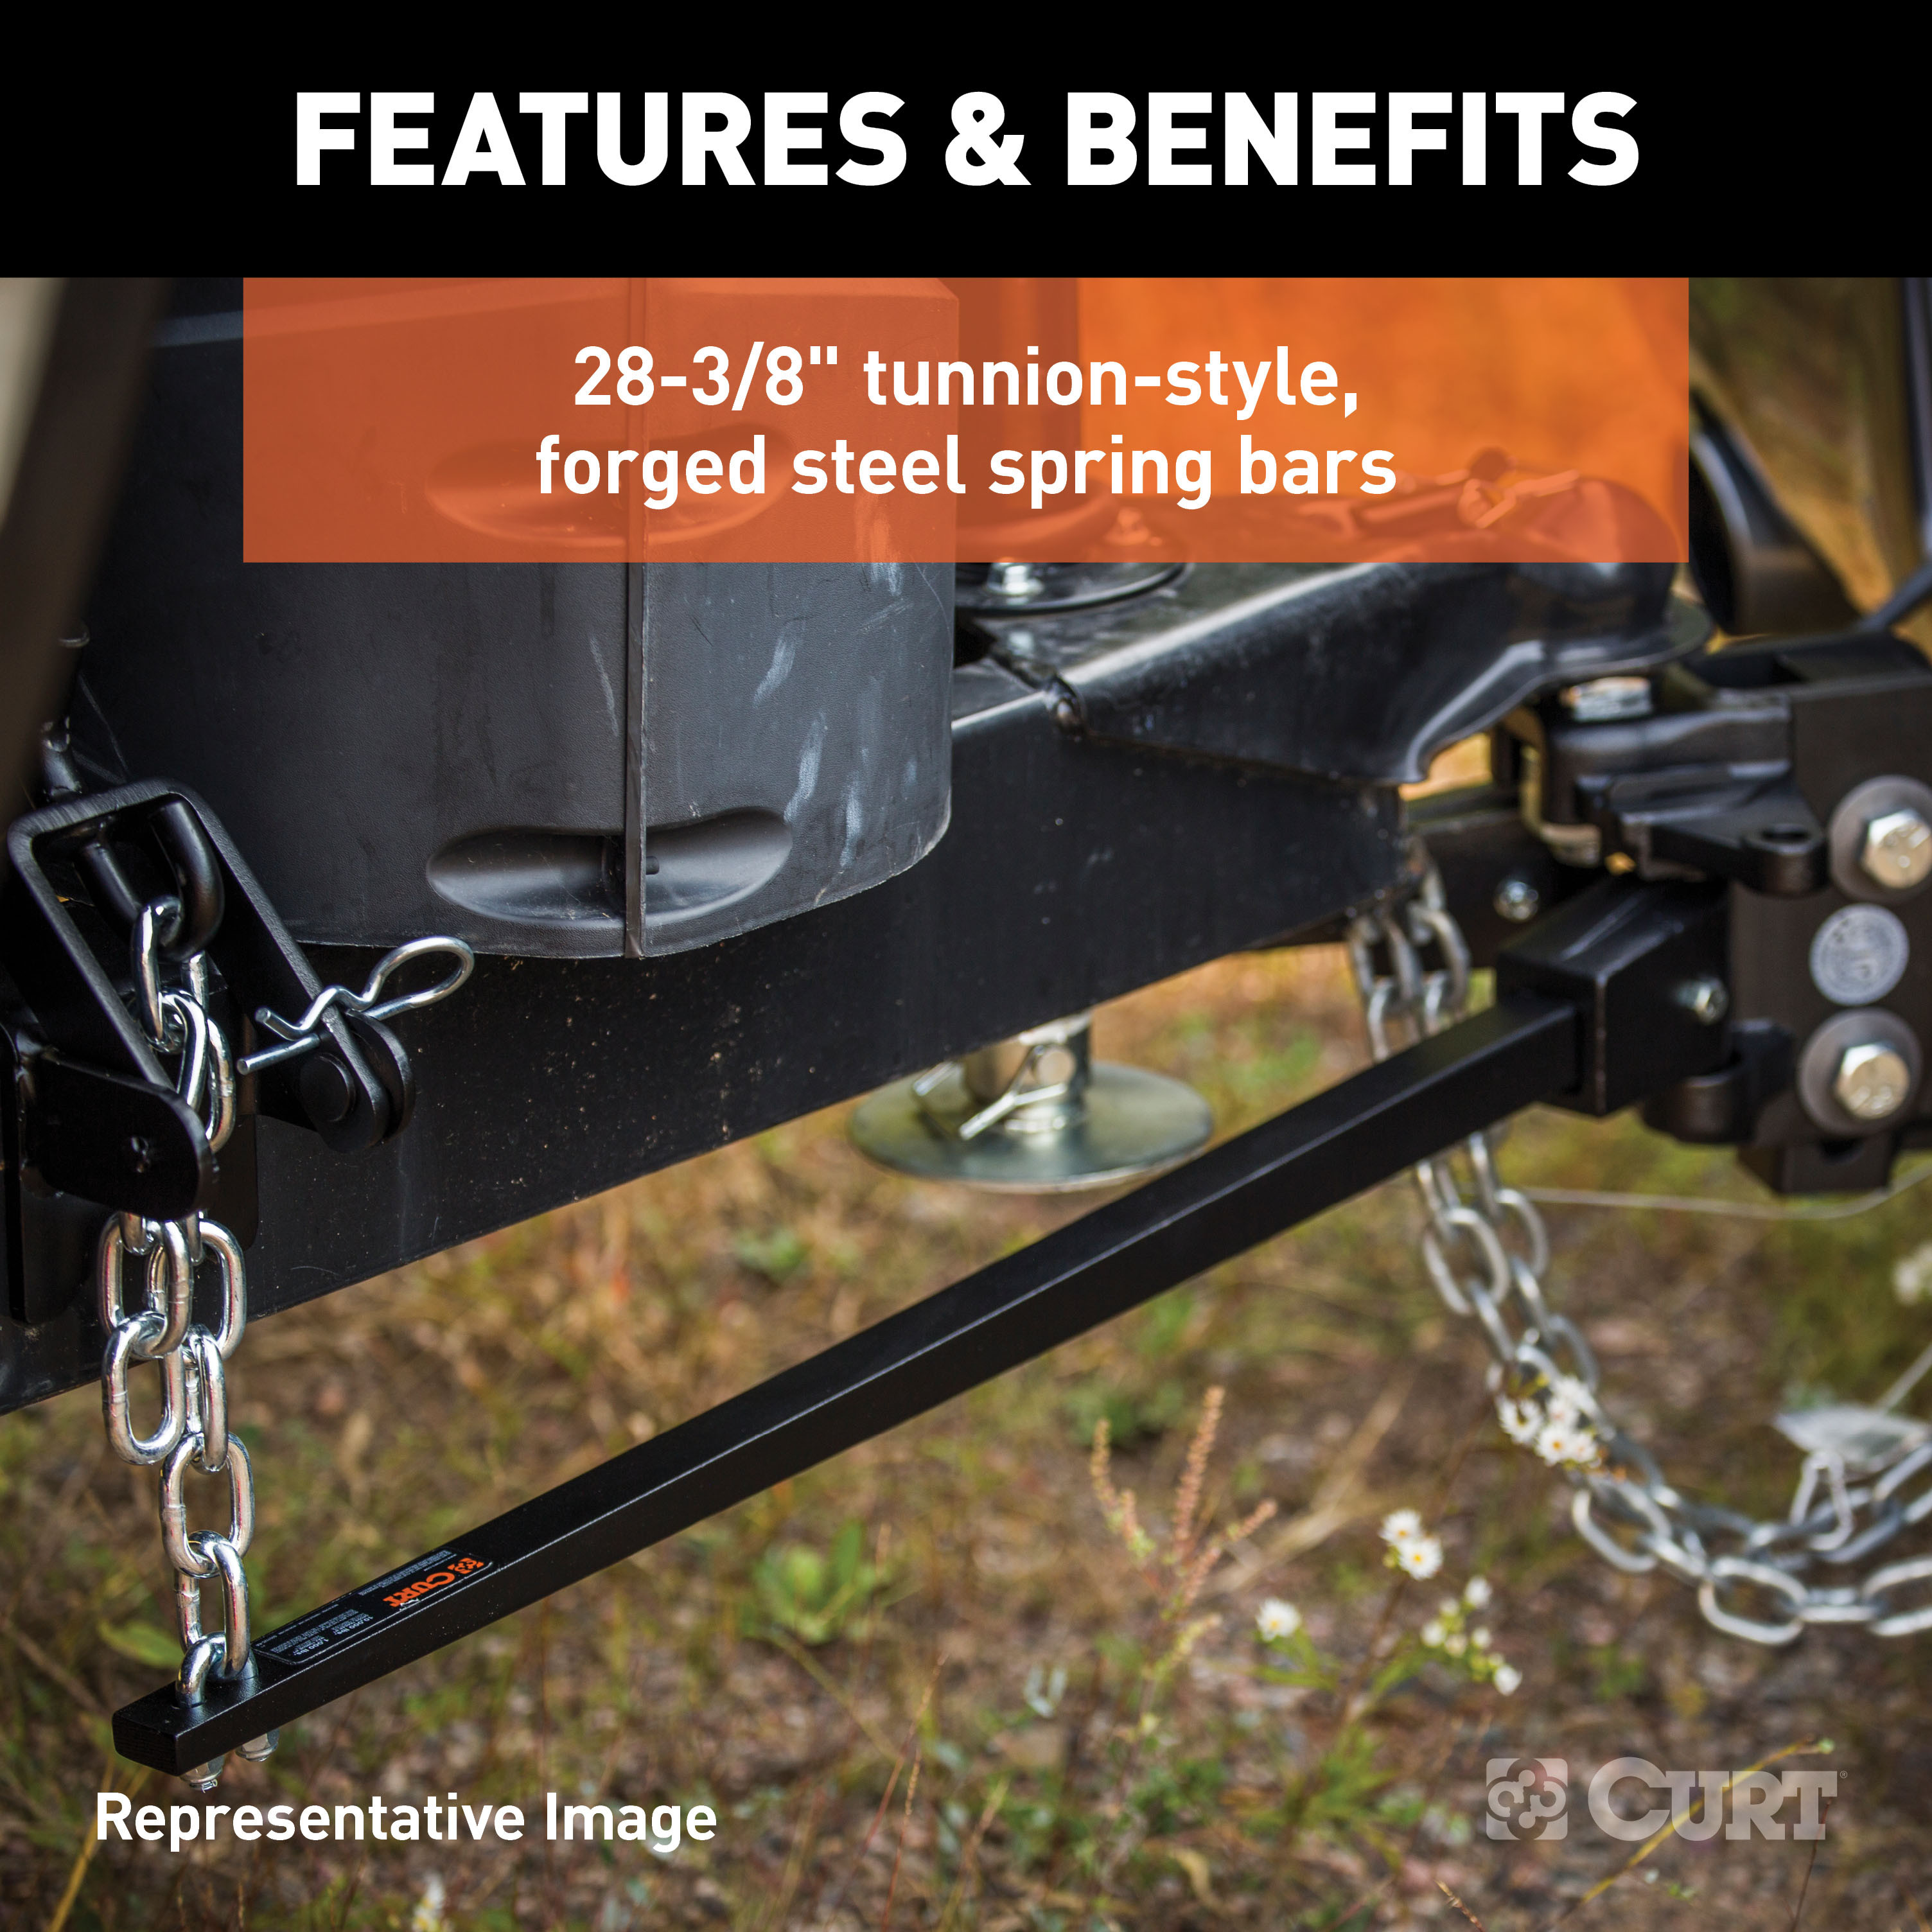
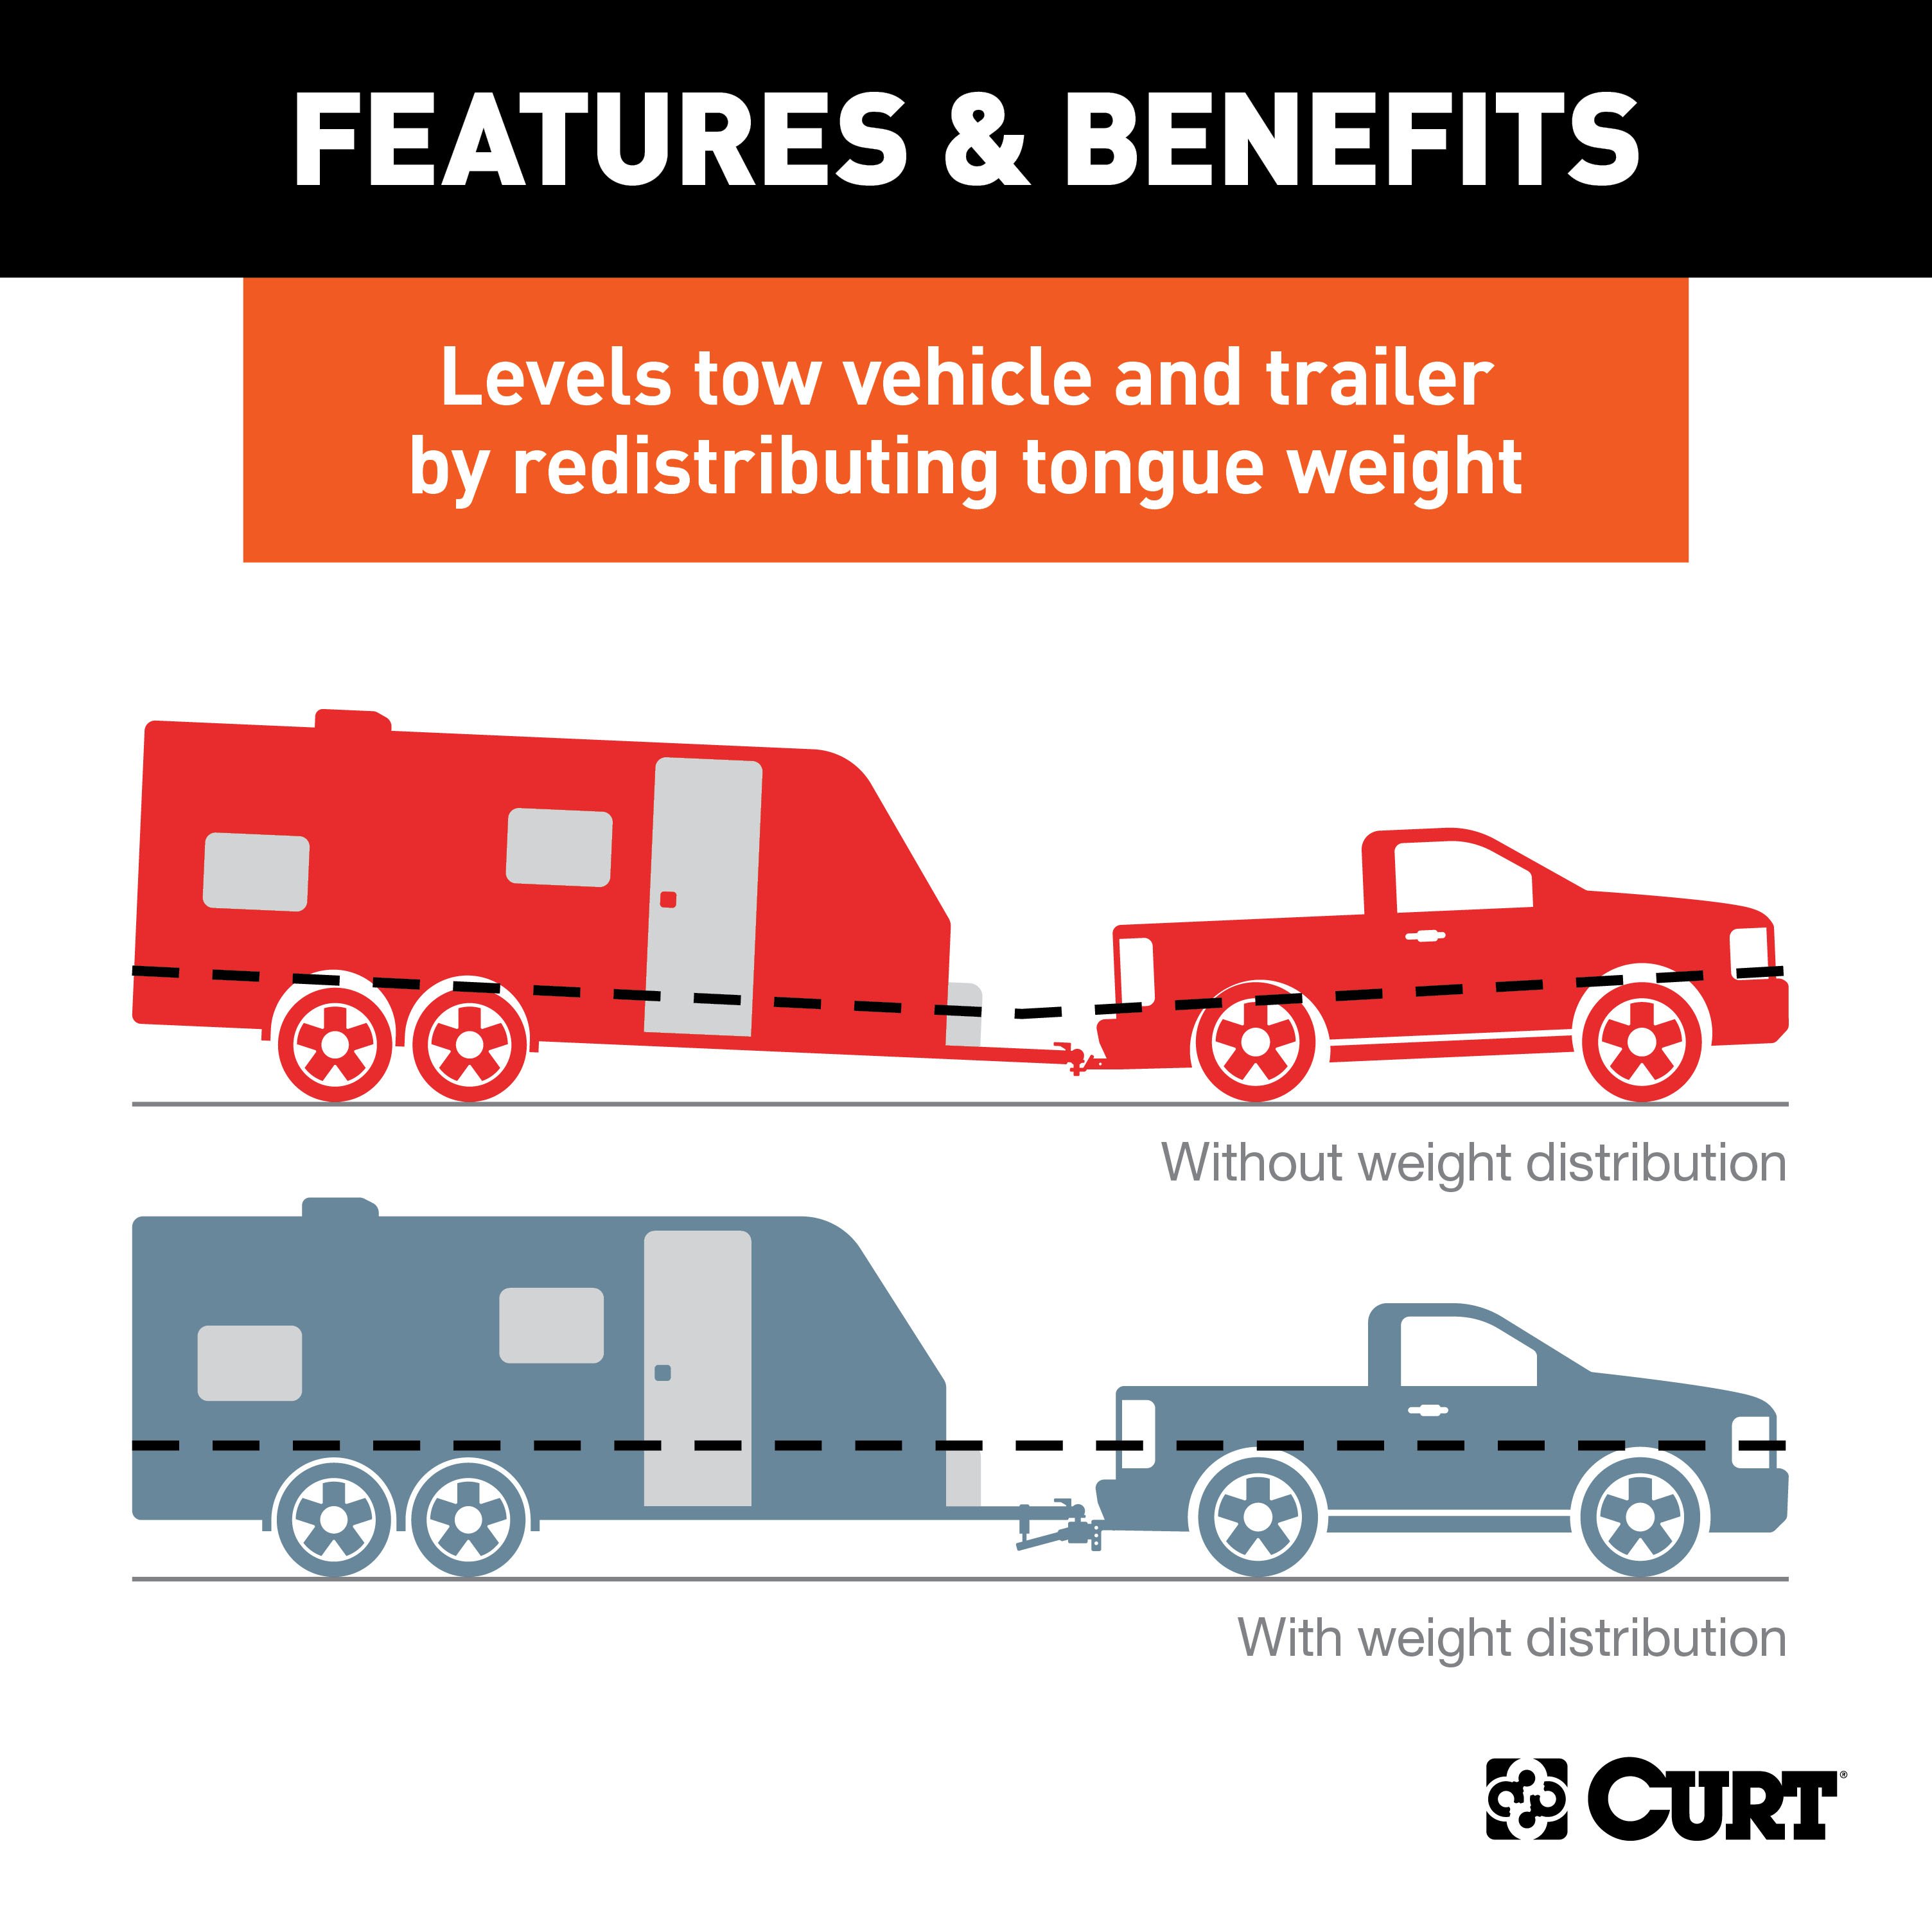
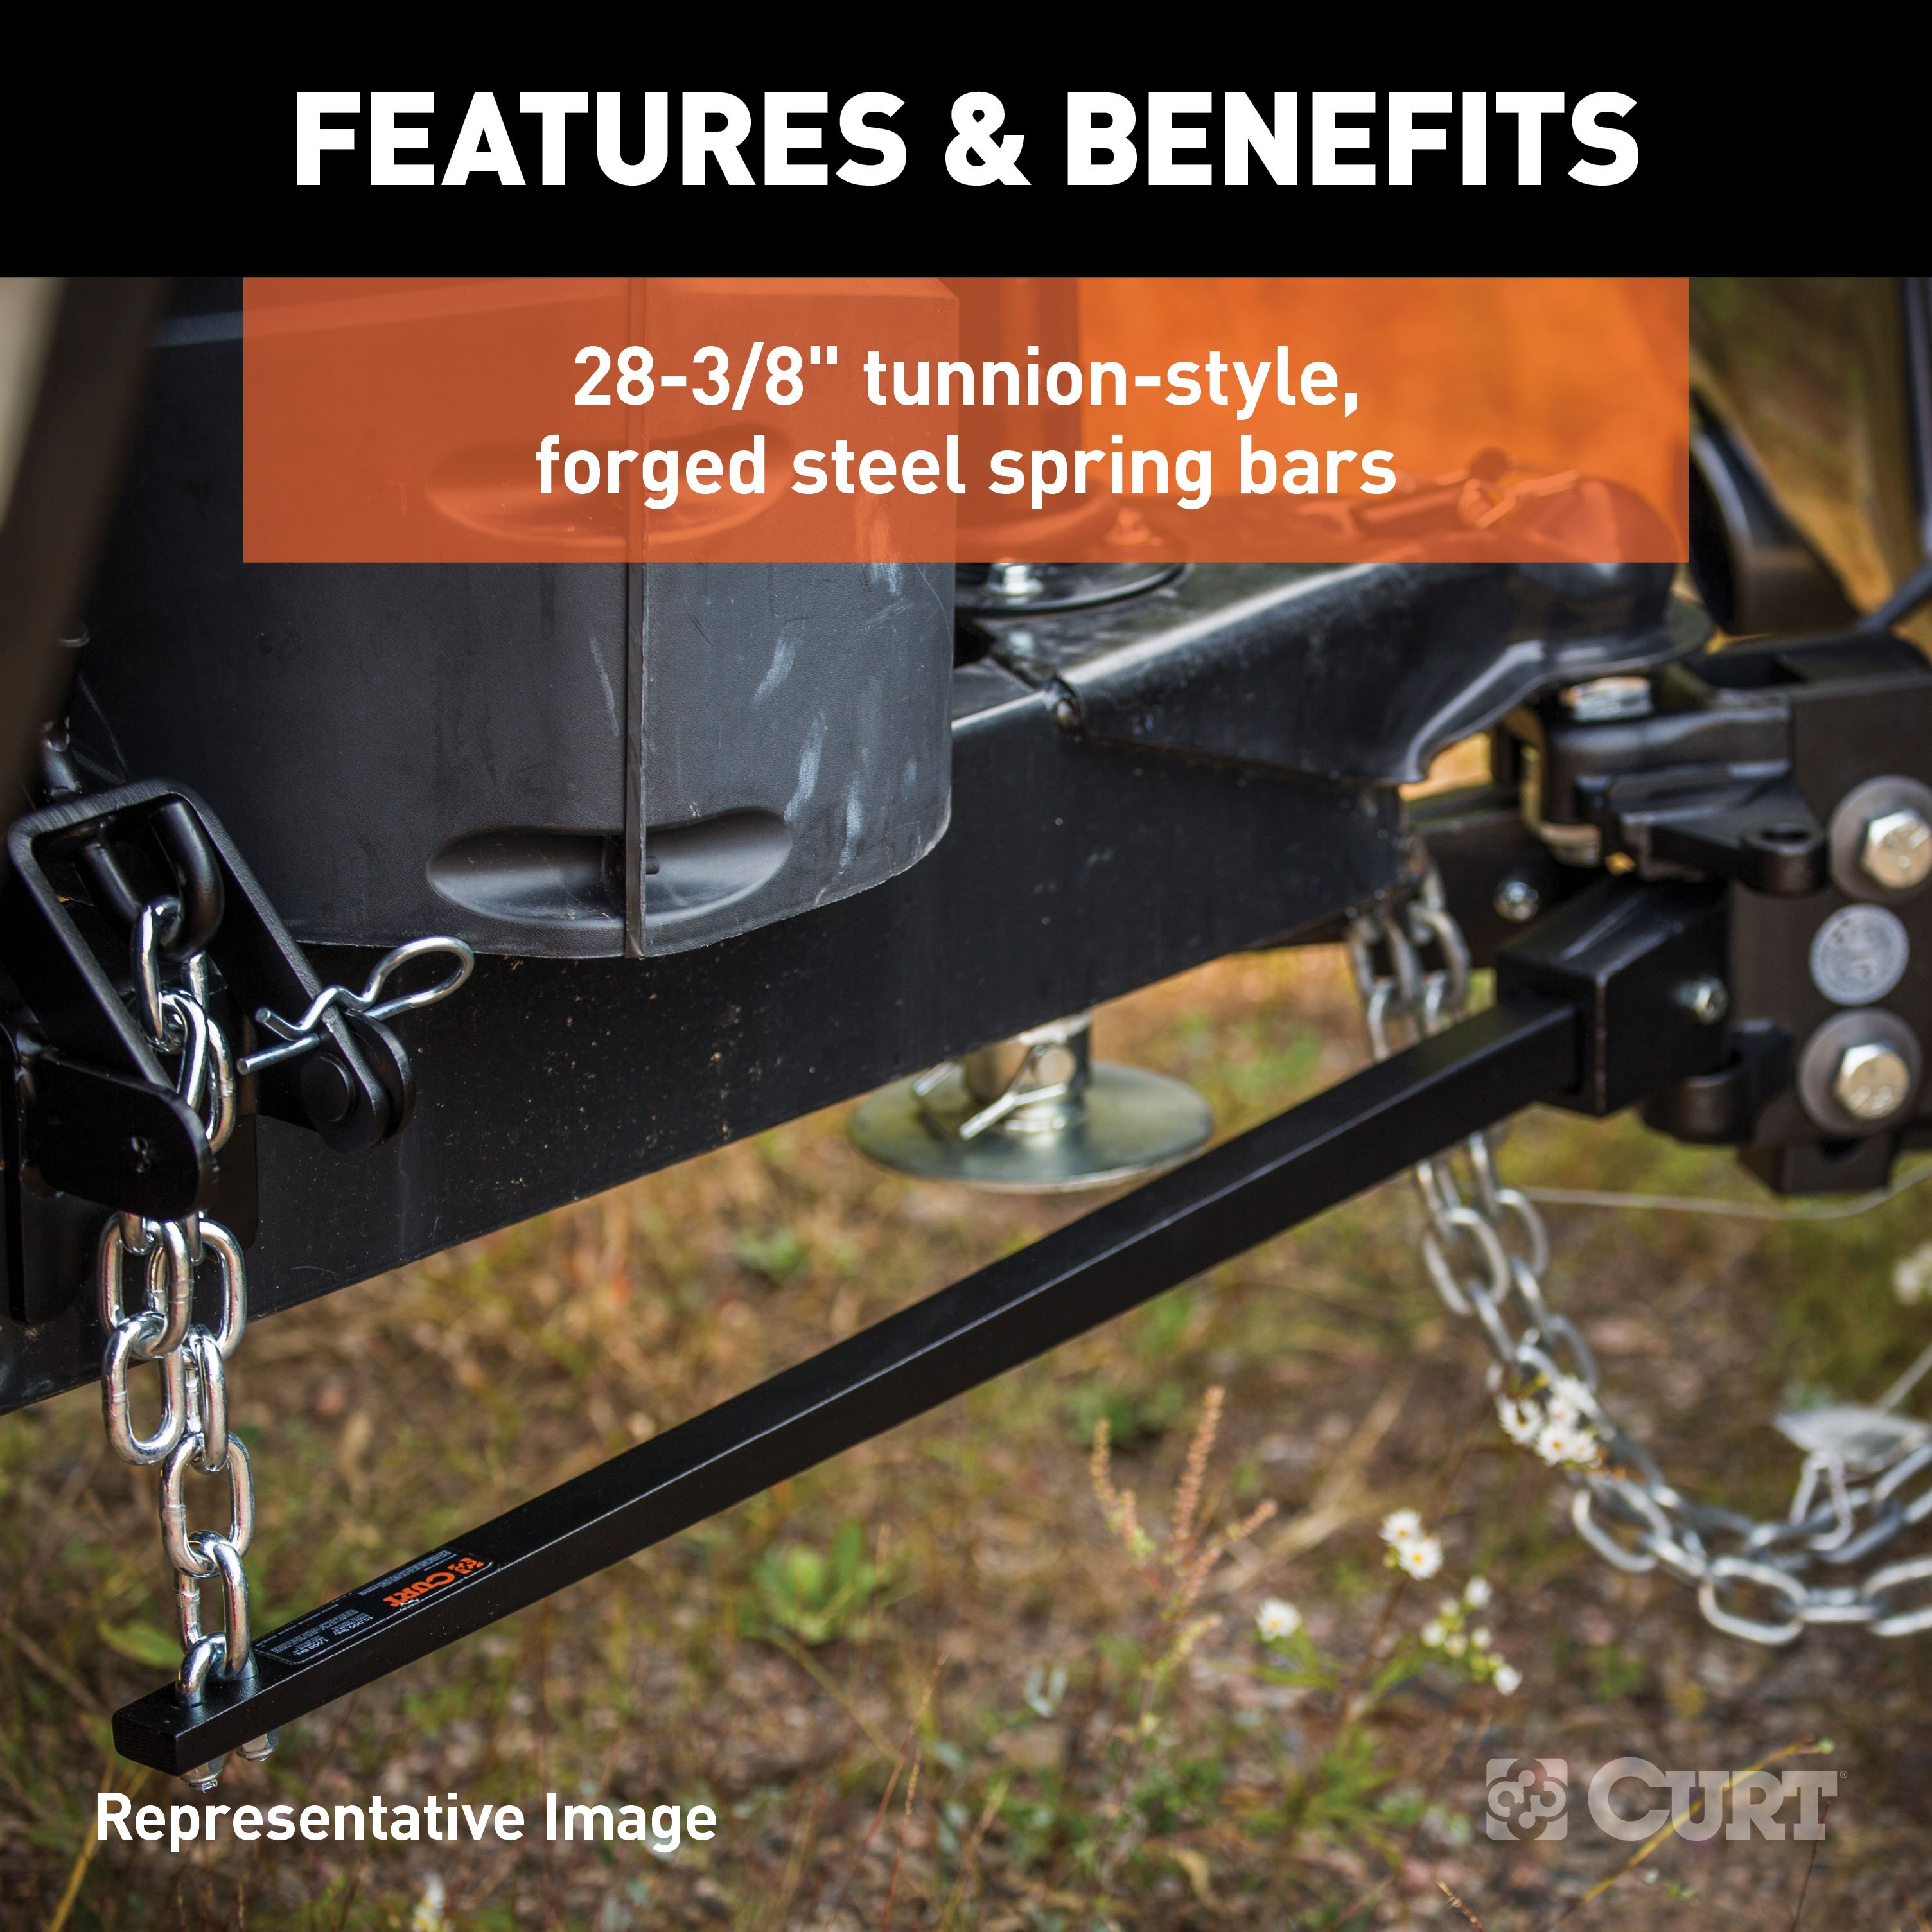
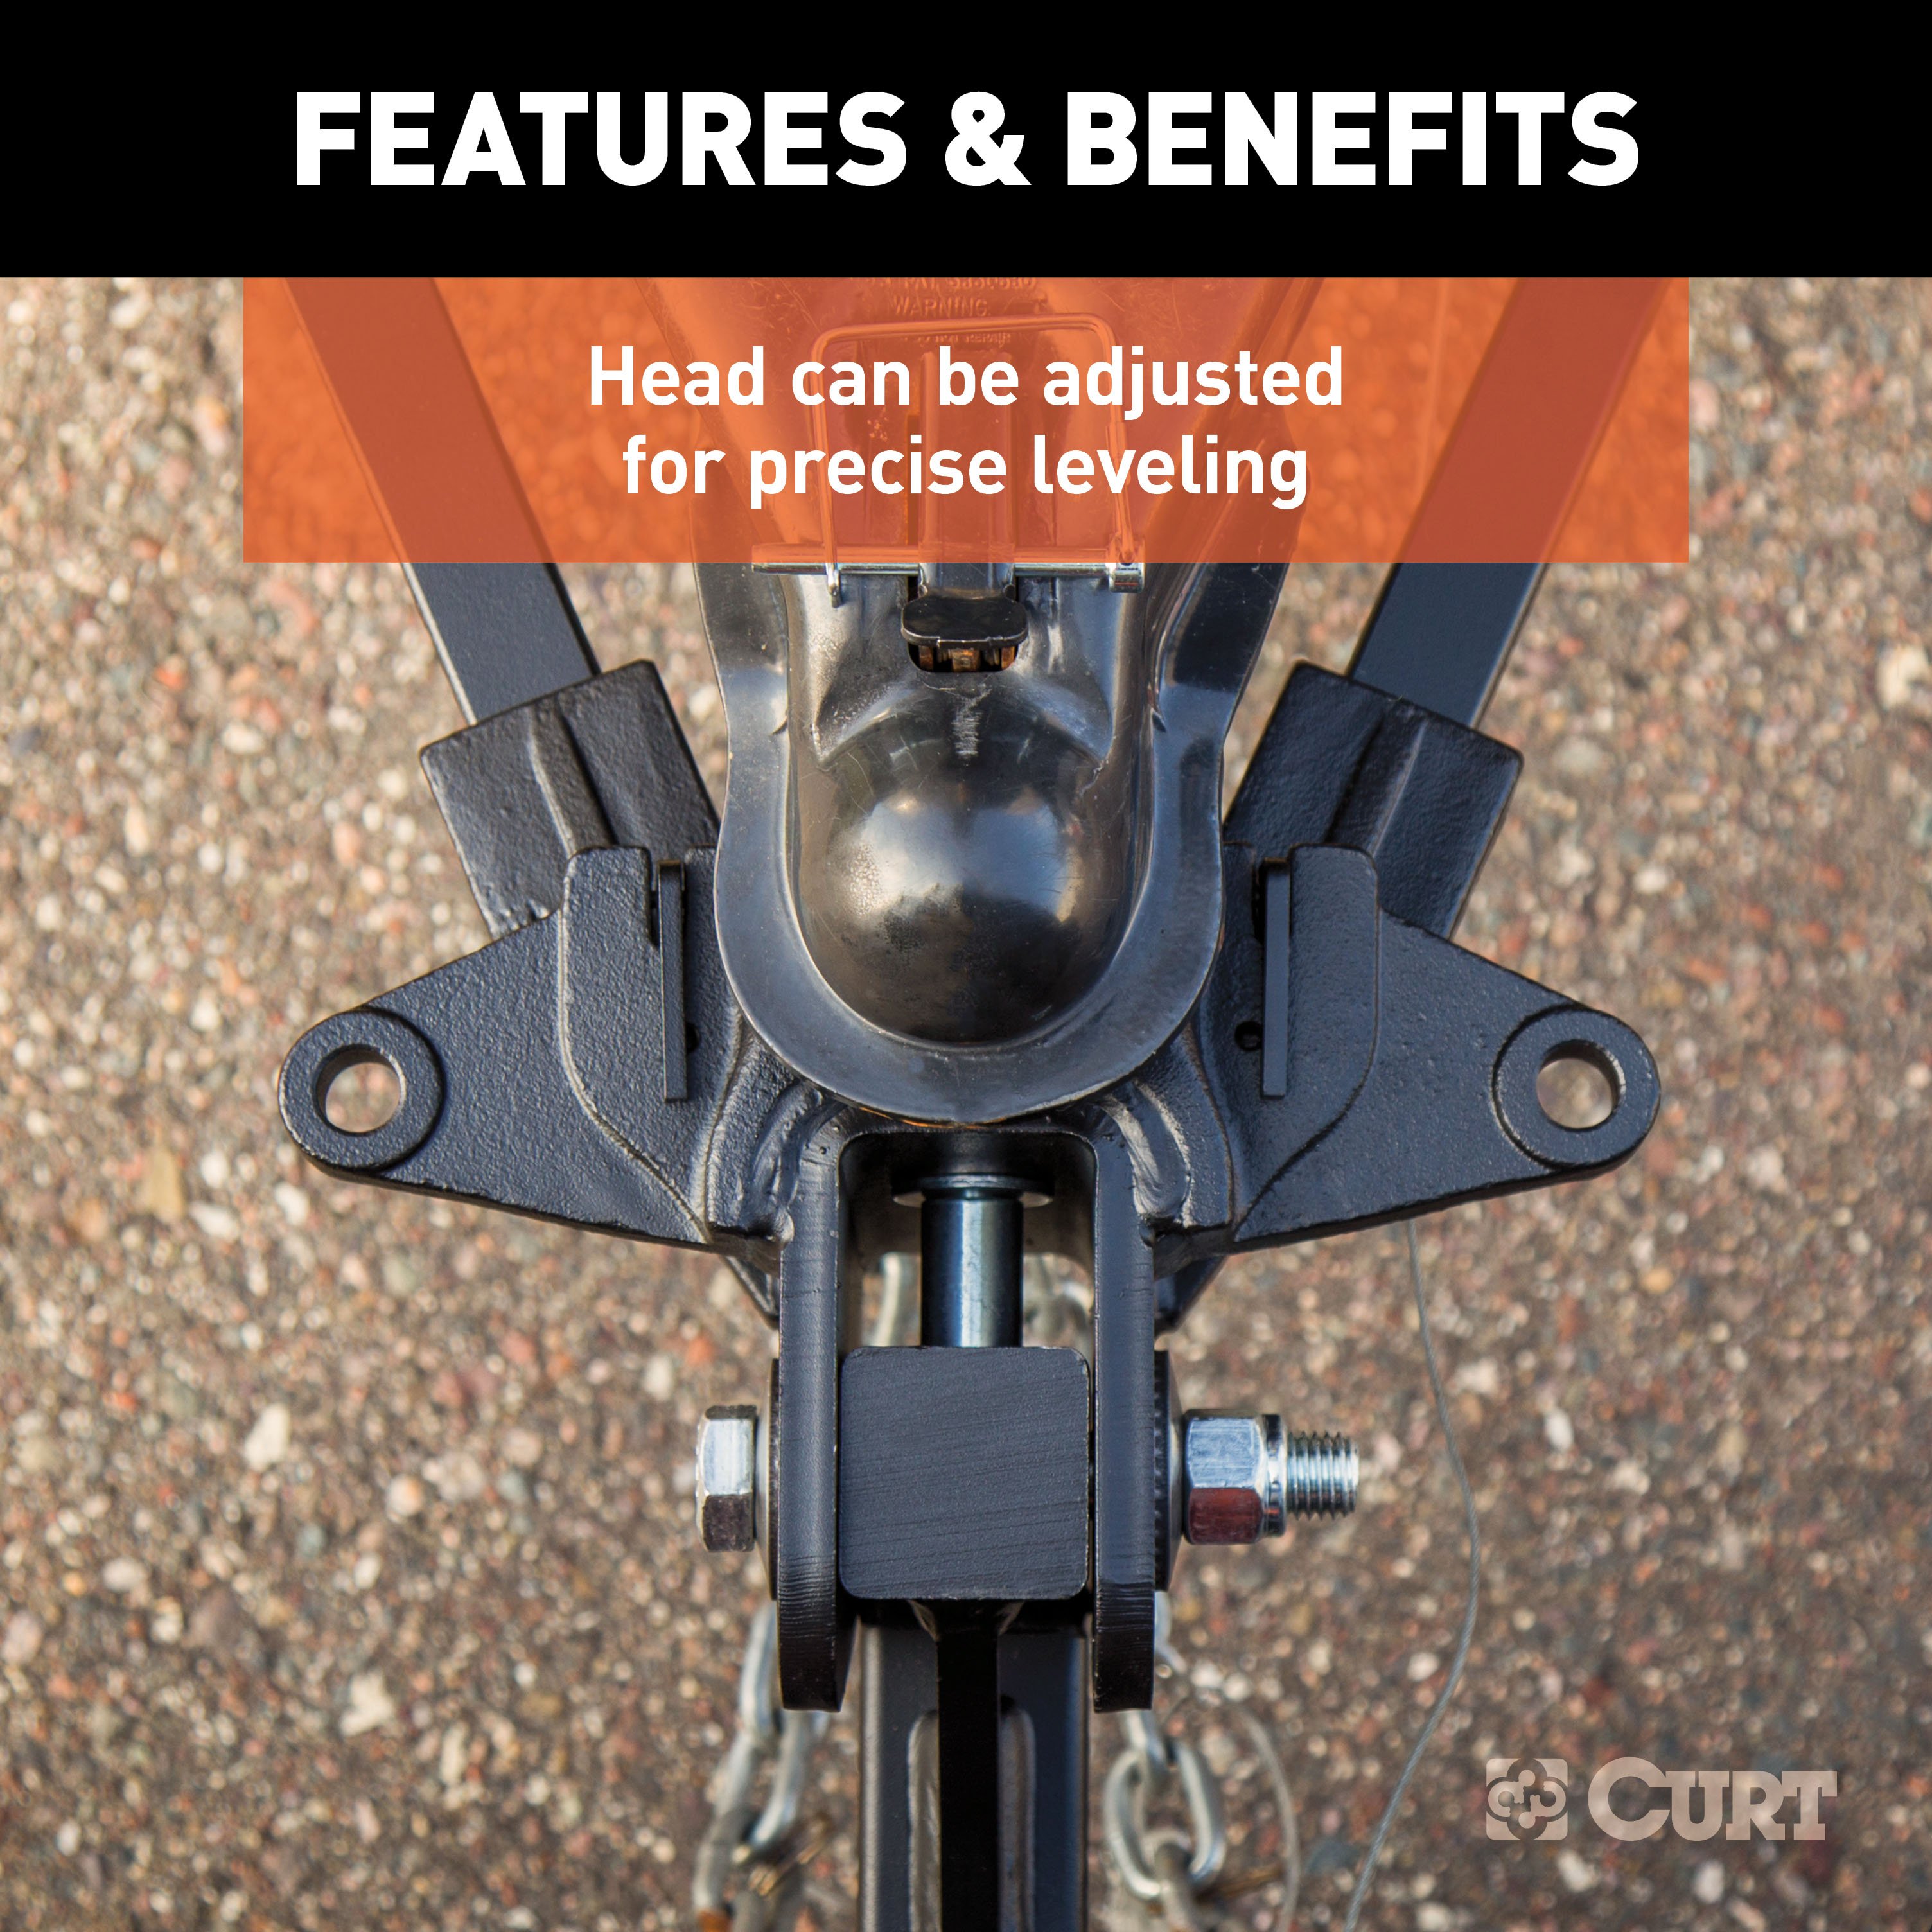
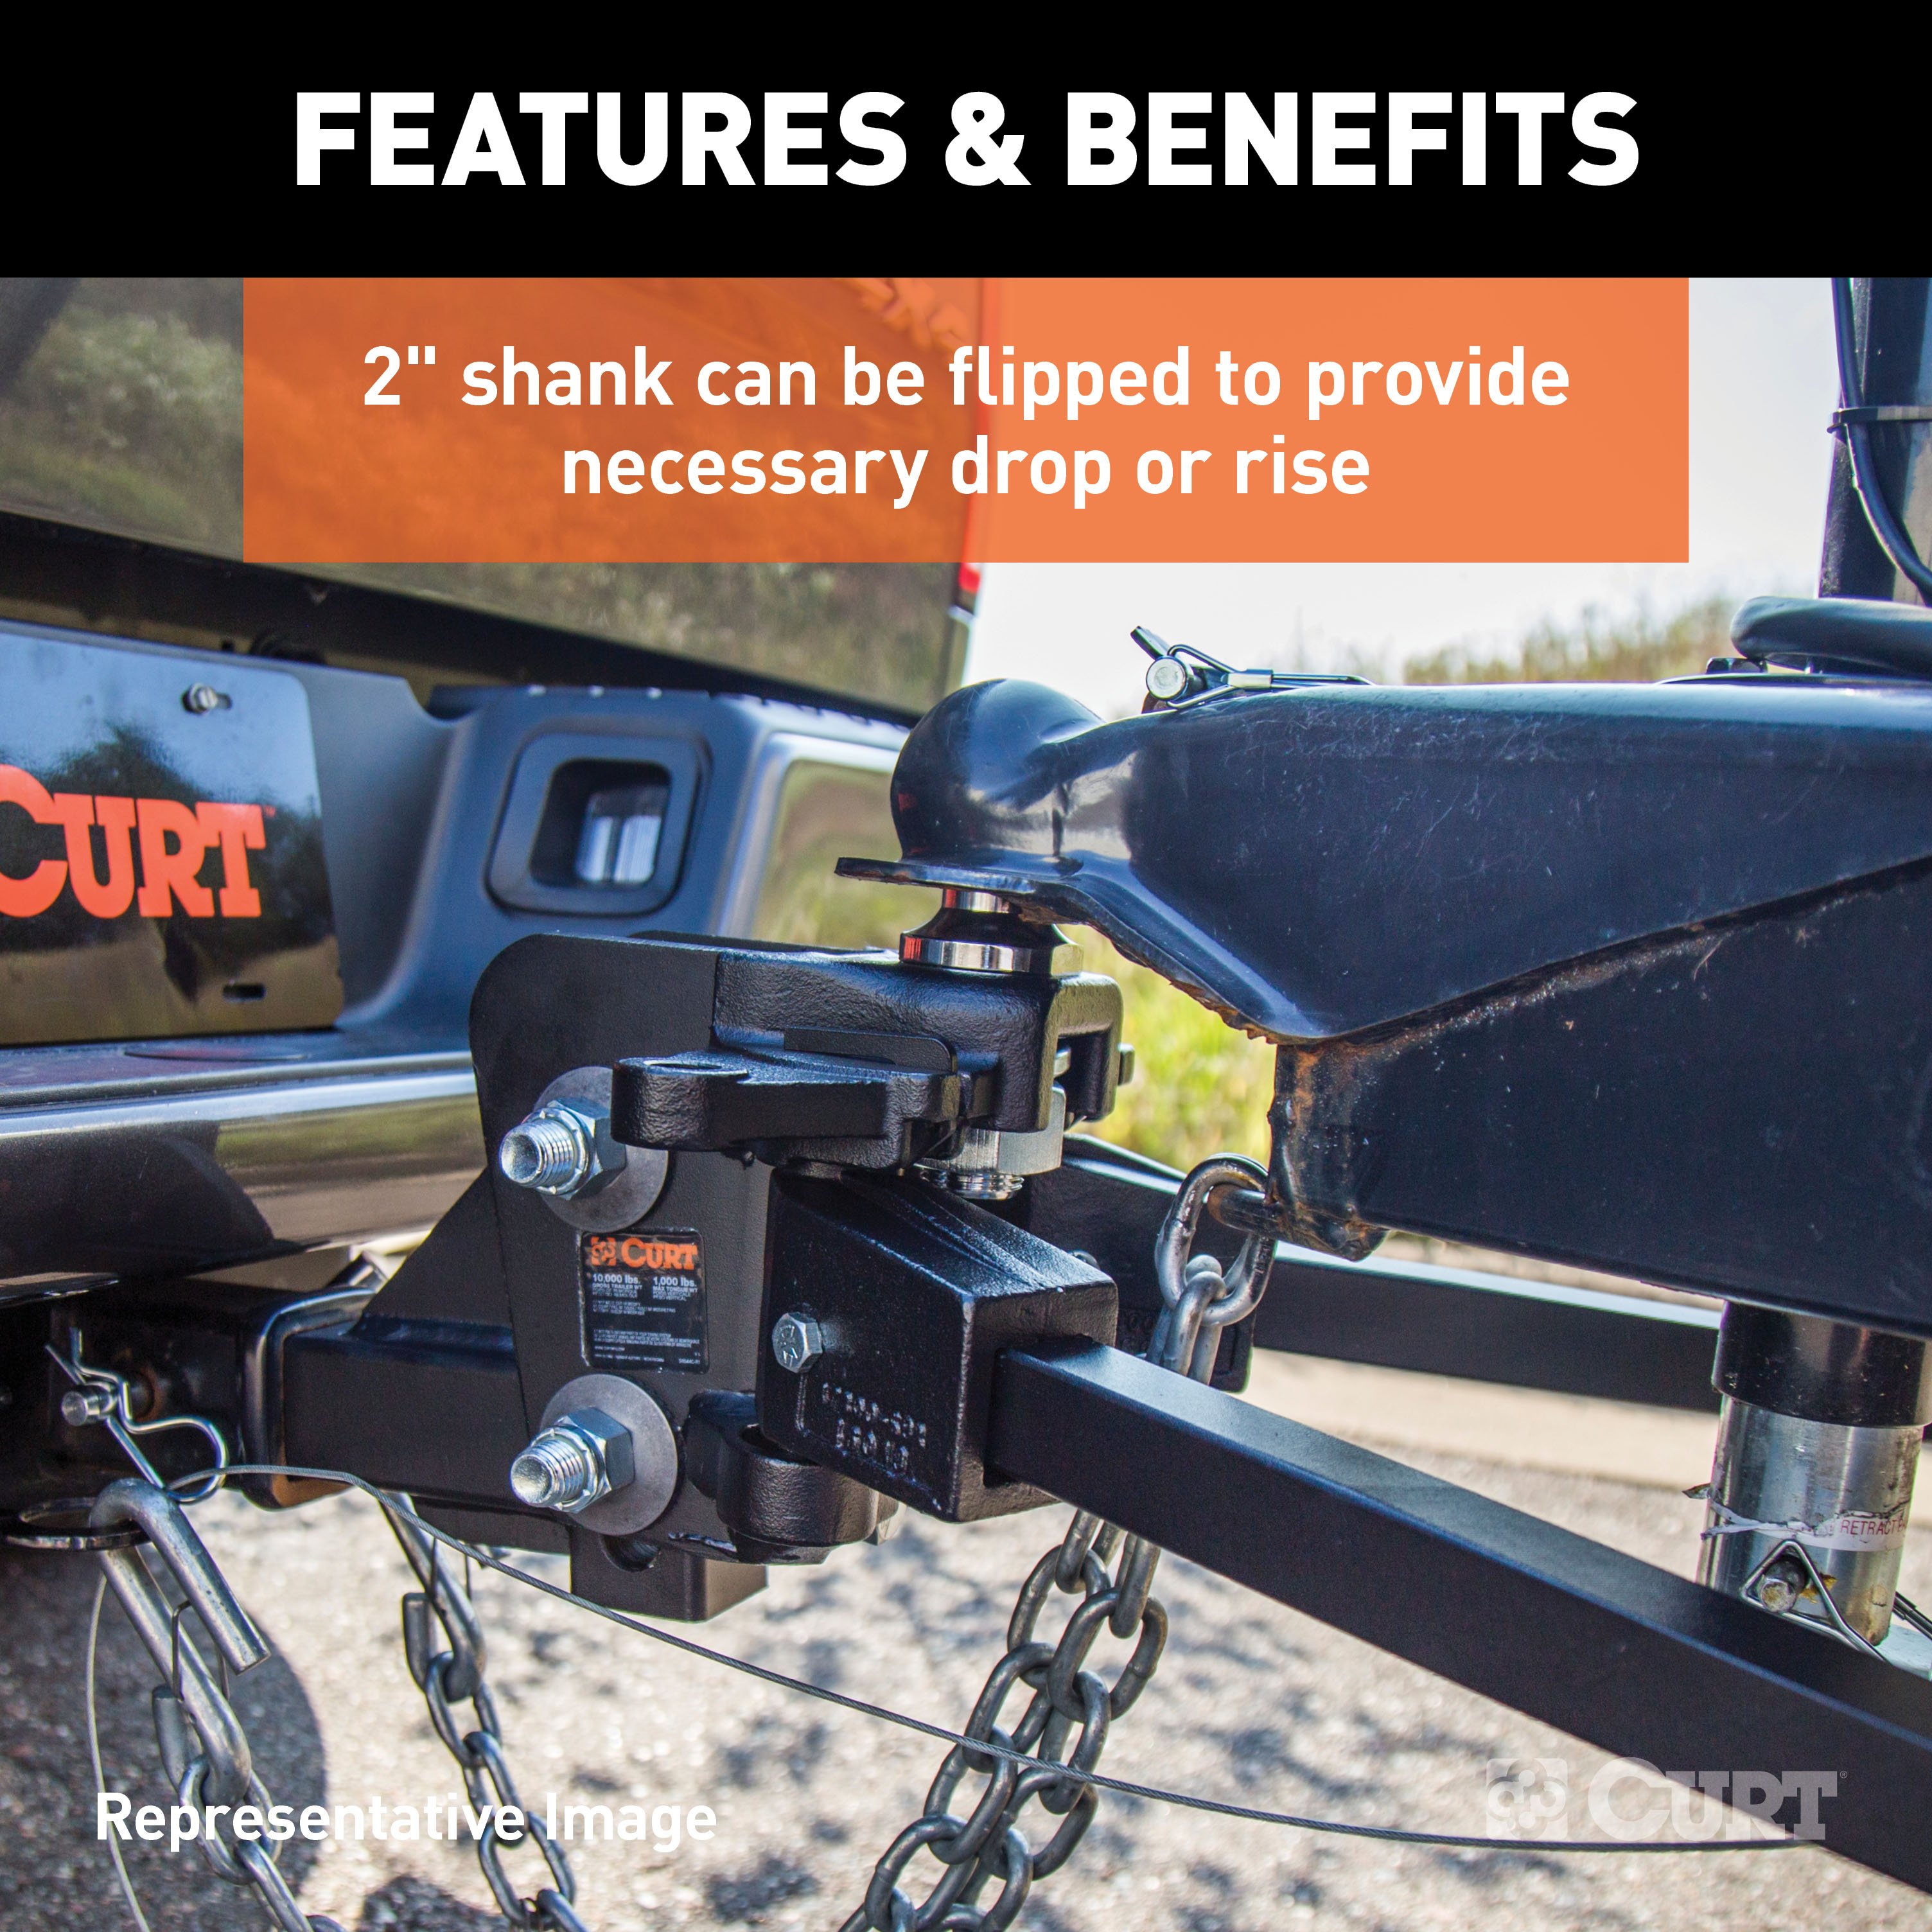
The CURT weight distribution hitch is a specialized towing system that provides improved vehicle and trailer control by leveling the trailer and more evenly distributing its tongue weight across the trailer's and vehicle's axles. Weight distribution hitches are commonly used on travel trailers and campers but can also be applied to other large loads. CURT WD hitches come with a 2" x 2" shank and are compatible with class 3, 4 and most 5 trailer hitches, including Xtra Duty and Commercial Duty (2-1/2" replacement WD shank may be required), as well as some RV trailer hitches. While a weight distribution hitch will increase the gross trailer weight capacity of most trailer hitches, the vehicle's weight carrying capacity must be taken into consideration before towing a heavier trailer (NOTE: Never exceed the lowest weight capacity of any towing component).This trunnion bar weight distribution hitch features a heavy-duty formed head and square spring bars constructed from forged steel. It offers a gross trailer weight capacity up to 15,000 lbs. and a tongue weight capacity of 1,500 lbs. It also includes hook-up brackets, spring bar safety chains and a pin and clip. To protect this hitch from scratching, chipping, rust and UV damage, it also comes with a durable black powder coat finish. A trailer ball must be purchased separately.

CURT offers a variety of high-quality trailer hitches and accessories for select vehicle models. Find the perfect fit for your towing needs at TowUniverse.
CURT, a Lippert brand, offers a complete line of towing products and is the leading manufacturer of custom-fit trailer hitches. We offer the broadest selection of custom-fit hitches, and each one is designed, welded, and coated in Wisconsin.
CURT is also a leader in flat towing products, as well as 5th wheel, gooseneck, and weight distribution hitches, ball mounts, electrical components, cargo solutions, and other towing accessories.
For everything from passenger cars and vans to full-size pickups and SUVs, CURT is 'The First Name in Towing Products®.'

Experts available to answer your questions
Call 888-634-9494Rediscover "Us" Time | Tested. Proven. Safe. Towing Products
The CURT 17333 is a weight distributing hitch designed to distribute trailer tongue weight across the towing vehicle's frame, improving stability and handling. It uses spring bars and lift brackets to level the vehicle when coupled to a trailer. The 17333 model is rated for gross trailer weights of 10,000–15,000 lbs and tongue weights of 1,000–1,500 lbs when spring bars are used.
The CURT 17333 is designed for trailers with A-frame tongues and a 1 1/4" threaded-shank hitch ball coupler. If your trailer has a straight (pole) tongue instead, you will need to order a pole tongue adapter separately. The hitch is rated for trailers with gross weights of 10,000–15,000 lbs and tongue weights of 1,000–1,500 lbs when spring bars are used.
No, the CURT 17333 is designed for a 1 1/4" threaded-shank hitch ball. If you want to use a 1" threaded shank hitch ball, you must order a CURT reducer bushing #21101 separately and attach it to the head assembly.
Yes, but you must deflate the air springs or air shocks to their minimum recommended pressure before assembling and adjusting the weight distributing hitch. Consult your vehicle's owner's manual or the air suspension instructions for the correct minimum pressure. This ensures accurate ball height measurement and proper hitch operation.
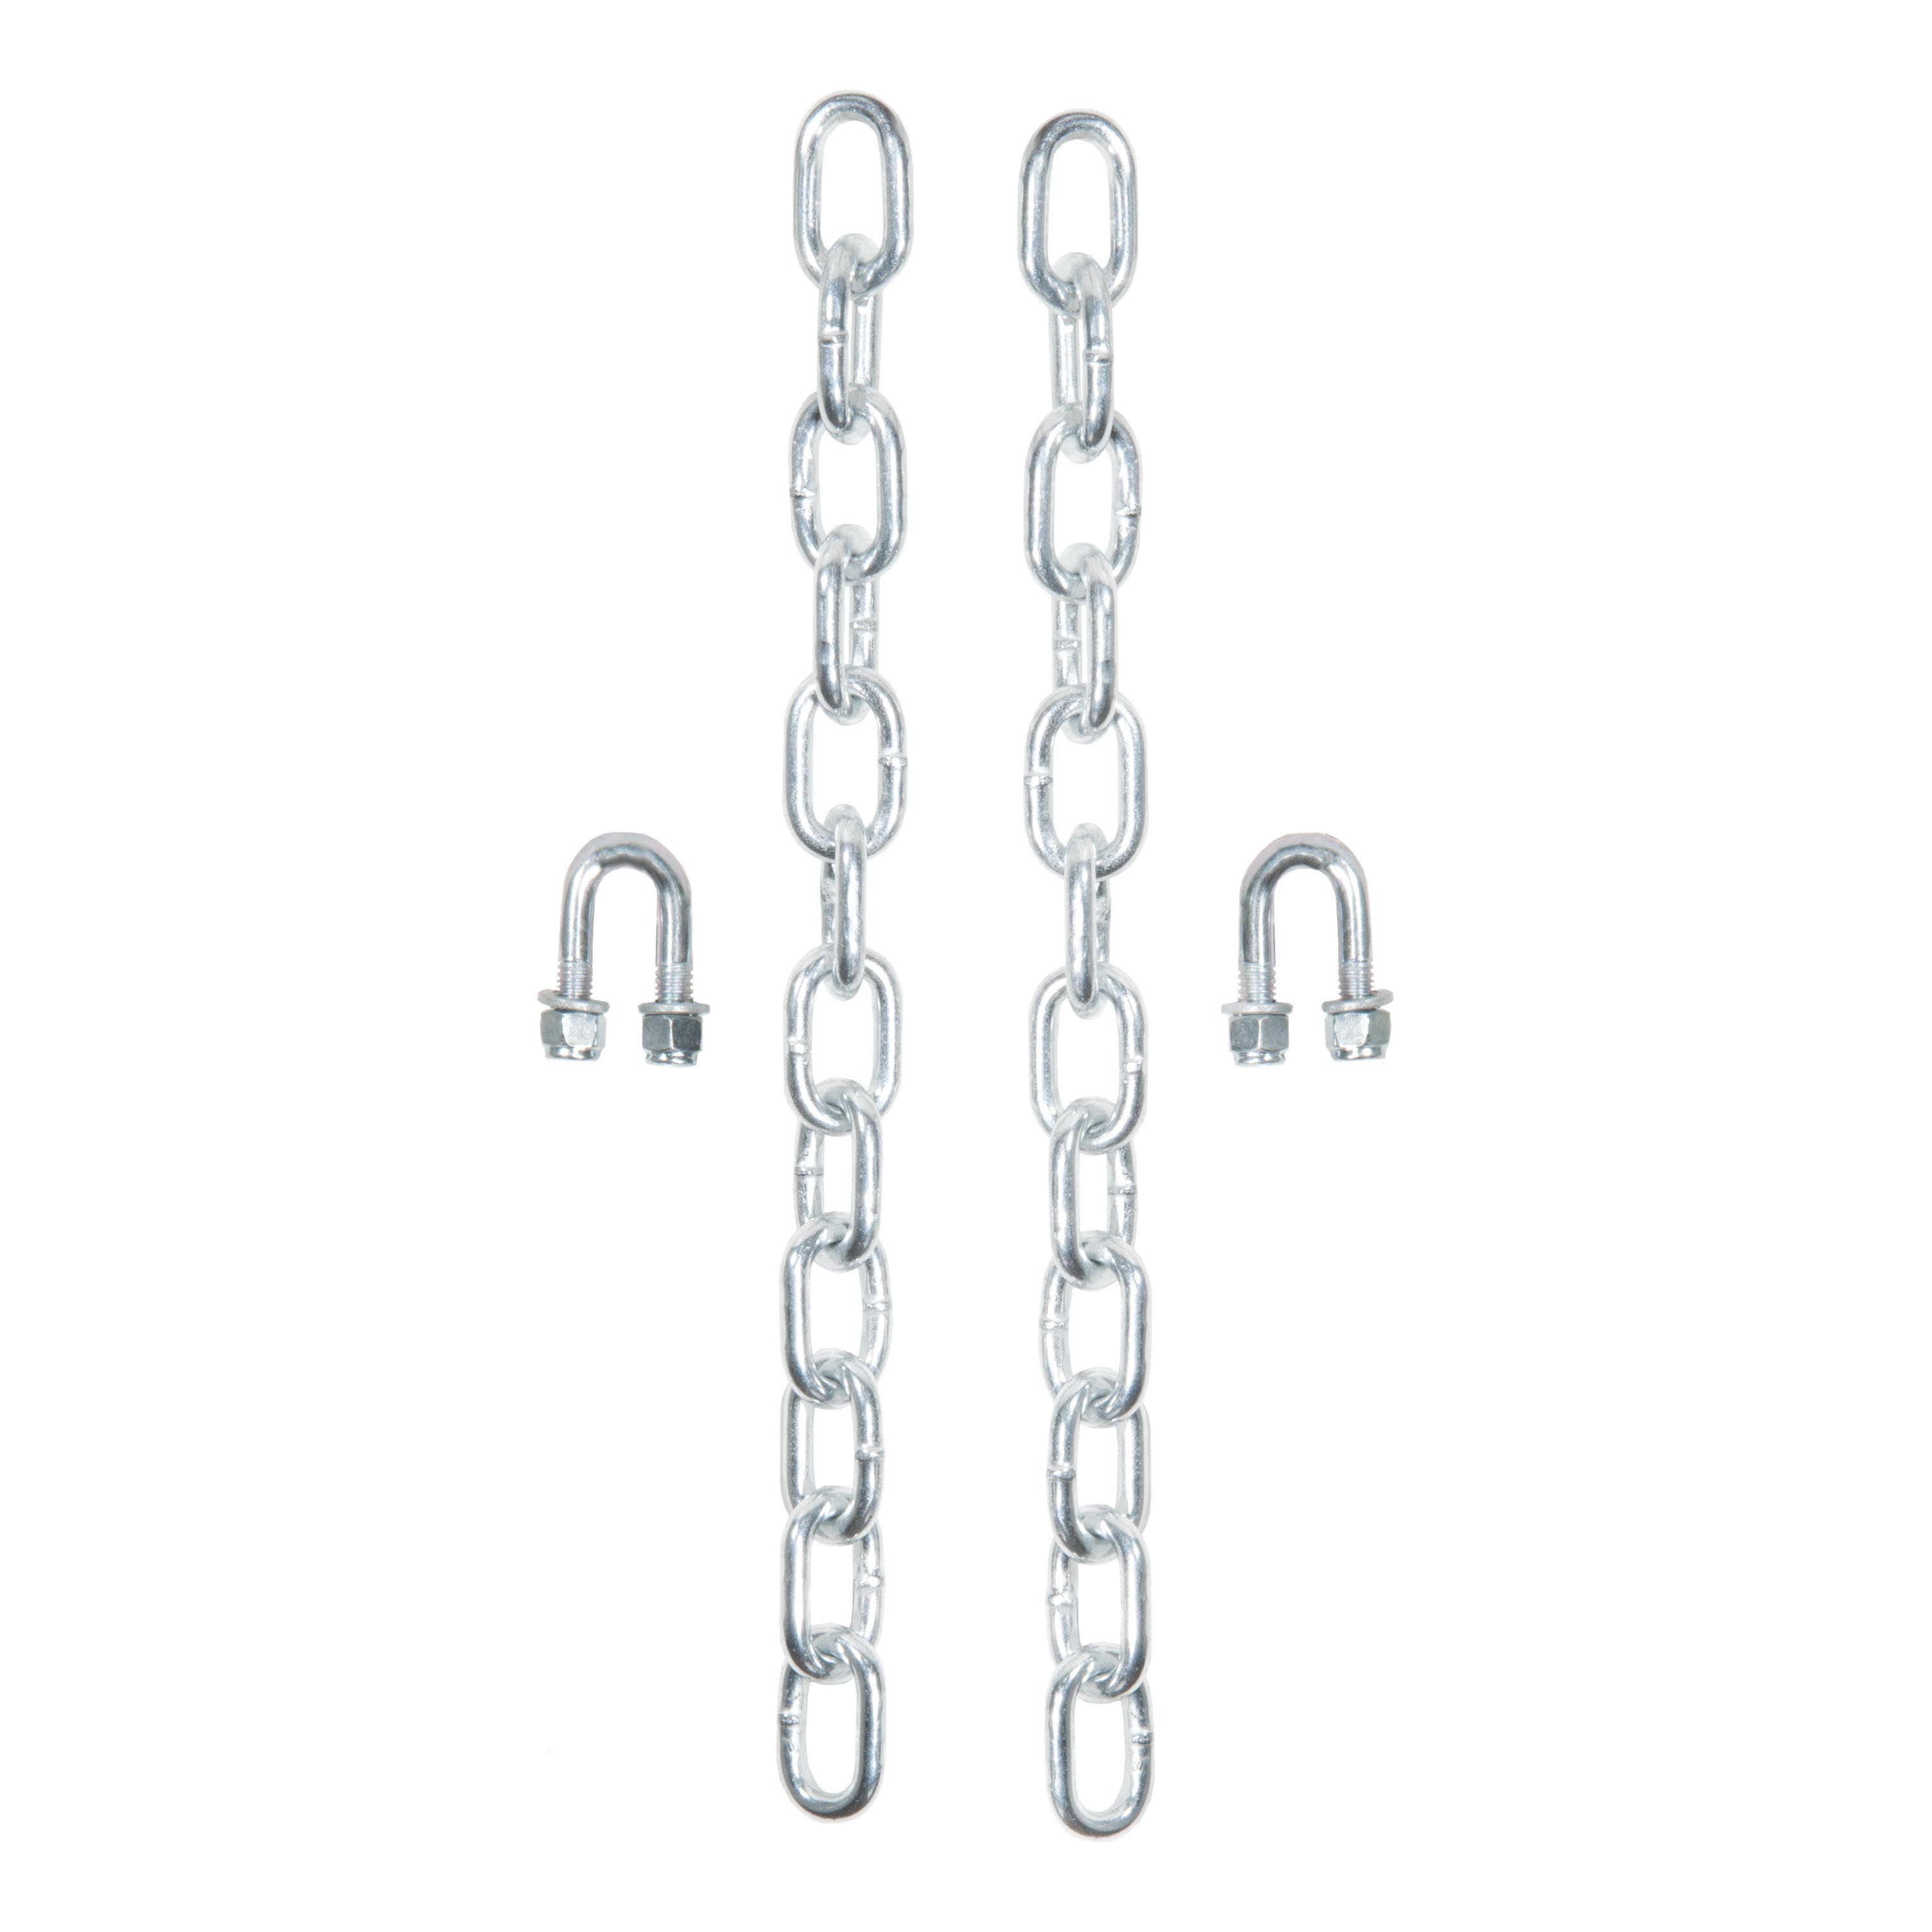
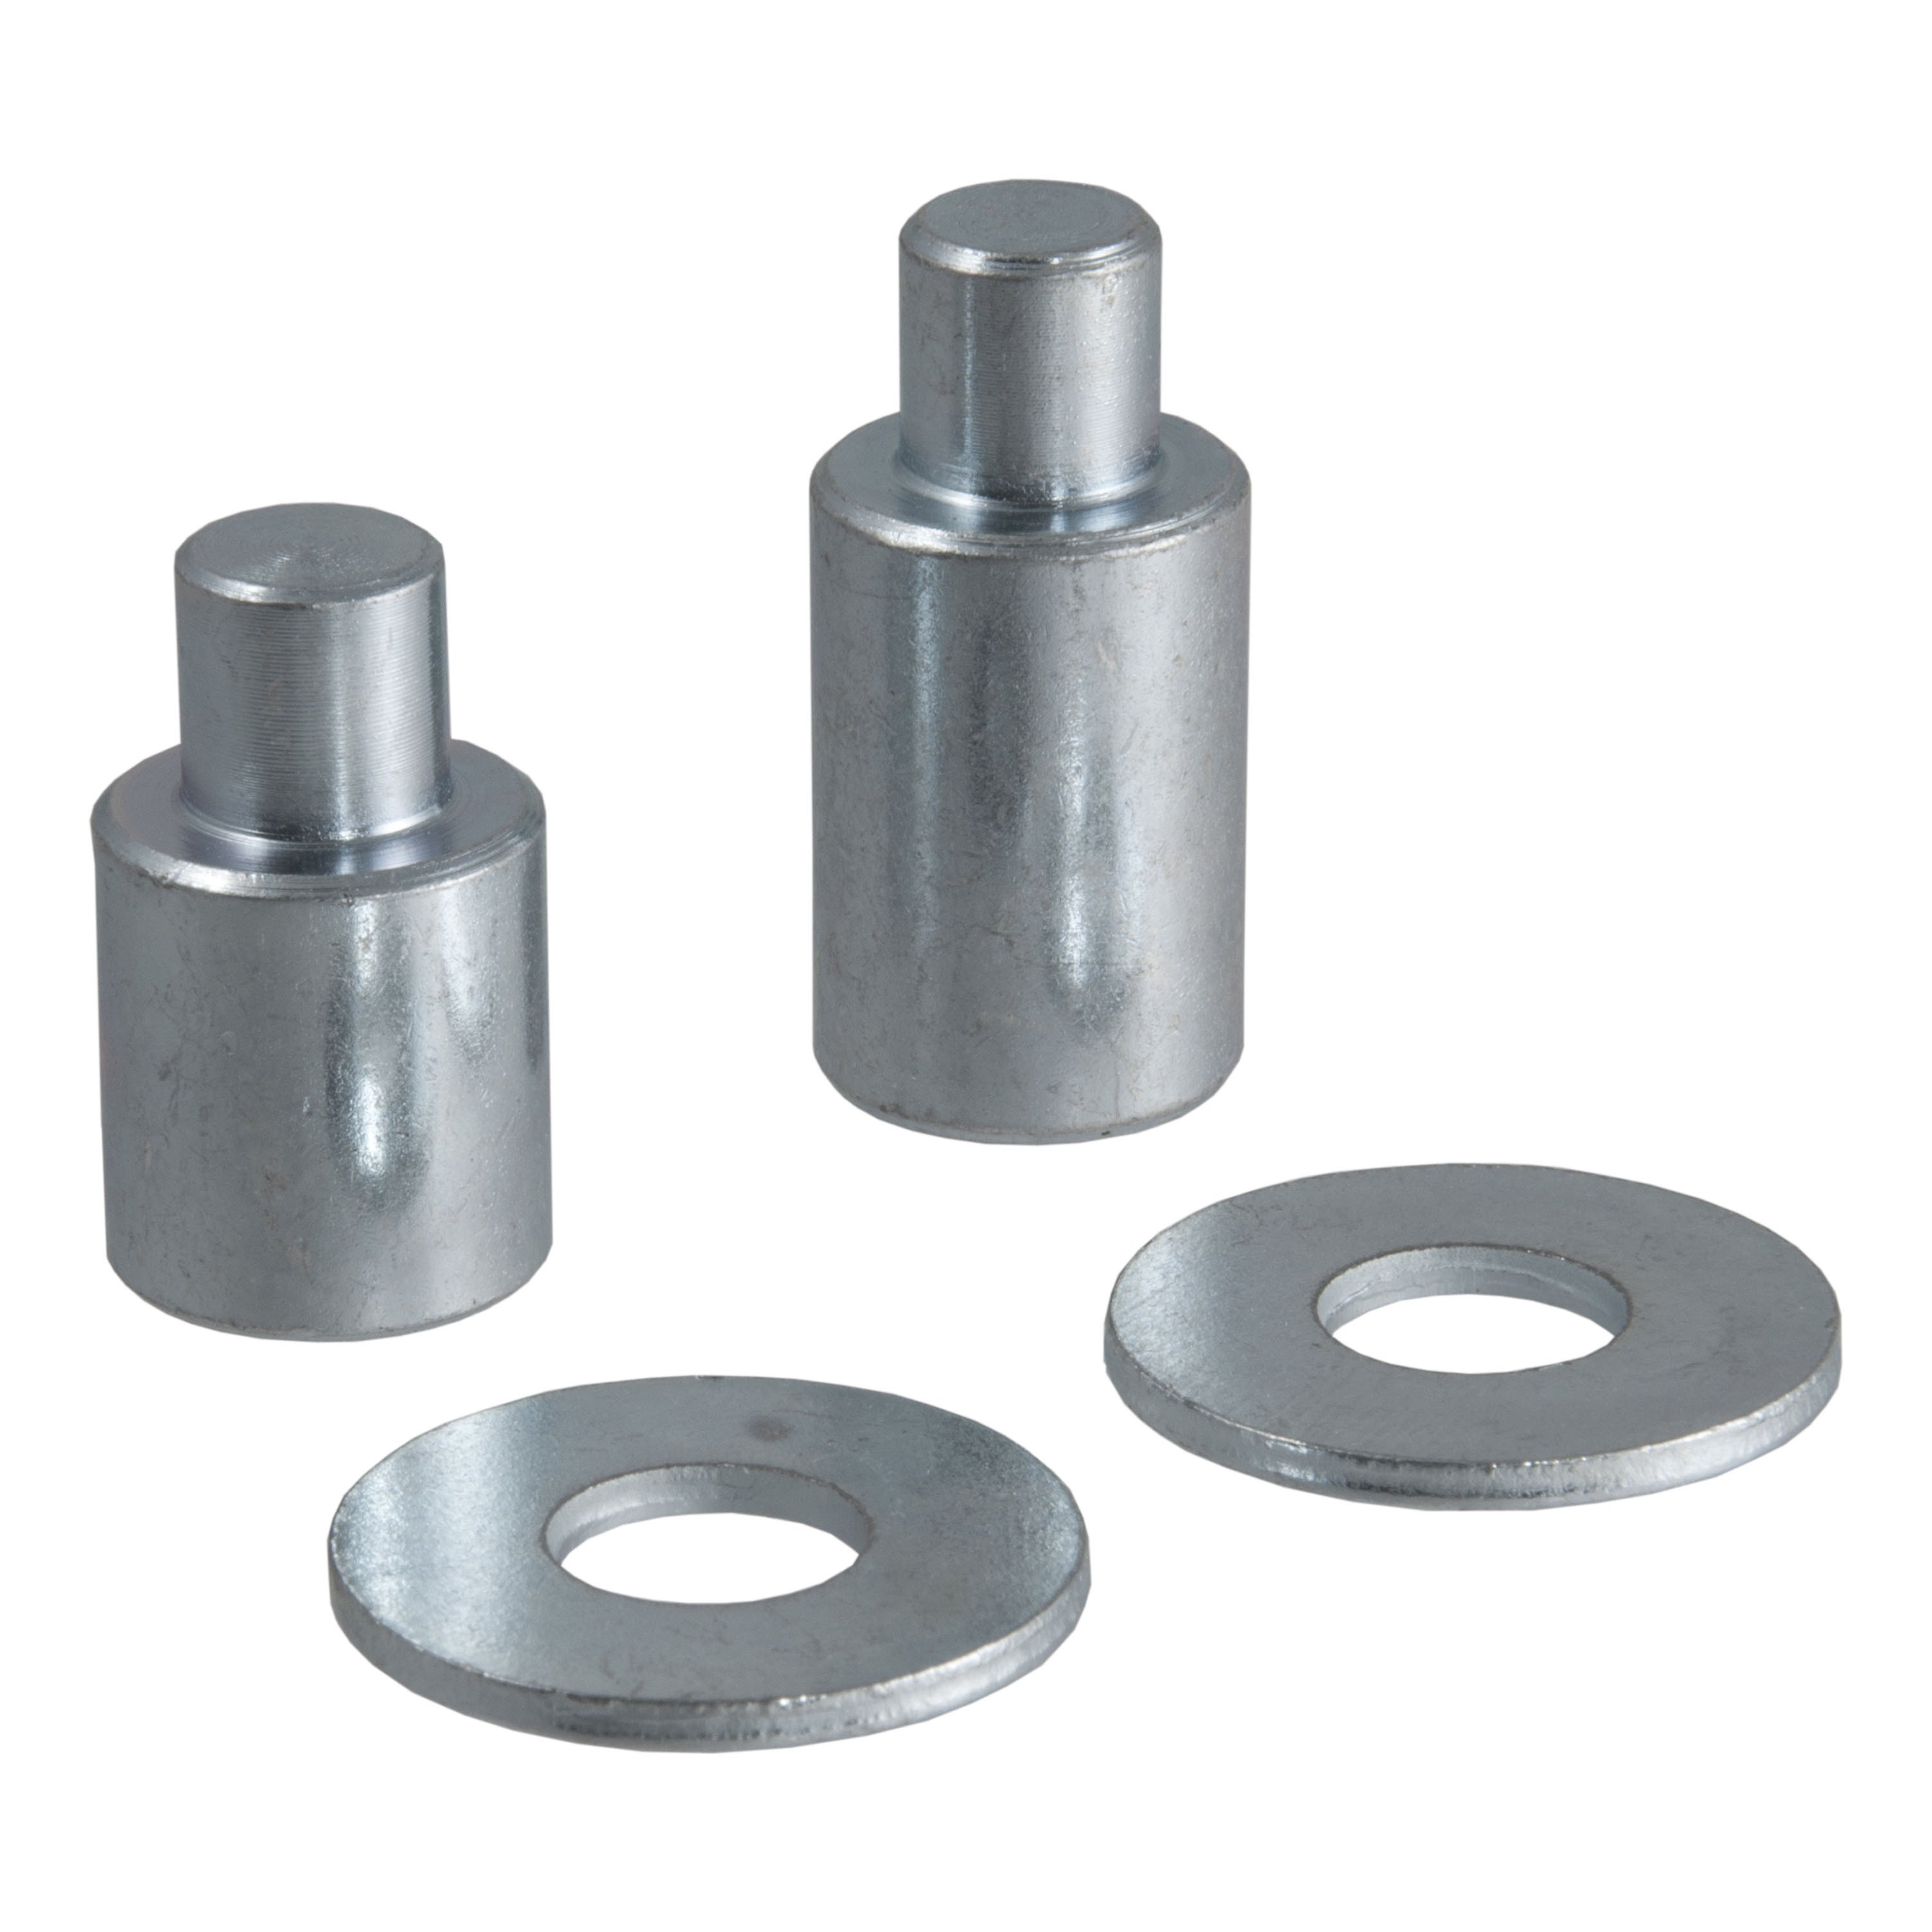
The CURT 17333 includes: hitch head, adjustable shank bar, 2 spring trunnion bars, 2 snap-up brackets, pipe handle, 2 lift chains (8mm x 400mm), 1 bolt (5/8" - 11 x 1 1/2"), 2 hex bolts (3/4" - 10 x 5"), 4 conical washers (3/4"), 2 nylock nuts (3/4" - 10), 1 hitch pin (5/8" x 3"), 1 clip, 2 U-bolts (3/8" - 16), 4 nylock nuts (3/8" - 16), 2 bolts (1/2" - 13 x 2"), 2 bolts (1/2" - 13 x 4"), 2 clips for snap-up bracket, 1 short adjustment rod, 1 long adjustment rod, and 2 flat washers (1/2").
You will need a wrench to tighten fasteners. Heavy, fibrous grease is required to lubricate the spring bars and clevis pins. A trailer tongue jack is needed to level the trailer during measurement and to raise the front of the trailer during chain installation. A measuring tape is needed to measure coupler height and vehicle bumper heights.
1. Line up the tow vehicle and trailer on level pavement in a straight position. Use the trailer tongue jack to level the trailer. Measure the distance from pavement to the top of the coupler socket and record this. 2. Pick reference points on the front and rear bumper of the towing vehicle and measure their height to pavement. 3. For passenger cars, add 1/8" to the coupler height for each 100 lbs of tongue weight. This is your target uncoupled ball height. The ball height is set higher than the coupler to allow for vehicle squat when coupled.
Insert the adjustable shank bar (#2) into the receiver tube on your tow vehicle and secure it with the hitch pin (#11) and clip (#12). For high ground clearance vehicles, the shank may be inverted to obtain proper ball height, but you must check for adequate ground clearance if you do this.
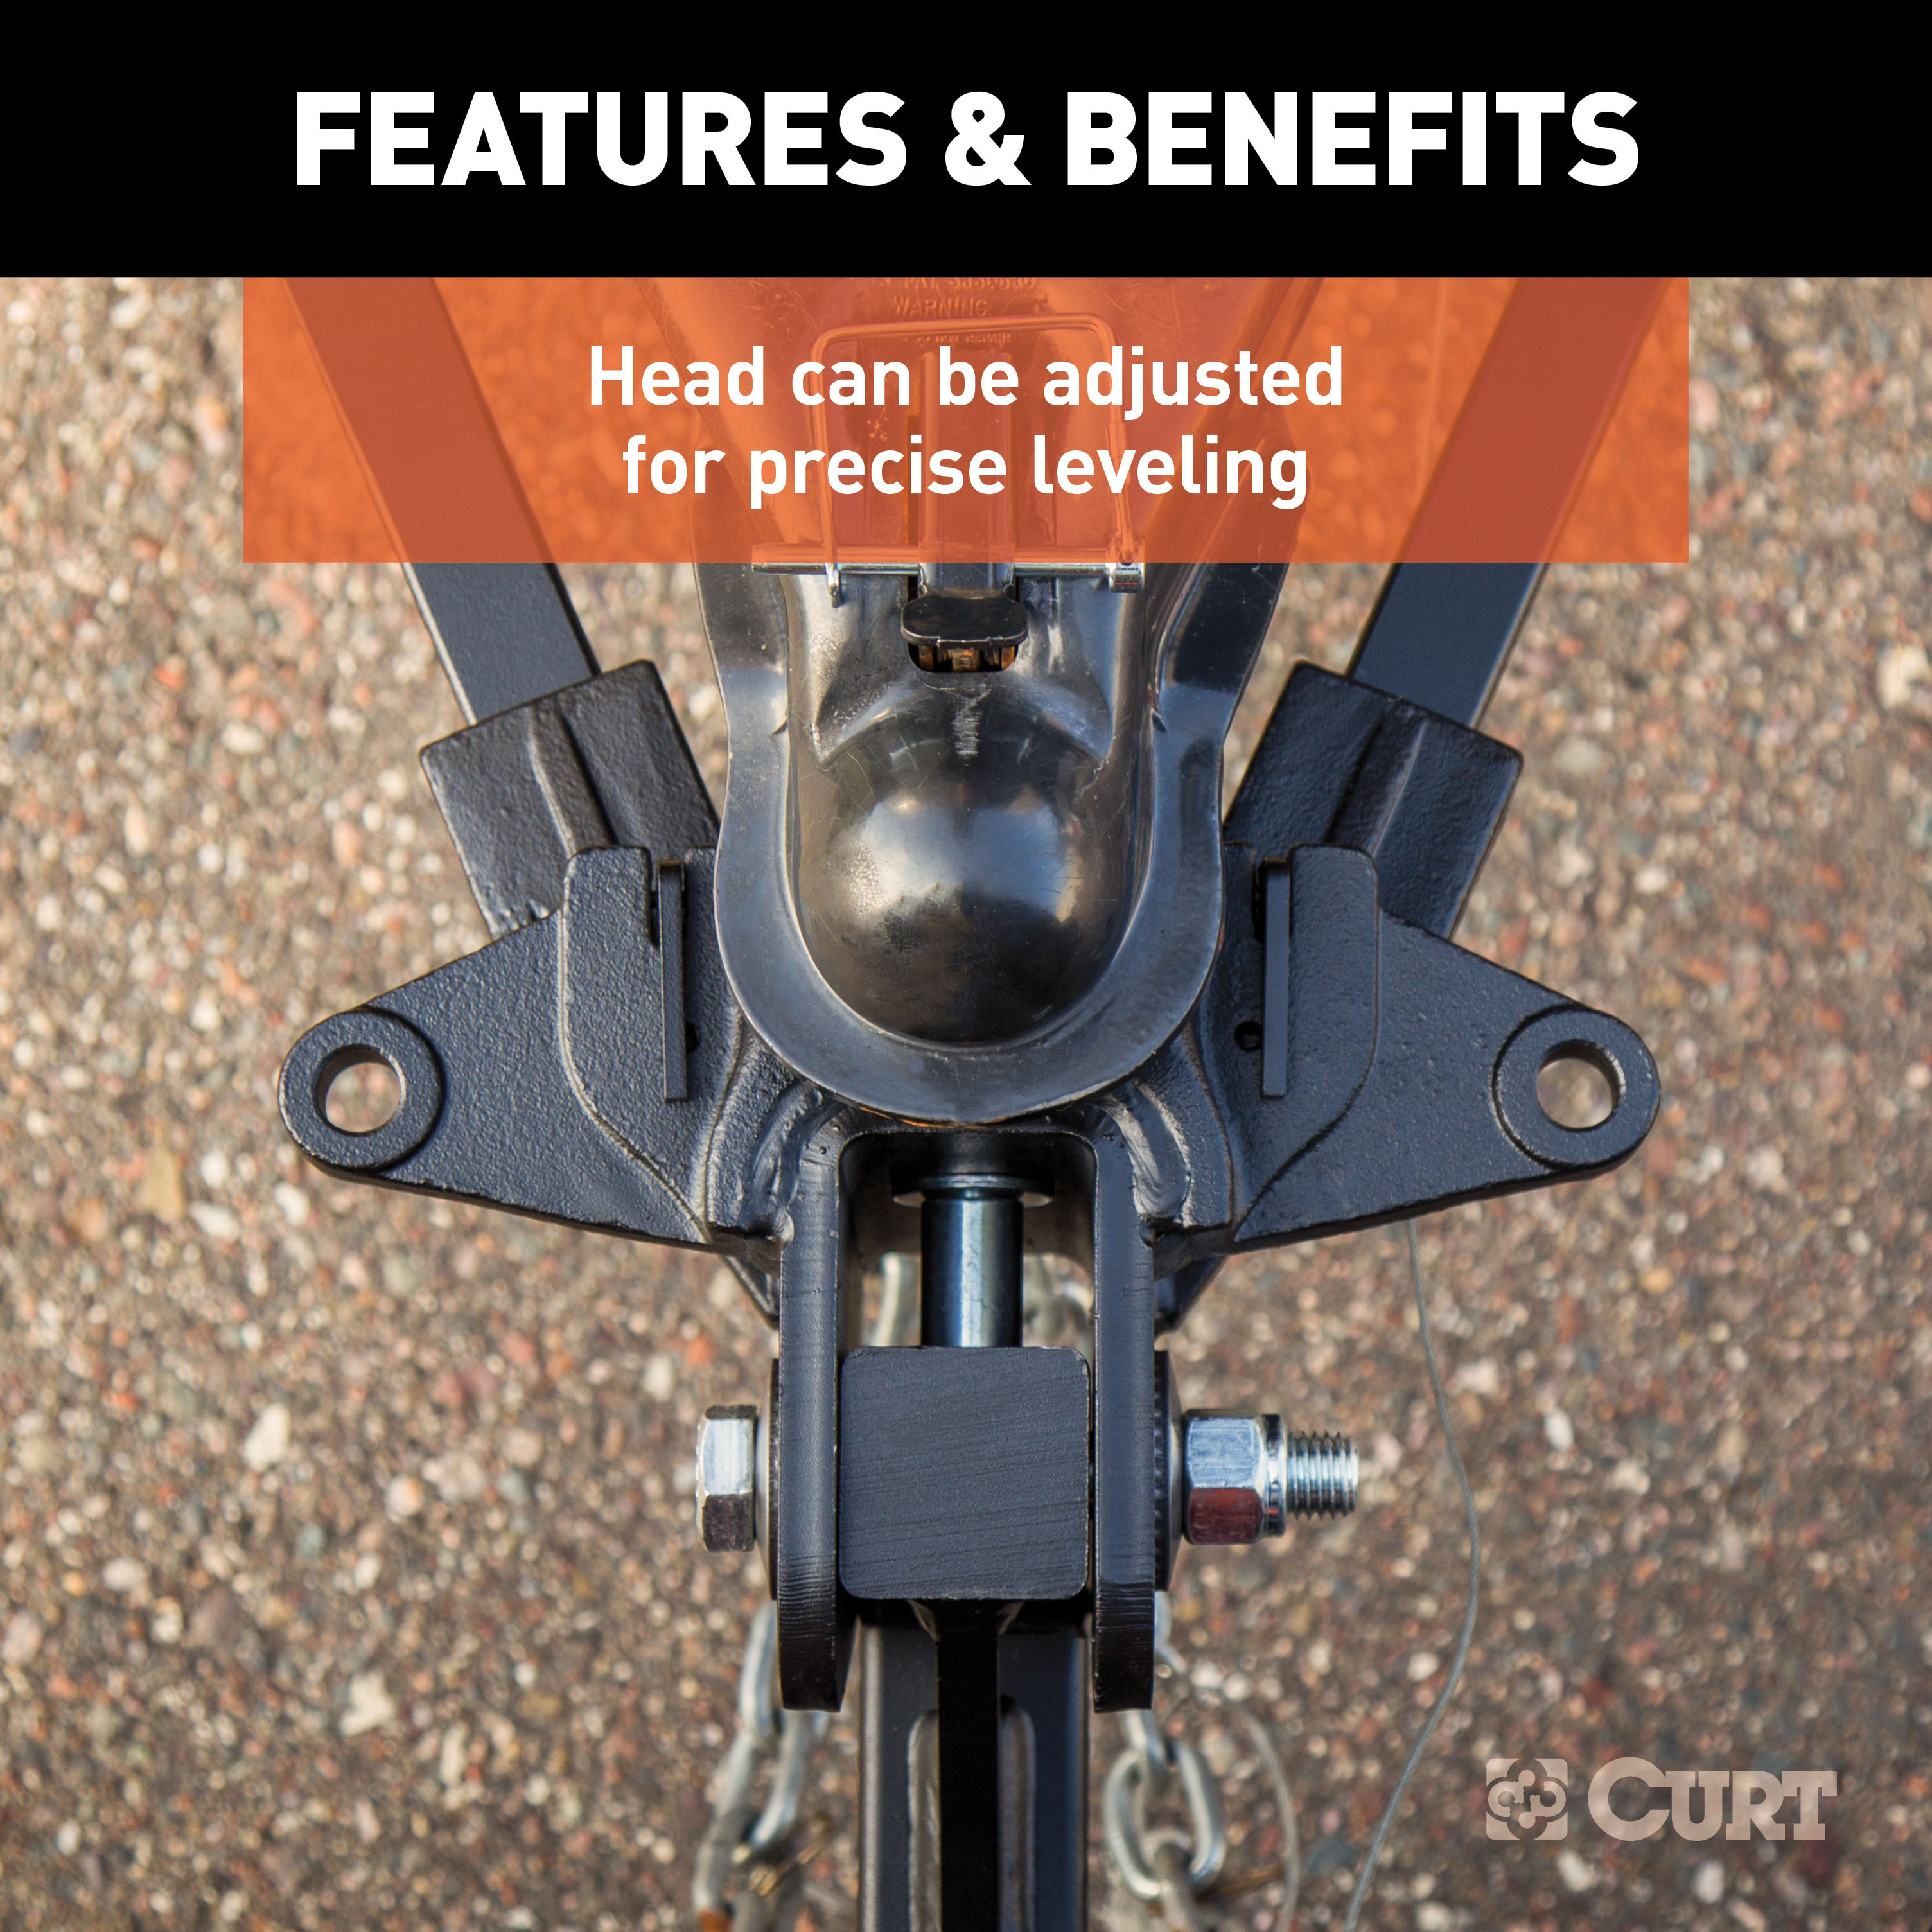
Slide the head assembly up or down on the shank to the nearest bolt hole alignment position that corresponds with the target ball height you determined earlier. Mark this position on the shank. The uncoupled ball height will be set higher than the coupler height to allow for vehicle squat when coupled to the trailer.
Ensure the lift chains (#6) are assembled to the tapered ends of each spring bar using the 3/8" U-bolts (#13) and 3/8" nylock nuts (#14). Let 2 to 3 threads of the U-bolts extend through the bottom of each locknut. The chain must be free to move in the U-bolt. The tapered surface should face up.
Apply heavy, fibrous grease to the top section of each spring bar. Hold the spring bar (#3) perpendicular to the shank with the trunnion ribbed side up. Insert the bottom knob of the trunnion into the lower pocket of the head assembly. Rotate the spring bar up so the top knob of the trunnion passes through the entrance slot in the upper pocket of the head assembly.
Using the trailer tongue jack, lower the coupler onto the trailer ball and close the coupler latch. Do not retract the jack fully at this time; allow the jack to support some of the tongue weight. Then raise the front of the trailer and back of the tow vehicle approximately 3" with the tongue jack. This will allow easier installation of the chains onto the hook of each lift bracket.
1. Position the spring bar parallel with the trailer tongue. Hold the lift chain vertical alongside the trailer tongue. Position the lift bracket on the trailer tongue so the chain is centered between the bracket. 2. Mark the location of the lift bracket on the trailer tongue. 3. Depending on frame width, install a 1/2" - 13 bolt (#15 or #16) into the threaded hole in the lift bracket. Turn the bolt until it contacts the trailer tongue, then tighten 1/4 turn with a wrench. Do not overtighten. If your trailer has an obstruction on one side of the frame, order an offset lift bracket kit from your dealer.
1. Install flat washers (#20) over the short adjustment rod (#18). 2. Install the head on the shank at the marked position. 3. Insert a 3/4" - 10 x 5" hex bolt (#8) through a 3/4" conical washer (#9) and through the lower hole in the head channel. Rotate the head forward as far as it will go. The ball should be vertical or tilted slightly back. If not, replace the short rod with the long rod (#19) or change the number of washers. 4. Install the remaining 3/4" - 10 x 5" bolt (#8) with a 3/4" conical washer (#9) through the upper slotted hole. Install a second 3/4" conical washer (#9) on both bolts. Start 3/4" - 10 nylock nuts (#10) and finger tighten only.
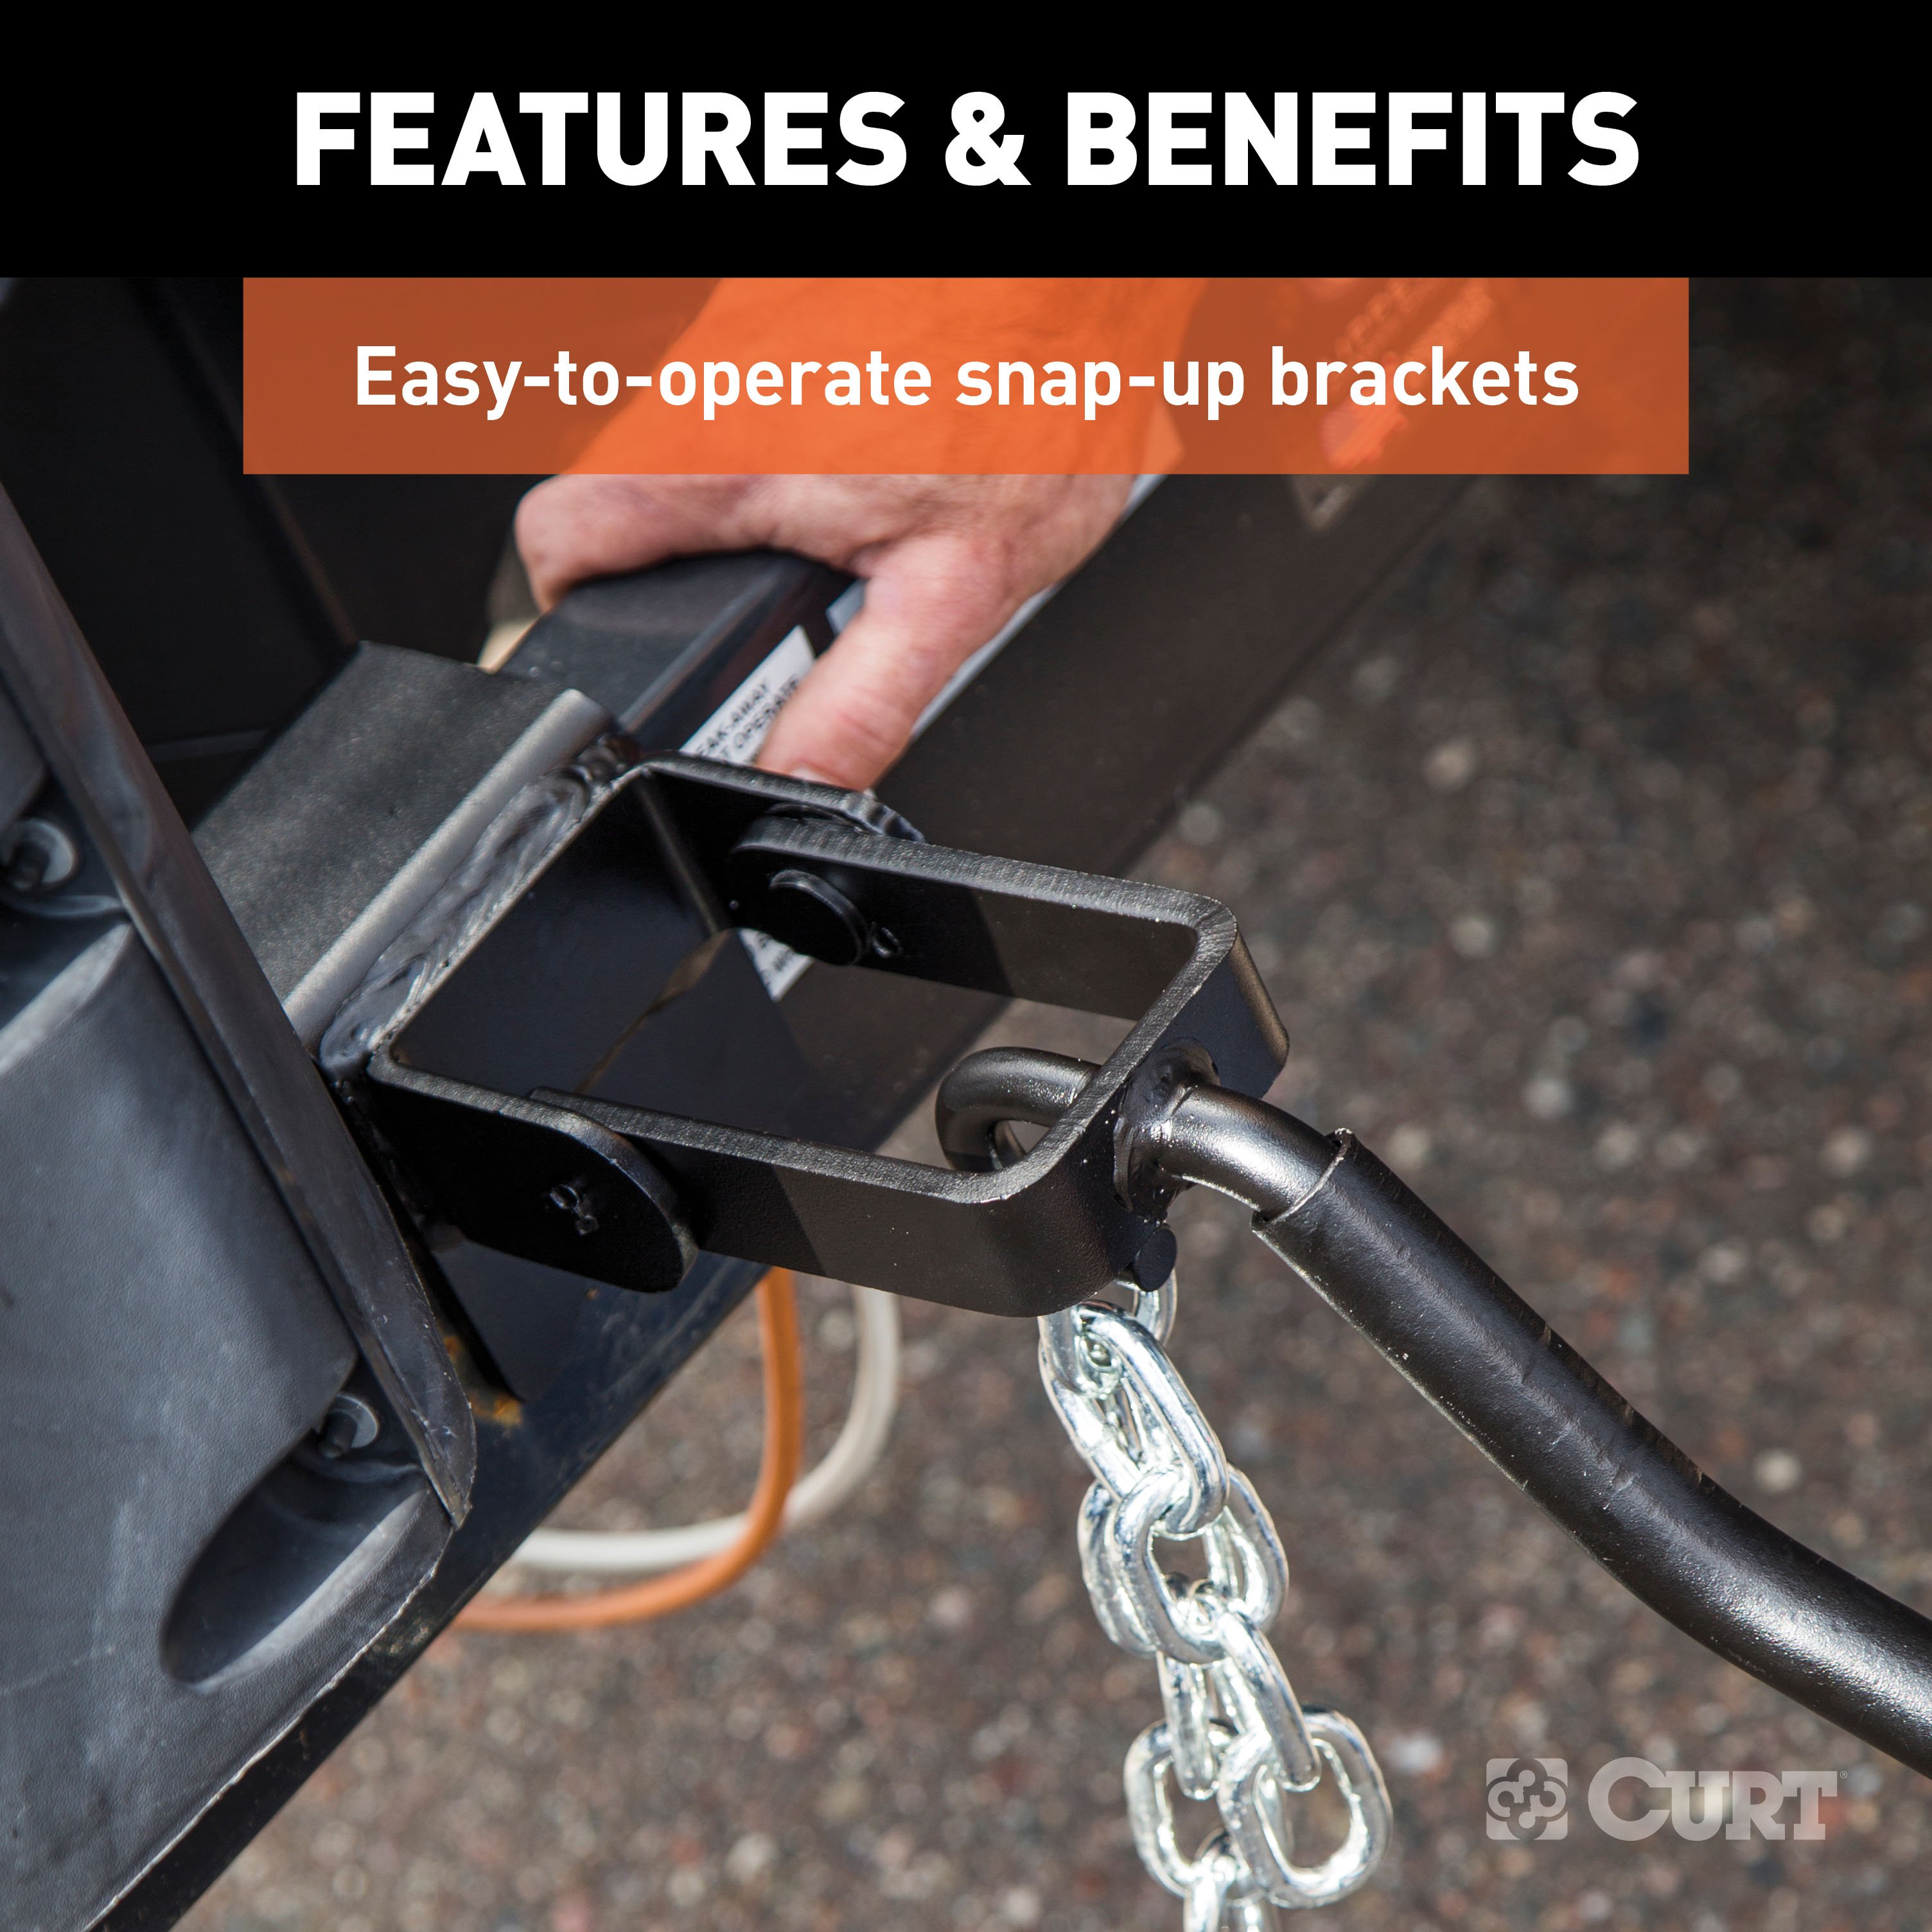
1. Slip the marked chain link over the hook on the lift bracket. 2. Insert the lift handle onto the heavier rod above the lift chain attachment. 3. Using the handle, raise the lift bracket up and over center so it is fully seated against the mounting bracket. 4. Secure by inserting the clip through the lift bracket and mounting bracket. Ensure the chain is not twisted and the hook extends through the link. Before raising or lowering, raise the front of the trailer to reduce spring bar chain tension for easier and safer operation.
1. Remove the locking pin from the lift bracket. 2. Insert the lift handle onto the rod above the lift chain attachment. 3. Carefully lower the bracket with the handle. It will require effort to bring the bracket over center and then to resist the chain tension as the bracket rotates downward. Before raising or lowering, raise the front of the trailer to reduce spring bar chain tension for easier and safer operation.
After raising and lowering the lift bracket, the vehicle should settle evenly within 1/2". Re-measure the front and rear bumper reference points. If the front has settled much more than the rear, increase the number of chain links between the lift bracket and the spring bar. The spring bars should be nearly horizontal when correct height is achieved. When even settling and correct spring bar position have been achieved, mark the spring bar chain at the hooked position with paint for future hook-up reference.
Tighten the 3/4" - 10 x 5" hex bolts (#8) and nylock nuts (#10) to 200 ft. lbs. torque. Failure to tighten bolts may result in fastener loss or failure.
Tighten the 1/2" head attachment bolts (#15 and #16) to 75 ft. lbs. torque. Failure to tighten bolts may result in fastener loss or failure.
Tighten the set-screw to 50 ft. lbs. torque.
There should be at least 5 links minimum between the lift bracket and the spring bar to allow movement when turning. If fewer than 5 links are used, the chain and snap-up bracket will bind. The number of links should be the same on both bars. Adjust head tilt to accomplish correct chain length.
The CURT 17333 is rated for a maximum tongue weight of 1,500 lbs when spring bars are used (1,000–1,500 lbs range). Without spring bars, the tongue weight is dependent on the trailer ball manufacturer's weight rating. Do not exceed the maximum weight rating of the trailer ball or your vehicle manufacturer's recommended towing capacity.
The CURT 17333 is rated for a maximum gross trailer weight of 15,000 lbs when spring bars are used (10,000–15,000 lbs range). Without spring bars, the maximum is 15,000 lbs, but this is dependent on the trailer ball manufacturer's weight rating. Never exceed your vehicle manufacturer's recommended towing capacity.
If the loaded trailer ball height is greater than the uncoupled height, it can cause front wheel overload and loss of rear wheel traction, leading to unstable handling. It can also reduce braking ability and create a tendency to jackknife when turning or braking at the same time. If this occurs, reduce take-up on the spring bar chains, re-measure and adjust until the proper height is obtained.
Spring bars are not required, but they are recommended. Without spring bars, the weight rating is dependent on the trailer ball manufacturer's weight rating. With spring bars, the CURT 17333 is rated for 10,000–15,000 lbs gross trailer weight and 1,000–1,500 lbs tongue weight. Always use a pair of spring bars if you use them, and ensure they are of the same weight rating.
Before towing, check the following: pin and clip securing shank to receiver; head to shank fasteners; trailer ball nut; coupler latch; snap-up bracket bolt; safety chains; lights and turn signals; and braking system including breakaway switch. At the beginning of every tow day, check all trailer to towing vehicle connections for security and operation.
Keep the socket-mounted ends of the spring bars and lock pins in the head assembly free from dirt and well lubricated. Excessive wear in this area may indicate overload or inadequate lubrication. Keep the head assembly exterior clean and do not allow dirt or stones to lodge between the spring bars and the head. Keep hitch parts painted to prevent rust and maintain good appearance; do not paint over labels. Keep lift brackets clean and lubricated to ensure ease of operation. Coat clevis pins in the head assembly with fibrous grease. Clean the ball and coupler socket and coat the ball lightly with grease. Check spring bar chains and U-bolts for wear and security; replace if worn.
At the beginning of every tow day, check all trailer to towing vehicle connections for security and operation. Periodically check the condition of all your towing equipment and keep it in top condition. Check to see that all trailer balls are properly tightened and that the locking pins in the lift brackets are securely in place. Also check that the hitch pin is in place and secure. Check that all electrical hook-ups are in working order and that the security chains are securely connected.
No, trailers should not be occupied while being towed. Most states enforce this regulation.
Tongue weight should be 10–15% of the gross trailer weight for most trailers. Too low a tongue weight often produces a tendency to sway.
A sway control device is recommended, as it can help minimize the effects of sudden maneuvers, wind gusts and buffeting caused by passing vehicles. Use of a sway control device is recommended for trailers with a large surface area, such as travel trailers. The CURT 17333 head assembly will accept two sway control attachment balls.
If your trailer has a straight (pole) tongue instead of an A-frame tongue, it will be necessary to use a pole tongue adapter for hook-up of the weight distributing hitch lift brackets. This adapter must be ordered separately.
If your trailer has an obstruction on one side of the frame, order an offset lift bracket kit from your local dealer. Follow the installation instructions supplied with that kit for proper installation.
Surge brakes require a small amount of fore and aft movement for their actuating mechanism to function correctly. To avoid restricting movement, it may be necessary to increase the number of chain links between the lift brackets and spring bars by tilting the head down. Tighten the two 3/4" bolts to 200 ft. lbs. torque once head angle is set. Surge brake actuators not designed for use with a weight distributing hitch may bind and not operate freely. Check surge brake operating instructions for specific requirements regarding their use with weight distributing hitches.
Yes, remove the weight distribution hitch from the trailer hitch on the towing vehicle when not towing a trailer. This reduces the chances of striking the weight distribution hitch on the driveway or other objects and reduces the chance of parts being stolen.
Always hook up all of the trailer lights, electric brakes and break-away switch connections whenever the trailer is being towed.
Unless specified by the towing vehicle or trailer manufacturer, tires should be inflated to their maximum recommended pressure.
No, the CURT 17333 includes 2 spring trunnion bars. Spring bars are not required to use the hitch, but they are recommended and increase the weight rating from 15,000 lbs (without bars) to 10,000–15,000 lbs (with bars).
No drilling is required. The hitch uses existing receiver tube on the tow vehicle and threaded holes on the lift brackets. The lift bracket is secured with a 1/2" - 13 bolt that is turned into the threaded hole until it contacts the trailer tongue, then tightened 1/4 turn.
Tighten 3/4" bolts and locknuts to 200 ft. lbs. Tighten 1/2" head attachment bolts to 75 ft. lbs. Tighten set-screw to 50 ft. lbs. Failure to tighten bolts may result in fastener loss or failure.
With spring bars: 10,000–15,000 lbs gross trailer weight, 1,000–1,500 lbs tongue weight. Without spring bars: 15,000 lbs maximum gross trailer weight (dependent on trailer ball rating). Never exceed your vehicle manufacturer's recommended towing capacity.
Check: pin and clip securing shank to receiver, head to shank fasteners, trailer ball nut, coupler latch, snap-up bracket bolt, safety chains, lights and turn signals, and braking system including breakaway switch. At the beginning of every tow day, check all trailer to towing vehicle connections for security and operation.
There must be at least 5 links minimum between the lift bracket and spring bar to allow movement when turning. If fewer than 5 links are used, the chain and snap-up bracket will bind. The number of links should be the same on both bars.
Increase the number of chain links between the lift bracket and the spring bar. Re-measure the front and rear bumper reference points. The vehicle should settle evenly within 1/2". The spring bars should be nearly horizontal when correct height is achieved. If the front continues to settle more than the rear, continue adjusting the chain links until even settling is achieved.
Before raising or lowering the lift bracket, raise the front of the trailer to reduce the spring bar chain tension. This will make the lift bracket operation easier and safer. If the bracket is still difficult to operate, check that the spring bar chains and U-bolts are not worn or damaged, and ensure all parts are well lubricated with heavy, fibrous grease.
If the lift chain is angled fore or aft at the top within the lift bracket, it may catch on the bracket when turning. This could damage the lift bracket or pry it open. Reposition the lift bracket on the trailer tongue so that the chain is centered between the lift bracket. The chain must be held vertical alongside the trailer tongue.
If the ball is not vertical or tilted slightly back after rotating the head forward, remove the short adjustment rod (#18) and replace it with the long adjustment rod (#19). You can also change the number of washers on the rod and re-assemble. Ensure the ball height matches your target uncoupled ball height determined during the initial measurement steps.
Reduce take-up on the spring bar chains, re-measure the ball height and adjust until the proper height is obtained. The loaded ball height must never exceed the uncoupled ball height, as this can cause front wheel overload, loss of rear wheel traction, unstable handling, reduced braking ability, and a tendency to jackknife when turning or braking.
Surge brake actuators not designed for use with a weight distributing hitch may bind and not operate freely. Check your surge brake operating instructions for specific requirements regarding their use with weight distributing hitches. You may need to increase the number of chain links between the lift brackets and spring bars by tilting the head down to allow more fore and aft movement for the brake actuating mechanism.
| Kit # | Hitch # | GTW | TW | Bar Length | Kit Includes |
|---|---|---|---|---|---|
| -- | 17300 | 5,000 - 6,000 lbs. | 500 - 600 lbs. | 30-5/8" | -- |
| -- | 17302 | 8,000 - 10,000 lbs. | 800 - 1,000 lbs. | 30-5/8" | -- |
| 17322 | 17332 | 8,000 - 10,000 lbs. | 800 - 1,000 lbs. | 28-3/8" | Sway control (17200), pre-torqued 2-5/16" trailer ball (40006) and chains pre-assembled to spring bars |
| 17422 | 17333 | 10,000 - 15,000 lbs. | 1,000 - 1,500 lbs. | 28-3/8" | Sway control (17200), pre-torqued 2-5/16" trailer ball (40030) and chains pre-assembled to spring bars |
On Sale Today
Original price was $686.95. Current price is $425.99.You save $260.96 (38%)
Free Shipping
Ships free on all orders
 Authorized Dealer

Quick Ship
In stock and ready to ship — order now!
Shipping from Eau Claire, WIFREE SHIPPING
Estimated delivery Mon, Sep 28 - Wed, Sep 30
Order before 2 PM EST Monday–Friday for same-day processing
Guaranteed safe & secure checkout


Total for 4 items:
$685.13$1,066.05
No reviews have been added for this product.