
Fulton XLT Marine Trailer Winch, Powered, 10,000 lbs. Capacity, 15 ft. StrapFultonOriginal price was $607.50. Current price is $598.26.Out of Stock
View productOur in-house experts typically reply within one business day.

Fulton




Always the correct part
We know our products
Quality Products
Free Shipping!
Always the correct part
We know our products
Quality Products
Free Shipping!
On Sale Today
Original price was $560.00. Current price is $422.34.You save $137.66 (25%)
Free Shipping
Ships free on all orders
 Authorized Dealer

Quick Ship
In stock and ready to ship — order now!
FREE ShippingFREE SHIPPING
Estimated delivery Sat, Oct 17 - Tue, Oct 20
Order before 2 PM EST Monday–Friday for same-day processing
Guaranteed safe & secure checkout

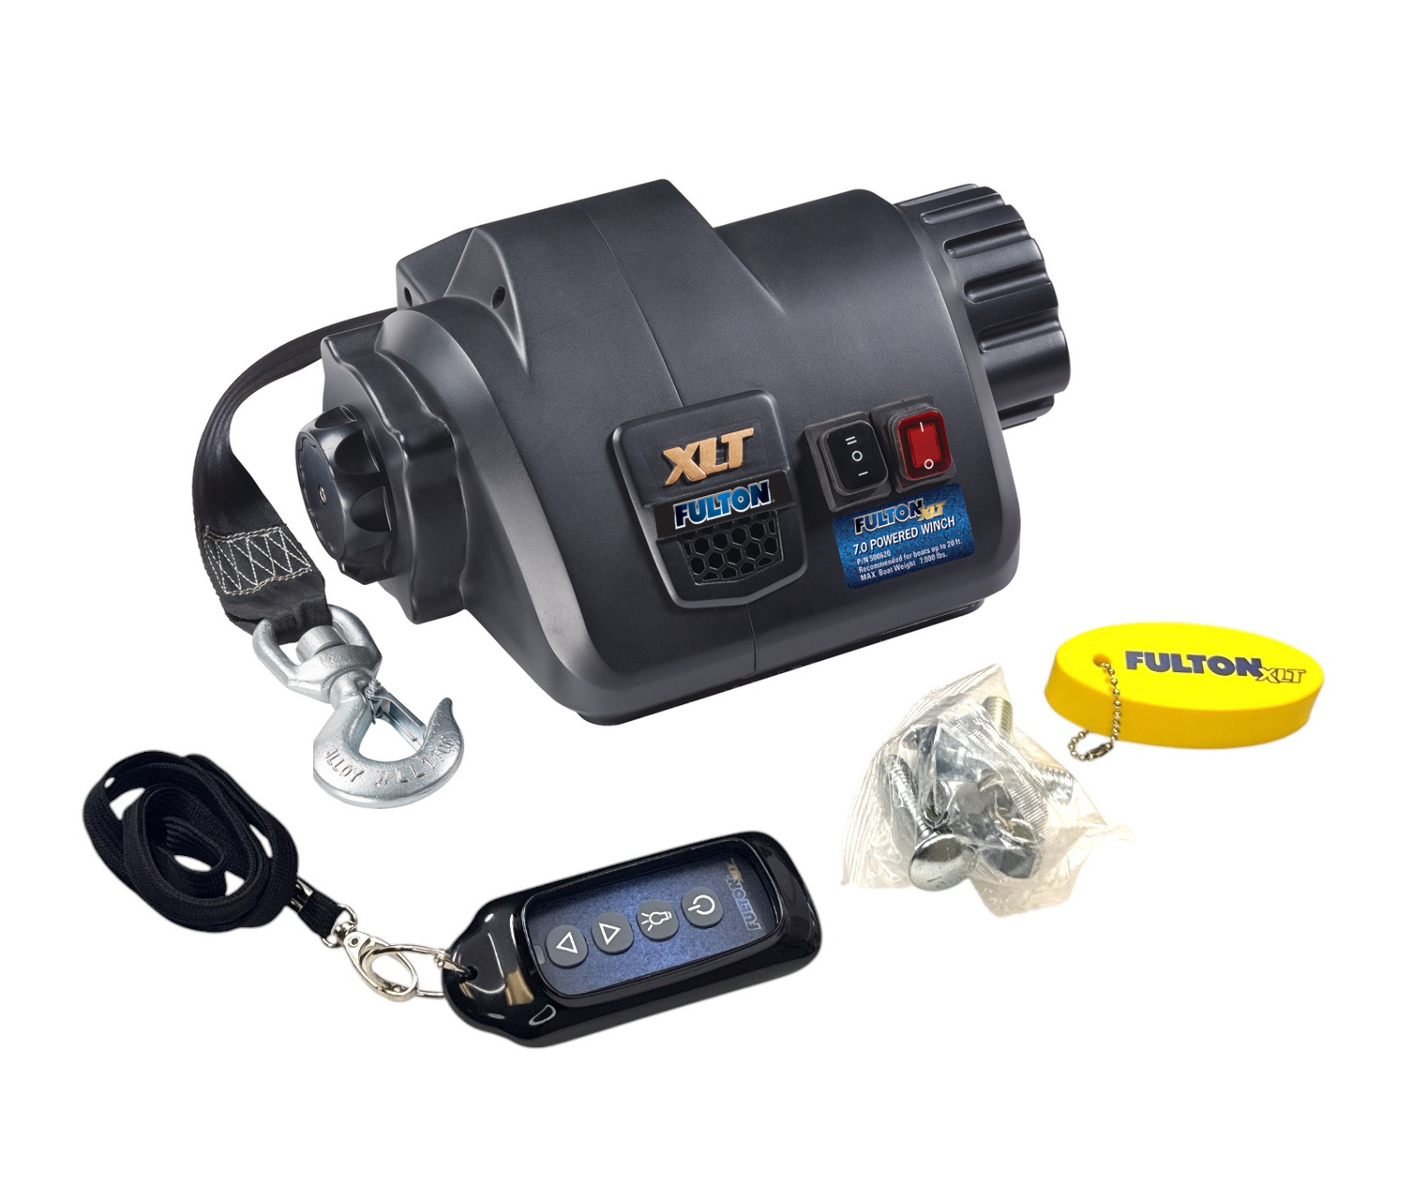
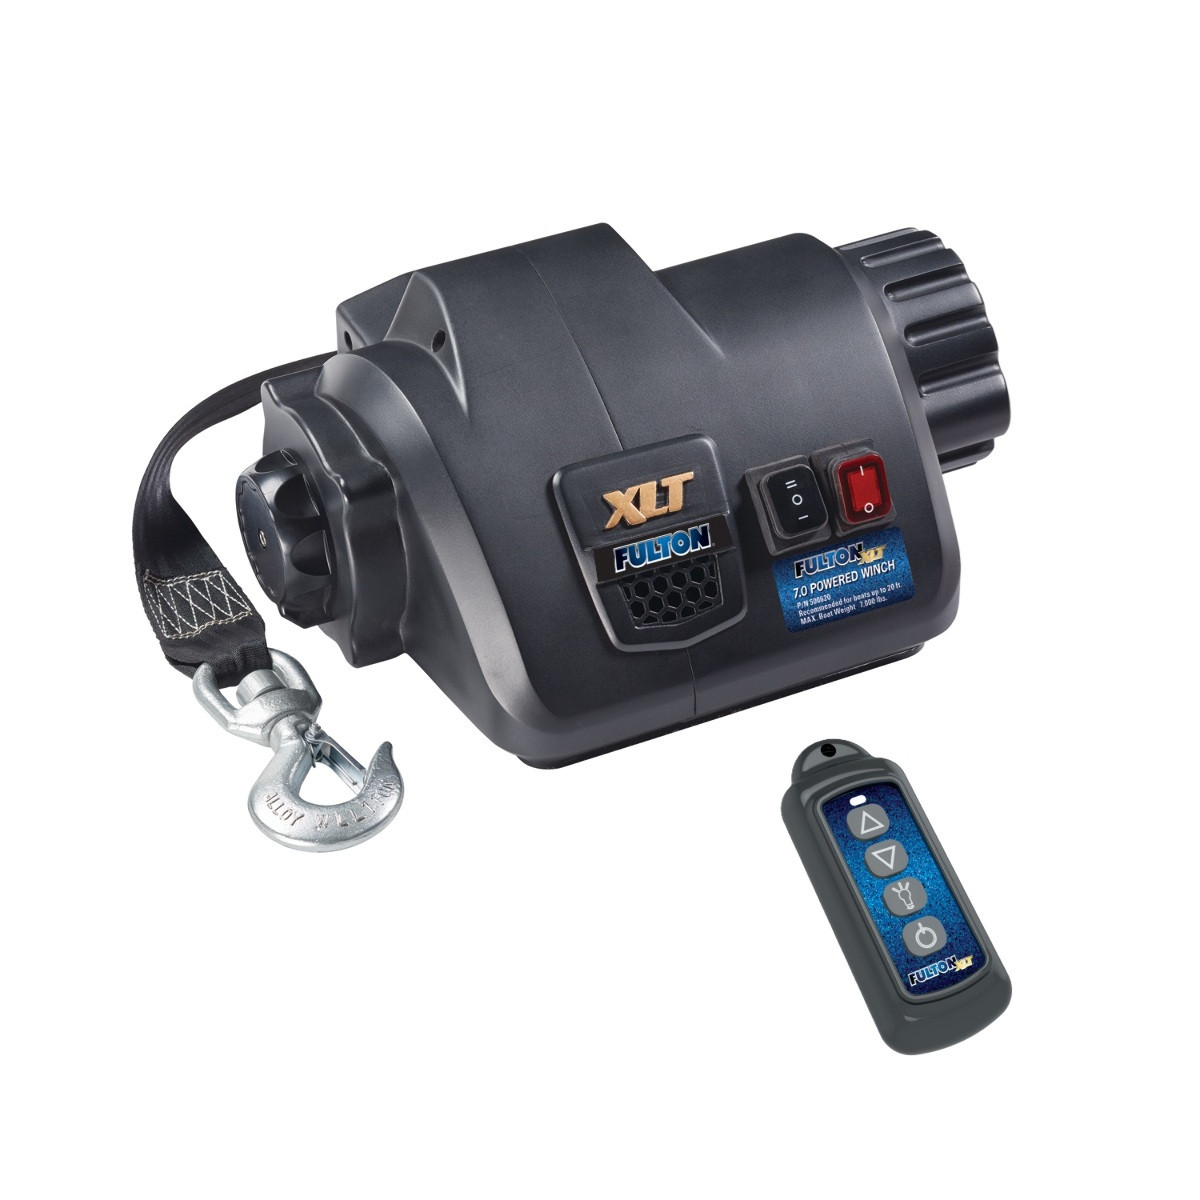
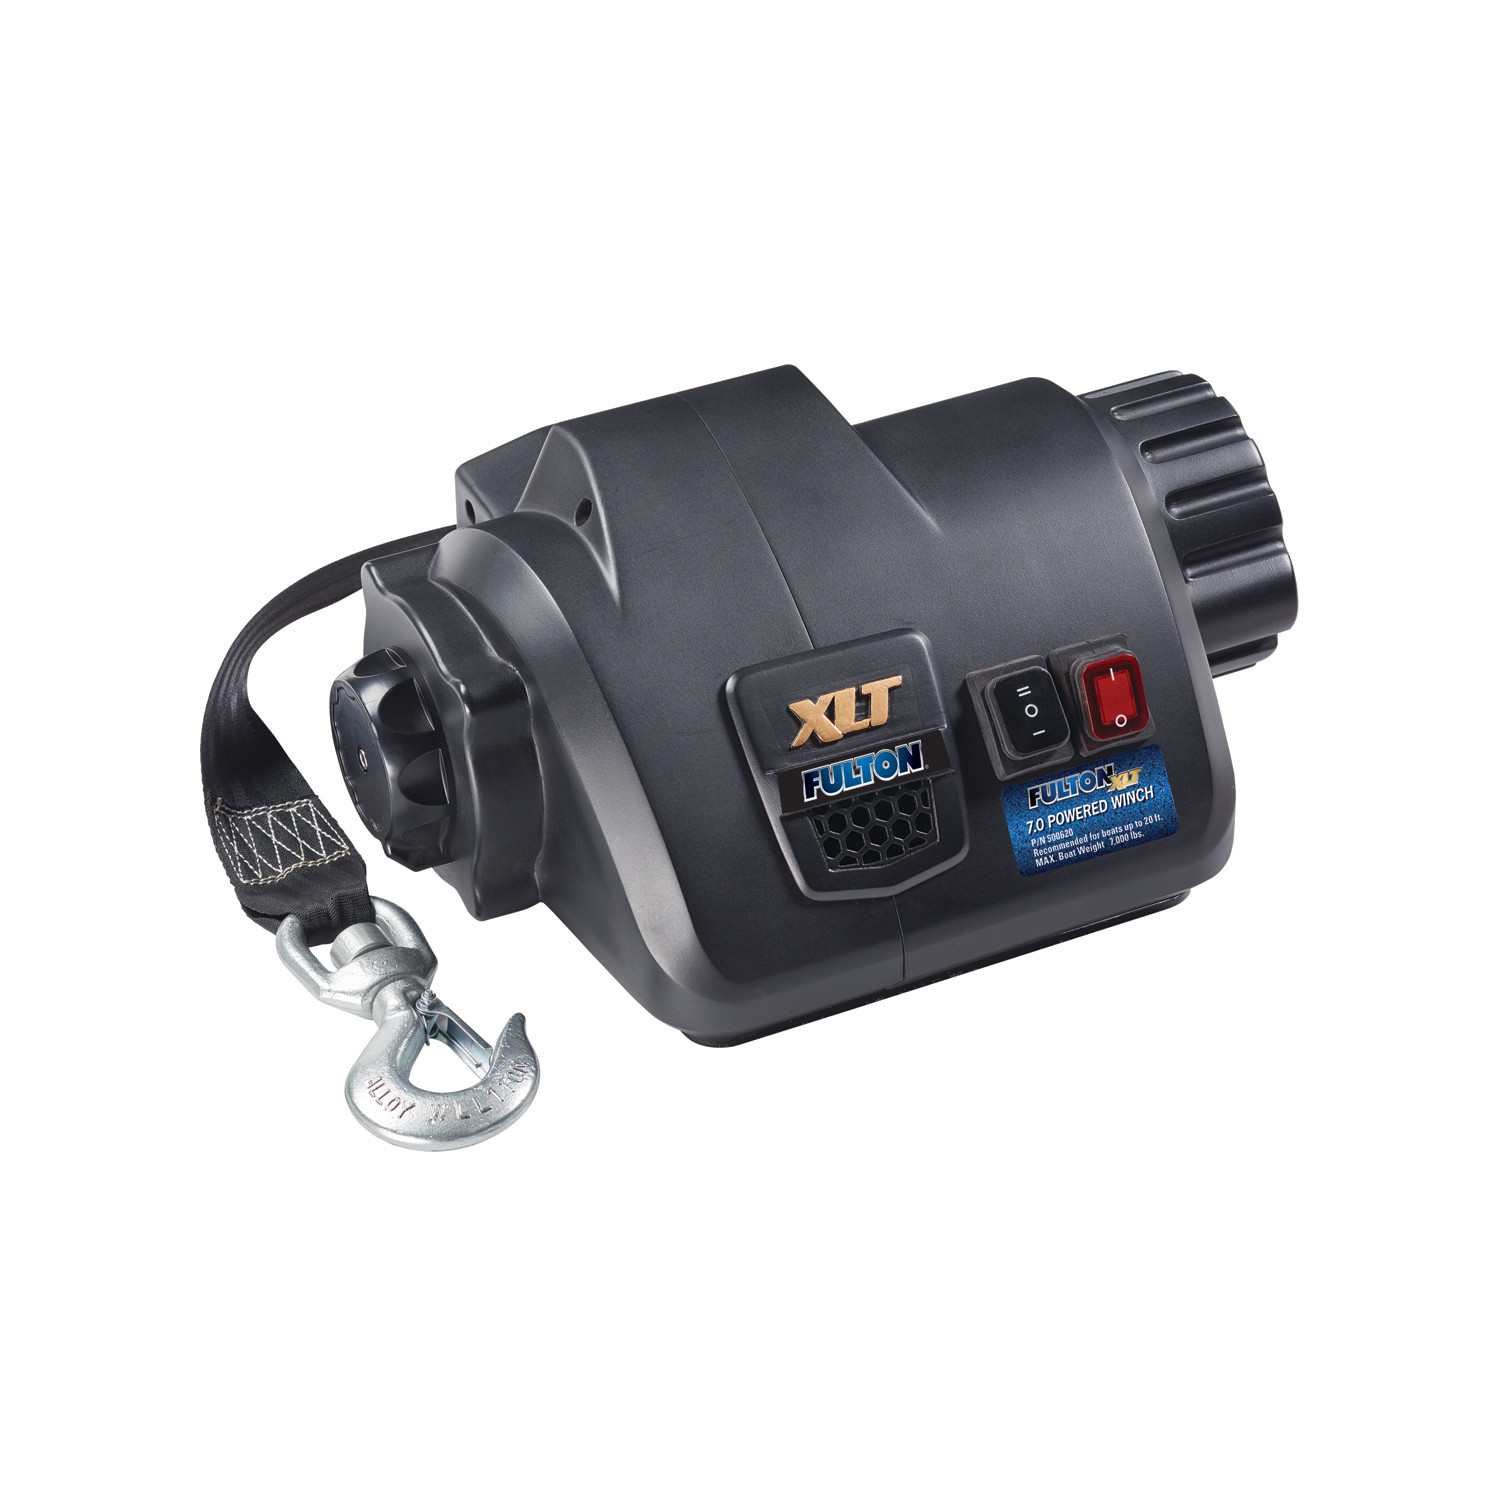
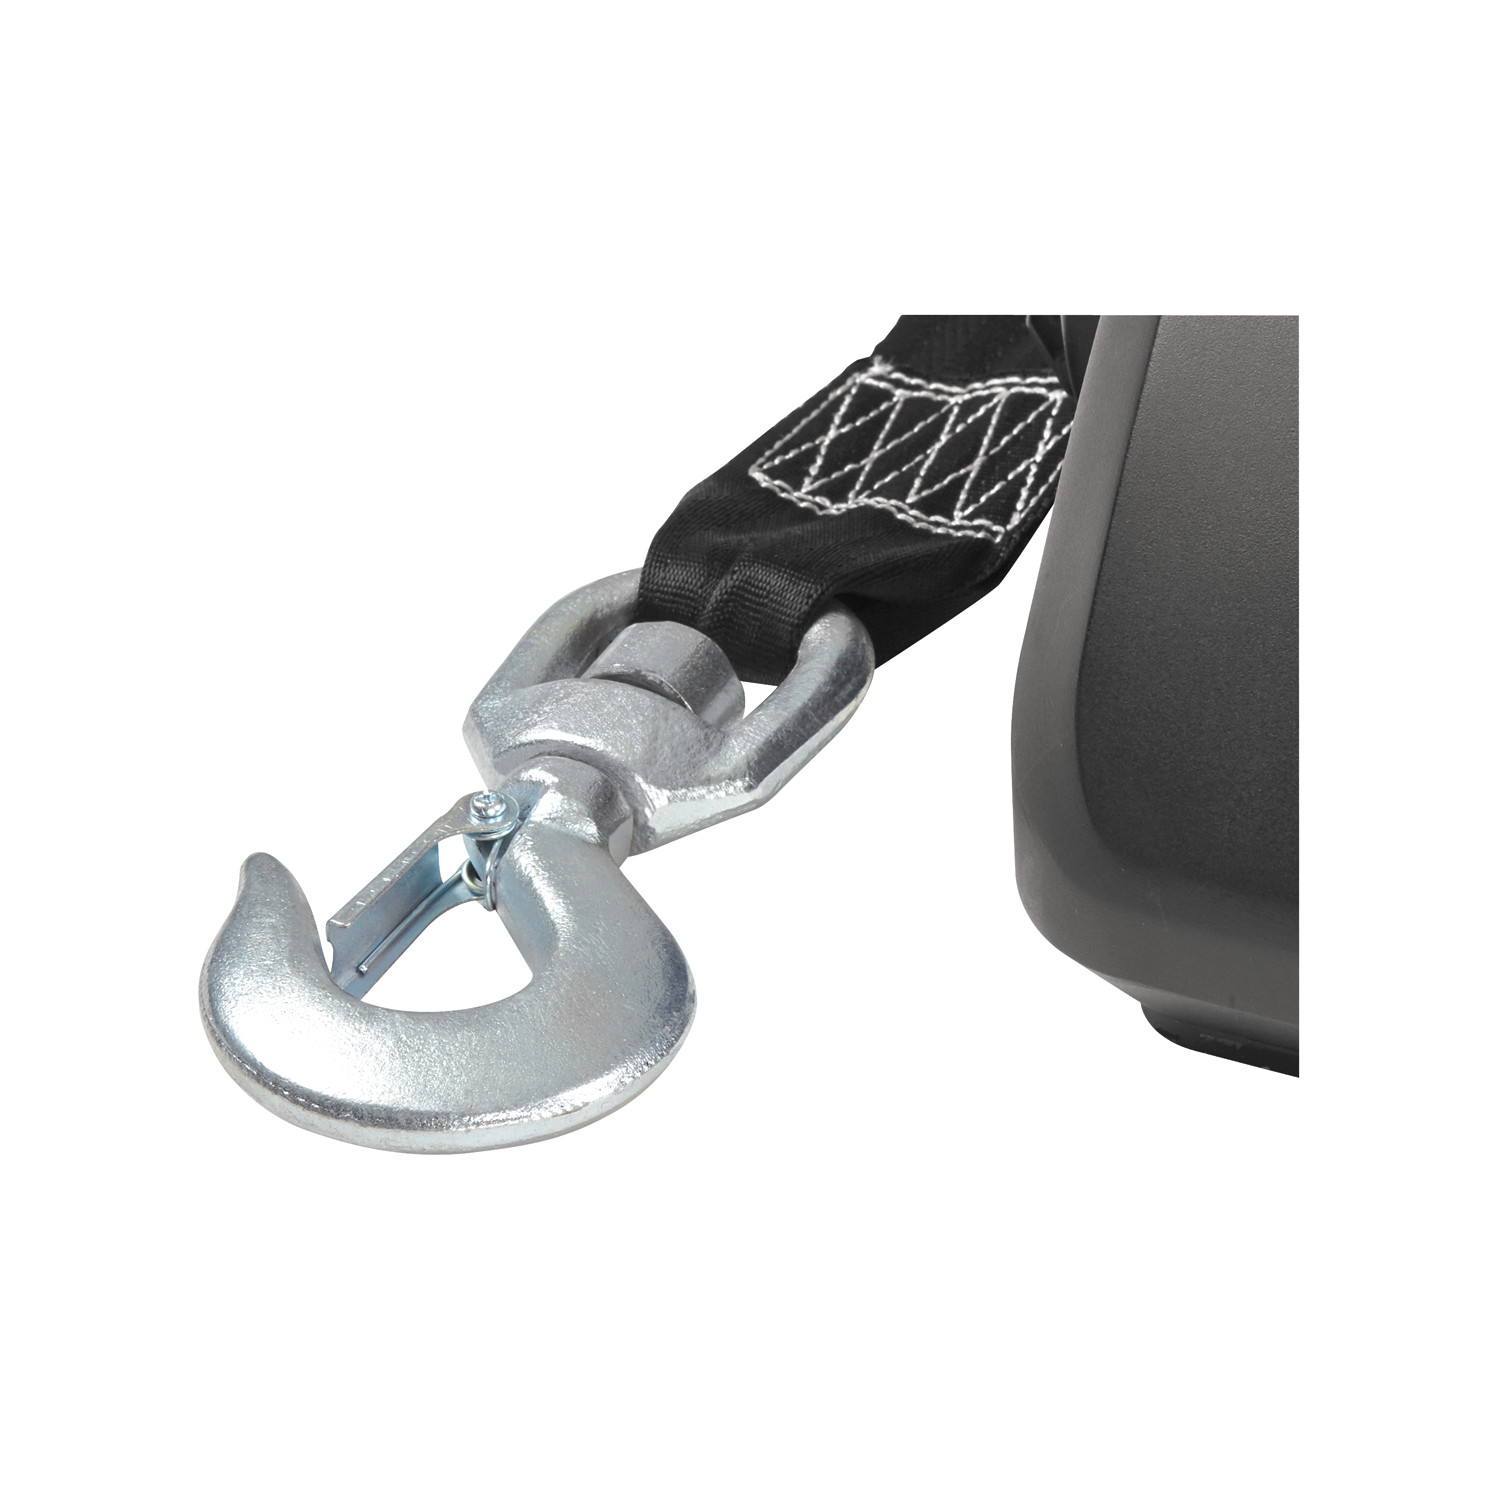
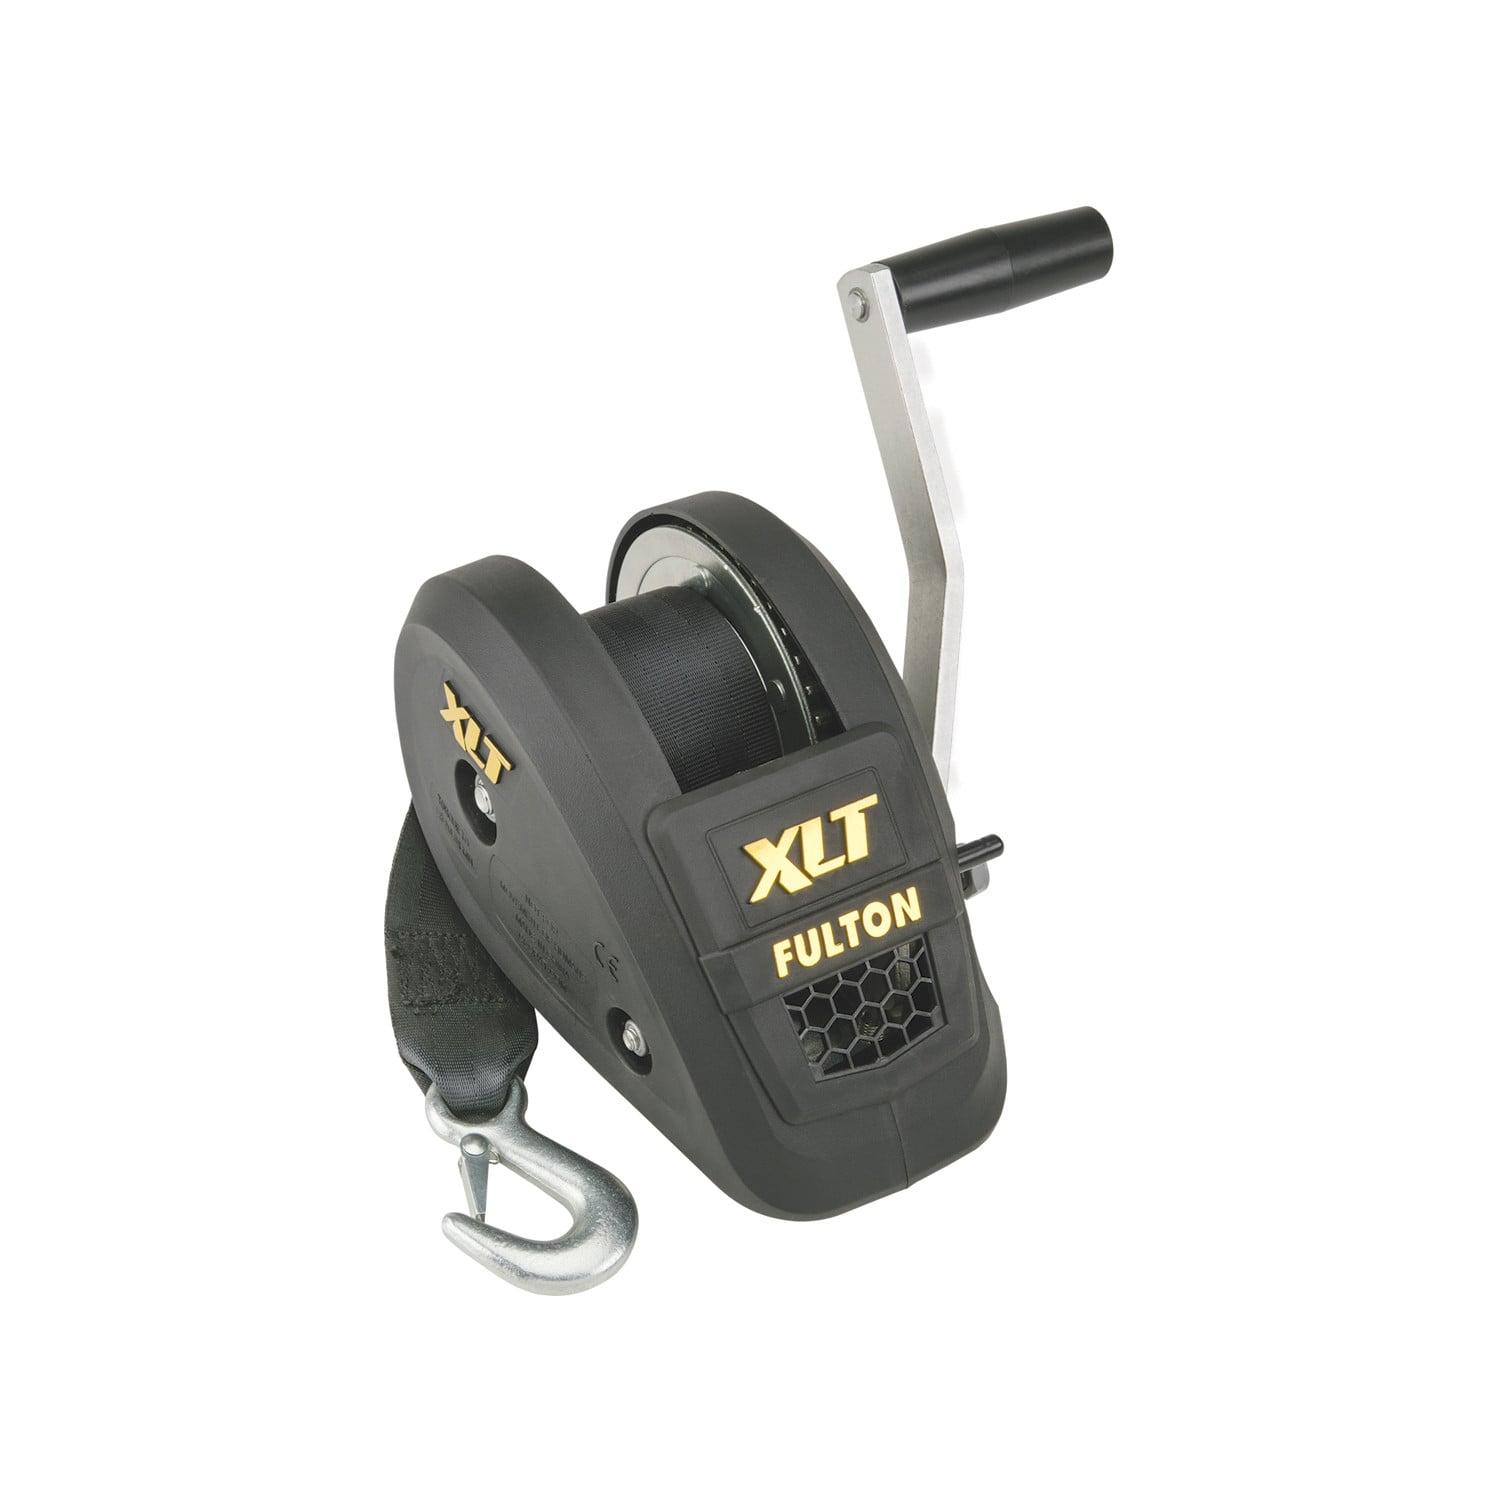
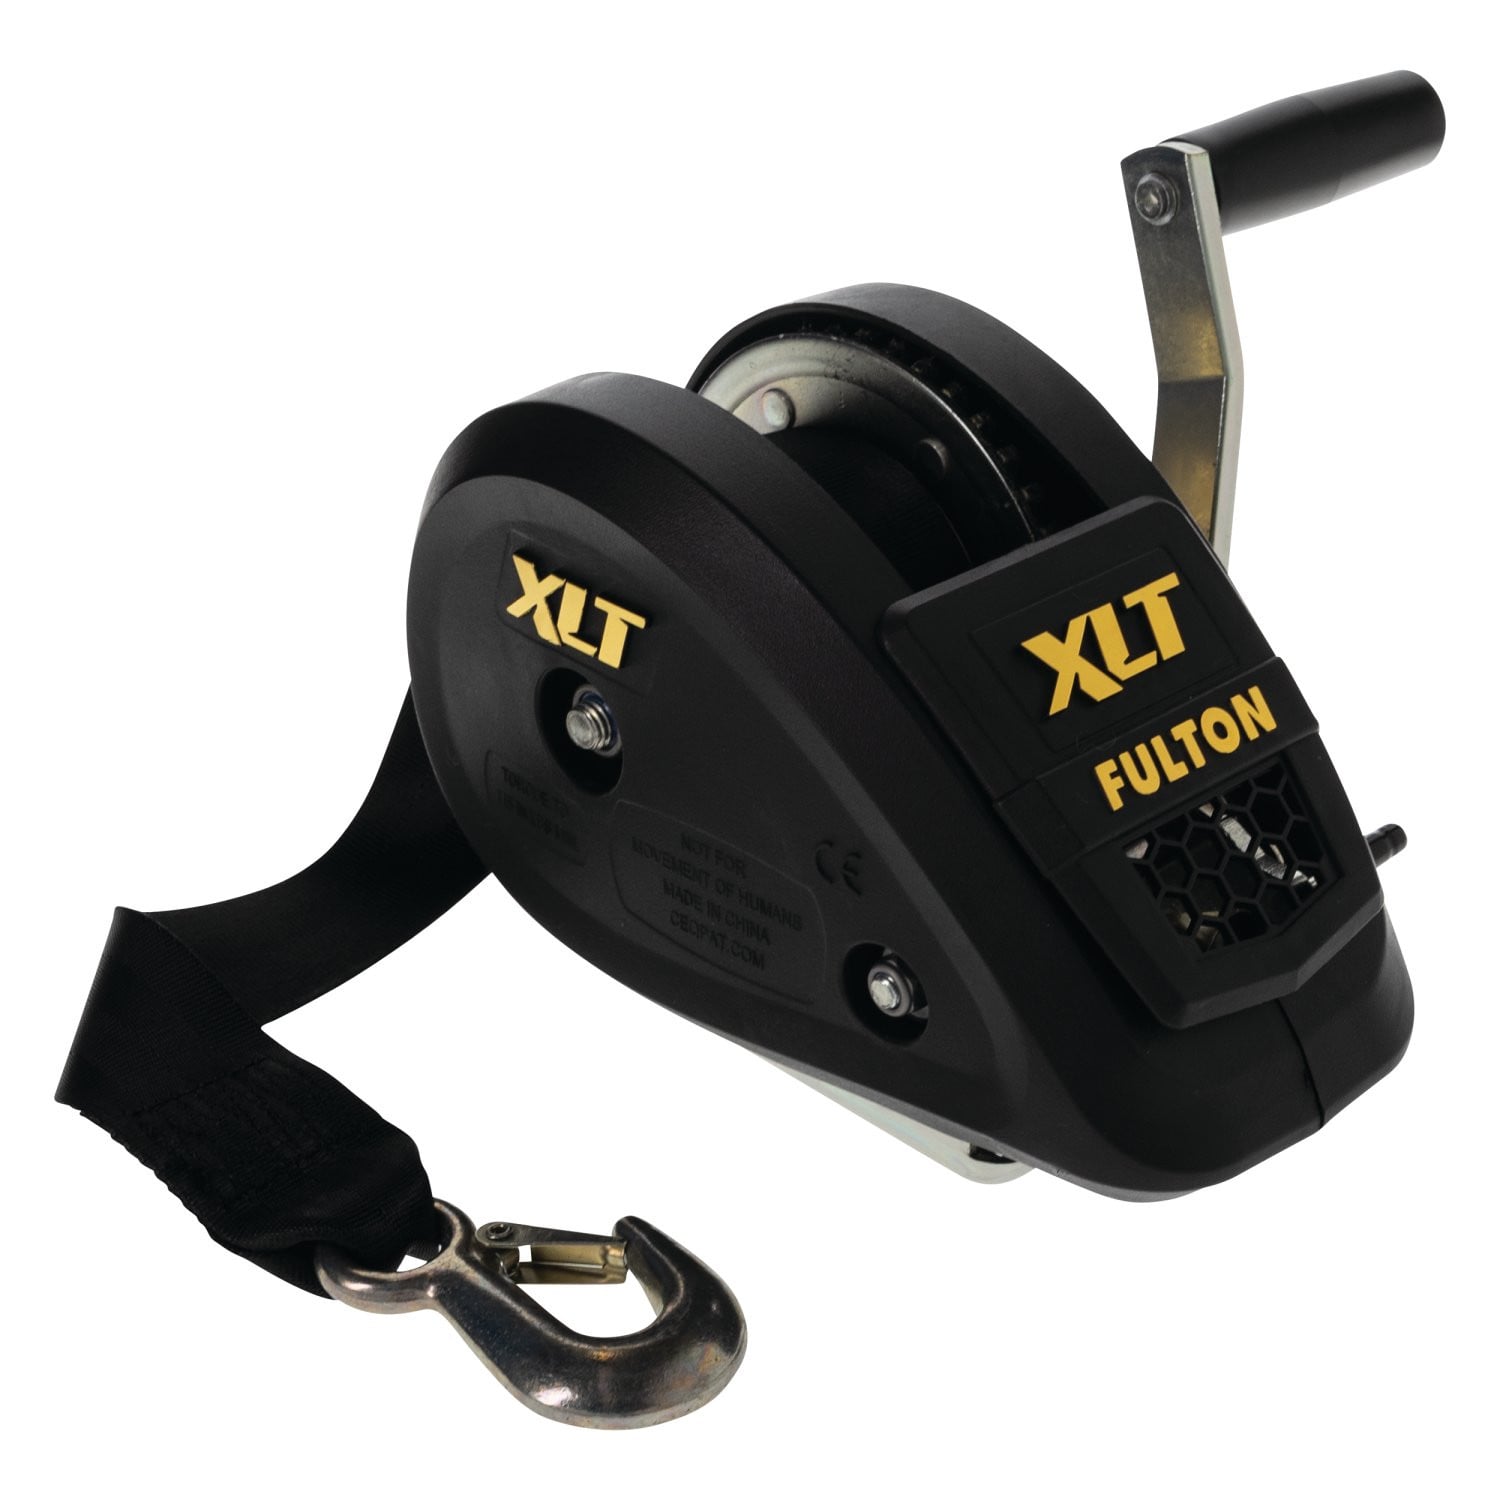
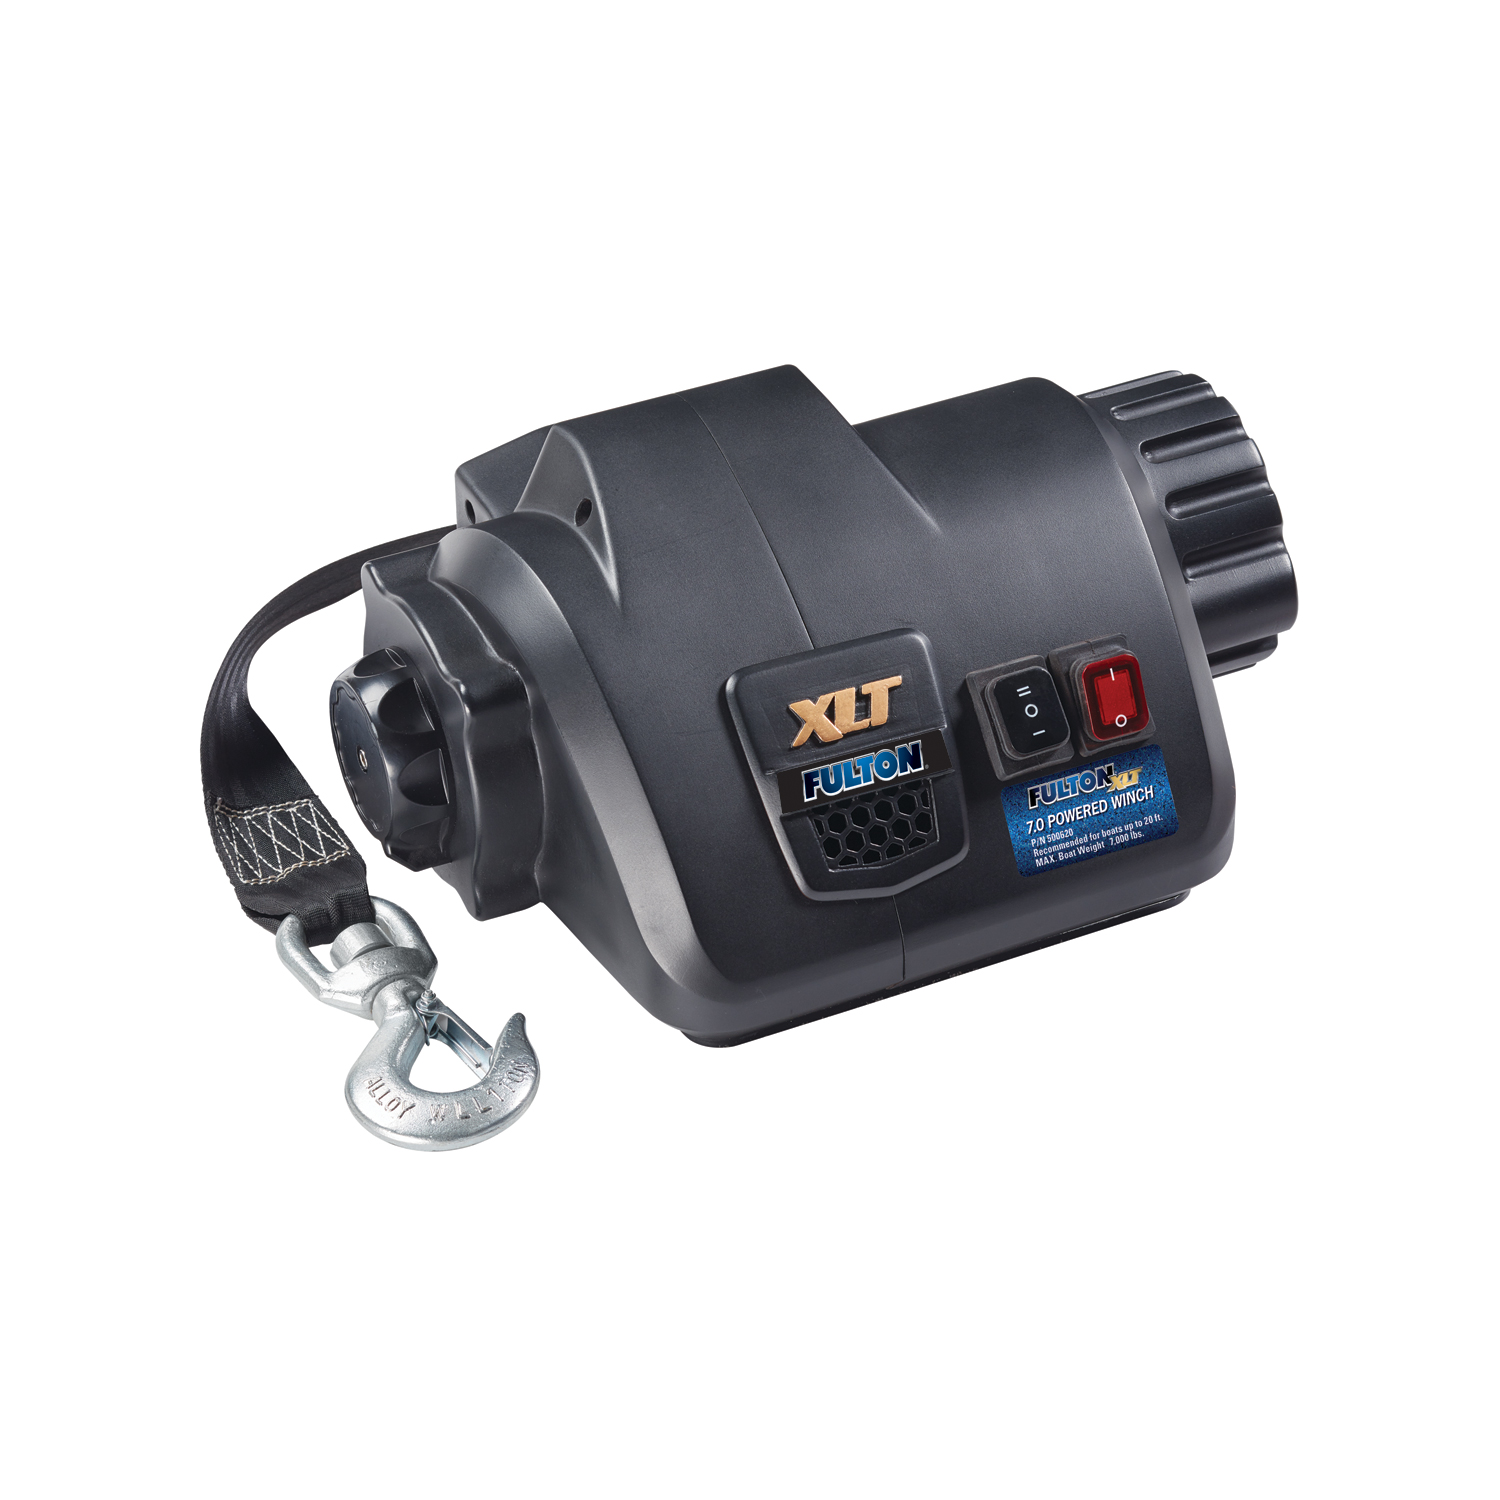
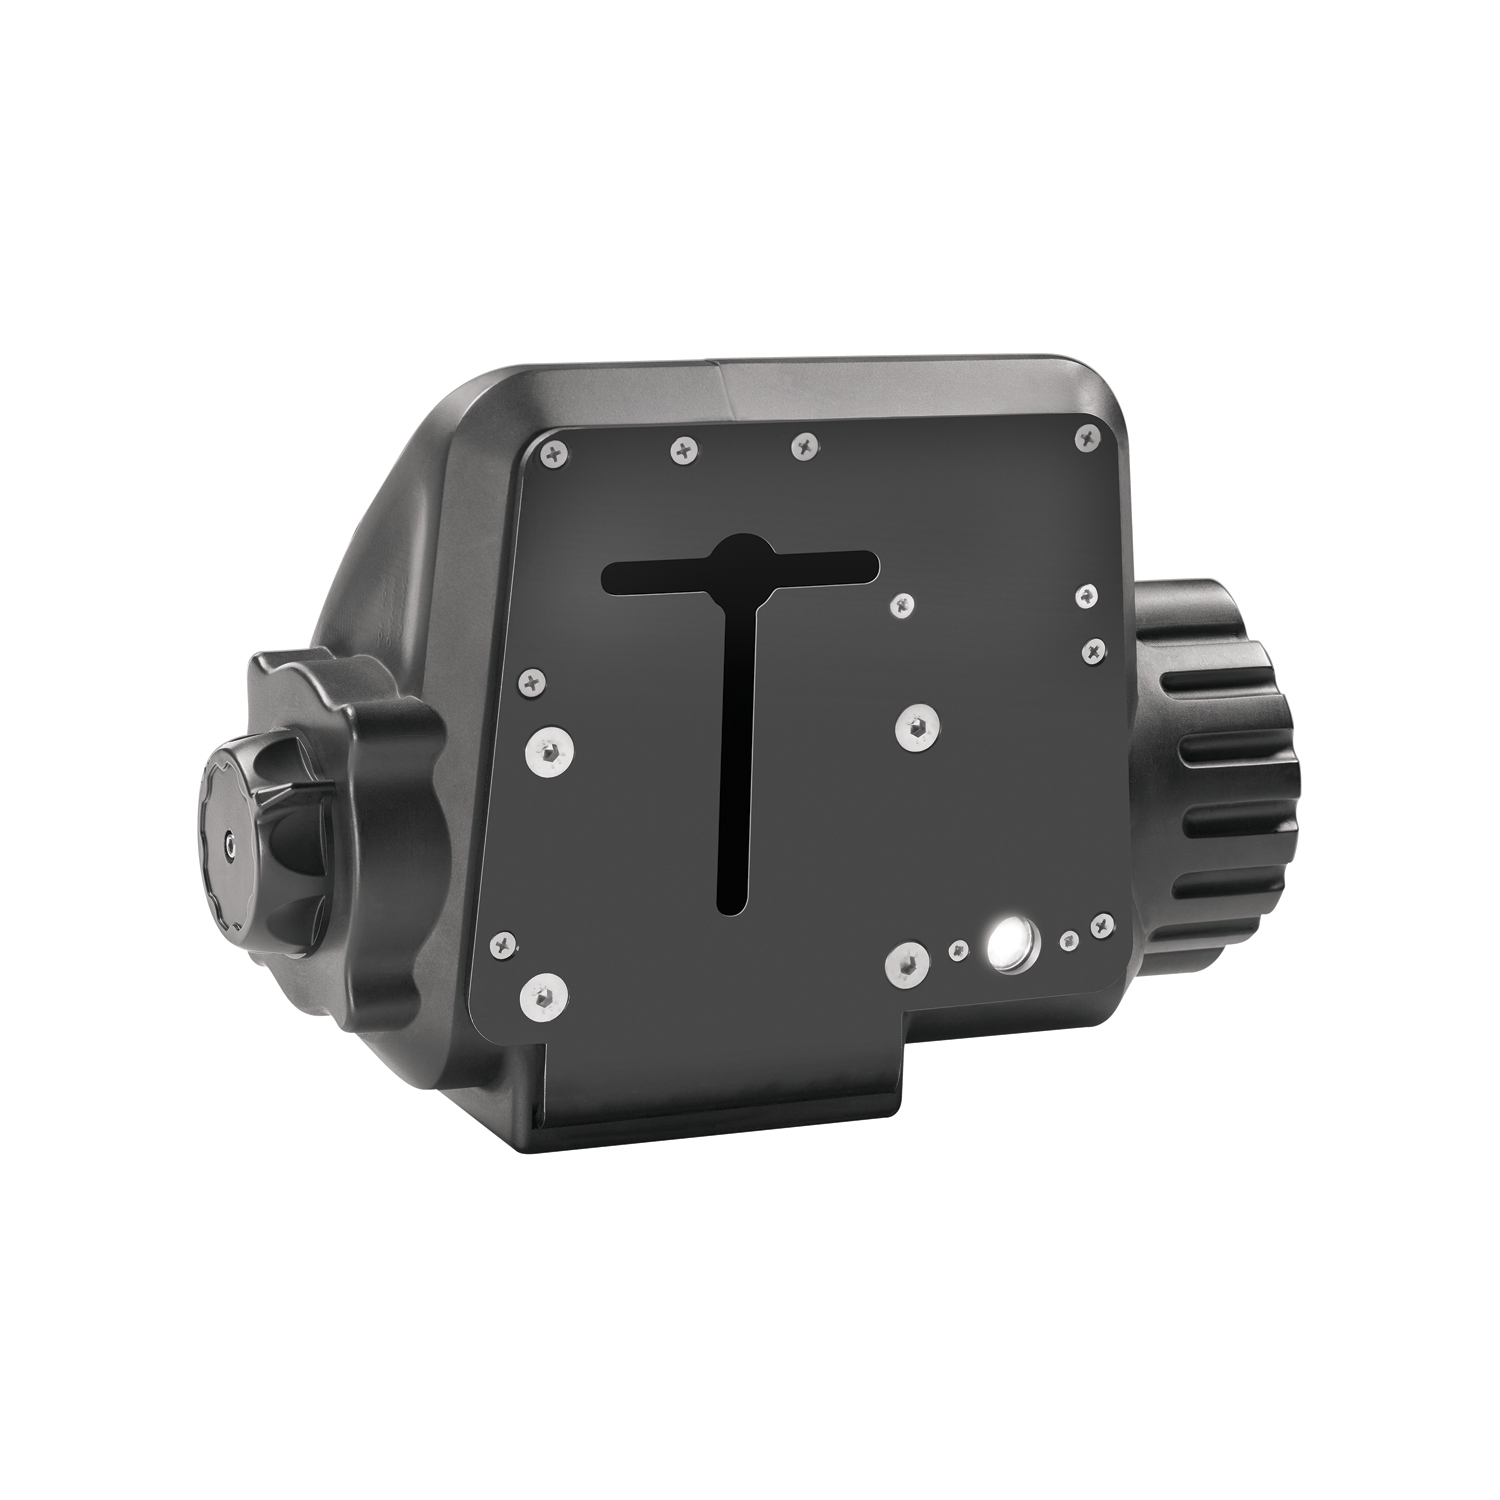
Put power were you need it most with the Fulton XLT Powered winch. Maximize you enjoyment of your boating experience by minimizing your efforts to load and unload your boat with the FULTON XLT Powered Winch
| BRAND: | FULTON |
| PART NUMBER: | 500620 |
| WARRANTY: | LIMITED 5 YEAR WARRANTY |
| WEIGHT: | 24.7 LBS |
| CAPACITY: | 7,000 LBS. |
| UNIVERSAL OR SPECIFIC FIT: | UNIVERSAL |
| TYPE: | Powered |
| CABLE LENGTH: | 20 FT. |
| REMOTE INCLUDED: | YES |
| REMOTE TYPE: | WIRELESS |
| VOLTAGE: | 12 V |
| BRAKE ACTIVATION: | ELECTRIC |
| RATED LINE PULL: | 7,000 LBS. |
| MATERIAL: | STEEL |
| FREE SPOOLING: | YES |
| POWER OUT: | YES |
| HARDWARE INCLUDED: | YES |
| HOUSING MATERIAL: | PLASTIC |
| FRAME MATERIAL: | STEEL |
| COLOR: | BLACK |


Fulton has produced marine and utility trailer hardware for more than a century, and its jacks, winches and couplers are a standard for light and medium-duty trailering. The XLT and F2 series cover swivel and fixed jacks, hand and powered winches from 1,500 to 3,200 pounds, and couplers built to keep working in wet, salty conditions.
With more than a hundred years of production behind it, Fulton has become the reference point for light and medium-duty trailer hardware, particularly on the marine side. That environment is the toughest test a trailer component faces. A boat trailer is reversed into fresh or salt water on every launch and left to sit wet, which finds every weakness in plating, sealing and material choice. Fulton's stated position is that the brand performs best when the weather is at its worst, and its product engineering reflects that. It sits within the Horizon Global towing group alongside Reese, Draw-Tite, Bulldog, Tekonsha and Wesbar.
Marine and utility jacks anchor the line. The XLT Series marine jack uses a bolt-through swivel mount built from three-dimensionally formed heavy-gauge steel stampings with a proprietary bushing material, a combination chosen to minimise deflection under tongue load while keeping the swivel action working after years of exposure. The F2 Series takes corrosion resistance further as the industry's only extruded aluminium marine jack with an anodised finish, which removes the rust problem at its source rather than coating over it. The wider trailer jack range covers topwind, sidewind and drop-leg configurations.
Trailer winches pull boats onto bunks and rollers. XLT Series winches use efficient gear ratios, full-length drum bearings, oil-impregnated shaft bushings and a Comfort Grip handle that makes the last few turns under load bearable, in 1,500 and 1,800 pound capacities. F2 Series winches use an enclosed frame for a cleaner look and added protection, in 1,600, 2,000 and 3,200 pound models, including two-speed options that trade line speed for cranking effort.
Couplers complete the range, including A-frame couplers matched to common tongue sizes and load ratings, serving boat owners, utility trailer users and trailer manufacturers.
Experts available to answer your questions
Call 888-634-94945 Years
The Fulton® XLT™ Powered Marine Winch: Show Your Boat Who's Boss
The XLT 7.0 marine winch is part number 500620, and the XLT 10.0 is part number 500621. Both are 12V powered marine winches rated for intermittent duty cycle.
The XLT 7.0 is rated for a maximum recommended boat weight of 7,000 lbs in marine applications (first layer capacity). The XLT 10.0 is rated for 10,000 lbs. These ratings apply when the trailer is equipped with rollers and on a maximum incline of 20 degrees. Wooden and/or carpeted bunks will significantly reduce this capacity.
The XLT 7.0 has a rated first-layer pull capacity of 2,500 lbs. The XLT 10.0 has a rated first-layer pull capacity of 3,500 lbs. These capacities are for the first layer of strap on the drum only and are not to be used as a hoist. The winch's capacity will be reduced by approximately 10% with each additional layer added to the reel.
Both the XLT 7.0 and XLT 10.0 come with a 2" × 15' strap.
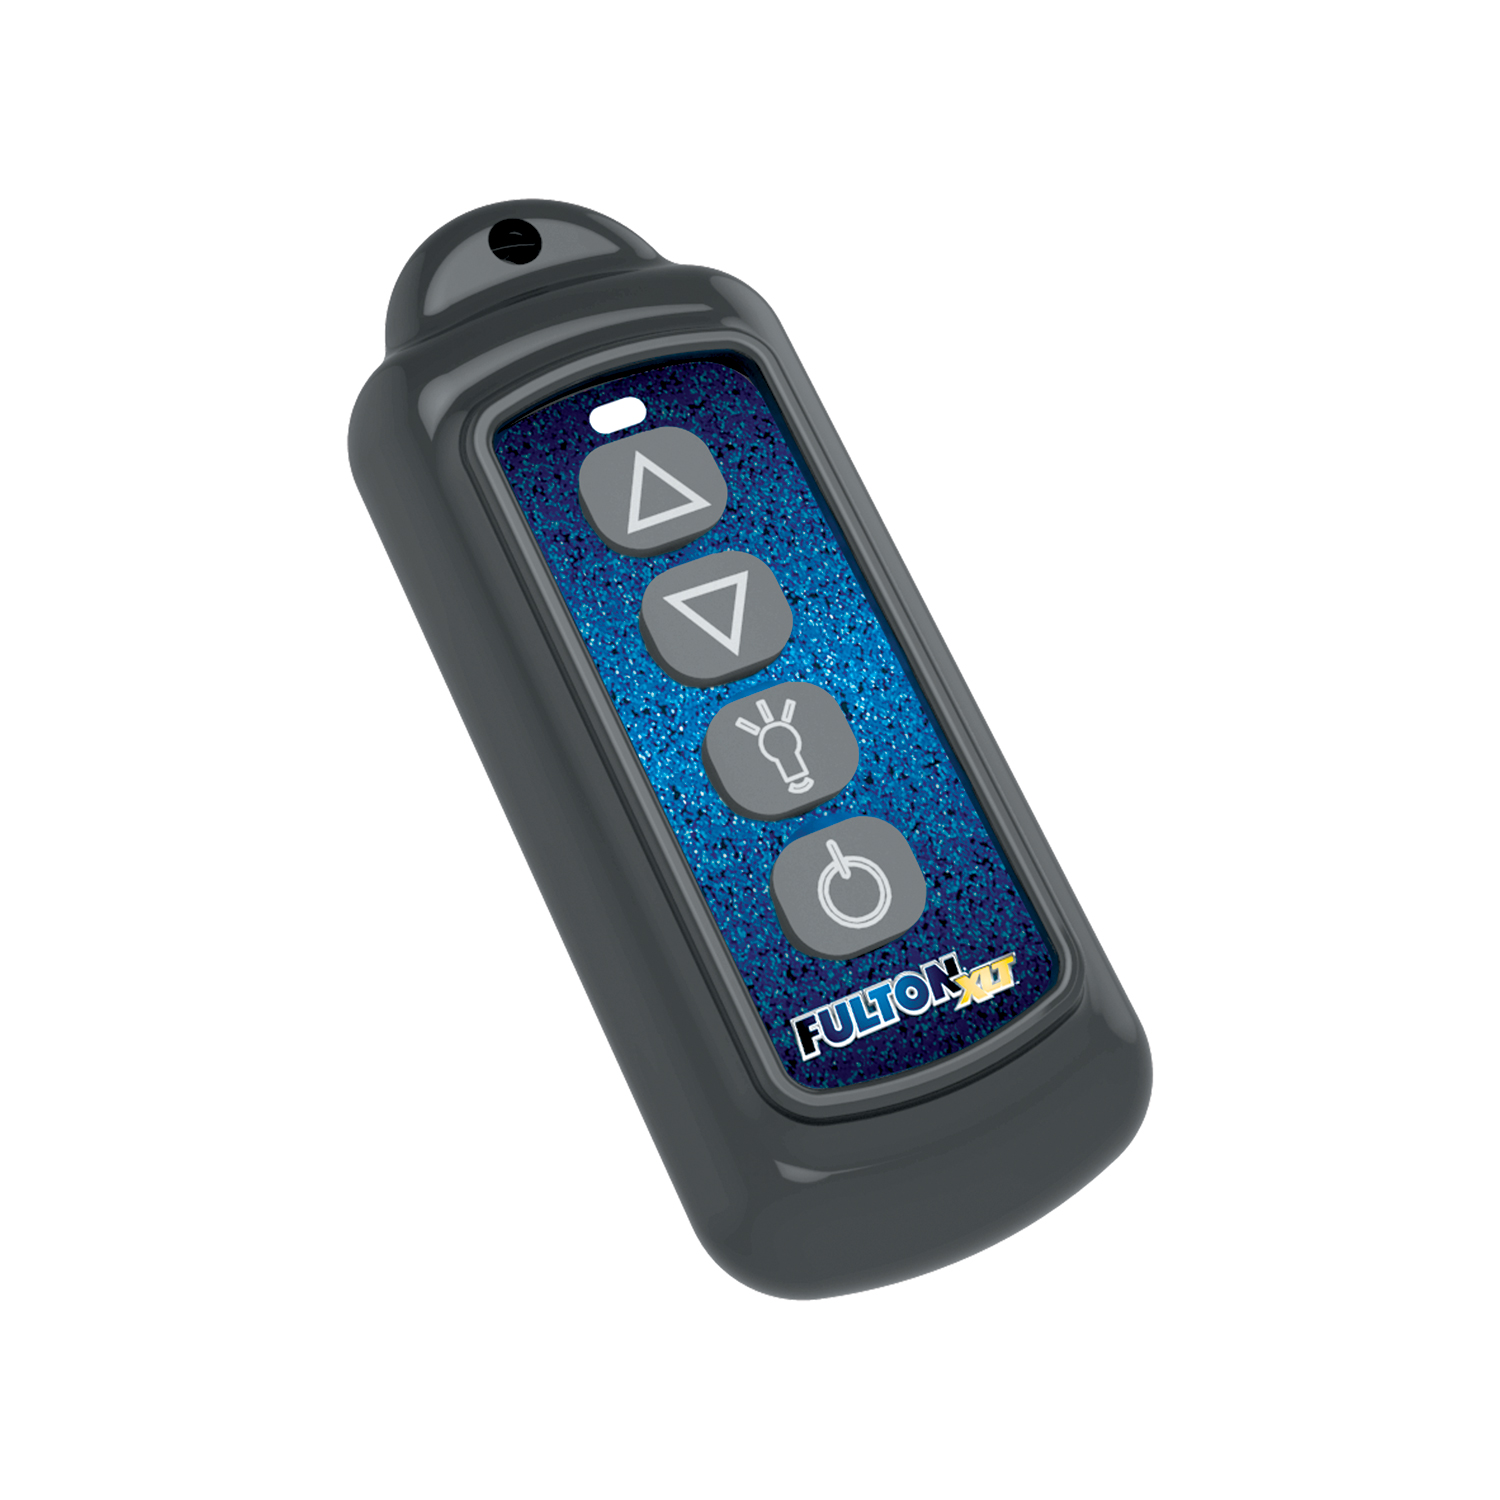
Yes, both models come with a wireless remote control that is pre-programmed and ready to use. The remote has an auto shutdown feature and operates at 2.4 GHz with a transmission range of 50 to 90 feet (15 to 27 meters). The remote uses one 12V MN21/23 battery.
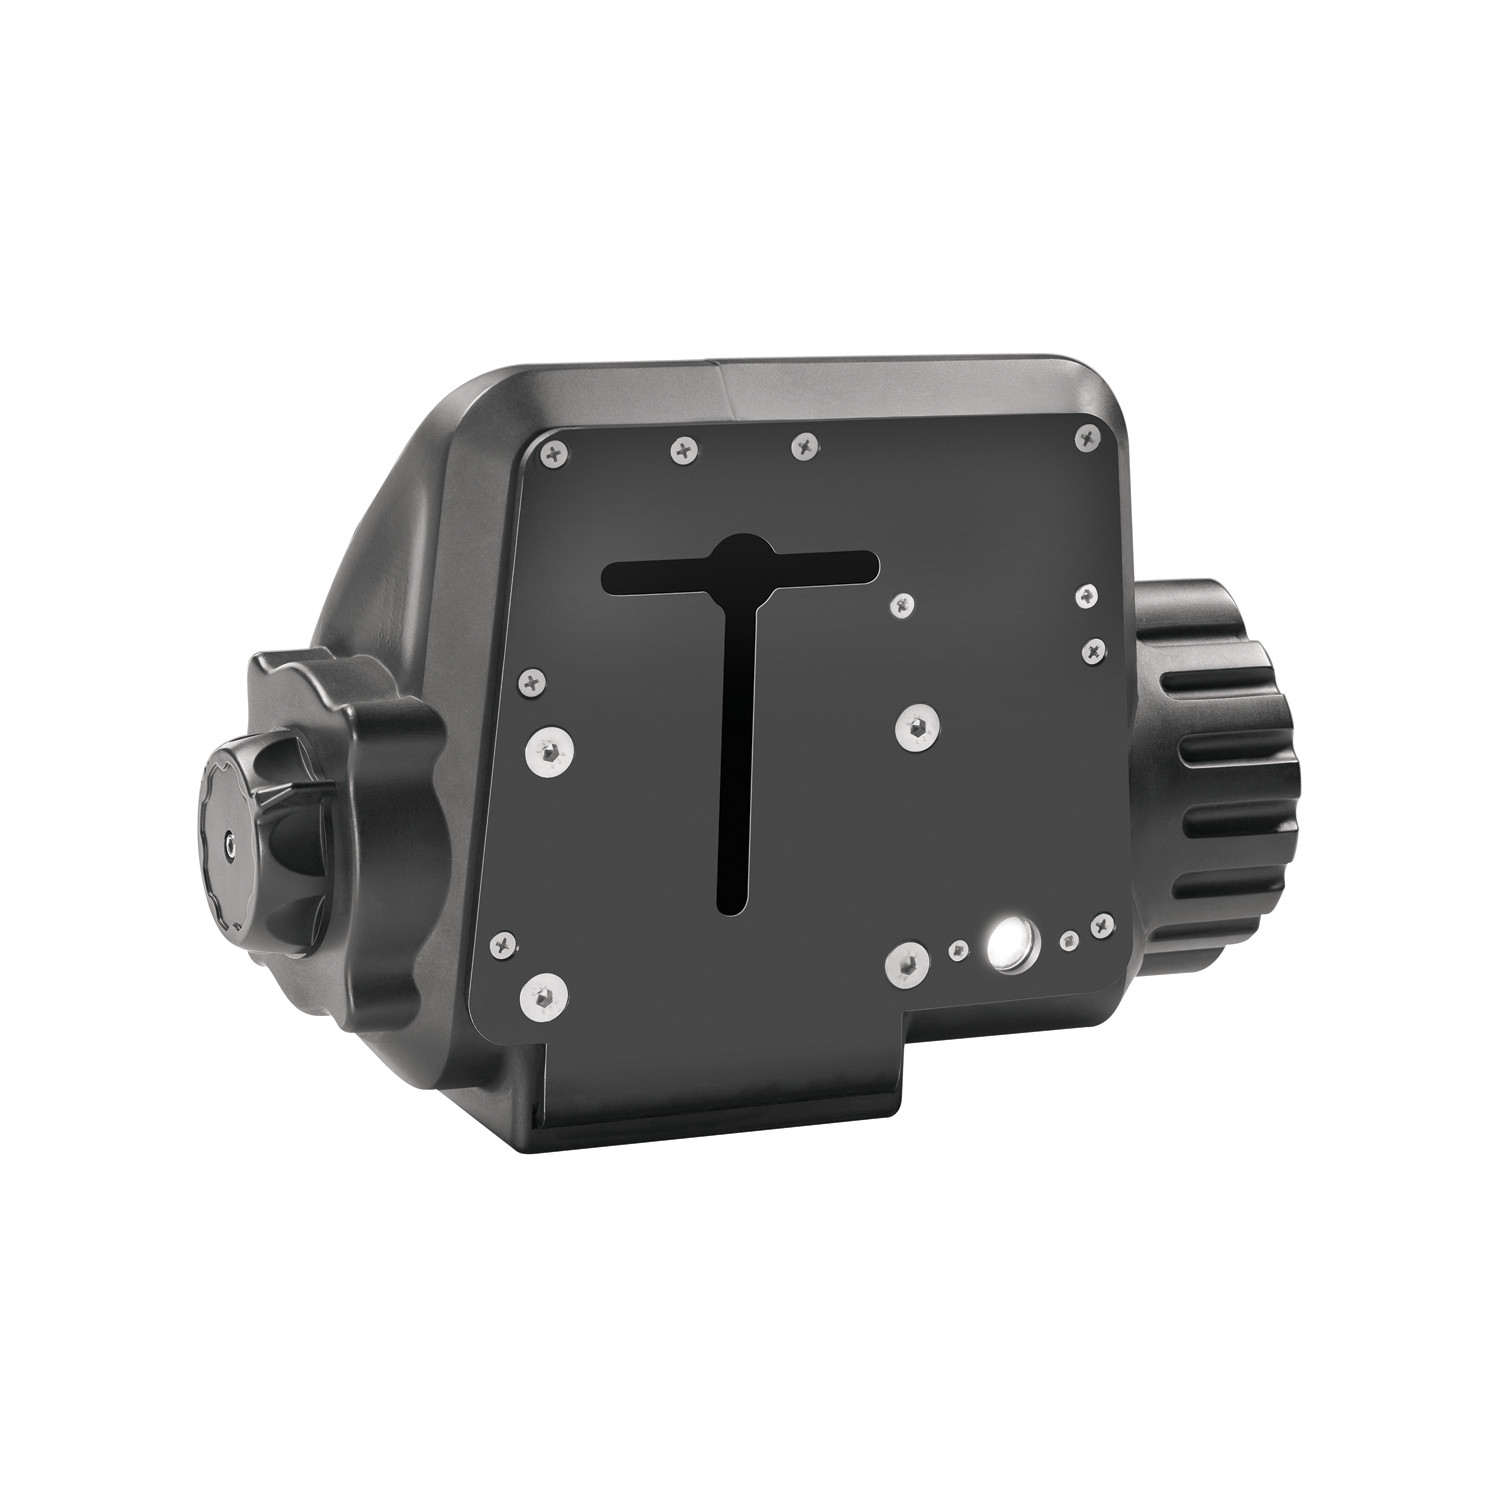
Yes, both models include lights. The winch has a front LED light and a bottom LED light. The lights can be controlled via the wireless remote or the switch on the winch.
The following tools are required: adjustable wrench, 3/8" ratchet, 9/16" socket, and 9/16" combination wrench.
Both models require three 3/8"-16 Grade 5 carriage bolts, three 3/8" retaining washers, and three 3/8" NY-Lock nuts. Grade 5 (class 8.8 metric) hardware must be used. The bolt length depends on your mounting system. A minimum of two complete threads must protrude from the nut after tightening.
The mounting surface must be equal to or greater than 4.5" × 6". The mounting surface must be sufficiently strong to withstand the maximum pulling capacity of your winch.
The fairlead should be a minimum of 6" away from the bow eye when the boat is fully loaded onto the trailer.
The mounting bolts for both the XLT 7.0 and XLT 10.0 must be torqued to 28-30 ft.-lbs. Always use a torque wrench and ensure a minimum of two complete threads protrude from the nut after tightening.
The minimum battery requirement is 650 cold cranking amps. A fully charged battery and good connections are essential for proper winch operation. The distance from the battery to the winch affects voltage applied to the winch; the further the distance, the more voltage drop will occur.
Wire gauge depends on the distance from battery to winch: 5 feet requires 7 gauge (10 mm²); 10 feet requires 6 gauge (13 mm²); 15 feet requires 4 gauge (21 mm²); 20 feet requires 4 gauge (21 mm²); 25 feet requires 2 gauge (34 mm²). Larger wire gauges reduce voltage drop over longer distances.
The voltage drop for the winch motor must not exceed 10% of the nominal voltage of 12V DC. This should be verified upon completion of installation during the system check.
To prevent accidental activation of the winch and serious injury, complete the winch installation and attach the hook before installing the wiring and applying power.
Option 1: Secure the battery to the trailer and connect the positive and negative leads directly to the battery. This option requires the battery to be charged when not in use. Option 2: Route the power wire from the tow vehicle's battery through a quick-connect plug system. This option is ideal when a boat always uses the same tow vehicle and is recommended to be performed by an expert installer. Professional installation is highly recommended for Option 2.
Route battery cables along a path that allows them to be secured with zip ties. Never route electrical cables over battery terminals, across sharp edges, near hot parts, or through moving parts. Avoid pinch and wear/abrasion points. Inspect routing carefully, use zip ties (snug but not cutting into insulation), and protect wires with electrical tape, rubber hose pieces, or electrical conduit where needed. Ensure all electrical parts are corrosion-free before installation.
The Easy Install System uses a T-slot on the base of the winch. Place the three 3/8" Grade 5 carriage bolts with retaining washers into the T-slot on the winch base. Place the winch over the mounting plate and insert the bolts through the mounting holes in your mounting surface. Secure the flanged lock nuts to the mounting bolts and torque to 28-30 ft.-lbs. Ensure a minimum of two complete threads show after tightening.
The strap must be wound from the bottom of the drum only (under-wound). Failure to install the strap in the correct under-wind condition may result in property damage, personal injury, or death.
The winch uses a Hawse fairlead. An aluminum hawse fairlead is recommended because it has no sharp edges and resists wear damage more effectively than a roller fairlead. However, the fairlead does not ensure the strap will wind onto the drum in an orderly manner.
The wireless remote has a transmission range of 50 to 90 feet (15 to 27 meters) and operates at 2.4 GHz. The operating temperature range is -20°C to +70°C.
The wireless remote uses one 12V MN21/23 battery.
The wireless remote has four buttons: (1) Bottom button - press and hold to turn the wireless remote and indicator light ON or OFF; (2) Second button - turns the winch lights ON or OFF; (3) Top two buttons - power the winch line IN and OUT.
When the remote is turned on, it searches for a signal for 1 to 3 seconds. If a signal is found, the blue light will stay on. If the winch is not powered up or you are out of range, the blue light will blink regularly.
1. Ensure both winch cables are disconnected from the battery and the remote is turned off. 2. Connect the red terminal from the winch to the battery. 3. Press and hold the remote's ON/OFF button until the flashing blue LED light appears. 4. Simultaneously press and hold the LINE IN and LINE OUT buttons for 5 seconds without releasing. 5. While holding these buttons, connect the black terminal to the battery. 6. Release the LINE IN and LINE OUT buttons. 7. Wait for the remote's blue LED light to remain steady. 8. Test the remote. If the light remains blinking or the remote does not operate, follow the troubleshooting guide.
Always remove jewelry and wear ear and eye protection. Always use leather gloves when handling the strap and hook.
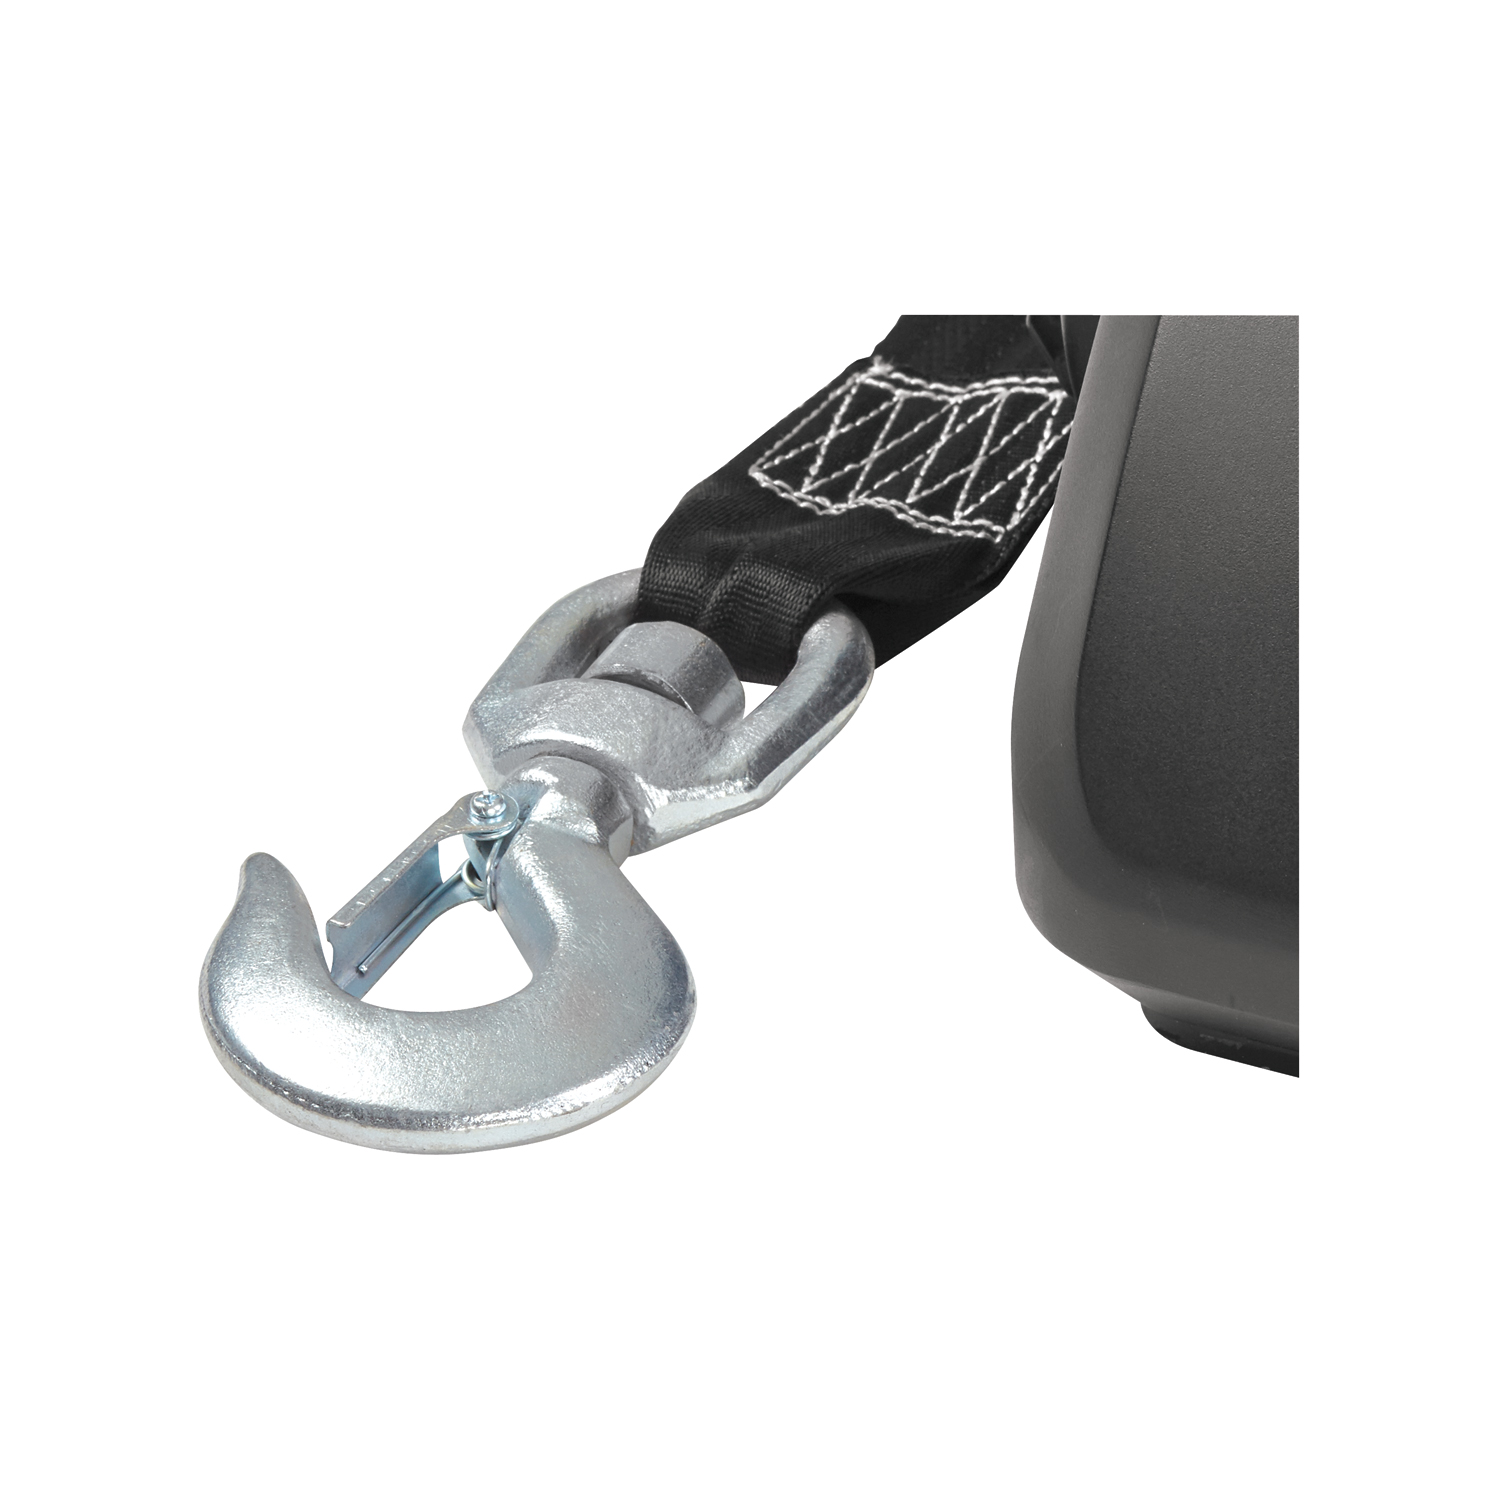
Never exceed the maximum rated capacity. Never use the winch as a lifting device or hoist for vertical lift. Never use the winch to lift, support, or transport humans. Never use the winch to secure a boat to a trailer. Never use the winch rope or strap for towing. Never submerge the winch in water. Never shock load the winch. Never engage or disengage the clutch when the winch is under load or the drum is moving. Never wrap the winch strap back onto itself. Never apply load to the hook tip or latch; apply load only to the center of the hook. Never use a hook whose throat opening has increased or whose tip is bent or twisted. Never operate the winch in a stop-and-go fashion, especially when under load. Never operate the winch when under the influence of drugs, alcohol, or medication. Never allow children to play on or around the product or the load being supported.
Always inspect the winch strap and hook for damage or wear before operating. Frayed, kinked, or damaged winch strap must be replaced immediately. Always be certain that the winch stand can withstand the load. Always use a hook with a latch. Always ensure the hook latch is closed and supporting the load. Always remove any element or obstacle that may interfere with safe winch operation. Always stand clear of the winch strap, hook, fairlead, and load. Always keep others away while winching. Always ensure the operator and bystanders are aware of the stability of the vehicle and load. Always be aware of possible hot surfaces at the winch motor or drum during or after winch use.
The operator should always operate the winch from a safe position when pulling a load. The safest area is perpendicular to the winch strap. This safe position will help prevent the strap from striking the operator if the strap fails when under load. Never work around the winch strap while it is under load. Never step over a winch strap while it is under load.
Pull from an angle of less than 5° laterally to avoid the strap from piling onto one side of the drum. Avoid side pulls, which can pile up winch rope or strap at one end of the drum and damage the winch strap or winch.
Always secure the boat with a separate safety chain or tie-down, not the winch. Never use the winch to secure the load or to secure a boat to a trailer.
Never overload the motor to stall. If the motor stalls, allow it to cool for 15 minutes to reduce the chance of motor burnout.
This winch is rated for intermittent duty cycle. The recommended operational time is 1 minute of operation, followed by a 14-minute cool-down period. When the motor approaches stall speed, very rapid heat buildup occurs which may cause motor damage. Immediately stop the winch if it begins to slow down excessively or feels like it is struggling to reel in, as this indicates the rated capacity has been exceeded.
The power-out function should be used for relieving tension on the strap, not for extended distances. If you power out over 25 feet, let the winch cool for 15 minutes. Do not use the power-out function for lowering a load, as the winch motor drives against the brake, similar to driving a vehicle with the parking brake engaged.
Never exceed the winch's rated line pull. Power-in the winch strap evenly and tightly on the drum. Do not shock load the winch when spooling. Avoid shock loads when spooling by pulsing the control switch to take up winch strap slack, as shock loads can momentarily far exceed the winch and strap ratings.
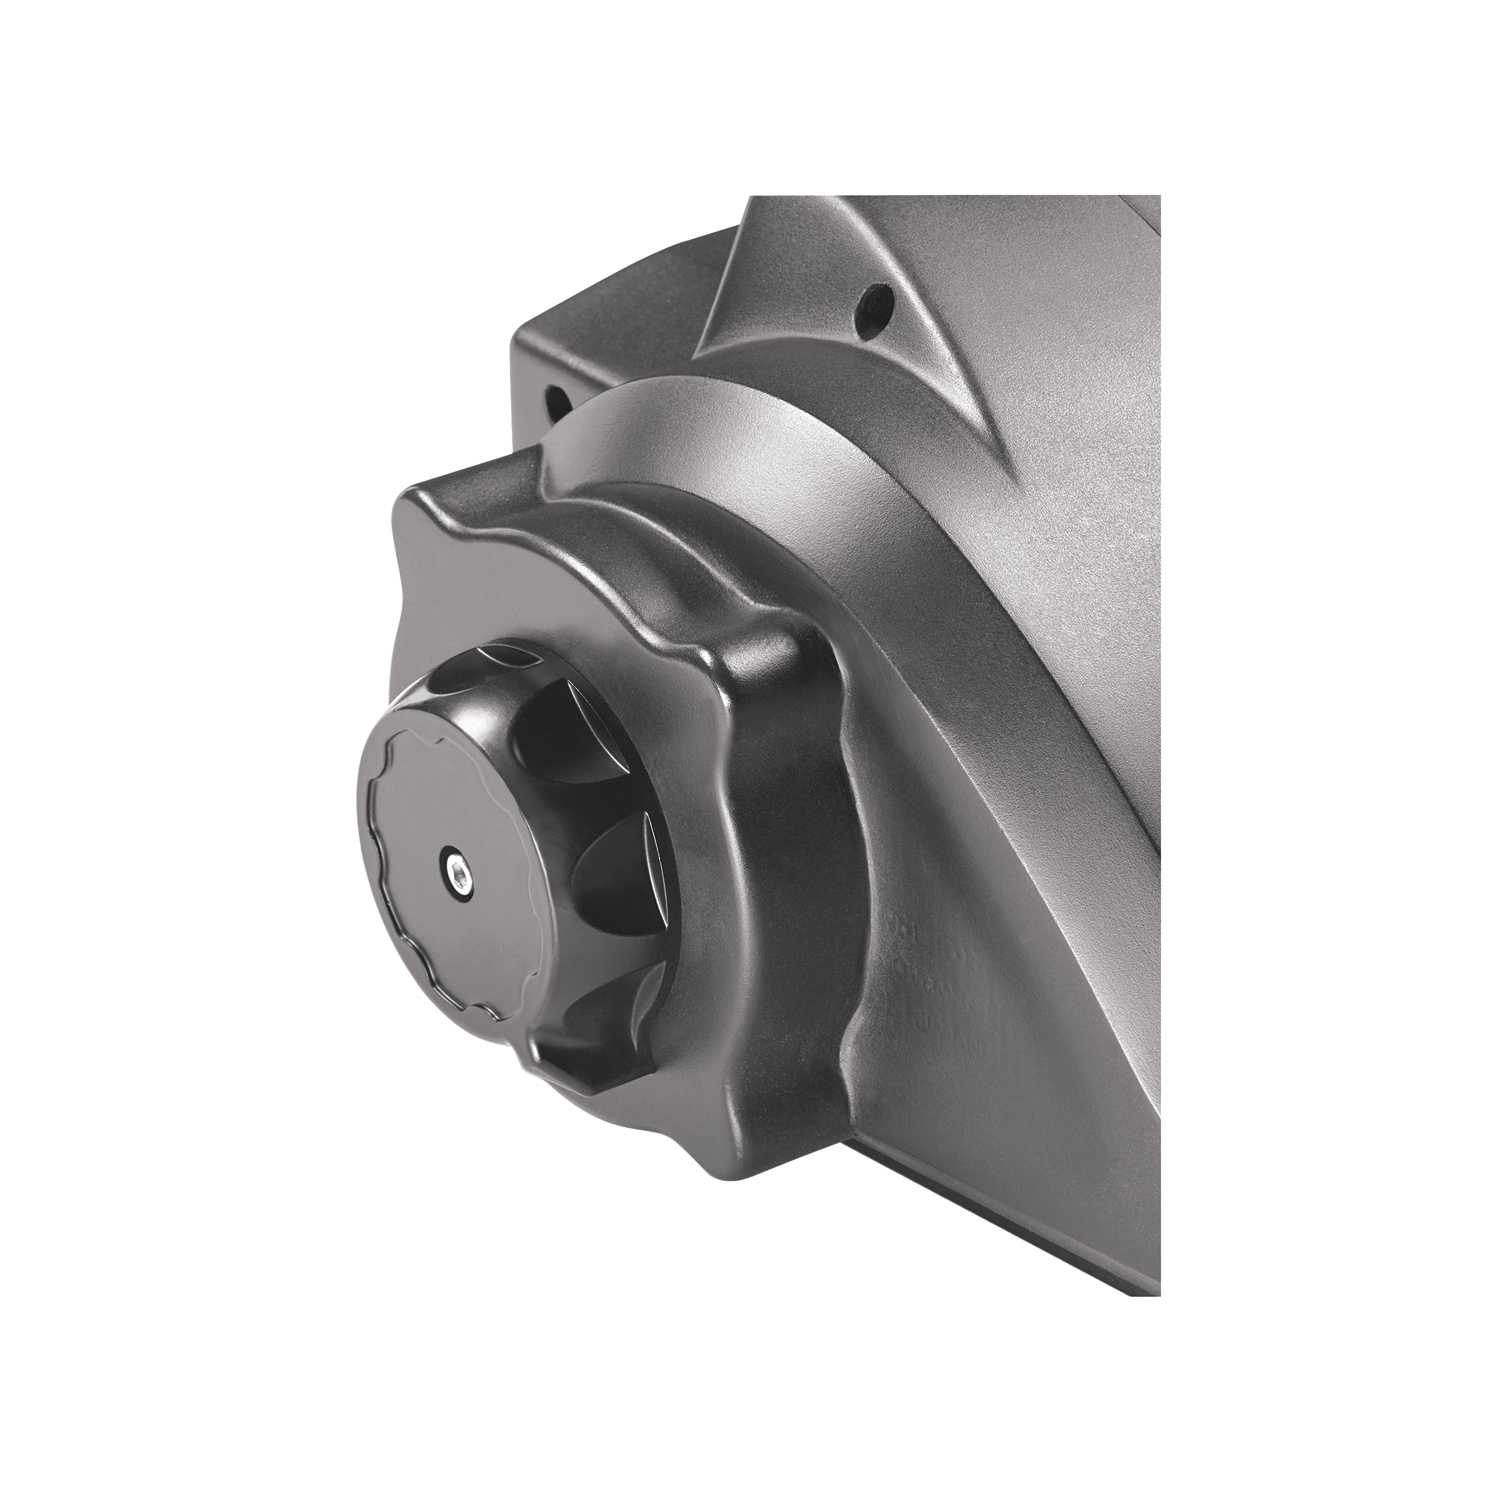
The clutch knob, located on the winch housing opposite the motor, controls the clutch position. When the clutch is engaged, the gear train is coupled to the winch drum and power can be transferred from the winch motor. When disengaged, the strap can free-spool off the drum. Never engage or disengage the clutch if the winch is under load, the winch strap is in tension, or the drum is moving. Always fully engage or fully disengage the clutch knob to prevent damage.
Turn the clutch knob to the free-spool position. The strap can now free-spool off the drum.
Turn the clutch knob to the engaged position. Never engage the clutch while the drum is rotating.
1. Disengage the clutch knob. 2. Un-spool the entire strap. 3. Remove the clutch knob and side cover. 4. Remove the two bolts from the split collar. 5. Remove the split collar. 6. Remove the worn strap and the strap retaining pin. 7. Insert the strap through the Hawse fairlead and insert the strap retaining pin through the strap loop. 8. Insert the strap retaining pin and strap into the groove on the winch drum. 9. Replace the split ring collar and torque bolts to 24 ft.-lbs. 10. Replace the side cover. 11. Replace the clutch knob and torque to 12 ft.-lbs. 12. Wind strap onto drum by pushing and holding the LINE IN button until the strap is spooled onto the drum. Keep tension on the strap while it is winding. Ensure the strap is under-wound.
The split ring collar bolts should be torqued to 24 ft.-lbs.
The clutch knob should be torqued to 12 ft.-lbs.
All moving parts in the winch are permanently lubricated at the time of assembly. Under normal conditions, factory lubrication will suffice. If re-lubrication of the gearbox is necessary after repair or disassembly, use Shell EP2 or equivalent grease. Never lubricate the brake system.
Before first use: (1) Read, understand, and follow the warnings and instructions in the manual. (2) Check all fasteners and verify they are at the proper torque; replace as necessary. (3) Check that the wiring is correct and connections are tight. (4) Check that there are no damaged (chafed, cut, etc.), bare, or exposed wires or terminals; repair or replace as necessary. (5) Check the condition of the strap and hook; if damaged or worn, discontinue use and replace immediately.
After every use: (1) Check all fasteners and verify they are at the proper torque; replace as necessary. (2) Check that the wiring is correct and connections are tight. (3) Check that there are no damaged (chafed, cut, etc.), bare, or exposed wires or terminals; repair or replace as necessary. (4) Check the condition of the strap and hook; if damaged or worn, discontinue use and replace immediately. (5) Keep the winch, strap, and switch controls free from contaminants; use a clean rag or towel to remove dirt and debris.
Every 90 days: (1) Check all fasteners and verify they are at the proper torque; replace as necessary. (2) Check that the wiring is correct and connections are tight. (3) Check that there are no damaged (chafed, cut, etc.), bare, or exposed wires or terminals; repair or replace as necessary. (4) Check the condition of the strap and hook; if damaged or worn, discontinue use and replace immediately.
After use, wash the winch externally with mild soap and water. Dry completely before storing.
The remote transmitter and receiver are paired and cannot be interchanged. If a wireless remote (transmitter) is lost, a new one can pair itself to an existing receiver using the pairing method described in the manual. If the red LED is blinking on the remote, the remote needs to be paired again.
The XLT 7.0 has a maximum amperage draw of 160 amps. The XLT 10.0 has a maximum amperage draw of 200 amps. Current draw and line speed vary according to load, boat position, trailer position, trailer configuration, battery charge level, ramp angle, trailer submersion level, and other factors.
Both models have a mechanical brake.
The XLT 7.0 rolling load capacity varies by ramp angle: 0° = 25,000 lbs (11,340 kg); 3° = 20,000 lbs (9,070 kg); 5° = 15,000 lbs (6,800 kg); 10° = 10,000 lbs (4,535 kg); 15° = 8,500 lbs (3,855 kg); 20° = 7,000 lbs (3,175 kg). These capacities are with 2 feet of strap on the reel and a 10% rolling friction factor. Wooden and/or carpeted bunks will significantly reduce this capacity.
The XLT 10.0 rolling load capacity varies by ramp angle: 0° = 35,000 lbs (15,875 kg); 3° = 30,000 lbs (13,600 kg); 5° = 25,000 lbs (11,340 kg); 10° = 20,000 lbs (9,070 kg); 15° = 15,000 lbs (6,800 kg); 20° = 10,000 lbs (4,535 kg). These capacities are with 2 feet of strap on the reel and a 10% rolling friction factor. Wooden and/or carpeted bunks will significantly reduce this capacity.
The XLT 7.0 is rated for boats up to 7,000 lbs in marine applications (first layer capacity). It requires a mounting surface of at least 4.5" × 6" and a minimum 6" clearance from the bow eye to the fairlead when the boat is fully loaded. Contact Horizon Global at 1-800-632-3290 or visit fultonperformance.com if you need help determining fitment.
The XLT 10.0 is rated for boats up to 10,000 lbs in marine applications (first layer capacity). It requires a mounting surface of at least 4.5" × 6" and a minimum 6" clearance from the bow eye to the fairlead when the boat is fully loaded. Contact Horizon Global at 1-800-632-3290 or visit fultonperformance.com if you need help determining fitment.
You need an adjustable wrench, 3/8" ratchet, 9/16" socket, and 9/16" combination wrench. A torque wrench is also essential for tightening mounting bolts to the correct specification.
The manual does not mention drilling. Installation uses the Easy Install System with three 3/8" Grade 5 carriage bolts inserted through existing mounting holes in your mounting surface.
Torque the three 3/8" mounting bolts to 28-30 ft.-lbs for both models. Ensure a minimum of two complete threads protrude from the nut after tightening.
Both models are rated for intermittent duty cycle with a recommended operational time of 1 minute of operation followed by a 14-minute cool-down period. Never exceed the rated capacity or operate in a stop-and-go fashion.
Yes, both models come with a pre-programmed wireless remote control with a 50-90 foot transmission range. The remote has four buttons for power, lights, and line in/out control.
Periodically check mounting hardware for proper torque and tighten if necessary. The maintenance checklist recommends checking all fasteners after every use and every 90 days.
A blinking blue light indicates the remote is searching for a signal from the winch. If the LED light doesn't stop blinking after releasing the LINE IN and LINE OUT buttons during pairing, the remote was not able to pair. Disconnect the black terminal from the battery and repeat the pairing steps 3-7.
If the blue light remains steady but the remote doesn't work: (1) Turn the remote off. (2) Wait 30 seconds and turn the remote back on. (3) Test the remote. If it still doesn't work, disconnect the black terminal from the battery, turn off the remote, and repeat the pairing steps 2-7.
If the blue LED light does not appear after holding the ON/OFF button for 5 seconds, the remote battery is dead. Remove the remote's cover, inspect the battery, and replace it if necessary. The remote uses one 12V MN21/23 battery.
If the motor stalls, allow it to cool for 15 minutes to reduce the chance of motor burnout. Motor stalling indicates you are overloading the winch. Never exceed the rated capacity for your application. If the winch begins to slow down excessively or feels like it is struggling to reel in, immediately stop the winch as this indicates the rated capacity has been exceeded.
George
Ordered online. Shipment arrived on time and with all the correct parts. Great customer service and friendly staff. Also, pricing was great!
May 22, 2023
