

BlueOx Tow Bar Base Plate, Front Mount, RV Flat Towing for Select, MAZDA 6 E13Blue OxOriginal price was $699.99. Current price is $609.00.Out of Stock
View productOur in-house experts typically reply within one business day.

Blue Ox
Verify Fitment
Select your vehicle to confirm this part fits.
1991 - 1994 Ford Explorer
Confirmed to Fit
1991 - 1994 Mazda Navajo
Confirmed to Fit

Always the correct part
We know our products
Quality Products
Free Shipping!
Always the correct part
We know our products
Quality Products
Free Shipping!

Made from high-quality steel for unrivaled strength and durability.
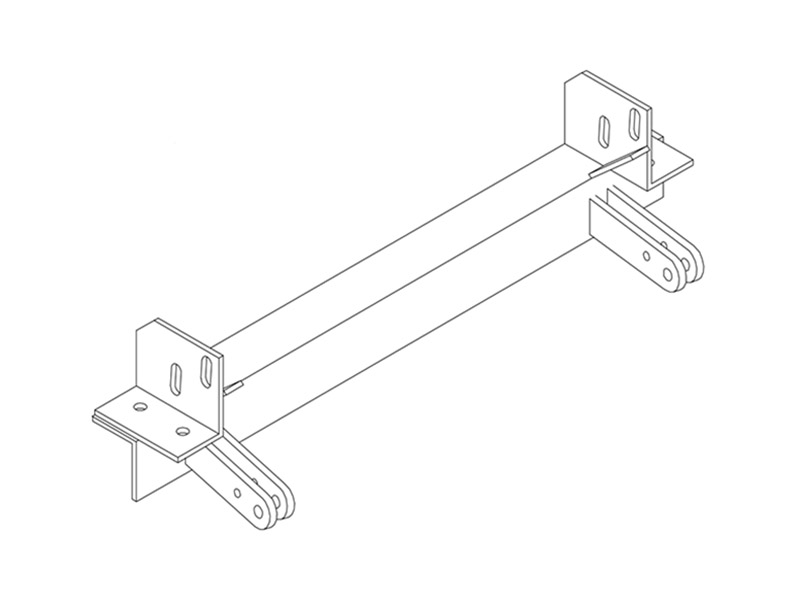
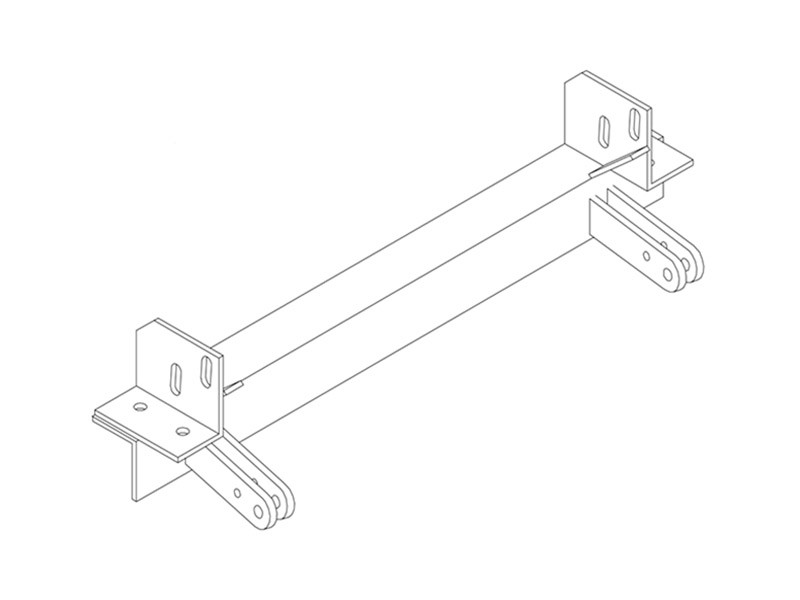
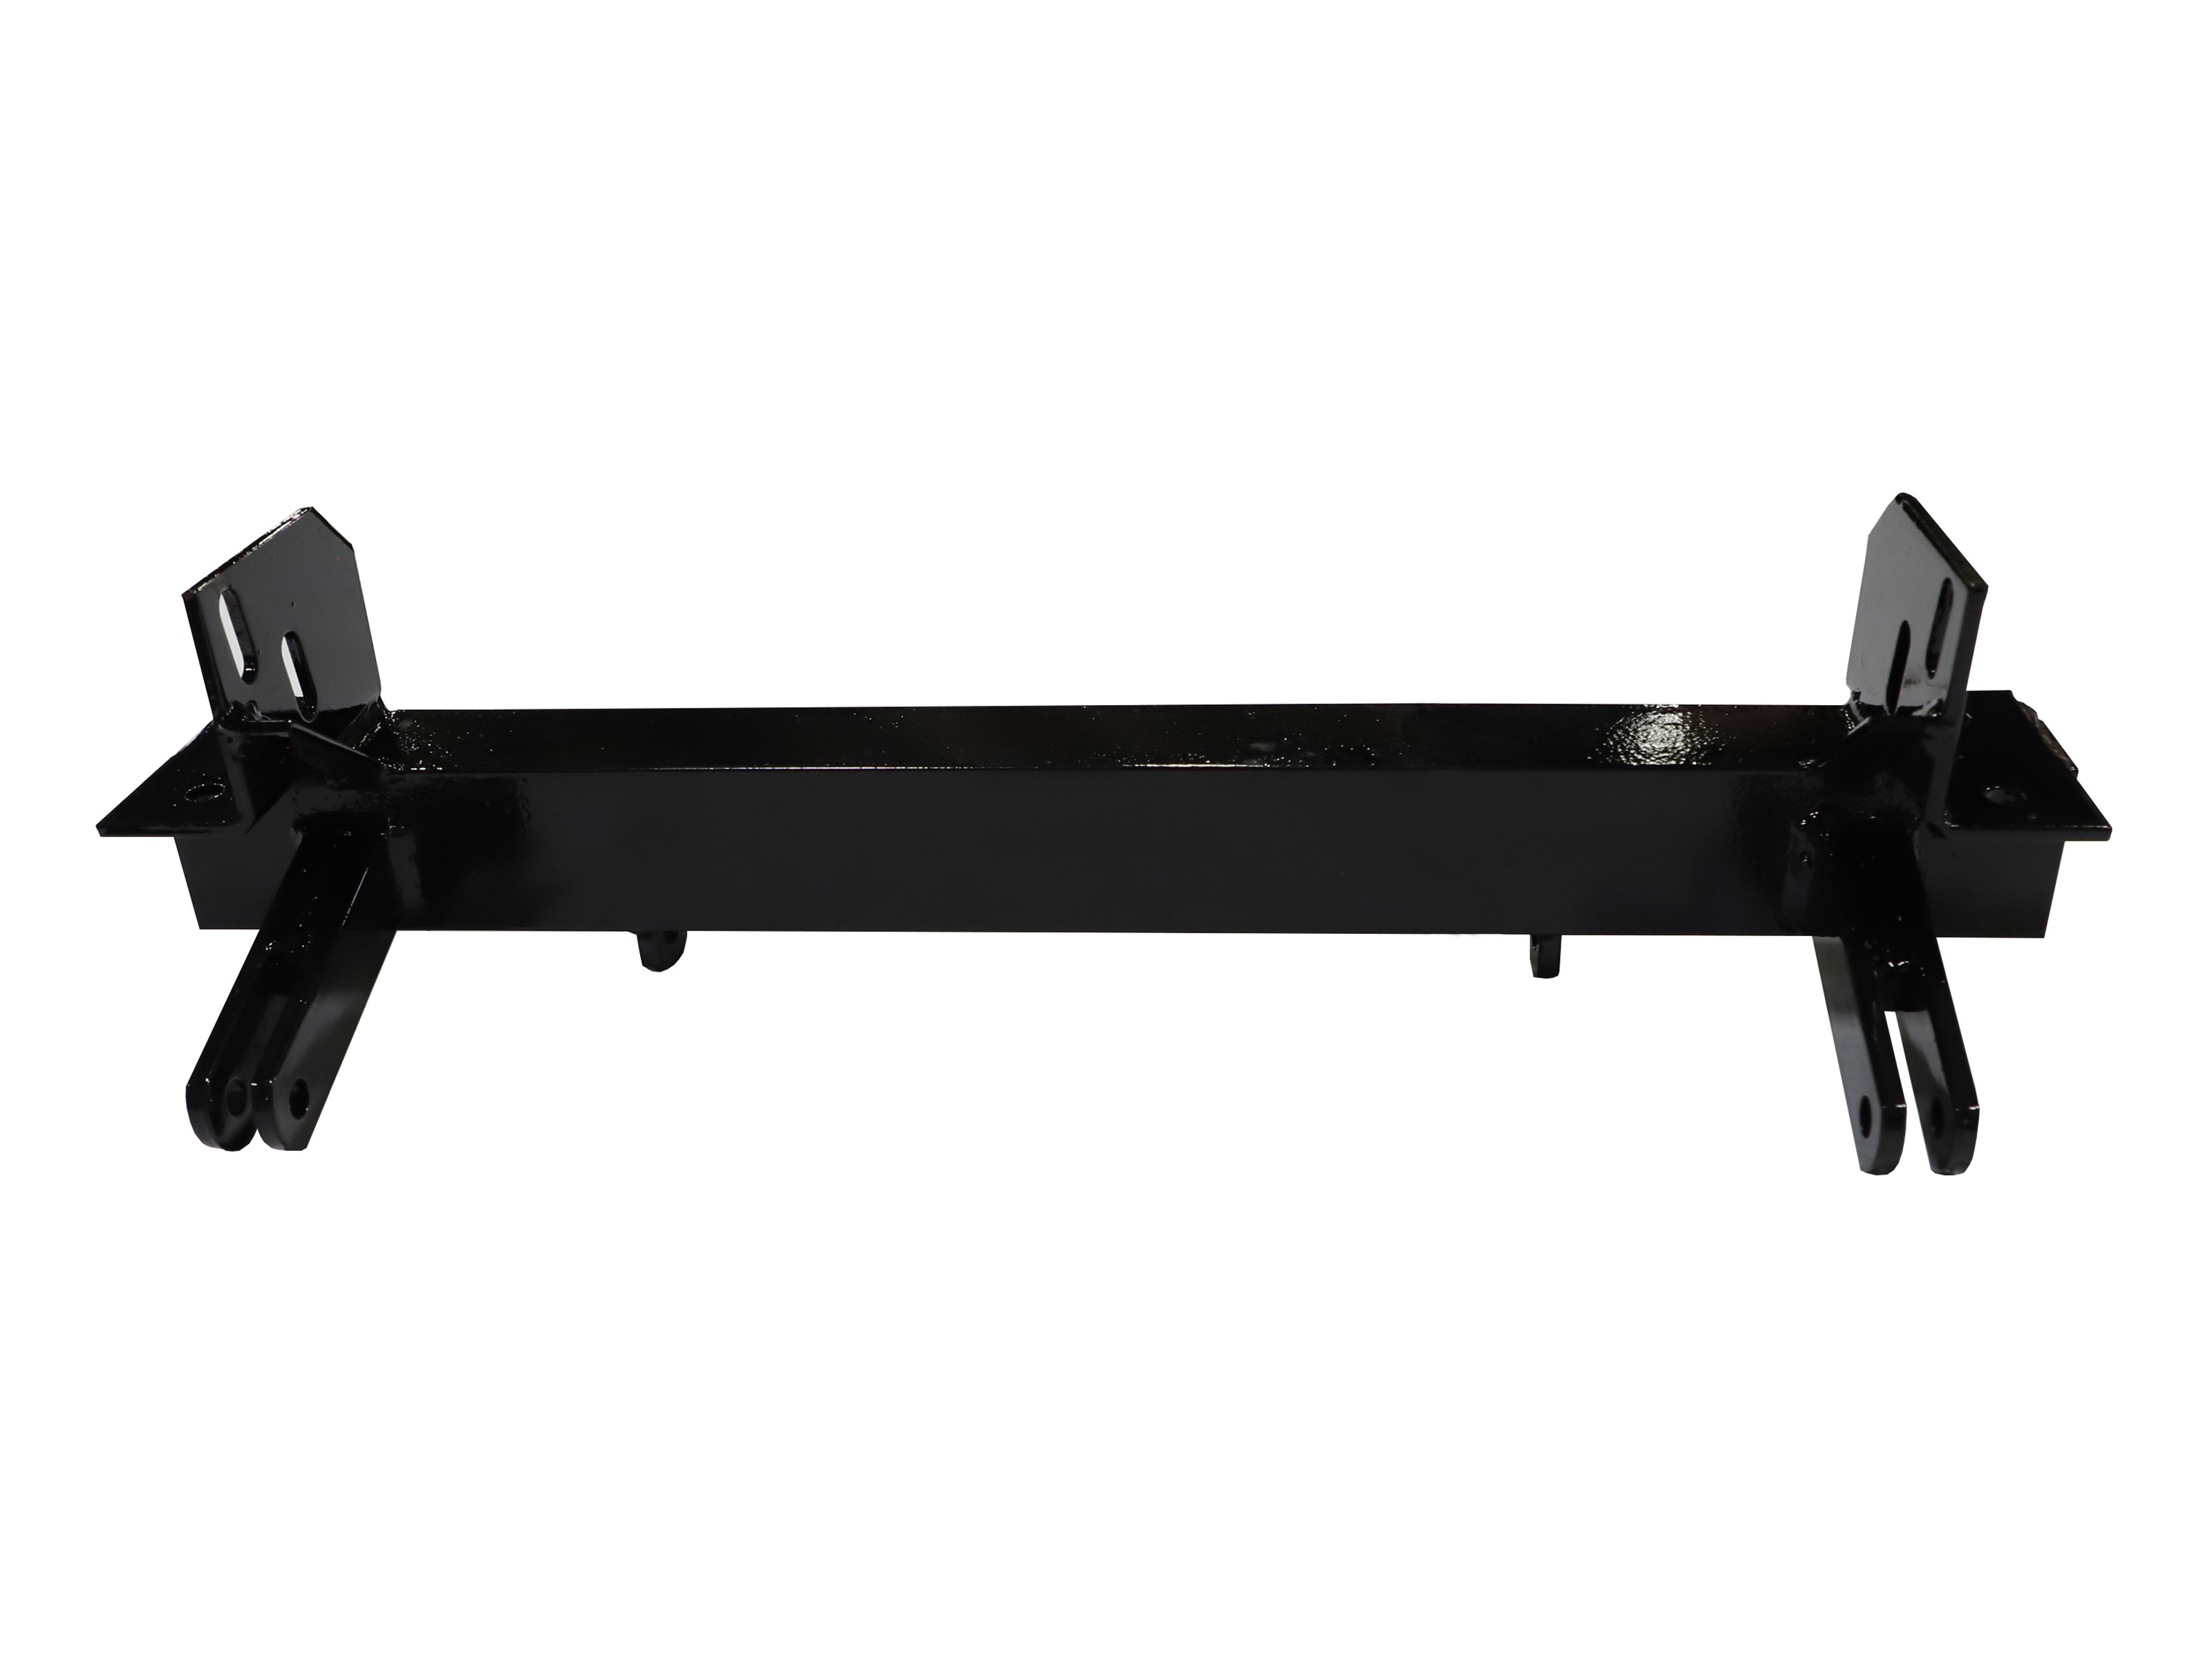
Material: Steel
Color: Black
Finish: Powder Coat
Mounting Type: Bolt On
Mounting Hardware Included Yes/No: Yes
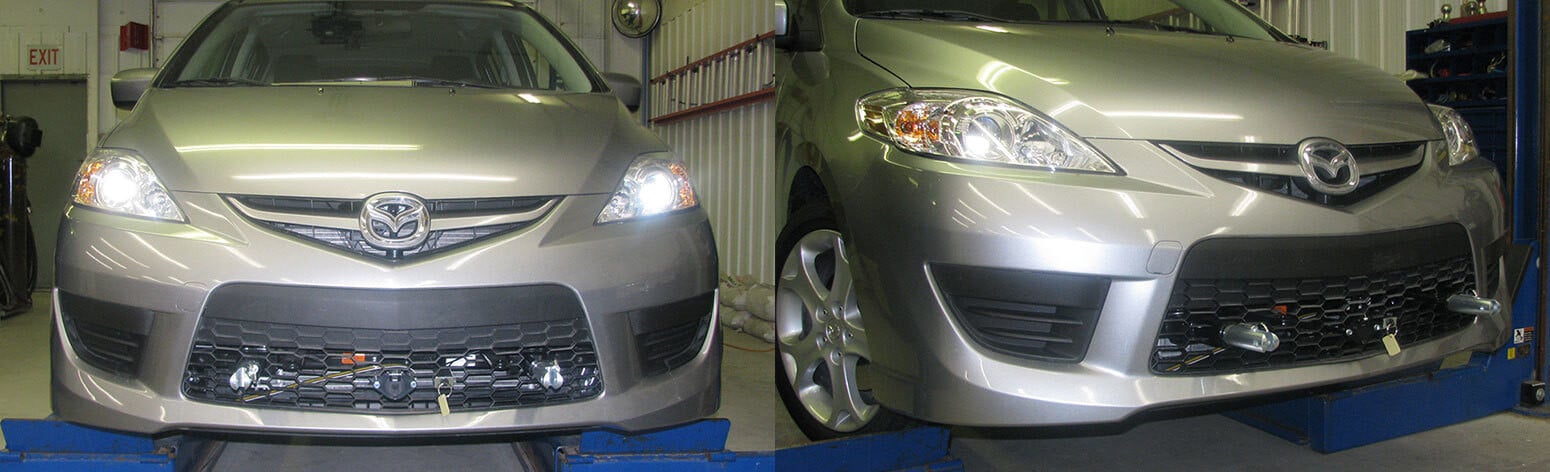
The Blue Ox BX2508 Tow Bar Bracket is a robust and reliable choice for those looking to tow with confidence. Expertly crafted from high-quality steel and finished with a durable powder coat, this bracket is designed to withstand even the toughest towing conditions. Its bolt-on mounting type ensures a secure fit, and it comes with all the necessary hardware included for a hassle-free, do-it-yourself installation. This tow bar bracket has been custom designed to fit each specific towed vehicle, ensuring maximum compatibility and performance. With the Blue Ox BX2508 Tow Bar Bracket, you can trust in the power of your tow.

Blue Ox is known internationally for recreational and commercial towing products, manufacturing in Pender, Nebraska since 1925. The line covers tow bars and vehicle-specific baseplates for flat towing behind a motorhome, sway control and weight distributing hitches, supplemental braking accessories and towing wiring, backed by patented designs and long-standing customer service.
Blue Ox has manufactured since 1925 and is recognised internationally for towing products and customer service. The company operates from Pender, Nebraska, where it grew out of Automatic Manufacturing Co., a business that started with cattle oilers and developed into agricultural equipment, tractor accessories and trailer towing hardware. That agricultural engineering heritage still shows in how the towing products are built, and the company holds patents across weight distribution, fifth wheel and tow bar designs.
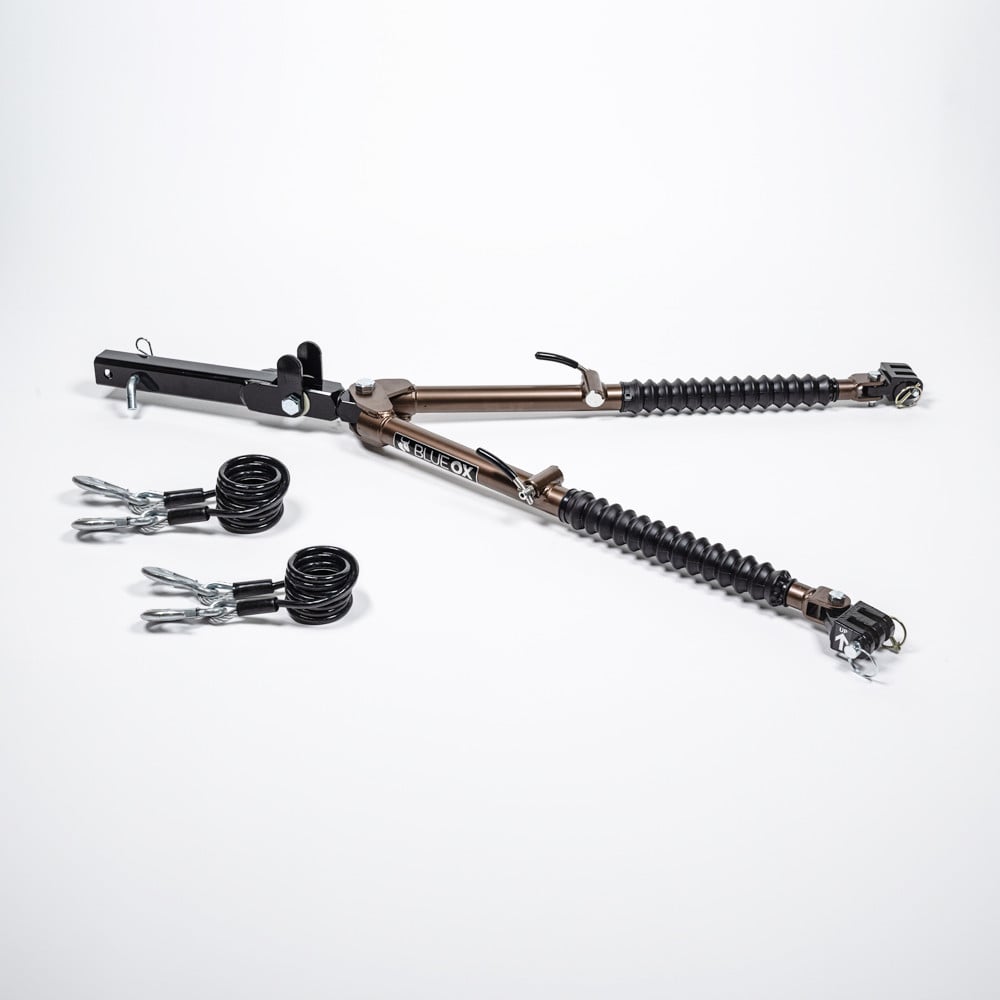
Flat towing is the discipline Blue Ox is best known for. Towing a car with all four wheels on the ground behind a motorhome demands a system that stays rigid under braking, articulates properly over uneven ground, and connects to the towed vehicle at points strong enough to take the load. Blue Ox tow bars handle the first two, with self-aligning arms that latch under tension and release without a struggle when the load is off them. Vehicle-specific baseplates handle the third, engineered per make and model to tie into structural mounting points behind the fascia.
The wider flat towing range covers supplemental braking systems, safety cables and the accessories that make a complete legal setup, along with baseplate wiring and dinghy towing harnesses that pass lighting signals to the towed vehicle without back-feeding its electrical system.
For conventional trailer towing, Blue Ox weight distributing hitches with integrated sway control transfer tongue load onto the tow vehicle's front axle and resist the yaw that crosswinds and passing trucks induce.
The company describes its foundation as customer service, designing around what owners actually ask for, and it runs an RV park adjacent to the factory where customers can stay. Sister operations at the same Nebraska site include Automatic grain roller mills and MAD-RAMPS pivoting ramp systems.
Experts available to answer your questions
Call 888-634-94943 Years
2 compatible vehicles
| Year | Make & Model | Notes |
|---|---|---|
| 1991 - 1994 | Ford Explorer | Limited Comes with Standard Attachment Tabs Install Rating 2 Bumper Fascia Must Be Removed/Replaced During Install Requires Some Trimming of Bumper Fascia/Plastic/And/Or Grill Minor Drilling Required Be Sure to Confirm the Weight of Your Individual Vehicle Before Towing. Always Insure Both Your Tow Bar and Hitch are Adequately Rated for the Vehicle’s Overall Weight Specific Dingy Towing Restrictions Apply Confirm the Towability and the Pre: towing Procedures of you Vehicle with the Owner's Manual or Contact the Vehicle's Manufacturer for Specific Towing Procedures |
| 1991 - 1994 | Mazda Navajo | Comes with Standard Attachment Tabs Install Rating 2 Bumper Fascia Must Be Removed/Replaced During Install Requires Some Trimming of Bumper Fascia/Plastic/And/Or Grill Minor Drilling Required Be Sure to Confirm the Weight of Your Individual Vehicle Before Towing. Always Insure Both Your Tow Bar and Hitch are Adequately Rated for the Vehicle’s Overall Weight |
Yes, the BX2508 is designed for 1991-94 Mazda Navajo and 1991-94 Explorer Limited vehicles. These vehicles weigh over 3500 lbs and require a Class III (5000 lbs.) rated tow bar, hitch, and accessories. The baseplate must be used only with tow bars approved by Automatic Equipment Mfg. Company; use of other tow bars invalidates the limited warranty.
The manual specifically mentions the BX4212 Flip-up and BX4222 Rangefinder tow bars as compatible. The baseplate must be used only with tow bars approved by Automatic Equipment Mfg. Company; use of other tow bars invalidates the limited warranty. For a complete list of approved tow bars, consult the manufacturer or the General Instruction Sheet included with the baseplate.
You will need: tape measure, 3/4" wrench, 1/2" wrench, 19mm wrench, drill with 17/32" drill bit, jig saw, and Loctite Blue. One or two people are recommended to hold the bumper in position during marking in Step 8.
The kit includes: 1 baseplate weldment (61-3762), 2 bent nut handles (61-3365), 4 Grade 5 bolts 1/2-13 x 1 3/4" (201-0068), 4 Grade 8 bolts 1/2-13 x 4" (201-0457), 6 hex lock nuts with nylon insert 1/2-13 (202-0094), 12 flat washers 1/2" (203-0005), and 2 lock washers 1/2" (203-0012). Two 1/2" flat washers are provided for shimming if the baseplate does not fit snugly between the frame beams.
Yes. You must remove the bumper to access the frame beams where the baseplate mounts. First, measure the distance between the grill and the top of the bumper on each end and in the middle, and note these measurements so you can reposition the bumper correctly. Remove the bulbs from the turn signals in the lower part of the bumper, then remove the four bolts holding the bumper on and lay it to the side. These original bumper bolts will not be reused in the baseplate installation.
Yes. After removing the bumper, use a wire brush or scraper to clean up the frame beams in areas where the baseplate will mount. This ensures proper contact between the baseplate and frame.
Position the baseplate between the frame beams (see Figure 1). If the baseplate does not fit snugly between the beams, place 1/2" flat washers between the baseplate and the frame beam on one or both sides. Two washers are provided; additional washers can be purchased at any hardware store. Initially bolt the baseplate to the frame using the four 1/2" x 4" bolts, tightening them only enough to hold the baseplate in position; these bolts will be removed later.
Yes. Using the holes on the bottom of the baseplate as guides, you must drill four 17/32" holes through the bottom of the frame beams. A drill with a 17/32" drill bit is required. These holes are used for the final Grade 5 bolts that permanently secure the baseplate.
Yes. You must cut a square notch in the plastic lower part of the bumper to allow the attachment tabs on the baseplate to pass through. Hold the bumper up in front of the baseplate at the proper height, mark a square around the attachment tabs, and cut it out. Start with a small square and enlarge if needed. You may also need to notch the lowest part of the steel portion of the bumper to allow it to clear the bolts installed in Step 6. Hold the bumper in position; if the steel touches the bolt head before the bumper reaches its original position, notch the steel. A jig saw is required for cutting.
Dimensional variations between otherwise identical vehicles can be considerable. It may be necessary to file a hole slightly to allow a bolt to clear. Make small adjustments as needed during installation.
Four Grade 5 bolts, 1/2-13 x 1 3/4" (part number 201-0068), are used for permanent installation. Loctite Blue must be applied to each bolt. These bolts are installed through the 17/32" holes drilled in Step 5. The four 1/2" x 4" Grade 8 bolts (201-0457) used in Step 4 are temporary and are removed after drilling.
Yes. Loctite Blue must be applied to each of the four Grade 5 bolts (1/2-13 x 1 3/4") used for permanent installation. This is a required step in the installation process.
1. Bolt the baseplate to the frame using the four 1/2" x 4" bolts (Step 4), tightening only enough to hold it in position. 2. Drill four 17/32" holes through the frame beams using the baseplate holes as guides (Step 5). 3. Install the four Grade 5 bolts (1/2-13 x 1 3/4") with Loctite Blue through the drilled holes (Step 6). 4. Remove the four temporary 1/2" x 4" bolts (Step 7). 5. After cutting bumper notches and reinstalling the bumper, snug up the bumper mounting bolts and visually check alignment before final tightening.
Use the measurements taken in Step 2 as a guide to position the bumper at the same height. Insert the mounting bolts through the baseplate, frame beam, and bumper mounts. Apply Loctite Blue to the bolts and snug them up. Stand back and visually check that the installation looks good. If the bumper appears crooked, check your measurements and adjust it before final tightening.
Only if you are using a BX4212 Flip-up or BX4222 Rangefinder tow bar. If you are using one of these tow bars, you must get the hold-up kit from the tow bar box and install it on the driver's side attachment tabs. See the tow bar instructions for hold-up kit mounting details. You may need to enlarge the notch cut in Step 8 to allow for the hold-up kit.
Install the tow bar and safety cables according to the instructions included in their packages. Do not substitute other devices if the tow bar pin and clip are lost.
The BX2508 is rated for Class III (5000 lbs.) towing capacity. It must be used with a Class III rated tow bar, hitch, and accessories. Vehicles using this baseplate weigh over 3500 lbs.
Use of Blue Ox baseplates with any tow bar not approved by Automatic Equipment Mfg. Company invalidates the limited warranty. Only use tow bars approved by the manufacturer.
Yes, the BX2508 is designed for 1991-94 Mazda Navajo and Explorer Limited vehicles. It requires a Class III (5000 lbs.) rated tow bar approved by Automatic Equipment Mfg. Company.
You need: tape measure, 3/4" and 1/2" wrenches, 19mm wrench, drill with 17/32" bit, jig saw, and Loctite Blue. One or two people are recommended to hold the bumper during marking.
Yes. You must drill four 17/32" holes through the frame beams using the baseplate holes as guides. You must also cut notches in the plastic and steel bumper parts.
Yes. Remove the turn signal bulbs, then remove the four bolts holding the bumper on. Measure the bumper position first so you can reinstall it correctly.
Four Grade 5 bolts, 1/2-13 x 1 3/4" (part 201-0068), installed with Loctite Blue. Temporary 1/2" x 4" bolts are used during drilling and then removed.
Class III (5000 lbs.) rated. Must be used with a Class III rated tow bar, hitch, and accessories approved by Automatic Equipment Mfg. Company.
Total for 0 items:
$0.00
On Sale Today
Original price was $699.99. Current price is $609.00.You save $90.99 (13%)
Free Shipping
Ships free on all orders
 Authorized Dealer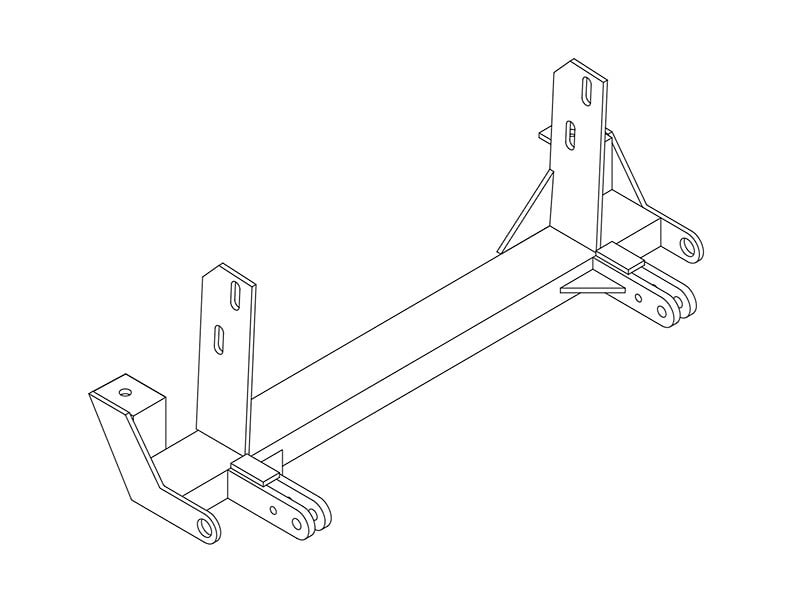


FREE ShippingFREE SHIPPING
Estimated delivery Tue, Sep 22 - Fri, Sep 25
Order before 2 PM EST Monday–Friday for same-day processing
Guaranteed safe & secure checkout
No reviews have been added for this product.