
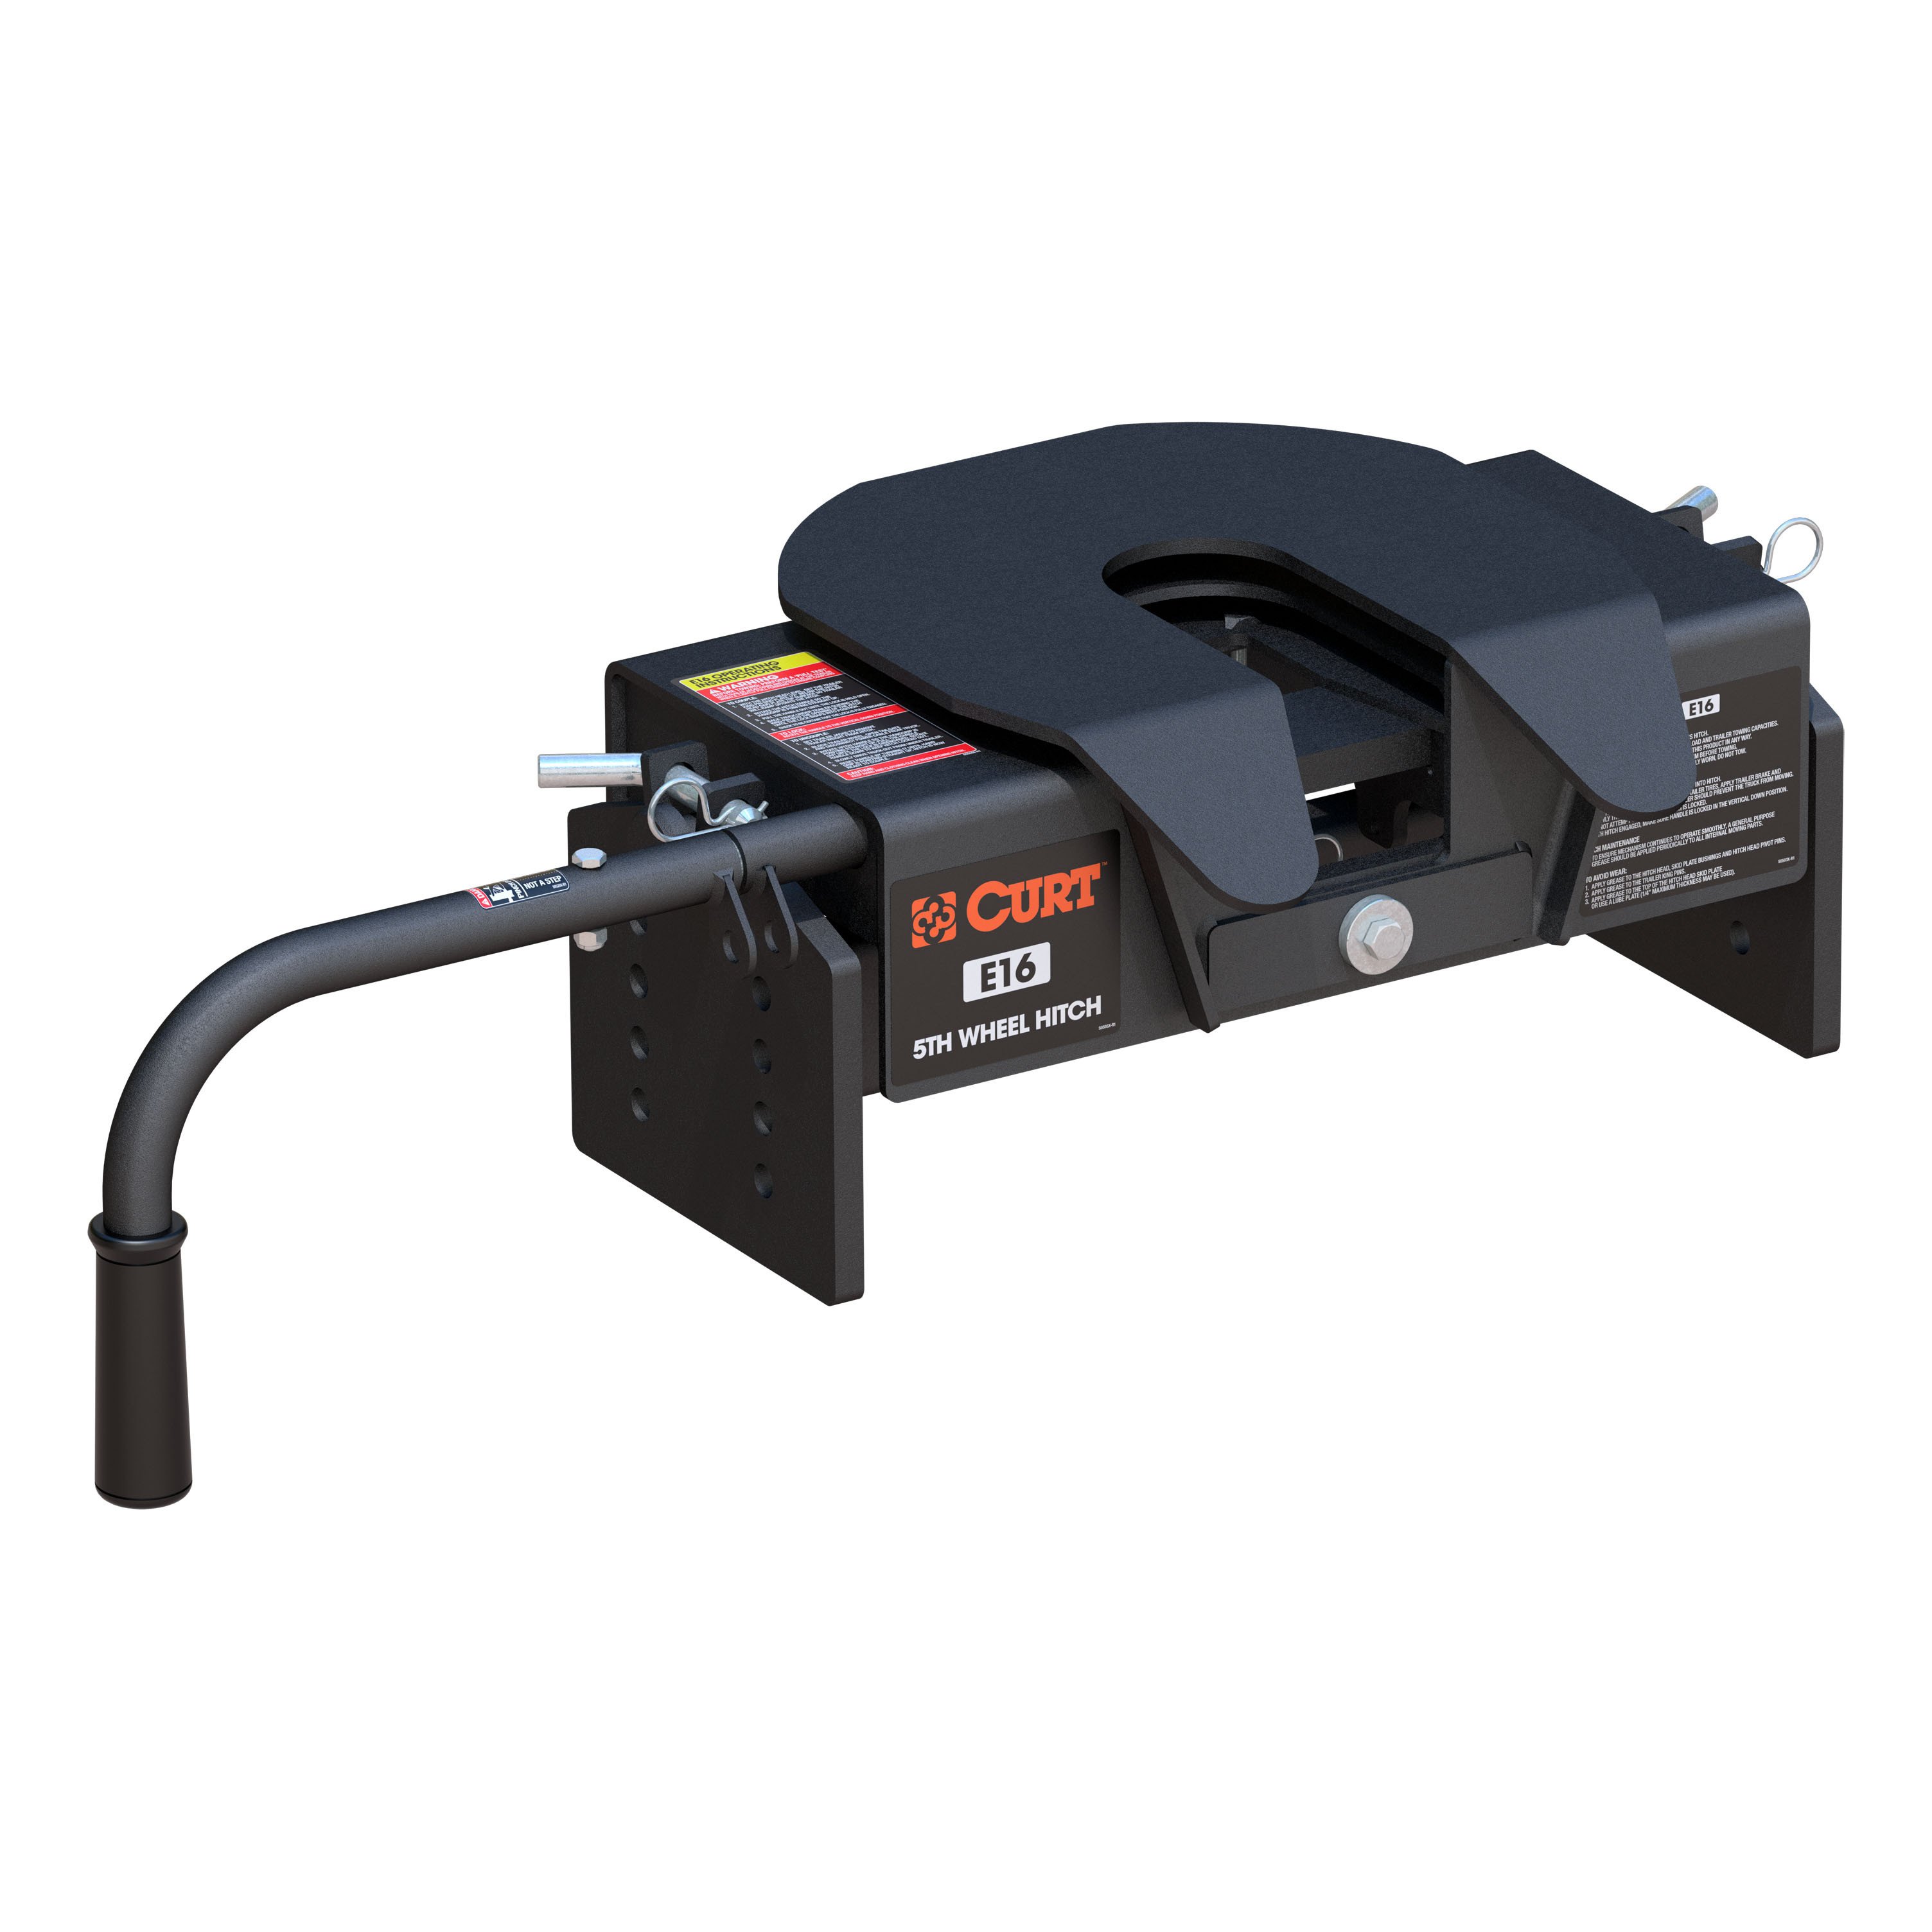
CURT 16K, E16 5th Wheel Hitch Head CURTOriginal price was $493.95. Current price is $290.31.In Stock
View productOur in-house experts typically reply within one business day.

CURT


Always the correct part
We know our products
Quality Products
Free Shipping!
Always the correct part
We know our products
Quality Products
Free Shipping!
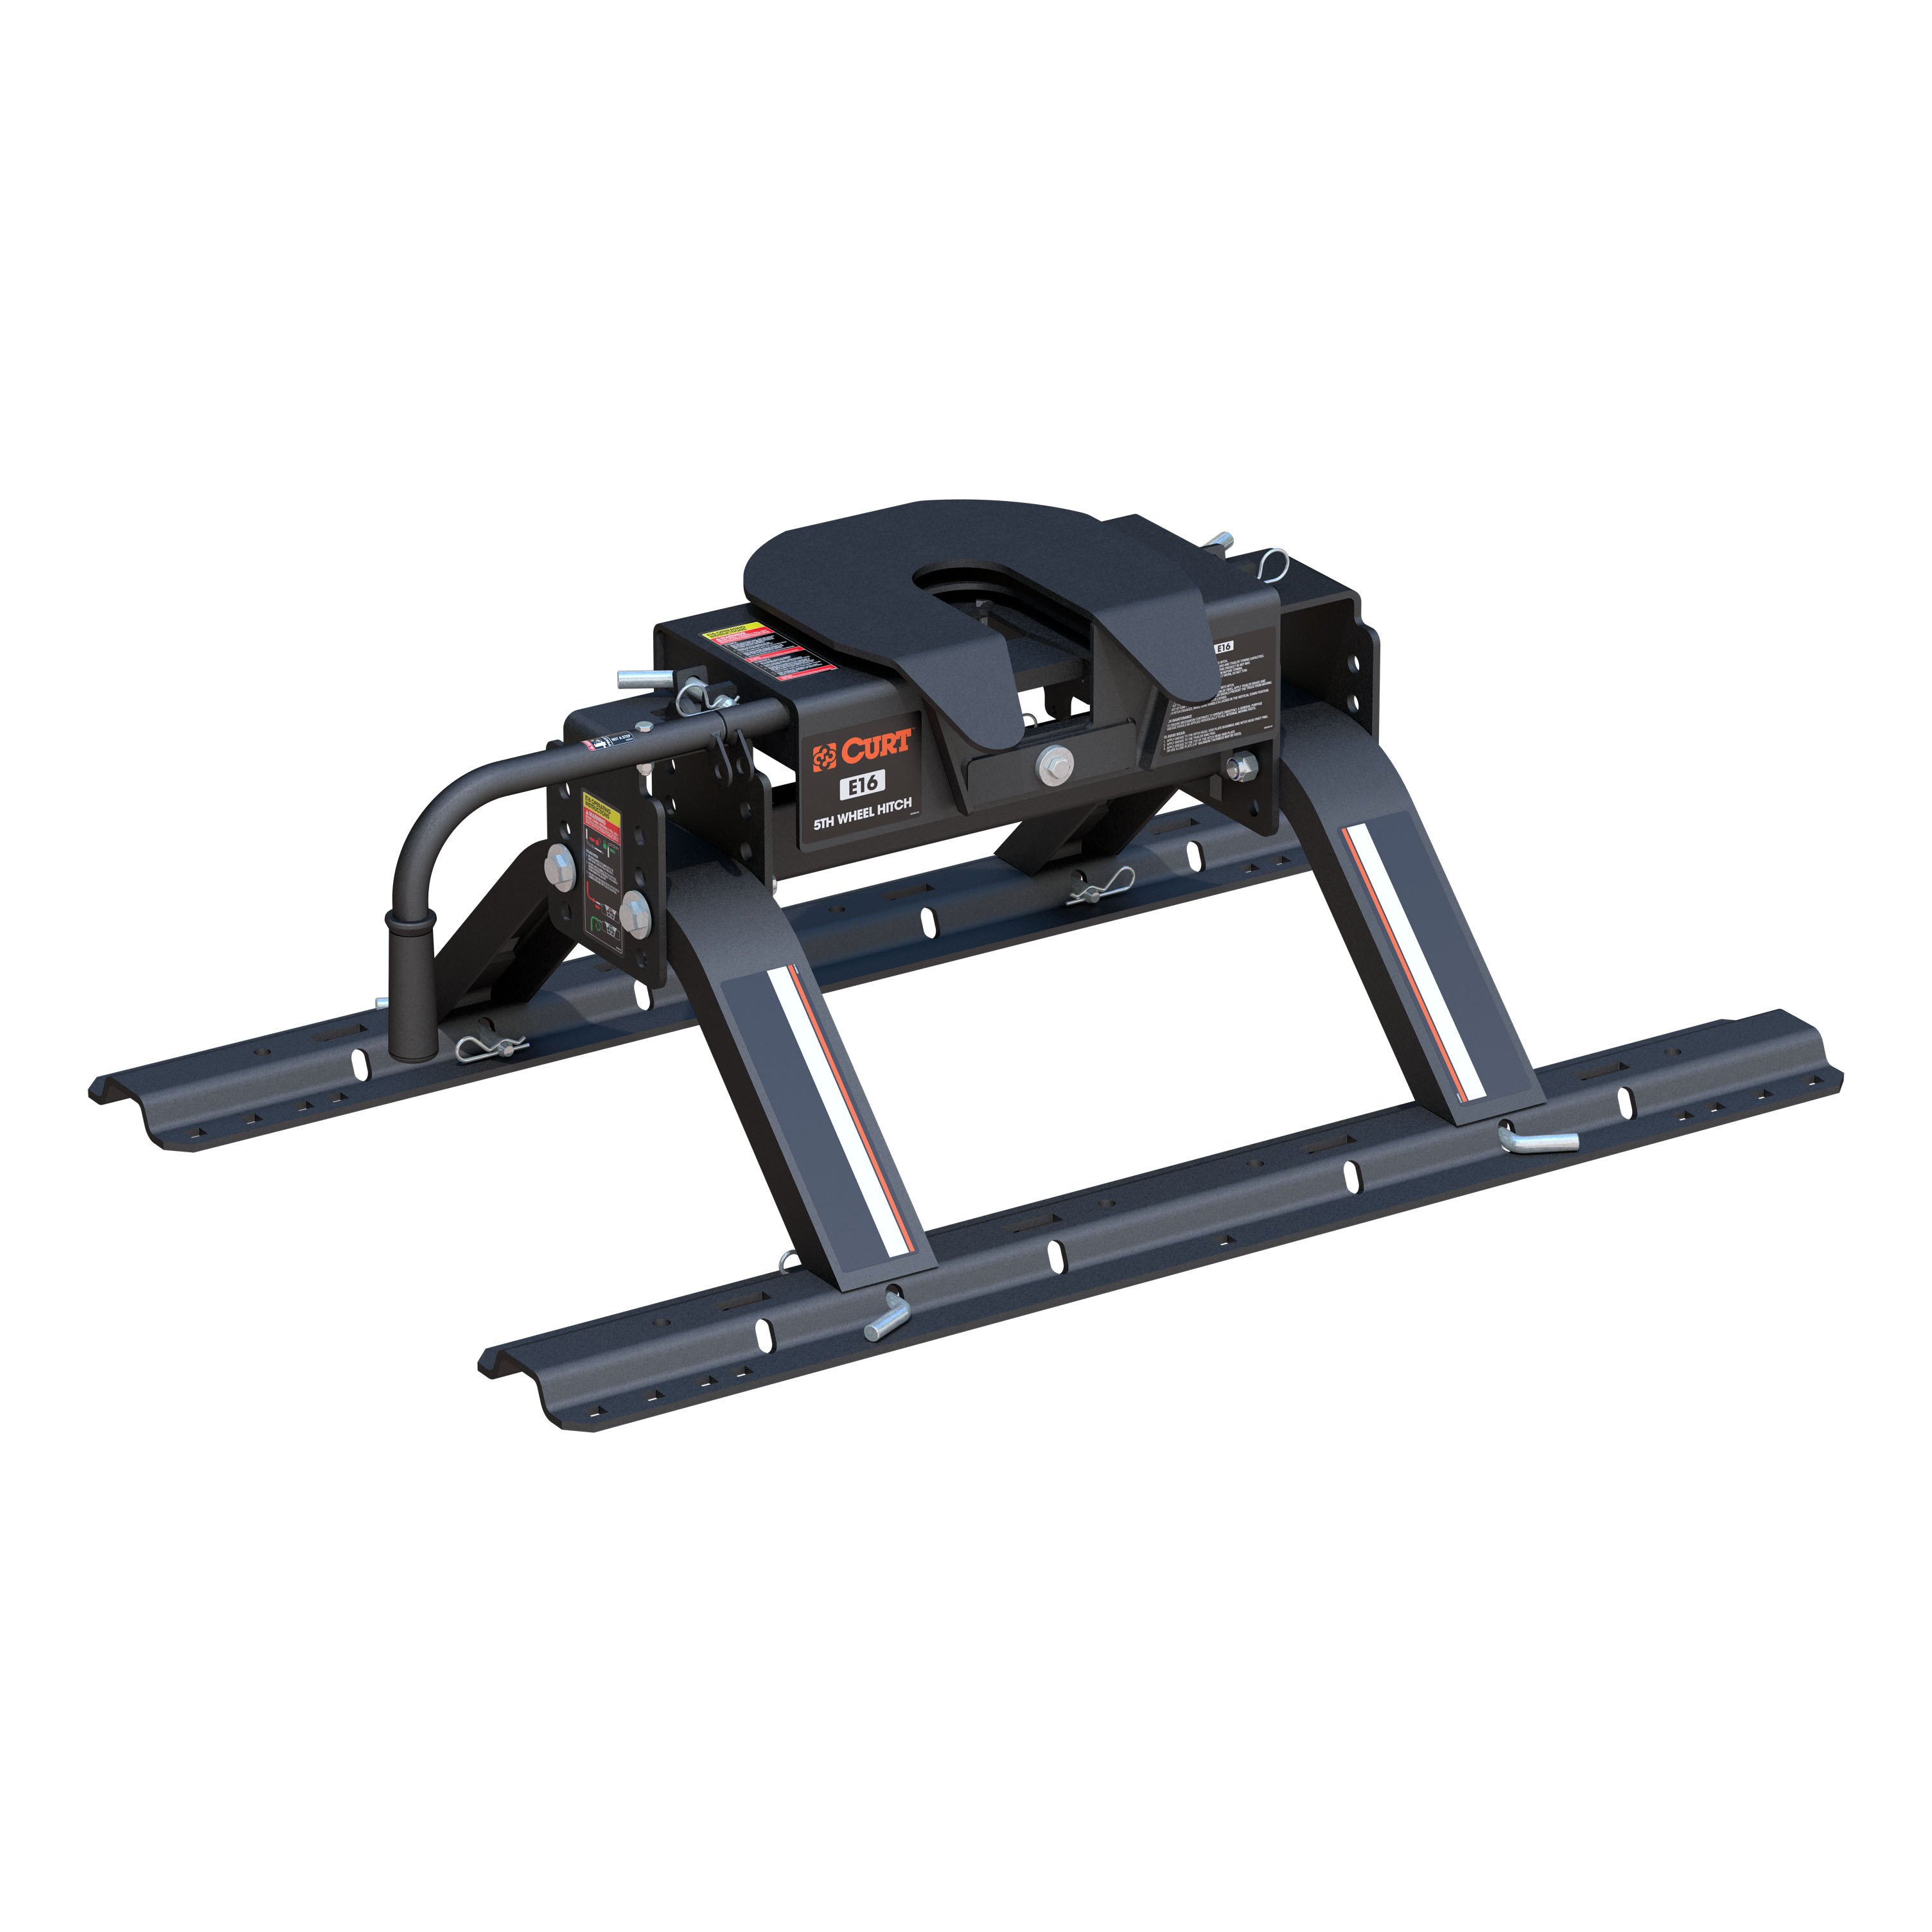
Includes 5th wheel head, legs and hardware (base rails and brackets not included)
Each truck-trailer configuration is different. Be sure to review each configuration and always ensure adequate trailer-to-cab clearance when maneuvering.
Capacity limited to lowest-rated towing component

Includes 5th wheel head, legs and hardware (base rails and brackets not included)
Warranty: Limited Lifetime Warranty (One-Year Finish, One-Year Parts)
Finish: CARBIDE BLACK POWDER COAT
Gross Trailer Weight (Pounds): 16,000 LB
Installation Time Exact (Minutes): 0
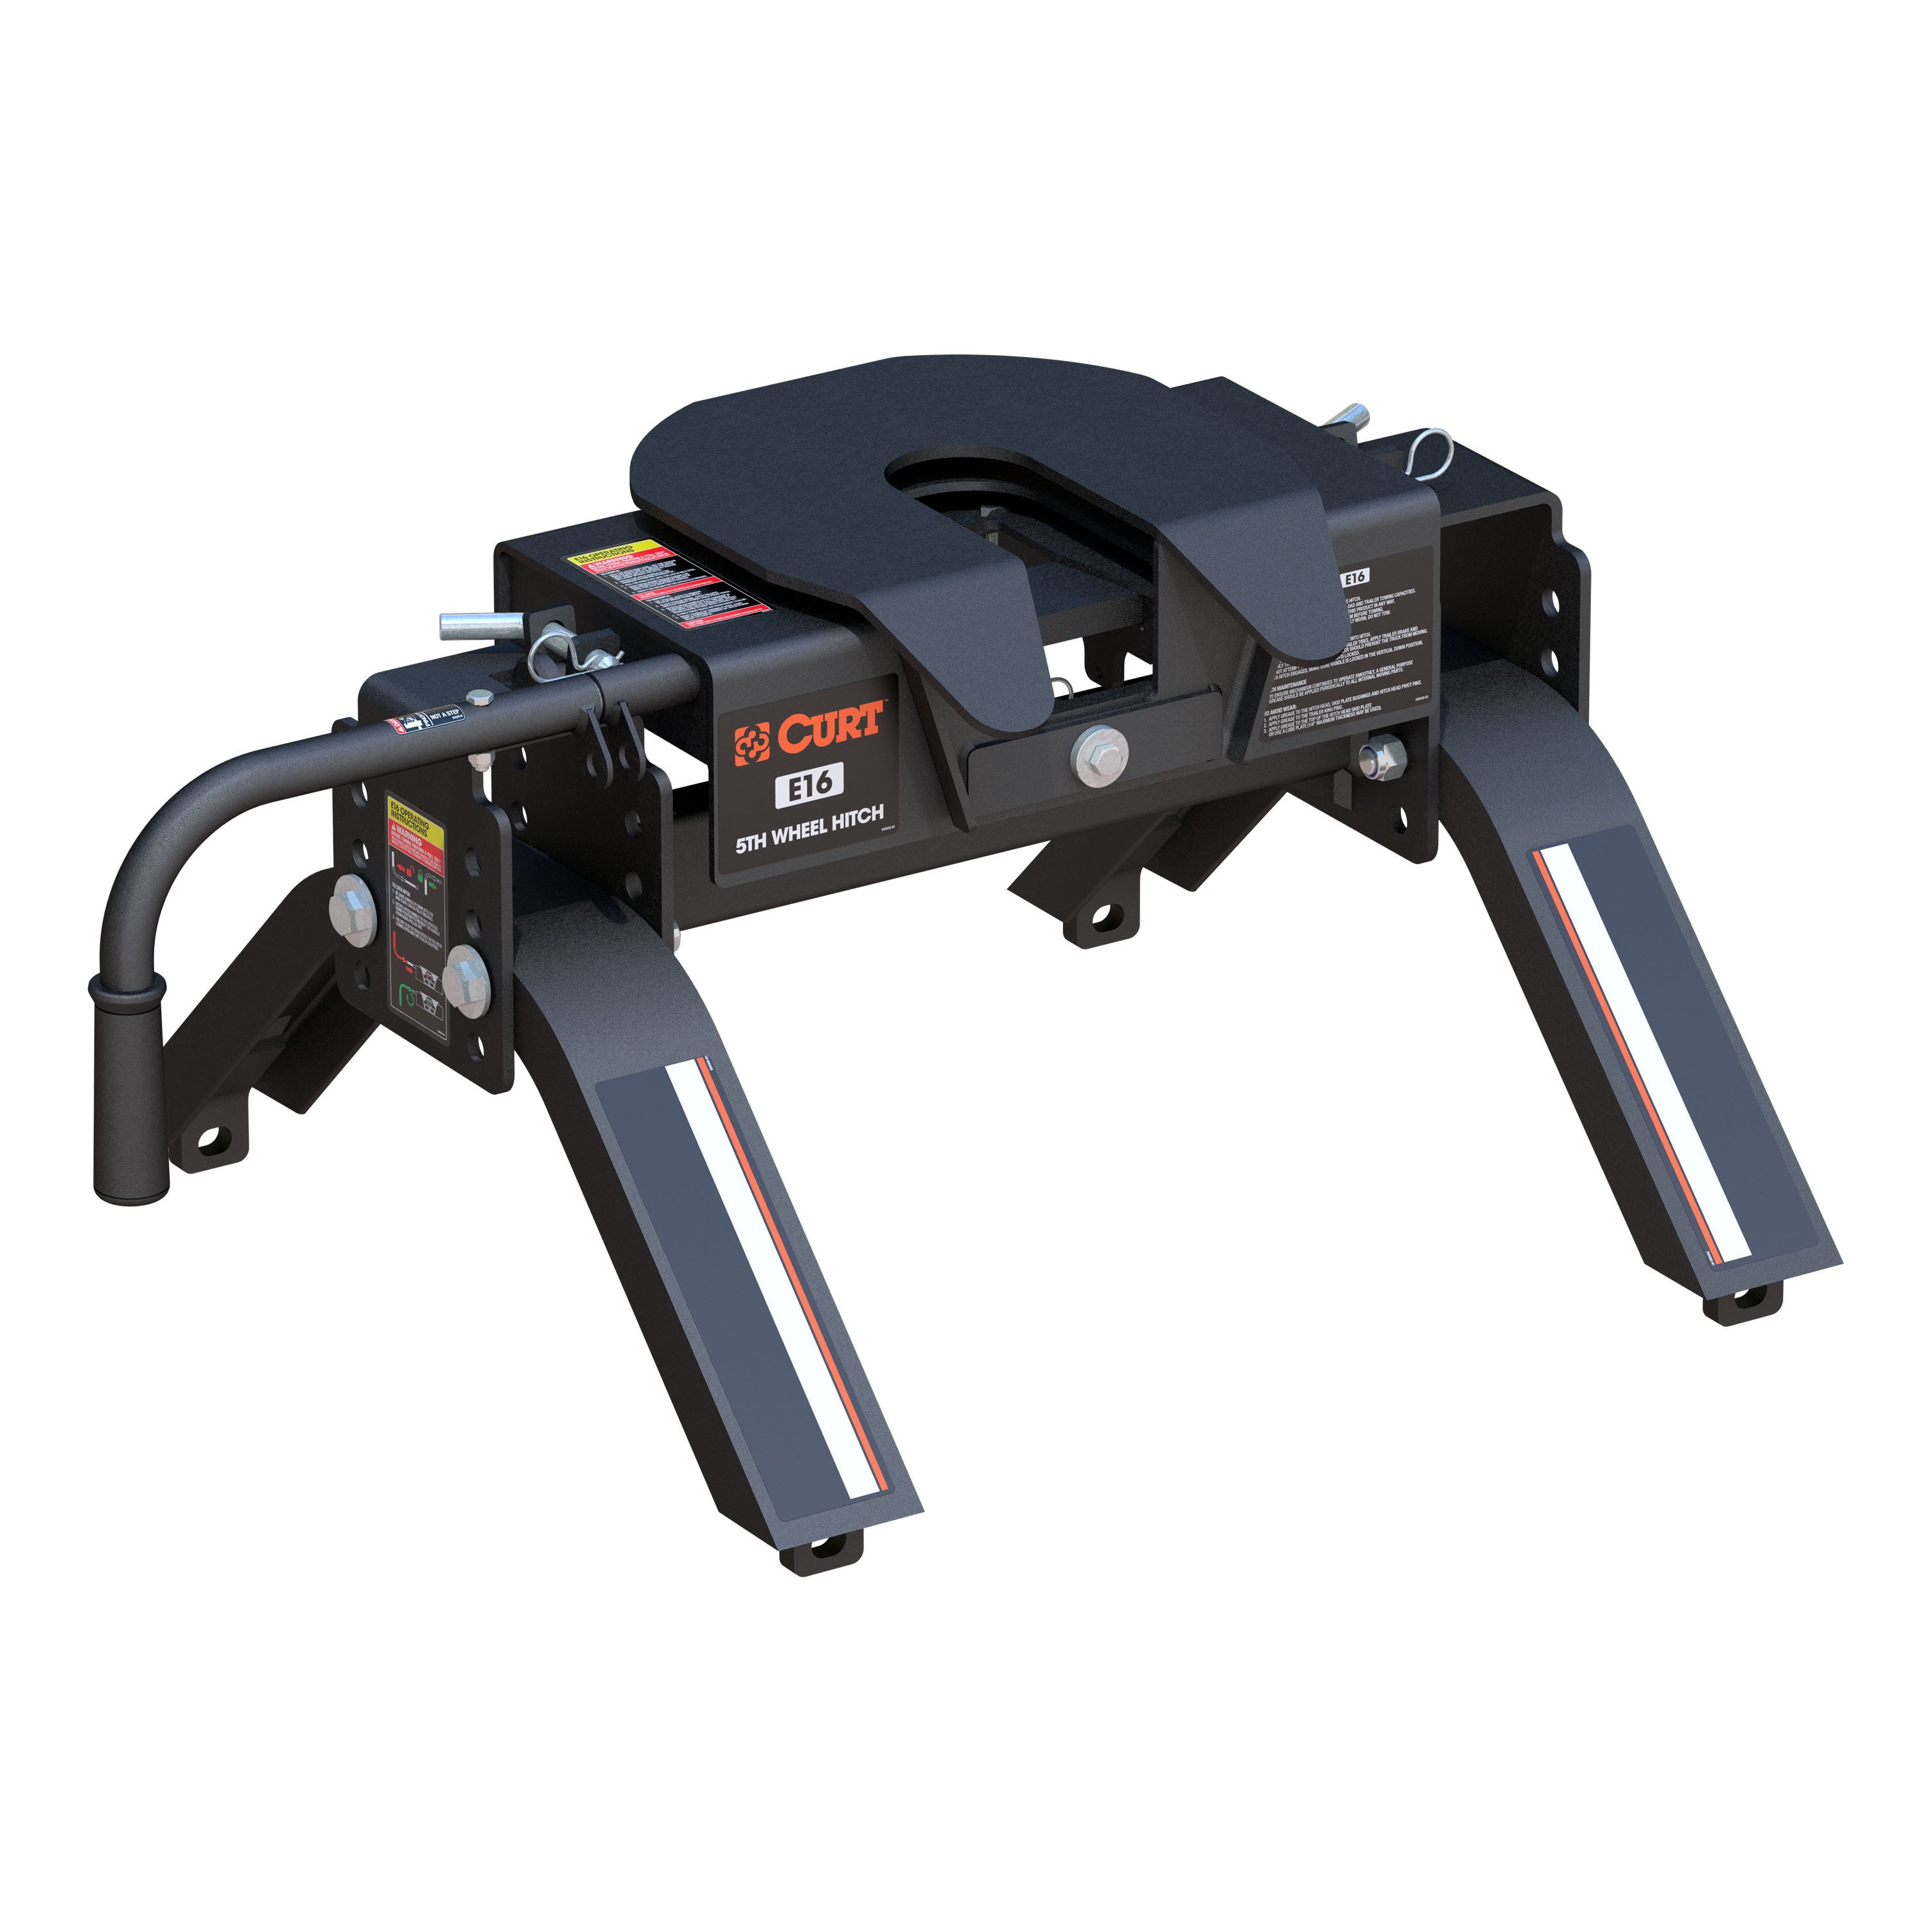
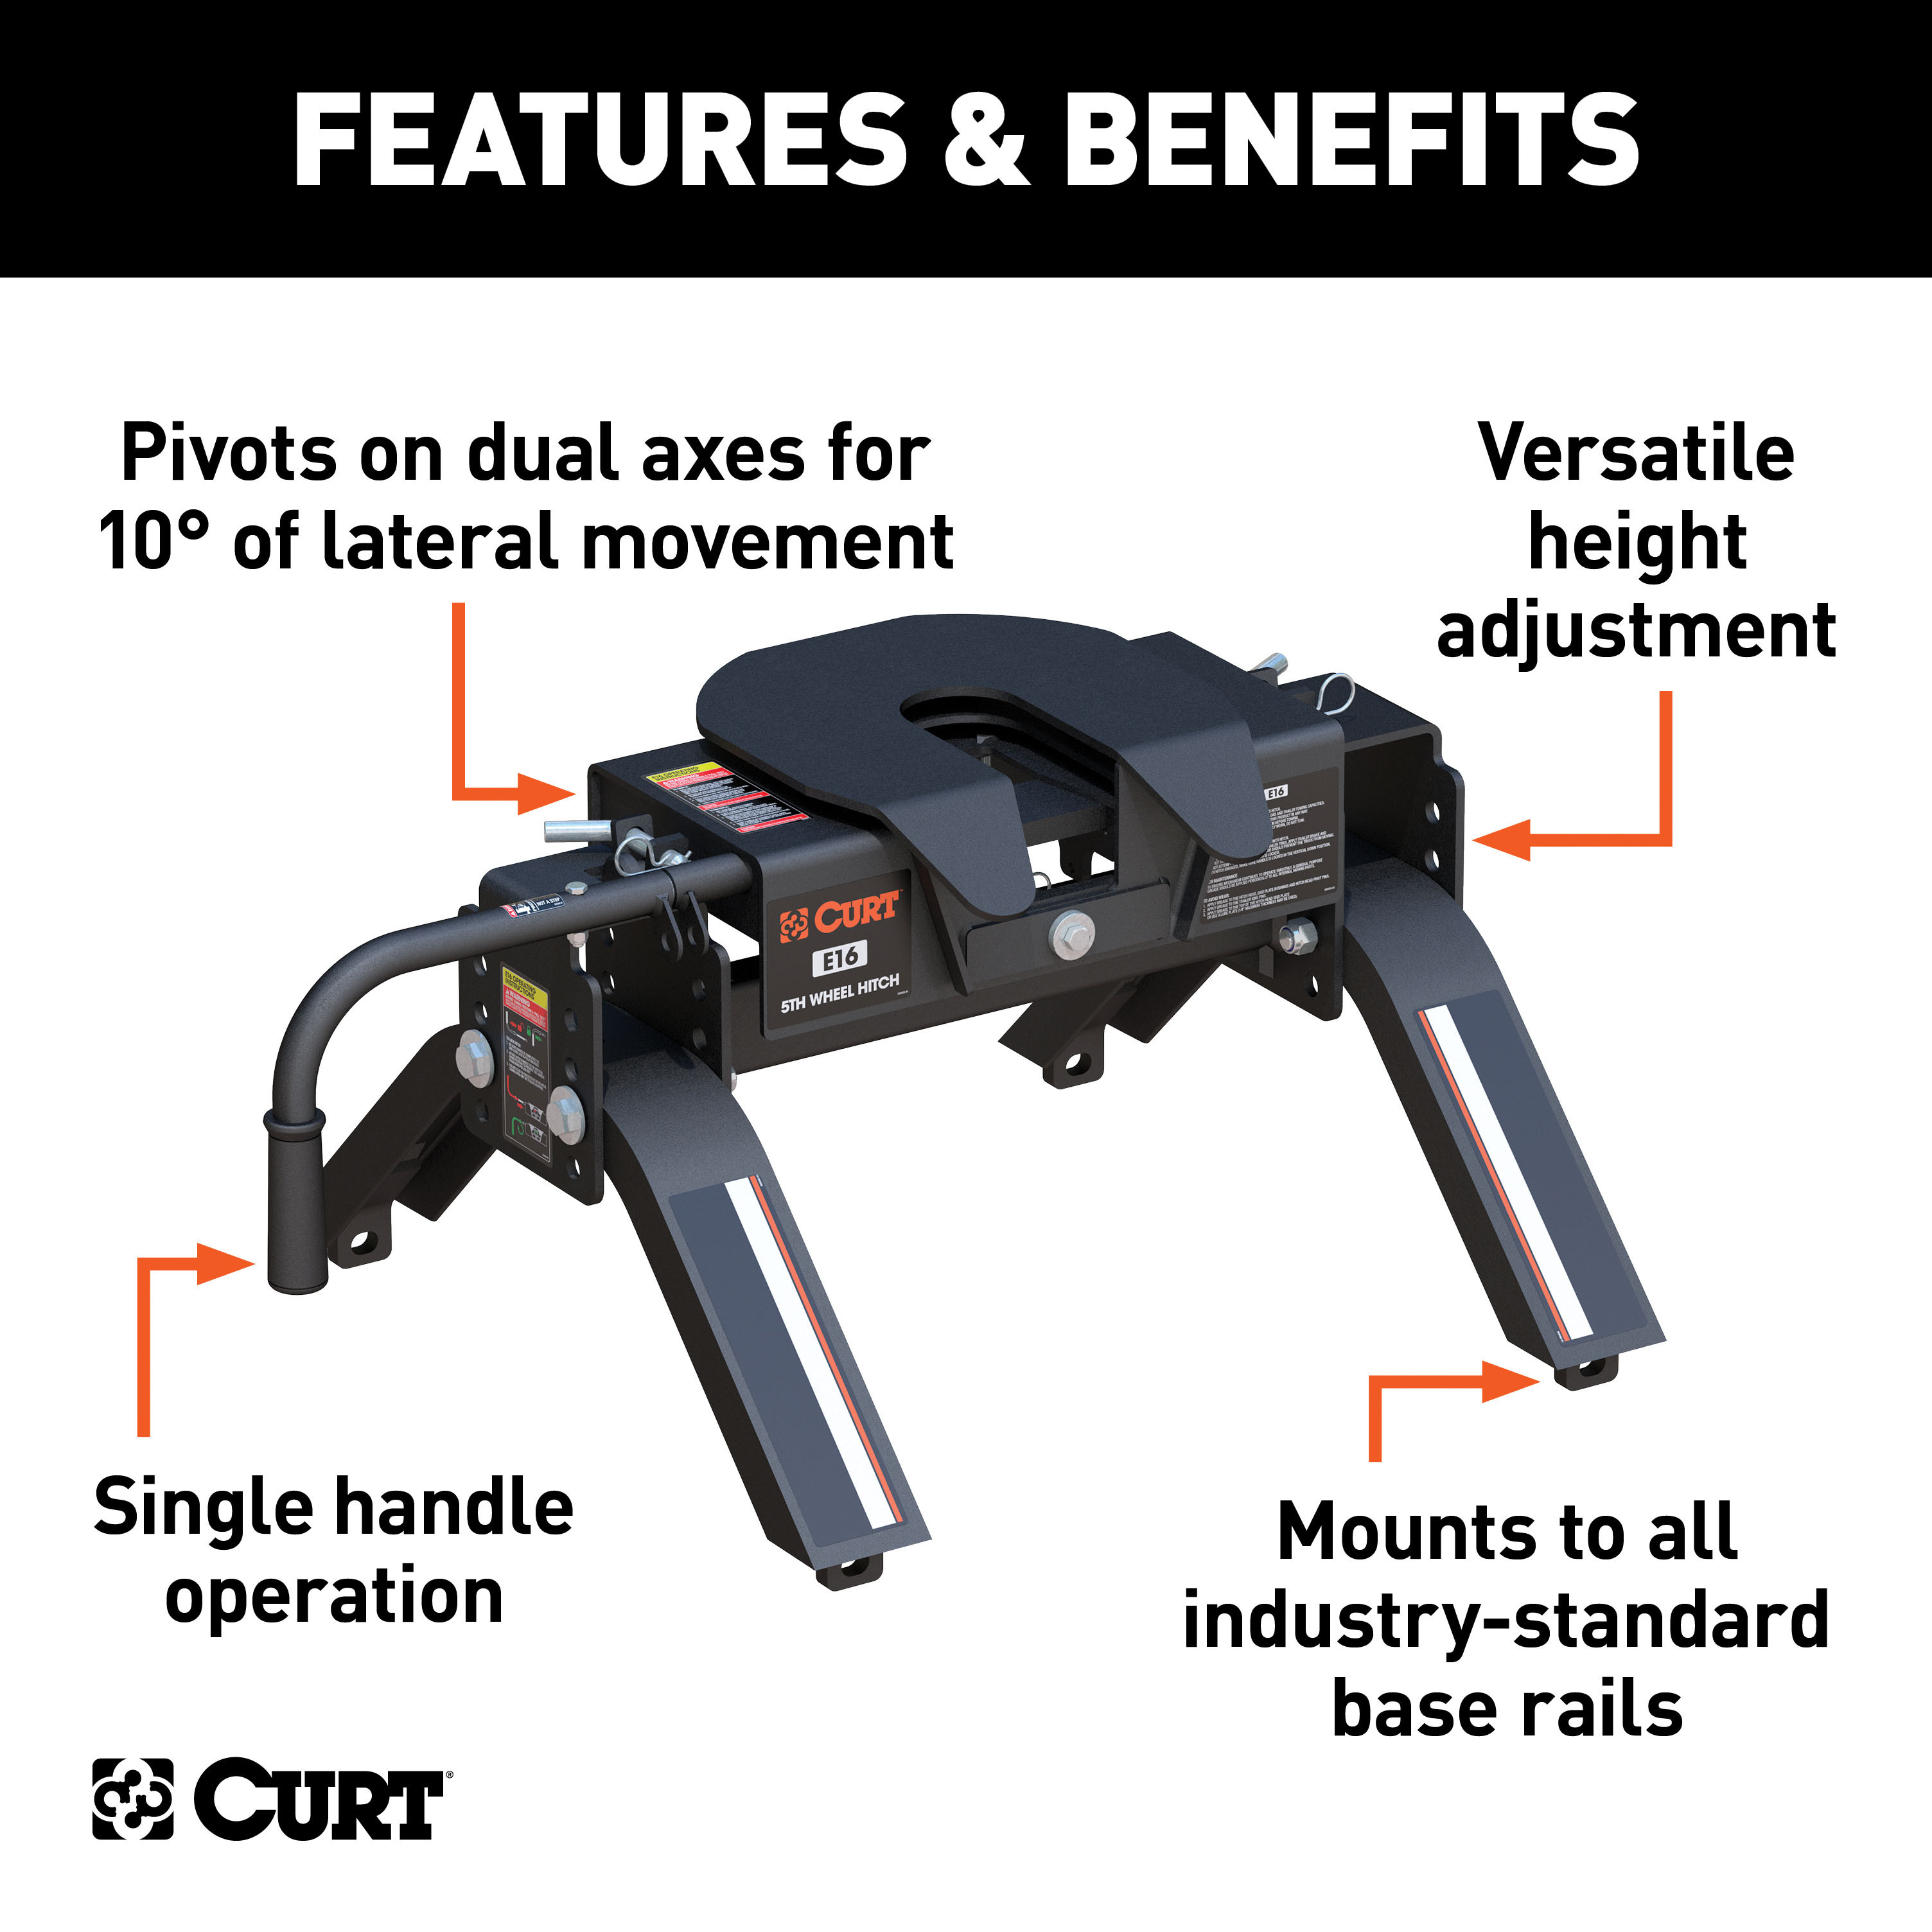
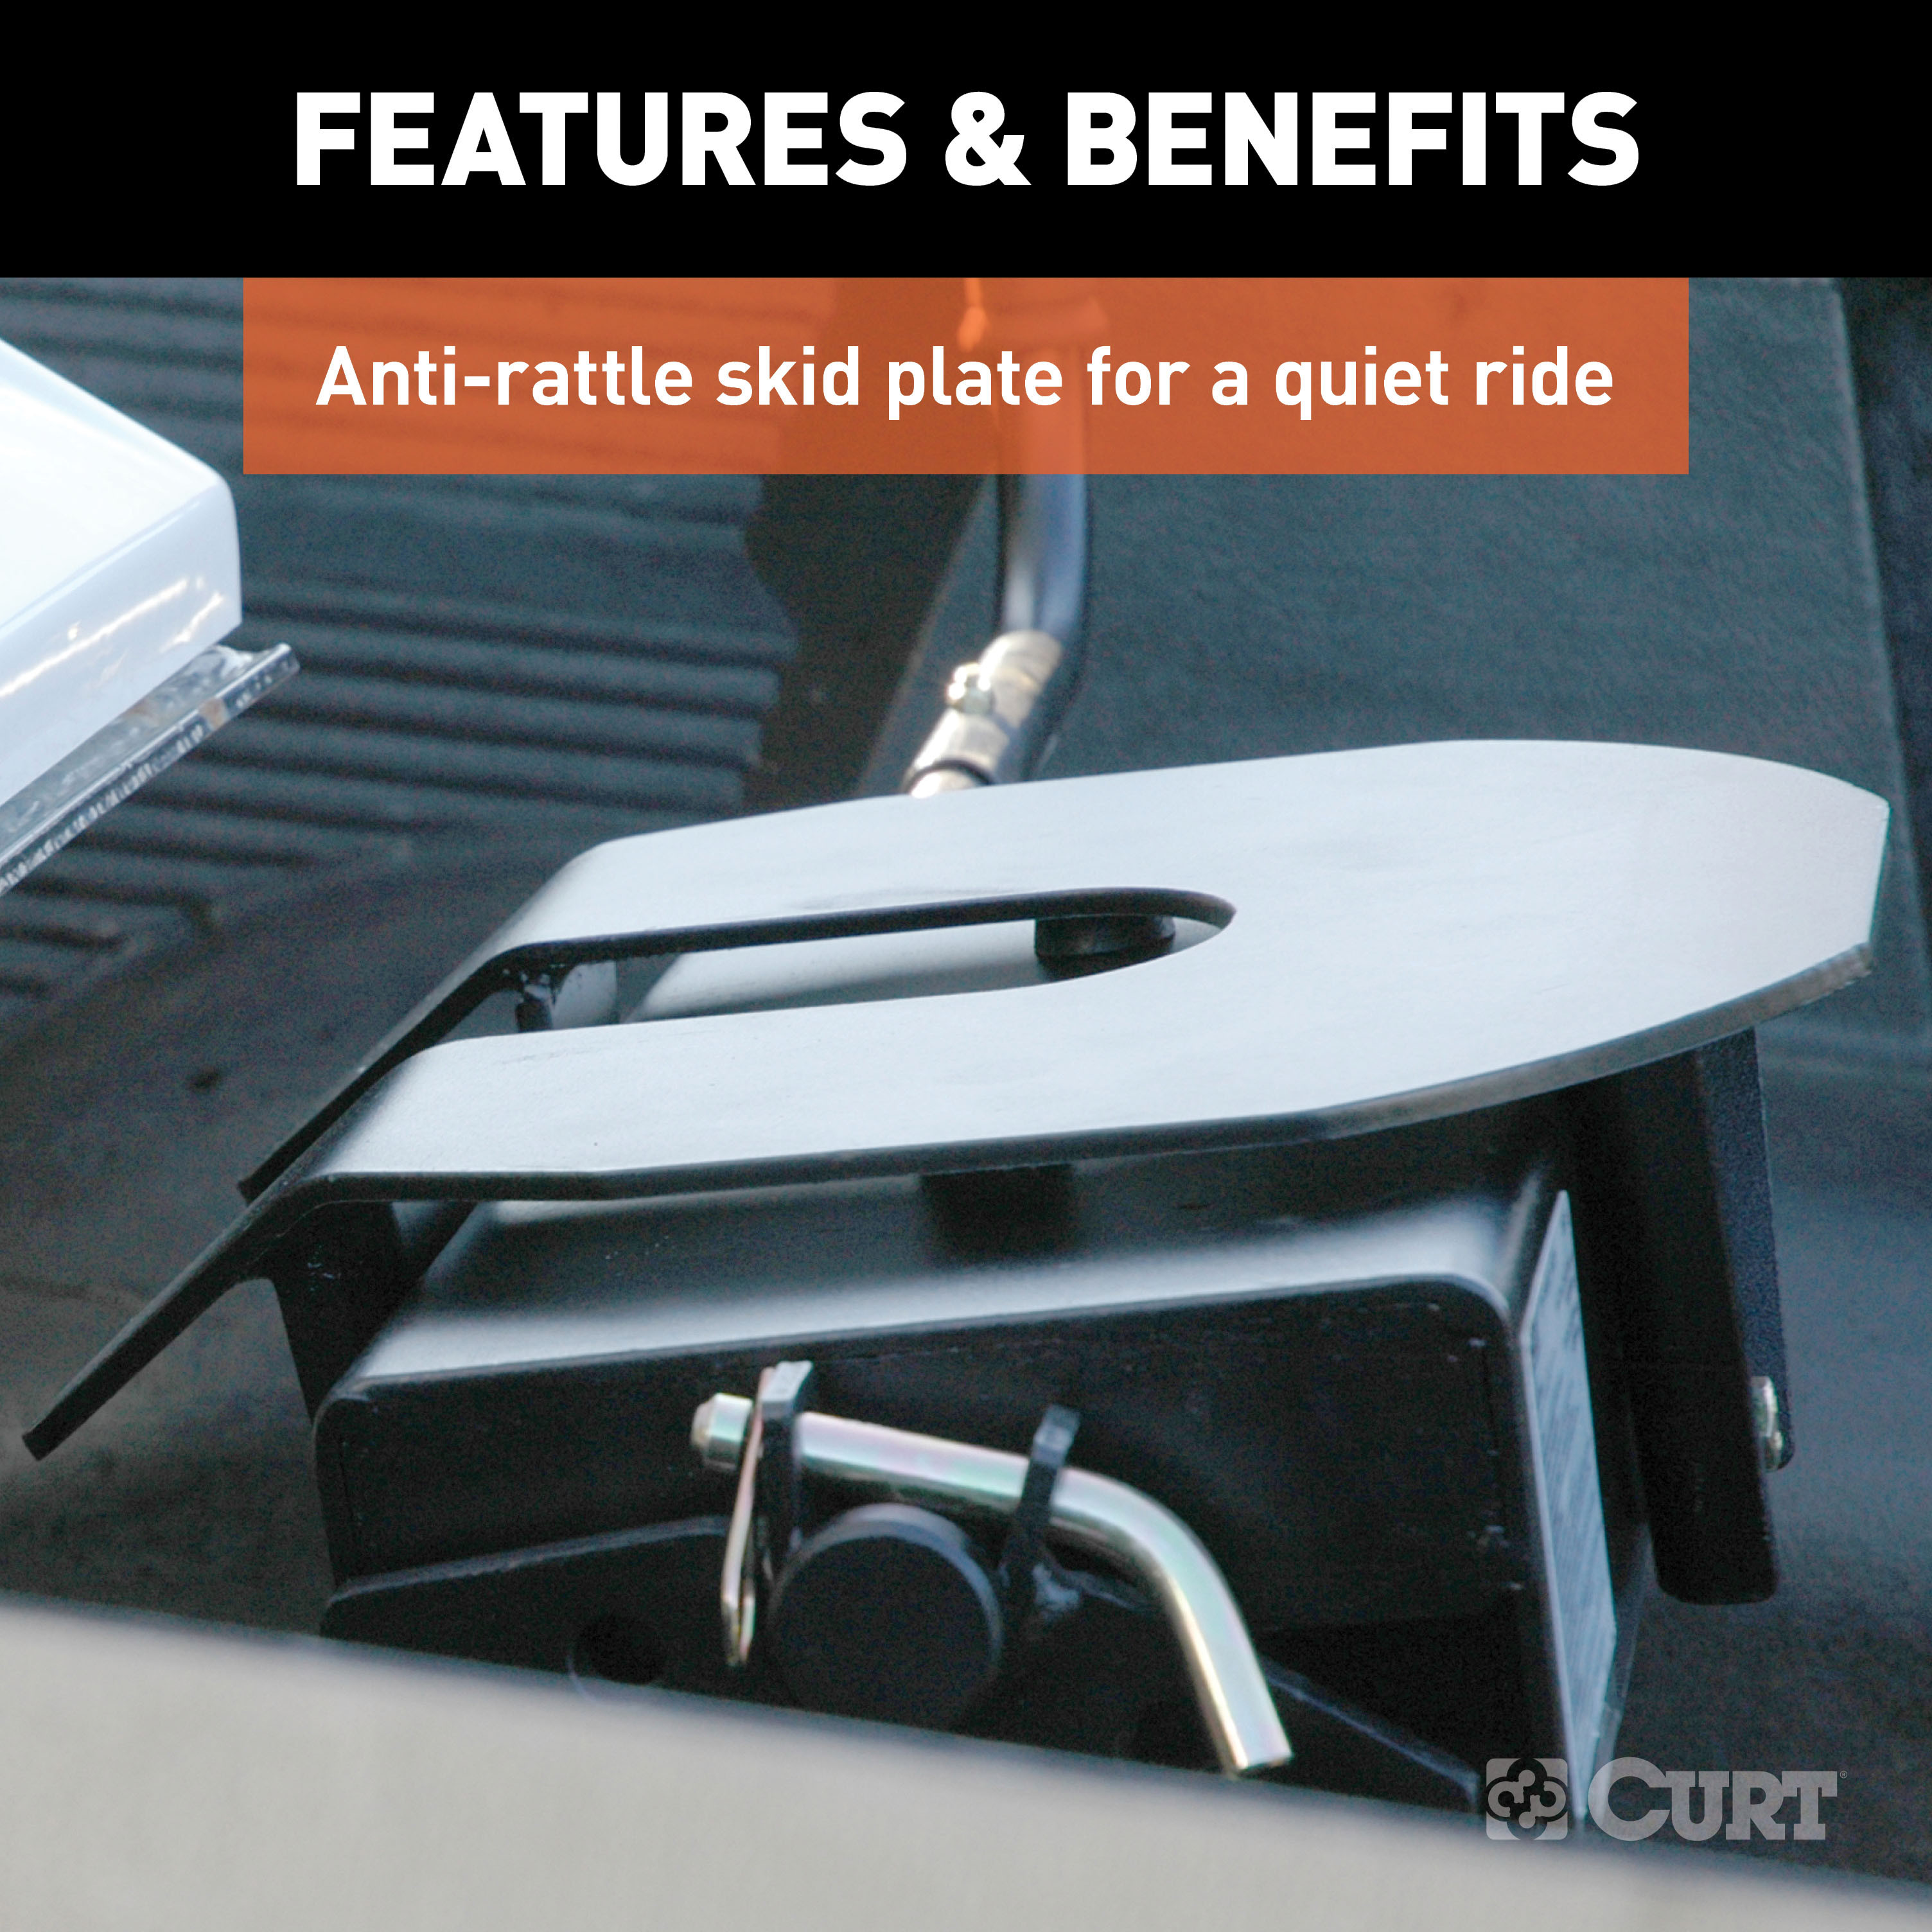
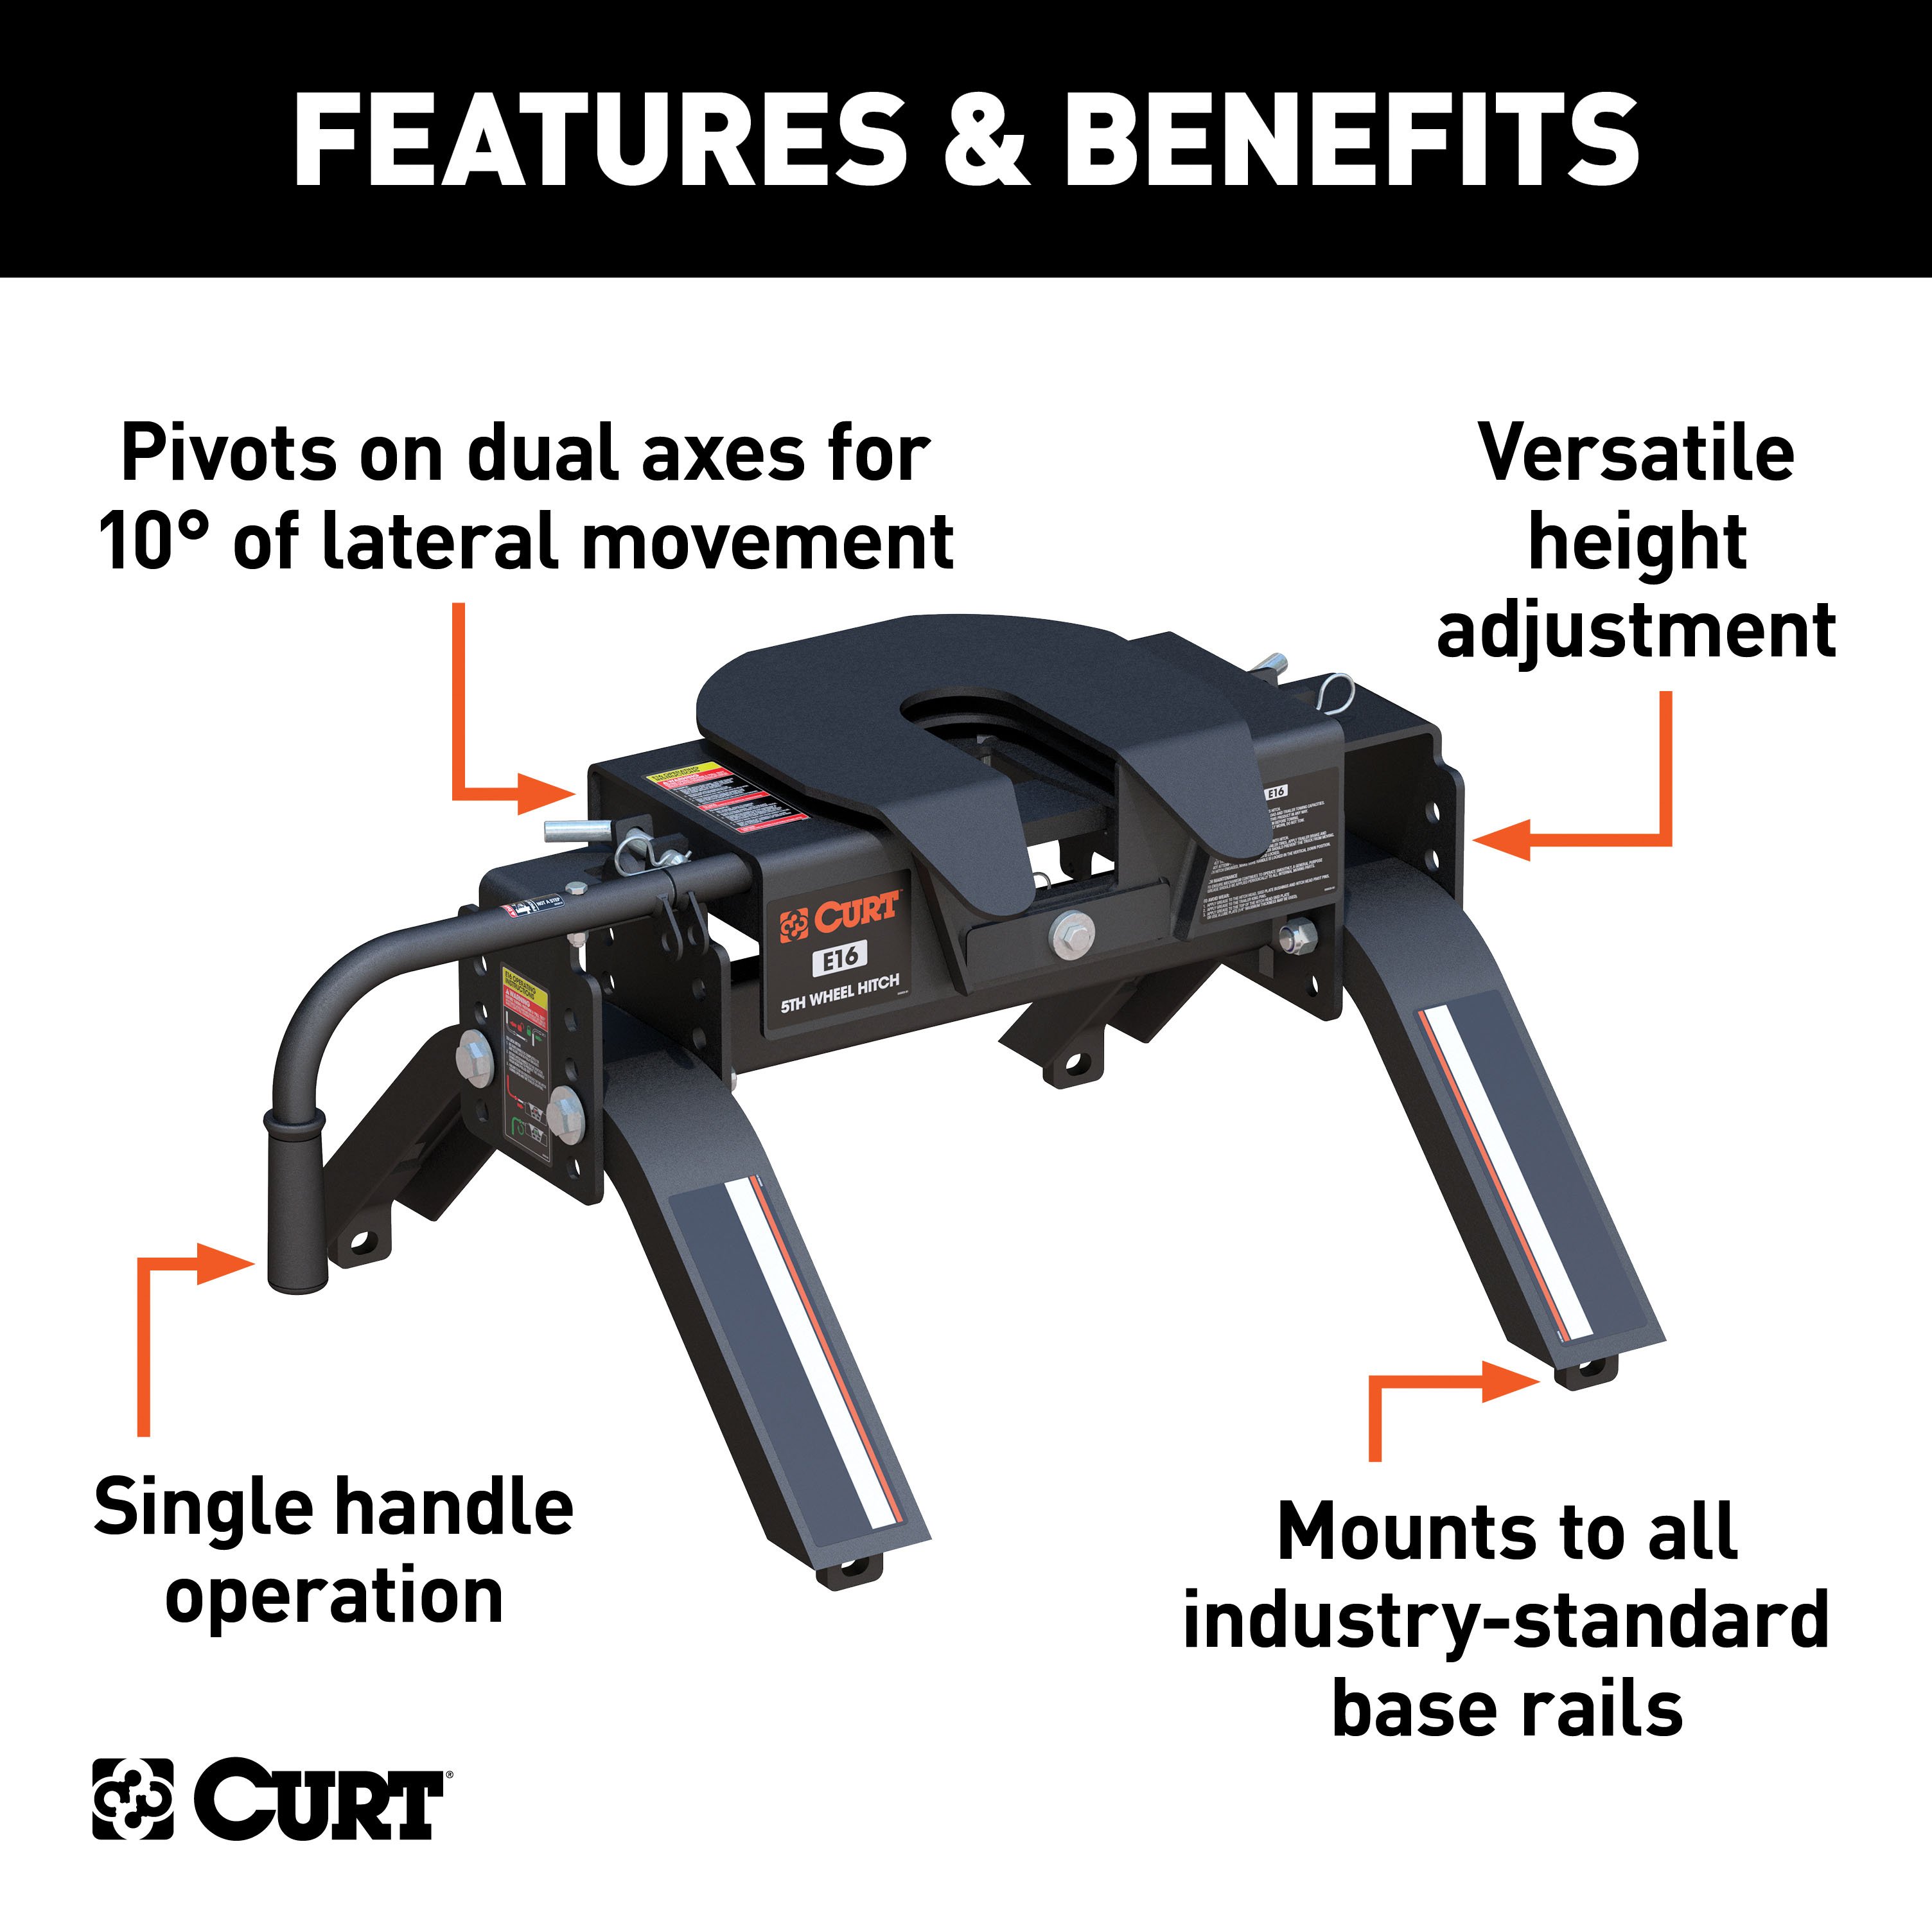
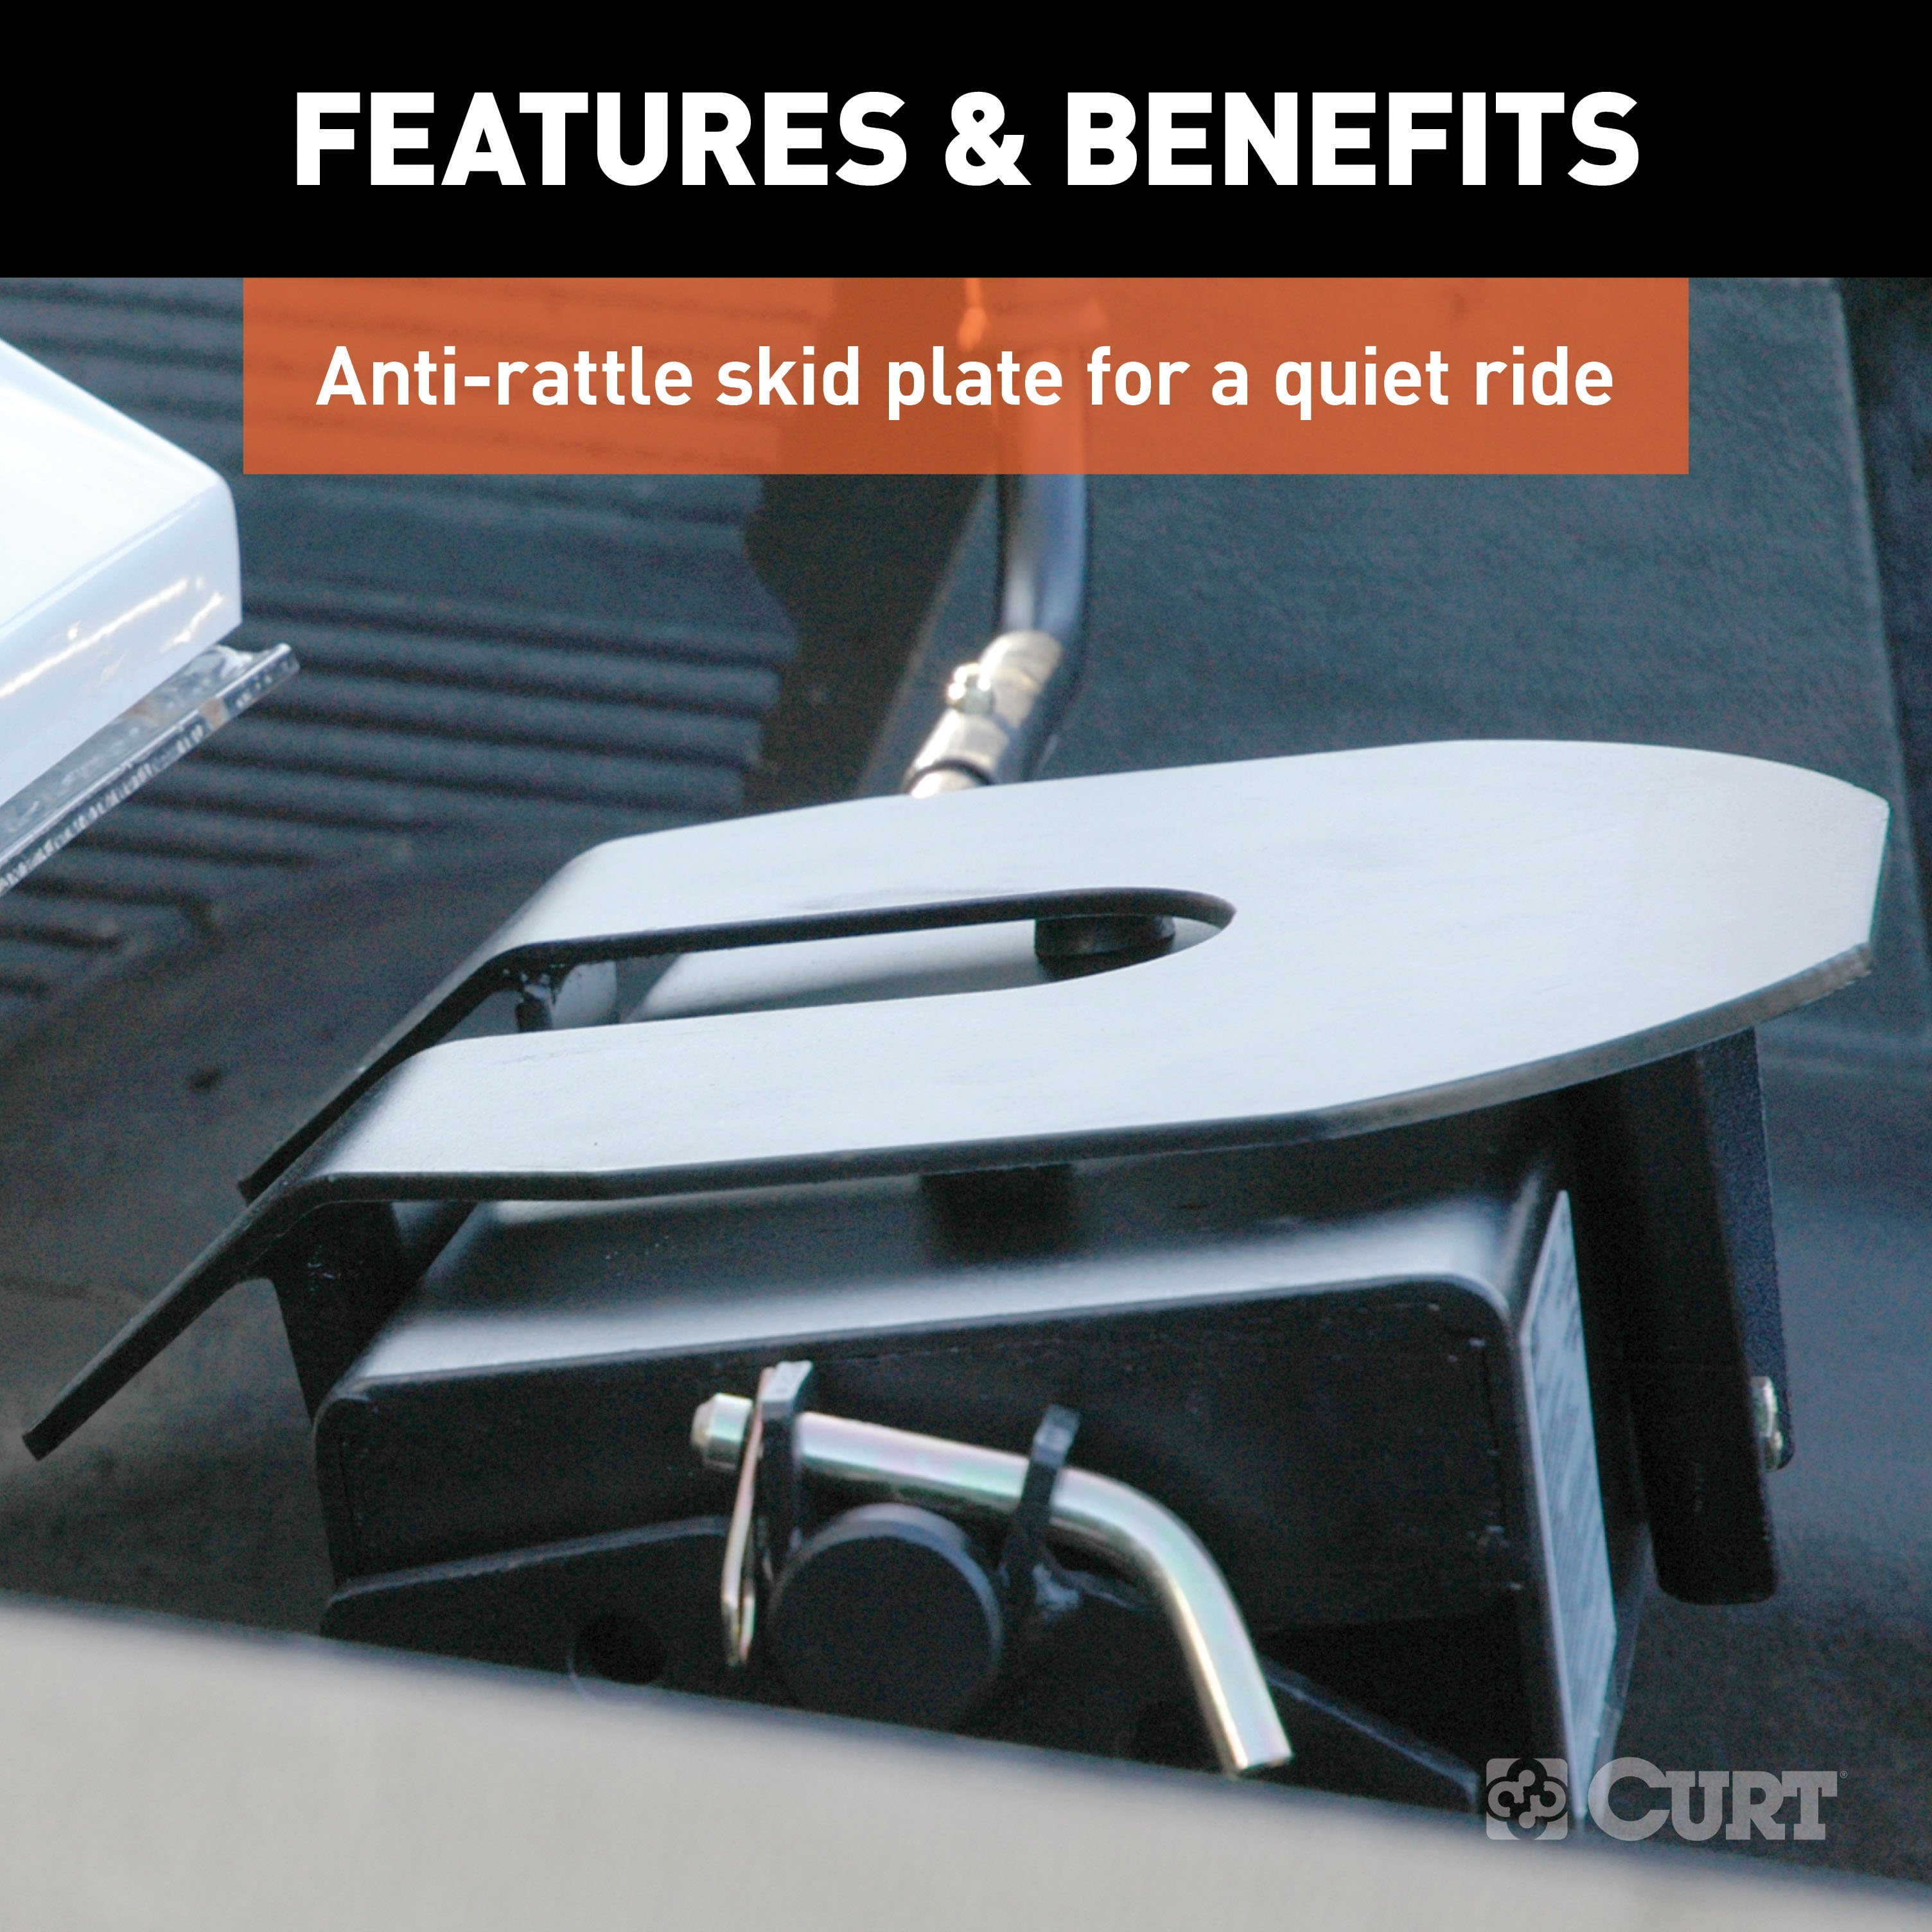
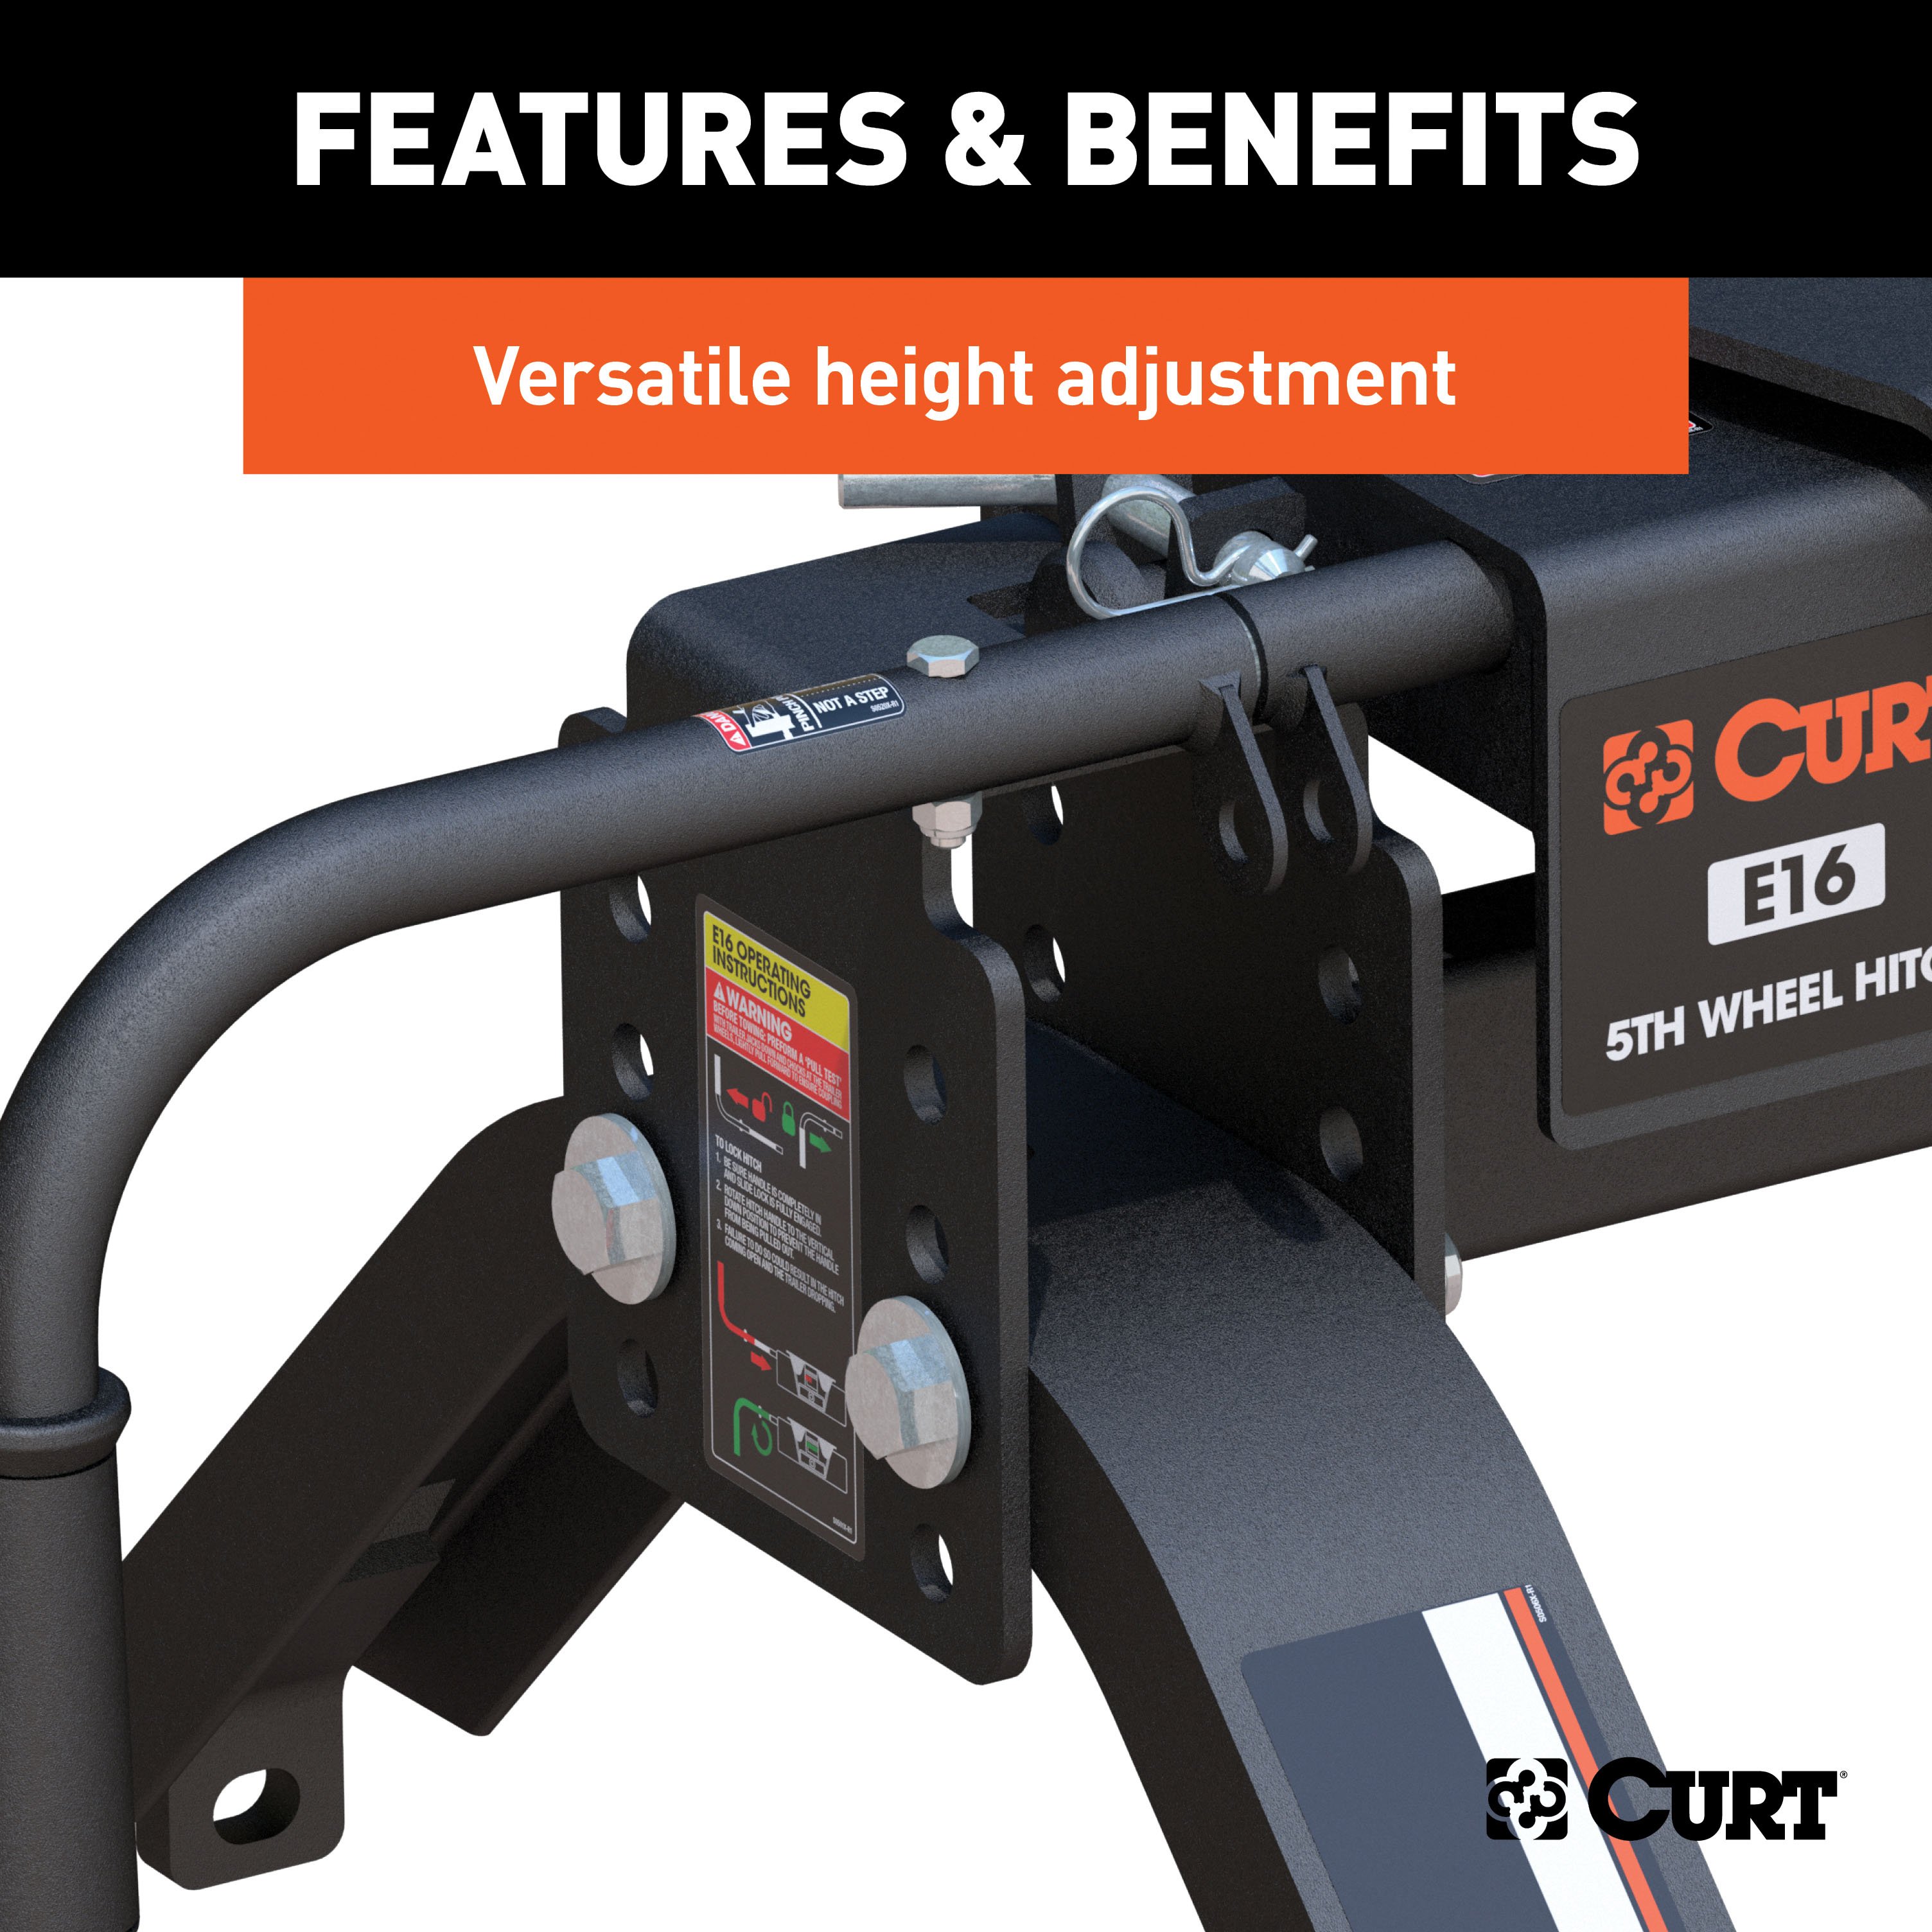
The CURT E16 5th wheel trailer hitch is an economical choice that offers many of the same features found in our Q-Series 5th wheel hitches. The E16 has a gross trailer weight rating of 16,000 lbs. and can withstand a vertical load up to 4,000 lbs. It comes with a dual-pivoting head, 10 degrees of lateral movement and an anti-rattle skid plate to provide a smoother, quieter ride. The E16 also comes with easy, single-handle operation and a durable carbide powder coat for long-lasting protection against the elements. With four height adjustment settings, the E16 is quick and simple to install, and it is backed by a limited lifetime warranty. This 16K 5th wheel hitch comes with a set of standard 5th wheel legs that are ready to mount into your truck bed with a pair 5th wheel rails and brackets (base rails and brackets sold separately).

CURT offers a variety of high-quality trailer hitches and accessories for select vehicle models. Find the perfect fit for your towing needs at TowUniverse.
CURT, a Lippert brand, offers a complete line of towing products and is the leading manufacturer of custom-fit trailer hitches. We offer the broadest selection of custom-fit hitches, and each one is designed, welded, and coated in Wisconsin.
CURT is also a leader in flat towing products, as well as 5th wheel, gooseneck, and weight distribution hitches, ball mounts, electrical components, cargo solutions, and other towing accessories.
For everything from passenger cars and vans to full-size pickups and SUVs, CURT is 'The First Name in Towing Products®.'
Experts available to answer your questions
Call 888-634-9494Rediscover "Us" Time | Tested. Proven. Safe. Towing Products
The E16 5th wheel hitch is rated for 16,000 lbs GTW (Gross Trailer Weight). Never exceed your vehicle manufacturer's recommended towing capacity, and ensure the trailer and contents combined do not exceed the tow vehicle, hitch, and trailer tow ratings.
The E16 is adjustable from 13" to 17", measured from the pickup bed to the top of its skid plate. Adjustment is made by positioning the mid-section up or down in relation to the legs in 2" increments. The typical minimum clearance between pickup bed rails and trailer should be 5 1/2".
The parts list includes: 1 E16 5th wheel head assembled to mid-section, 2 legs, 4 pilot hex bolts (M14 - 2 x 45mm), 4 flat washers (14mm), 4 lock washers (14mm), 4 base rail mounting pins (1/2" diameter), and 4 hair pin clips for base rail mounting pins.
Torque the four pilot hex bolts to 100 foot lbs. Re-torque after the initial 500 miles and every 1,000 miles thereafter and prior to each individual use.
Yes. Multiple wheel chocks must be used in front of and behind trailer tires. Do not substitute objects such as stones or wood blocks. Proper wheel chocks are required for safety during coupling and uncoupling.
Adjust the front trailer lifting jacks so the trailer's kingpin skid plate is approximately 1/2" below the top surface of the 5th wheel skid plate. This helps ensure proper engagement of the trailer kingpin.
Attach electrical harnesses and attach lanyard with electric brake break-away plunger. If hydraulic surge brakes are present, attach lanyard from the surge brake assembly as required. Check running lights, directional signals and brake lights for proper operation before towing.
Lubricate before each individual use and every 1,000 miles thereafter. Black graphite grease is recommended for jaw pins and lower bearing assembly jaw. High-pressure wheel bearing grease is preferred for the skid plate. In severe cold temperatures, white lithium grease may be substituted for jaw pins and lower bearing assembly jaw.
Yes. The E16 5th wheel hitch has been partially assembled, inspected and tested for fit, function and completeness. The head assembly is assembled to the mid-section, but the legs must be attached during installation.
Follow these steps: (1) With your trailer on a firm and level surface with chock blocks in front and behind the tires, extend front trailer lifting jacks and adjust to set trailer at or near level. (2) Measure from the ground to under the trailer's kingpin box skid plate (or lube plate if used). (3) Measure from the ground to the surface of the pickup bed. (4) Subtract the measurement from step 2 from step 3. This value will be near the height requirement for the E16 5th wheel.
Once you have determined the height adjustment required, assemble the legs to the mid-section using the appropriate holes. Depending on which holes are selected, attachment may be easier with the mid-section upside-down sitting on its skid plate. The head assembly can be removed from the mid-section to further aid in the installation of the pilot bolts. Torque the four pilot bolts to 100 foot lbs.
If alignment issues arise when mounting to existing bed mounting rails: (1) Loosely assemble the legs to the E16 mid-section. (2) Place the unit on top of the existing bed mounting rails, aligning the foot tabs with the outermost rectangular slots. (3) When the foot tabs drop into the four rectangular slots, pin the foot tabs using the four pins and clips provided. (4) Tighten the pilot hex bolts to 100 foot lbs. If difficulty persists, loosen the mounting rail bolts and realign the mounting rails as required. Replace old lock washers with new ones and torque mounting rail bolts to 75 foot lbs. Continue by tightening the pilot bolts to 100 foot lbs.
Follow these steps: (1) Flip safety lynch pin bail and remove lynch pin. (2) Lift flip lock, rotate clockwise and let hang. (3) Pull lock bar to full extension (approximately 3 1/2") until jaws activate and open, then release lock bar. (4) Visually check that jaws are open and ready to receive trailer kingpin. The yellow dot should be visible, signifying the 5th wheel is ready for coupling. If the 5th wheel is in any other configuration, follow the preparation troubleshooting guide.
Yes. Up to two 3/16" thickness lube plates may be used on the trailer's kingpin. If you are not using a lube plate, apply a high-pressure wheel bearing grease to the 5th wheel skid plate.
After coupling and prior to removing trailer wheel blocks or raising front trailer jacks: (1) Set towing vehicle in a forward gear and lightly tug on the trailer to ensure 100% coupling has taken place. (2) If resistance is felt, release forward pressure, set vehicle to park (automatic) or neutral (manual), and activate emergency brake. (3) If resistance is not felt, trailer may not be coupled correctly. Do not continue applying forward pressure. Immediately stop and back the towing vehicle into original position. Do not allow truck and trailer to separate. Review coupling instructions, apply corrective action and repeat coupling steps.
The red dot signifies that the jaws are open and the lock bar is in its extended position. In this configuration, the jaws will close but will not lock. Do not tow in this configuration. To prepare for coupling, lightly pull the lock bar and release the flip lock from its groove, then release the lock bar. The yellow dot should become visible, indicating the 5th wheel is ready for coupling.
The yellow dot signifies that the 5th wheel is ready for coupling. The jaws are open and ready to receive the trailer kingpin. This is the correct configuration before backing up to couple the trailer.
The green dot becomes visible (from the cab side) through the lock bar guide tube after the trailer kingpin has been engaged into the jaws. The green indicator rod is also visible in the window. This signifies that the 5th wheel jaws are not in their closed and locked position. The green dot indicates the coupling process is in progress.
If the jaws are semi-open and interlocked/interlaced with each other (out of sync), do not couple. The lock bar will be somewhere between full retracted and full extended position. To correct this: (1) Inspect that the flip lock is hanging free in its clockwise rotated position. (2) Pull the lock bar to its full extended position and release. The jaws will re-time themselves. (3) Visually check that jaws are open and ready to receive trailer kingpin (yellow dot should be visible).
After successful coupling, complete these steps: (1) Rotate flip lock counter-clockwise and seat in groove. (2) Insert safety lynch pin and flip bail to secure. (3) Attach electrical harnesses. (4) Attach lanyard and insert electric brake break-away plunger (or attach surge brake lanyard if equipped). (5) Fully retract front trailer lifting jacks. (6) Close or reinstall truck tailgate. (7) Remove tire chock blocks. (8) Check running lights, directional signals and brake lights for proper operation. (9) Pull forward a few feet and apply brakes to check that trailer brakes are activating. Adjust electric brake controller if necessary.
Follow these steps: (1) Place wheel chocks in front of and behind trailer tires. (2) Disconnect all harnesses, lanyards, safety devices, etc. (3) Do not extend rear trailer stabilizer jacks. (4) Lower or remove truck tailgate. (5) Begin extending front trailer lifting jacks just enough to remove weight of trailer from the 5th wheel skid plate. Do not create excessive gap (no more than 1/16"). (6) Flip safety lynch pin bail and remove lynch pin. (7) Lift flip lock and pull lock bar outward approximately 1/2". While holding lock bar, drop flip lock back onto the lock bar. Pull lock bar to full extension. Flip lock will drop and engage second groove. Release lock bar. (8) Reinsert safety lynch pin and flip bail to secure. (9) Slowly pull vehicle out from underneath trailer skid plate. If resistance is encountered, determine corrective action and repeat uncoupling steps.
Once uncoupled from the trailer, to reset for future coupling: (1) Remove the safety lynch pin. (2) Lift the flip lock from its groove. This will allow the lock bar to partially retract into its coupling position. Important: Failure to reset the lock bar in this manner prior to the next coupling will not allow the jaws to lock around the trailer's kingpin.
Option 1 (recommended least): Remove the four clips and mounting rail pins, then remove the 5th wheel unit from the mounting rails. Do not separate the entire hitch from the base rails. Option 2 (recommended): Separate the head from the mid-section and remove mid-section and sides as one unit. Remove clips, pins and caps; lift and remove head with bearing shaft; remove clips and mounting rail pins; lift and remove rail pins, mid-section and sides as one unit. Option 3: Separate the head and legs from the mid-section. Remove clips, pins and caps; lift and remove head with bearing shaft; remove the four pilot hex bolts, lock washers and flat washers; separate the sides from mid-section; remove four clips and mounting rail pins; remove sides from mounting rails.
When installing the 5th wheel head into the mid-section: (1) The long end of the bearing shaft is inserted into the lower bearing assembly. (2) The machined bearing retainer must be against the lower bearing assembly. (3) The removable bearing retainer must be against the other side of the lower bearing assembly. (4) The O-ring retainer stop is placed in its groove lastly. (5) Apply a light film of lubricant to the lower pilot. (6) Guide lower pilot into mid-section while holding bearing shaft and its retainers against lower bearing assembly. (7) Continue to guide lower pilot through the lower square pad until the bearing shaft is fully seated in its saddles. (8) Place shaft caps over the bearing shaft. (9) Install the two long pins and clips.
Each jaw pin is supplied with grease through a grease fitting located in each jaw. These grease fittings are visible from each side of the E16 5th wheel (left and right grease fittings).
The lower bearing assembly is supplied with grease through a grease fitting centered in the cast base plate. This grease fitting is visible while looking down through the jaws in their locked position.
The spiral cam seated in the cast base plate requires grease application into its pocket. To access: (1) The jaws must be open. (2) Place the lock bar in its fully extended position and retain by seating the flip lock in its uncoupling position. (3) Insert the safety lynch pin. (4) Using a suitable probe, apply grease to the pocket under the spiral cam. (5) When complete, remove the safety lynch pin, rotate the flip lock from its seat and allow the lock bar to retract inward into the coupling position.
Liberally apply grease to the skid plate's surface if not using a lube plate. A high-pressure wheel bearing grease is preferred. Apply as required between coupling and uncoupling the trailer from the E16 5th wheel.
The danger zone is the area under the trailer's kingpin during coupling and uncoupling. Never position yourself or others under the trailer's kingpin area during these operations. If you must position any part of your body under the trailer, between the truck and trailer, or between the trailer's kingpin and 5th wheel hitch, you must follow the Danger Zone Precautions section in the manual. Improperly coupled trailers can separate and drop without notice.
When parking, it may be necessary to unload the forces on the kingpin by lightly backing against the kingpin. This maneuver helps put the kingpin and 5th wheel in a neutral position. Once parked on a firm and level surface: (1) Set automatic transmission vehicles to park and activate emergency brake. (2) Set standard transmission vehicles to neutral and activate emergency brake. (3) Use multiple wheel chocks in front of and behind trailer tires. Do not substitute objects such as stones or wood blocks.
Never exceed the rated towing capacity of your vehicle. Trailer and contents combined must not exceed tow vehicle, hitch and/or trailer tow ratings. Exceeding rated capacity may result in separation of the trailer from the hitch. Exceeding rated capacity may result in damage to the 5th wheel hitch, towing vehicle, trailer and may cause serious injury or death.
After coupling, visually confirm that: (1) No space exists between the trailer's kingpin skid plate and the 5th wheel skid plate or between lube plate and 5th wheel skid plate. If a gap is present, the kingpin is not engaged into jaws. (2) Inspect for damage to the 5th wheel unit. Under no circumstances should the 5th wheel unit be used if damage exists due to improper coupling. If no damage exists, review coupling instructions and repeat the procedure.
After coupling is complete and before towing: (1) Pull forward a few feet. (2) Apply brakes to check that trailer brakes are activating. (3) Adjust the electric brake controller if necessary.
CURT Manufacturing warrants the E16 5th wheel hitch to the original purchaser to be free from defect under normal use and service, ordinary wear and tear excepted, for a five-year limited warranty period from the date of original retail purchase, subject to the limitations set forth in the warranty section.
The warranty will be voided by: (1) Alterations to or misuse of the product. (2) Overloading or exceeding automobile or trailer manufacturer's weight ratings. (3) Maneuvering motor vehicles equipped with the product at improper rate of speed. (4) Failure to properly maintain and regularly inspect the product according to the specific instruction sheet accompanying the product.
If after coupling a gap is present between the trailer's kingpin skid plate and the 5th wheel skid plate, the kingpin is not engaged into the jaws. Determine if the kingpin is resting on top of the jaws and provide corrective action. Inspect for damage to the 5th wheel unit. Under no circumstances should the 5th wheel unit be used if damage exists due to improper coupling. If no damage exists, review coupling instructions and repeat the procedure.
If resistance is felt during the pull test (lightly tugging on the trailer after coupling): (1) Release forward pressure. (2) Set vehicle to park (if automatic transmission) or neutral (if manual transmission). (3) Activate the emergency brake. The coupling has been successful. Do not continue applying forward pressure if no resistance is felt, as this indicates the trailer may not be coupled correctly. In that case, immediately stop and back the towing vehicle into original position. Do not allow truck and trailer to separate. Review coupling instructions, apply corrective action and repeat coupling steps.
If the jaws will not lock after coupling, the lock bar may not be in the correct position. Ensure that: (1) The flip lock is rotated counter-clockwise and seated in the groove. (2) The safety lynch pin is inserted and the flip bail is secured. If the jaws still will not lock, the 5th wheel may not have been reset properly before coupling. To reset for future coupling, remove the safety lynch pin and lift the flip lock from its groove to allow the lock bar to partially retract into its coupling position. Failure to reset the lock bar in this manner prior to coupling will not allow the jaws to lock around the trailer's kingpin.
If the E16 mechanisms are stiff or sluggish in severe cold temperatures, substitute a lighter grease such as white lithium for the jaw pins and the lower bearing assembly jaw instead of black graphite grease. This will ensure that all mechanisms work as designed. Apply the lighter grease to the jaw pin grease fittings and lower bearing grease fitting.
On Sale Today
Original price was $613.95. Current price is $375.69.You save $238.26 (39%)
Free Shipping
Ships free on all orders
 Authorized Dealer
| Kit # | Head Series | GTW / Vertical Load | Kit Includes | Height Range | |||
|---|---|---|---|---|---|---|---|
| Hitch with Standard Legs # | Head with Adapter Plate # | Slider Only # | Base Rails # | ||||
| Long-Bed Options | |||||||
| 16115 | E16 | 16,000 / 4,000 lbs. | 16115 | -- | -- | -- | 13" - 17" |
| 16116 | E16 | 16,000 / 4,000 lbs. | 16115 | -- | -- | 16200 | 14" - 18" |
| Short-Bed Options | |||||||
| 16511 | E16 | 16,000 / 4,000 lbs. | -- | 16515 | 16564 | -- | 14" - 17" |
| 16611 | E16 | 16,000 / 4,000 lbs. | -- | 16515 | 16564 | 16204 | 15" - 18" |


Quick Ship
In stock and ready to ship — order now!
Shipping from Eau Claire, WIFREE SHIPPING
Estimated delivery Sun, Sep 27 - Tue, Sep 29
Order before 2 PM EST Monday–Friday for same-day processing
Guaranteed safe & secure checkout
No reviews have been added for this product.