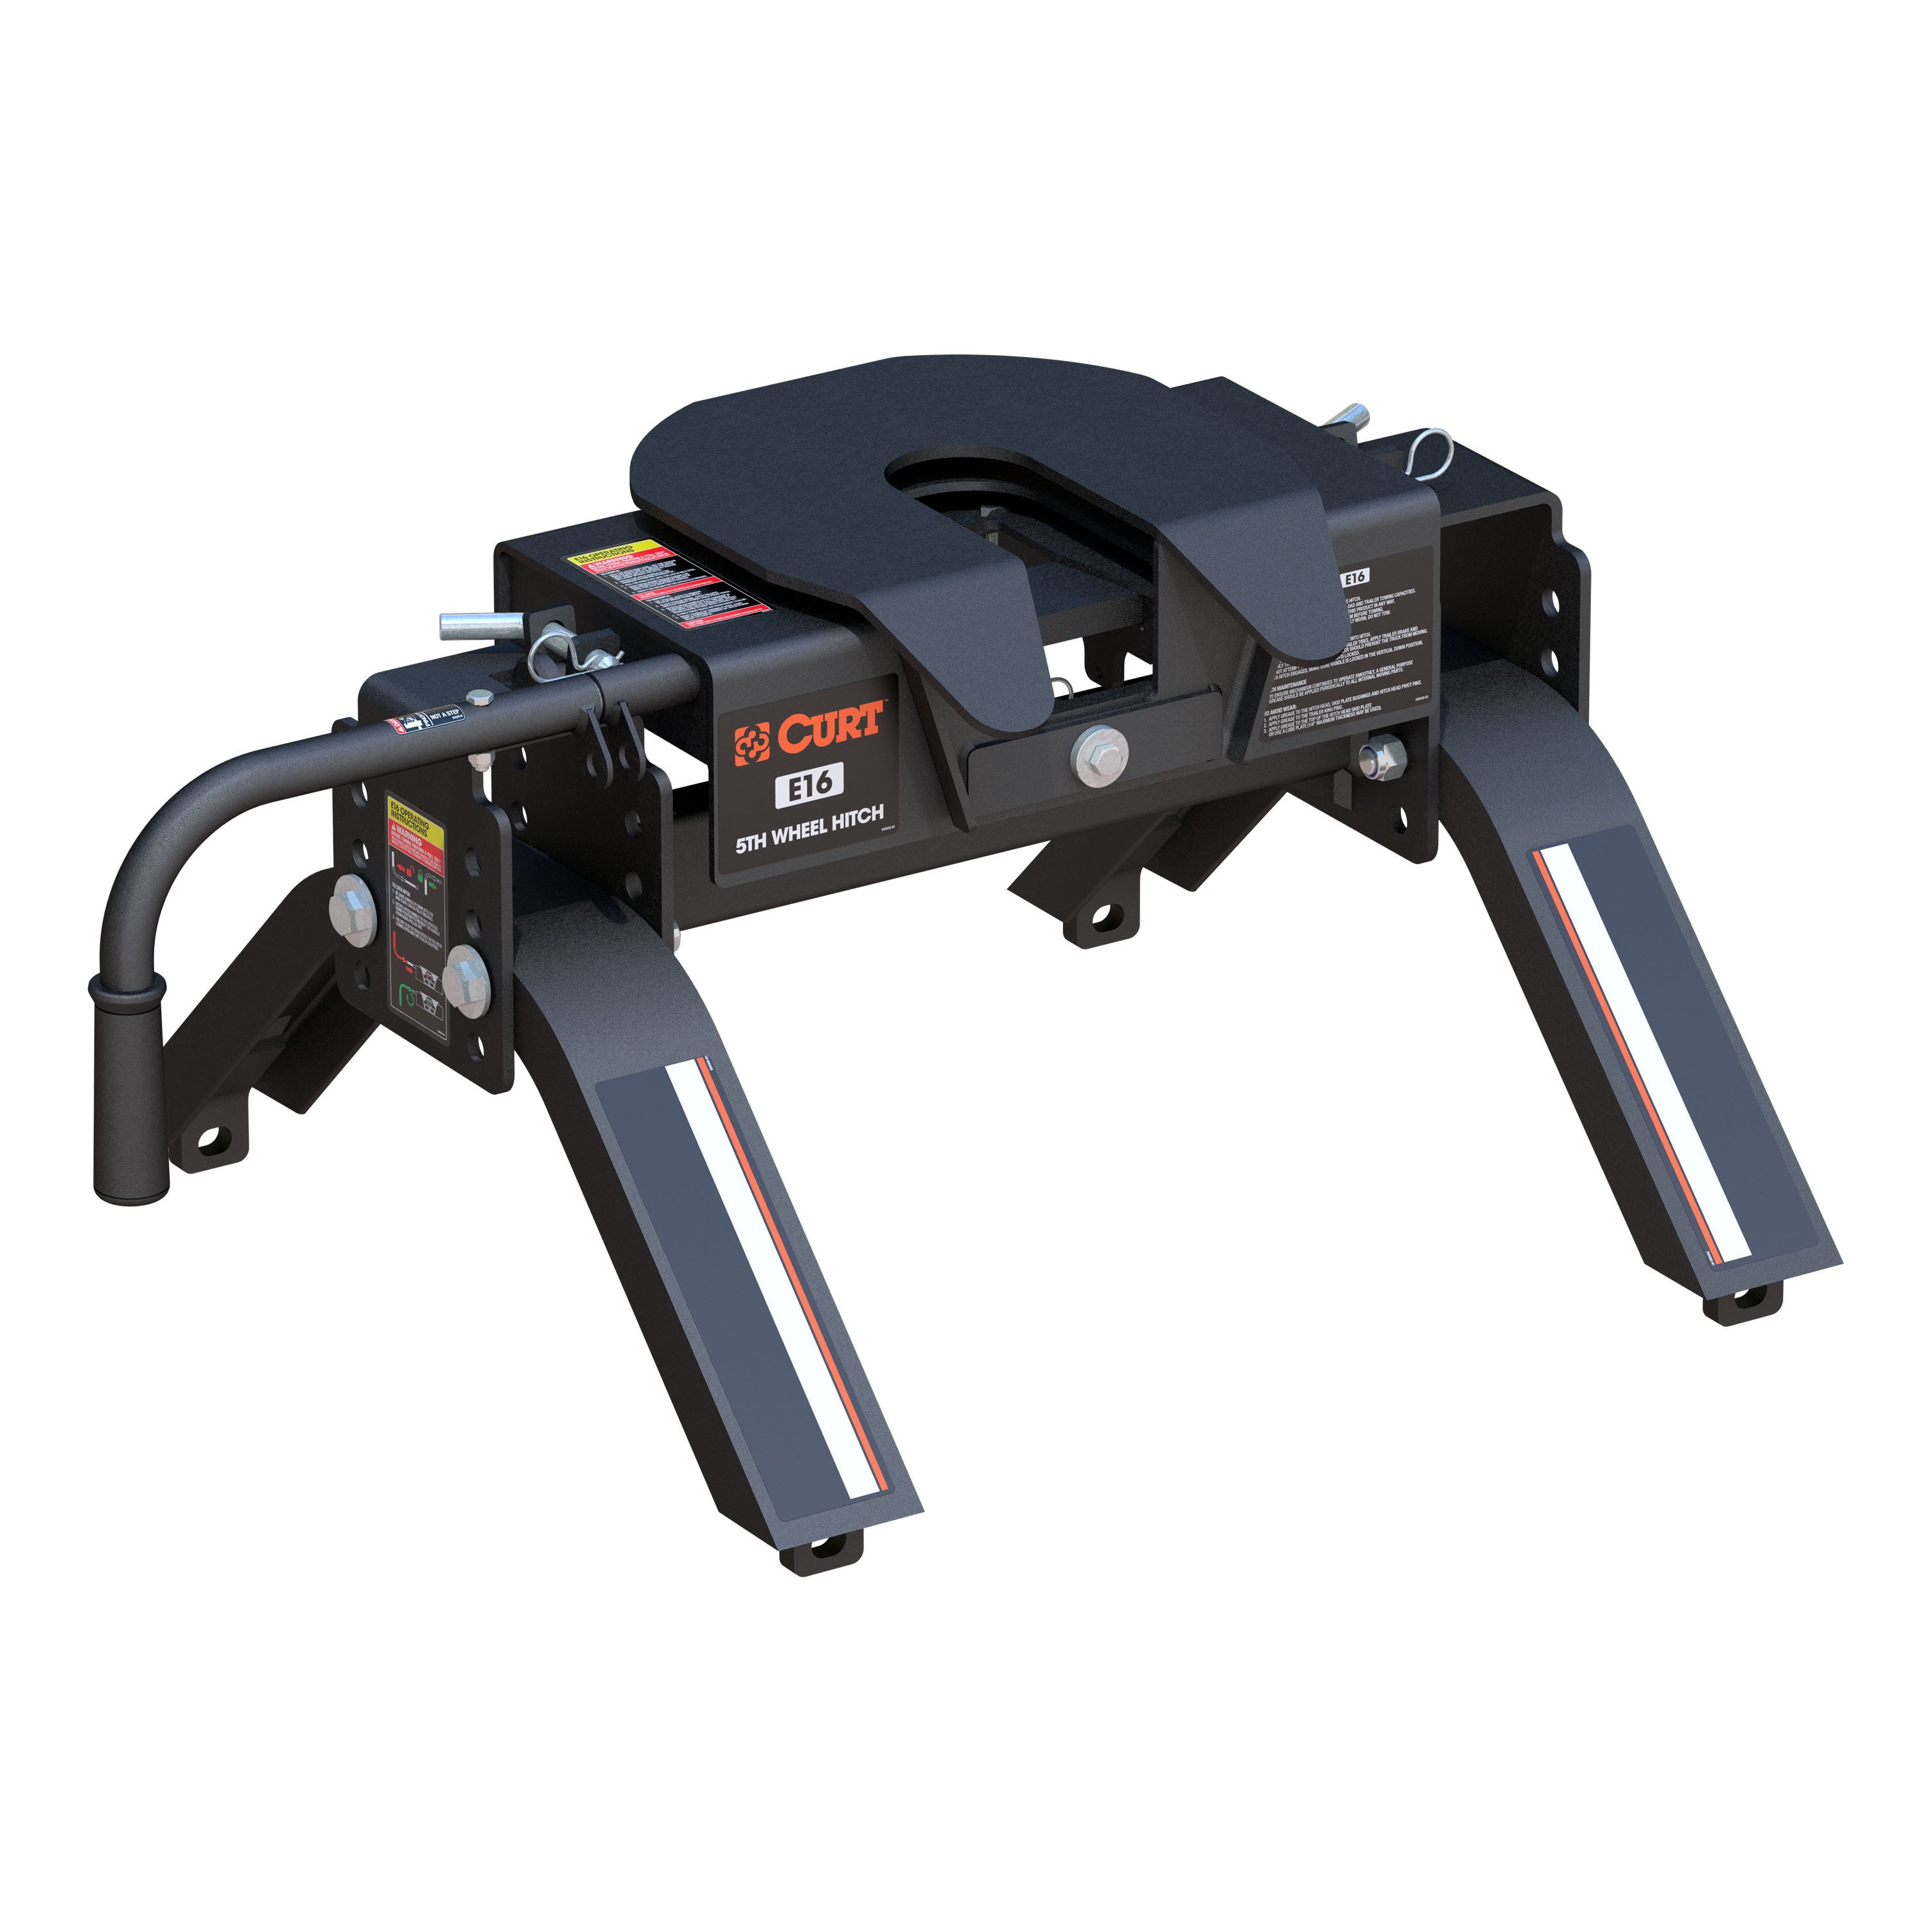
CURT 16K, E16 5th Wheel HitchCURTOriginal price was $613.95. Current price is $375.69.In Stock
View productOur in-house experts typically reply within one business day.

CURT


Always the correct part
We know our products
Quality Products
Free Shipping!
Always the correct part
We know our products
Quality Products
Free Shipping!
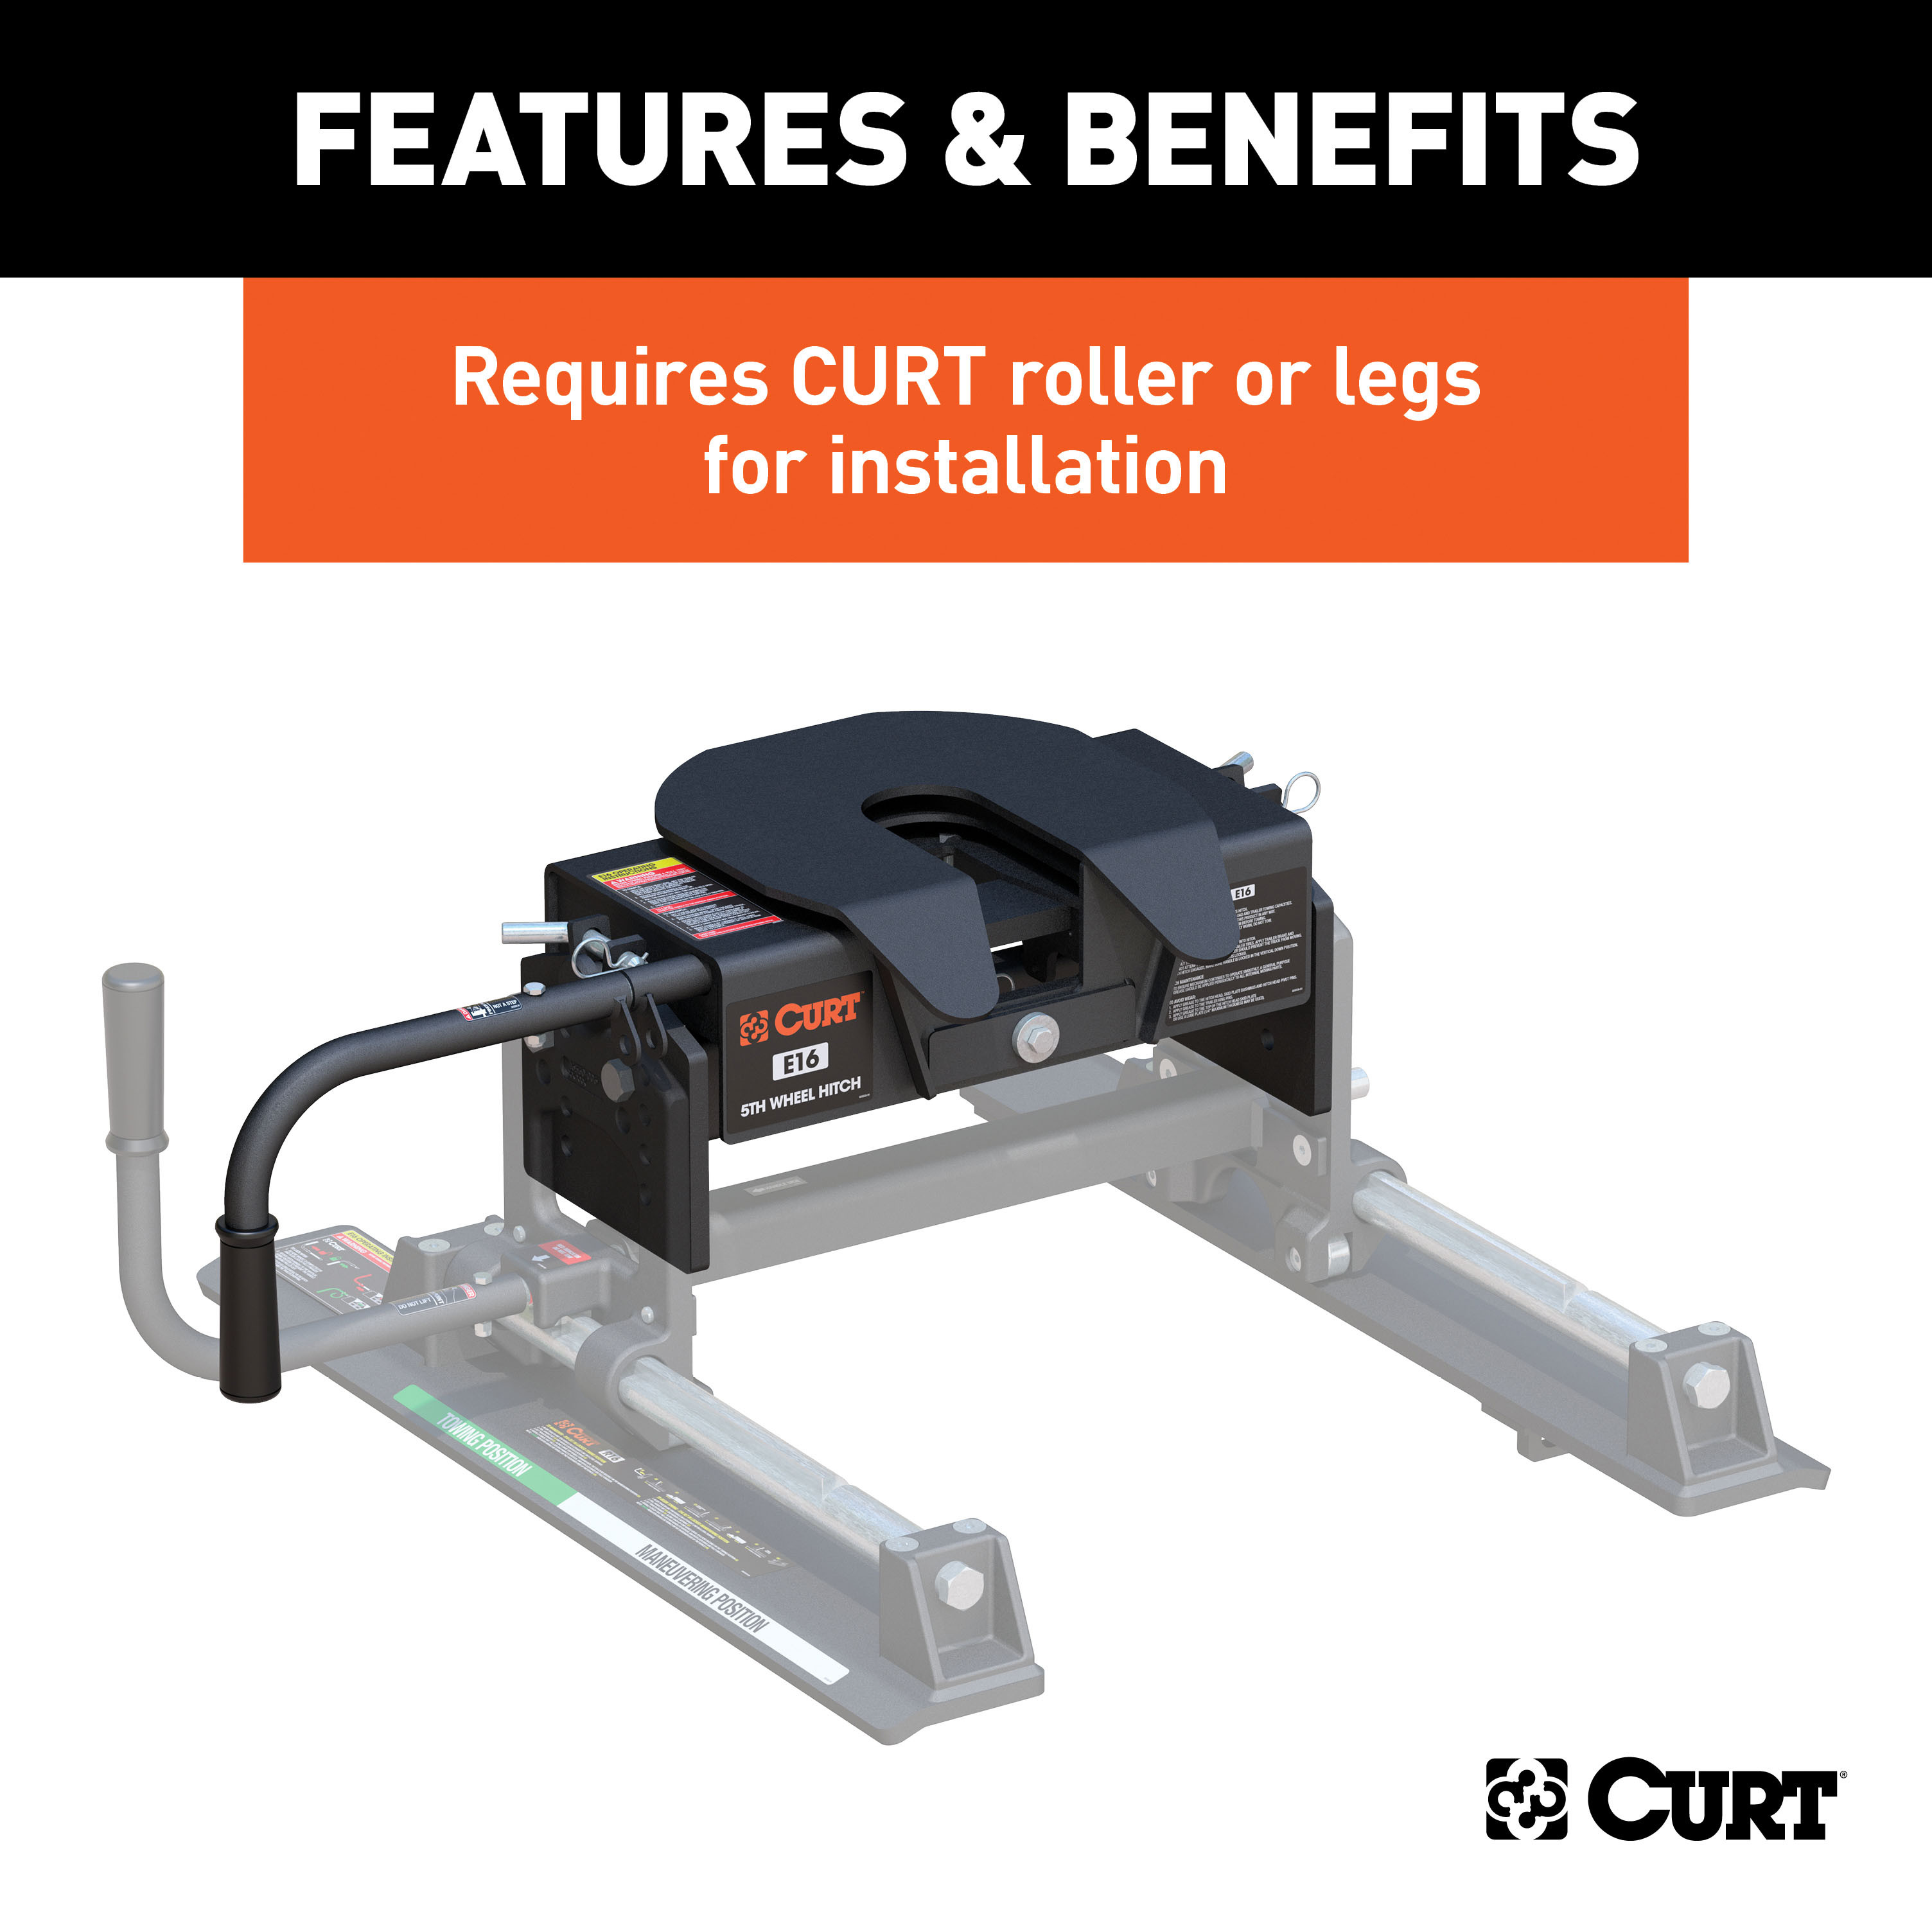
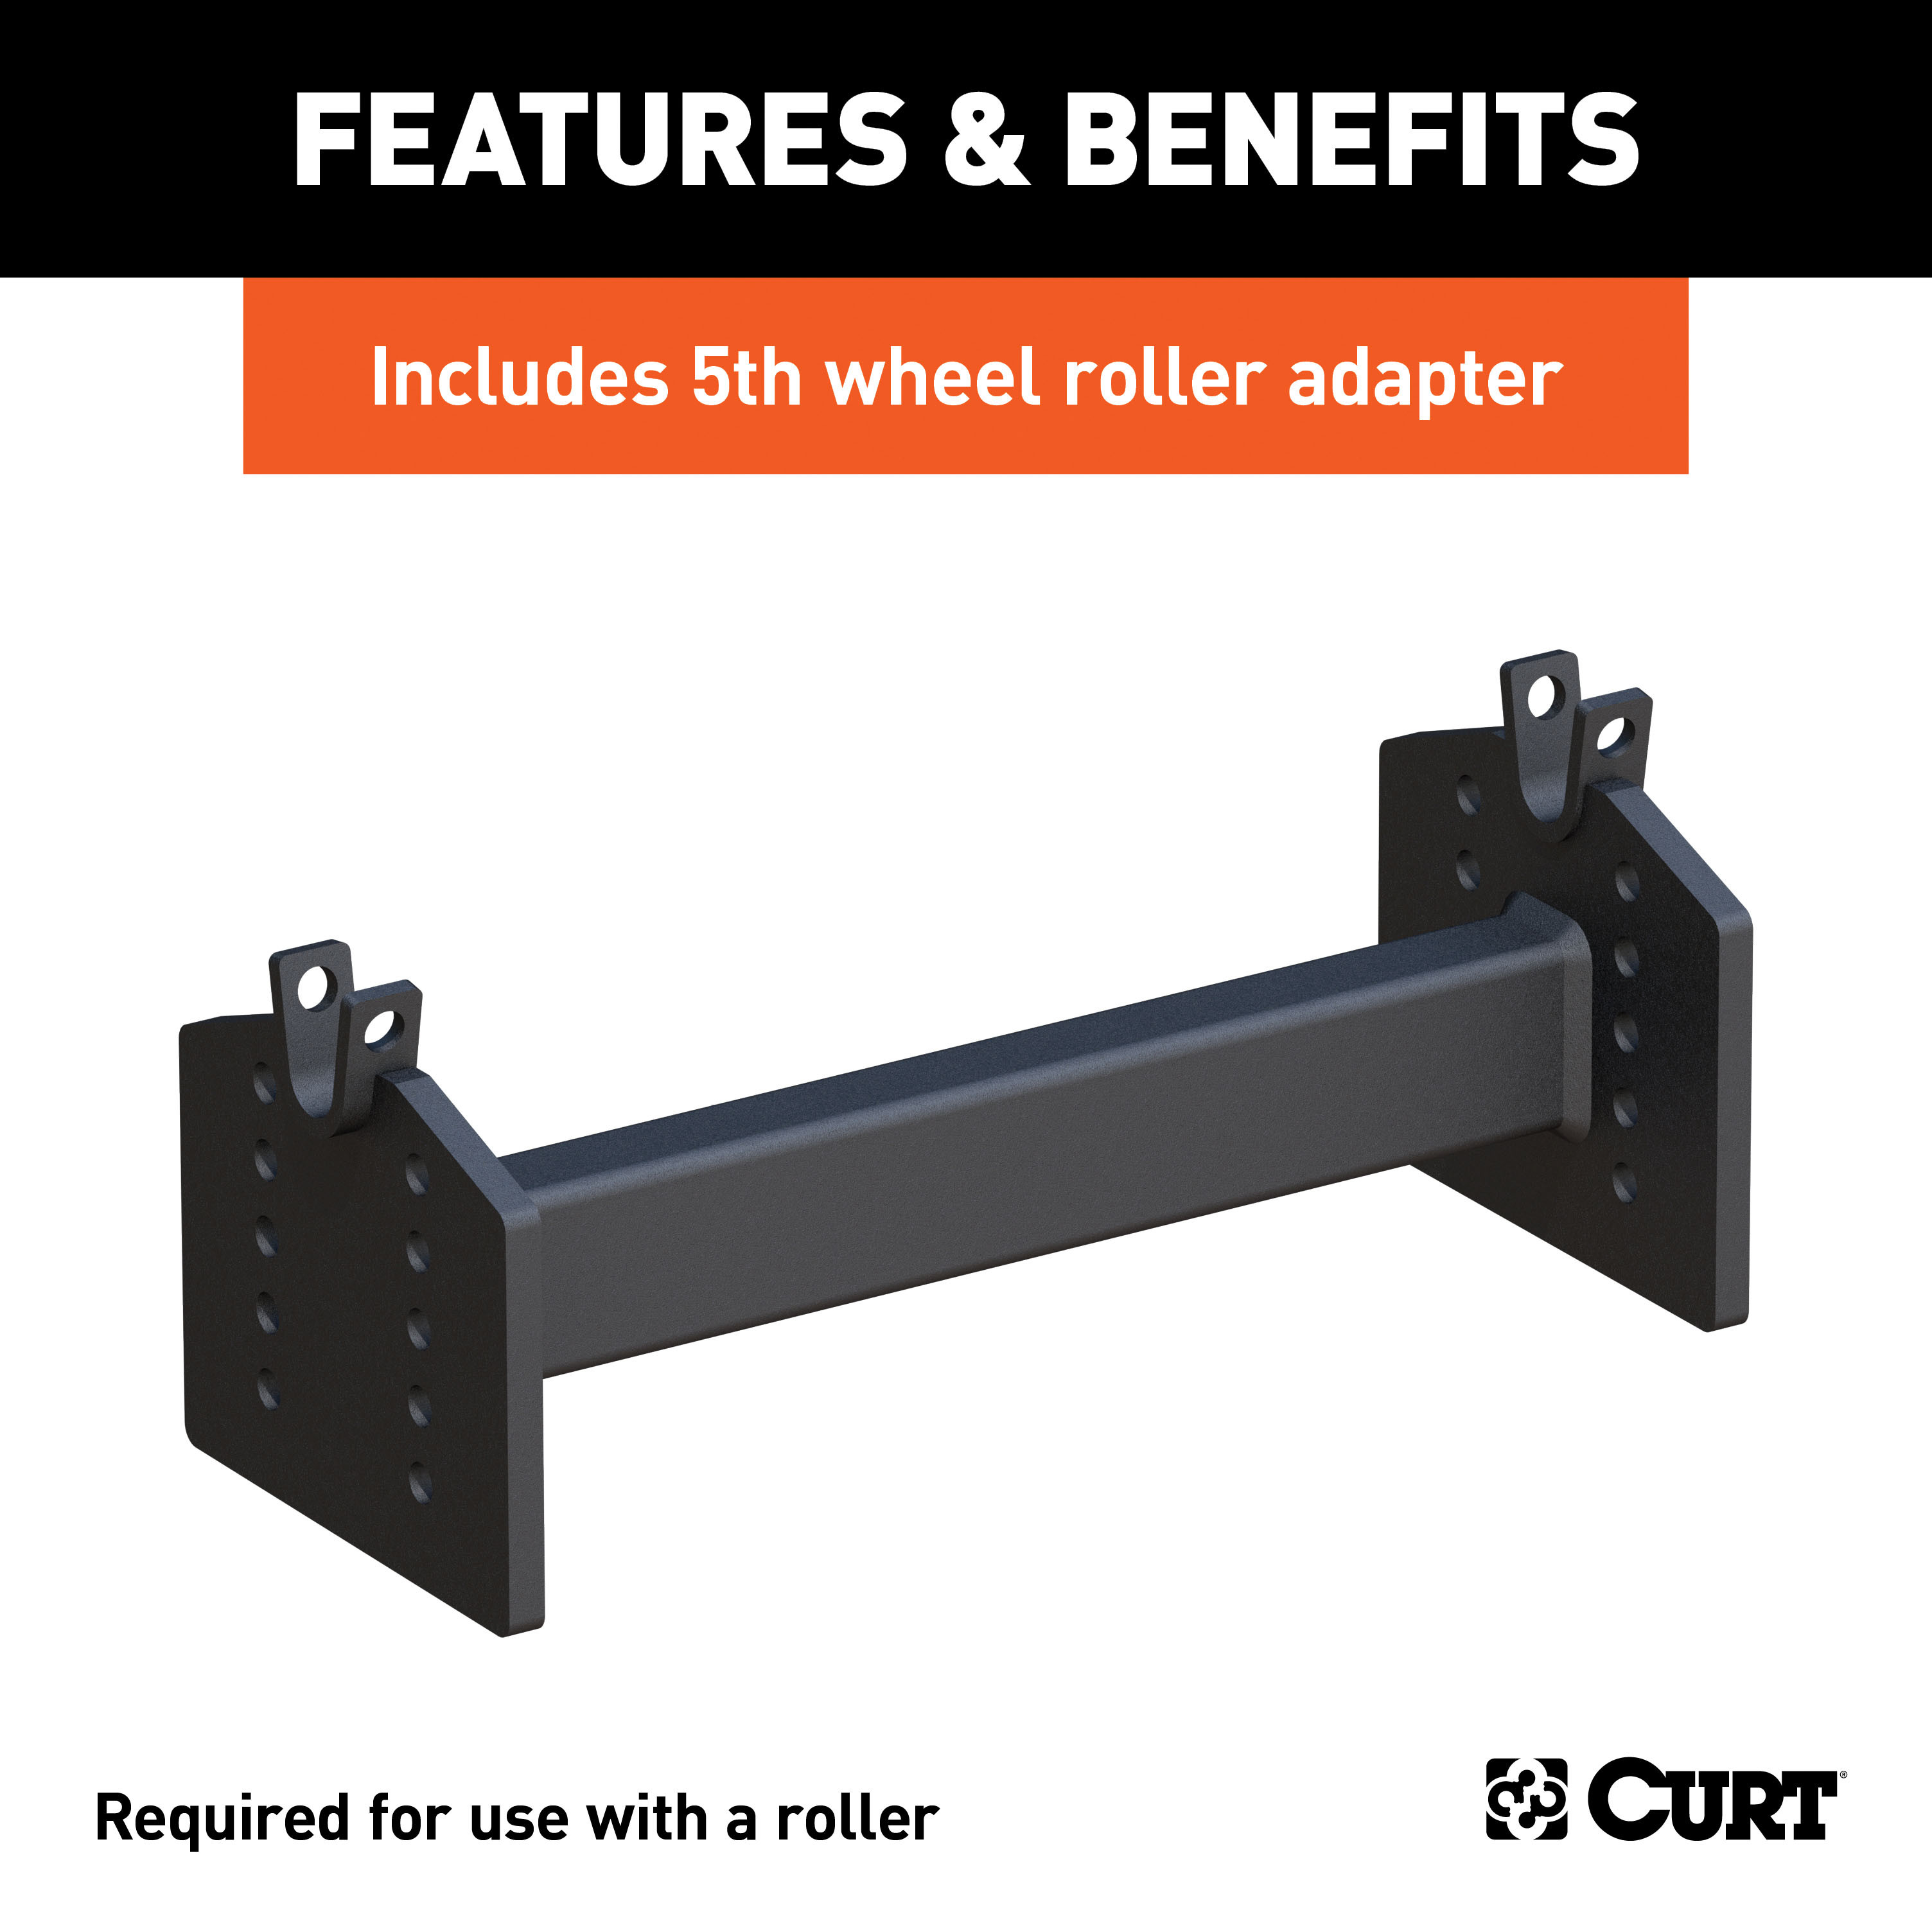
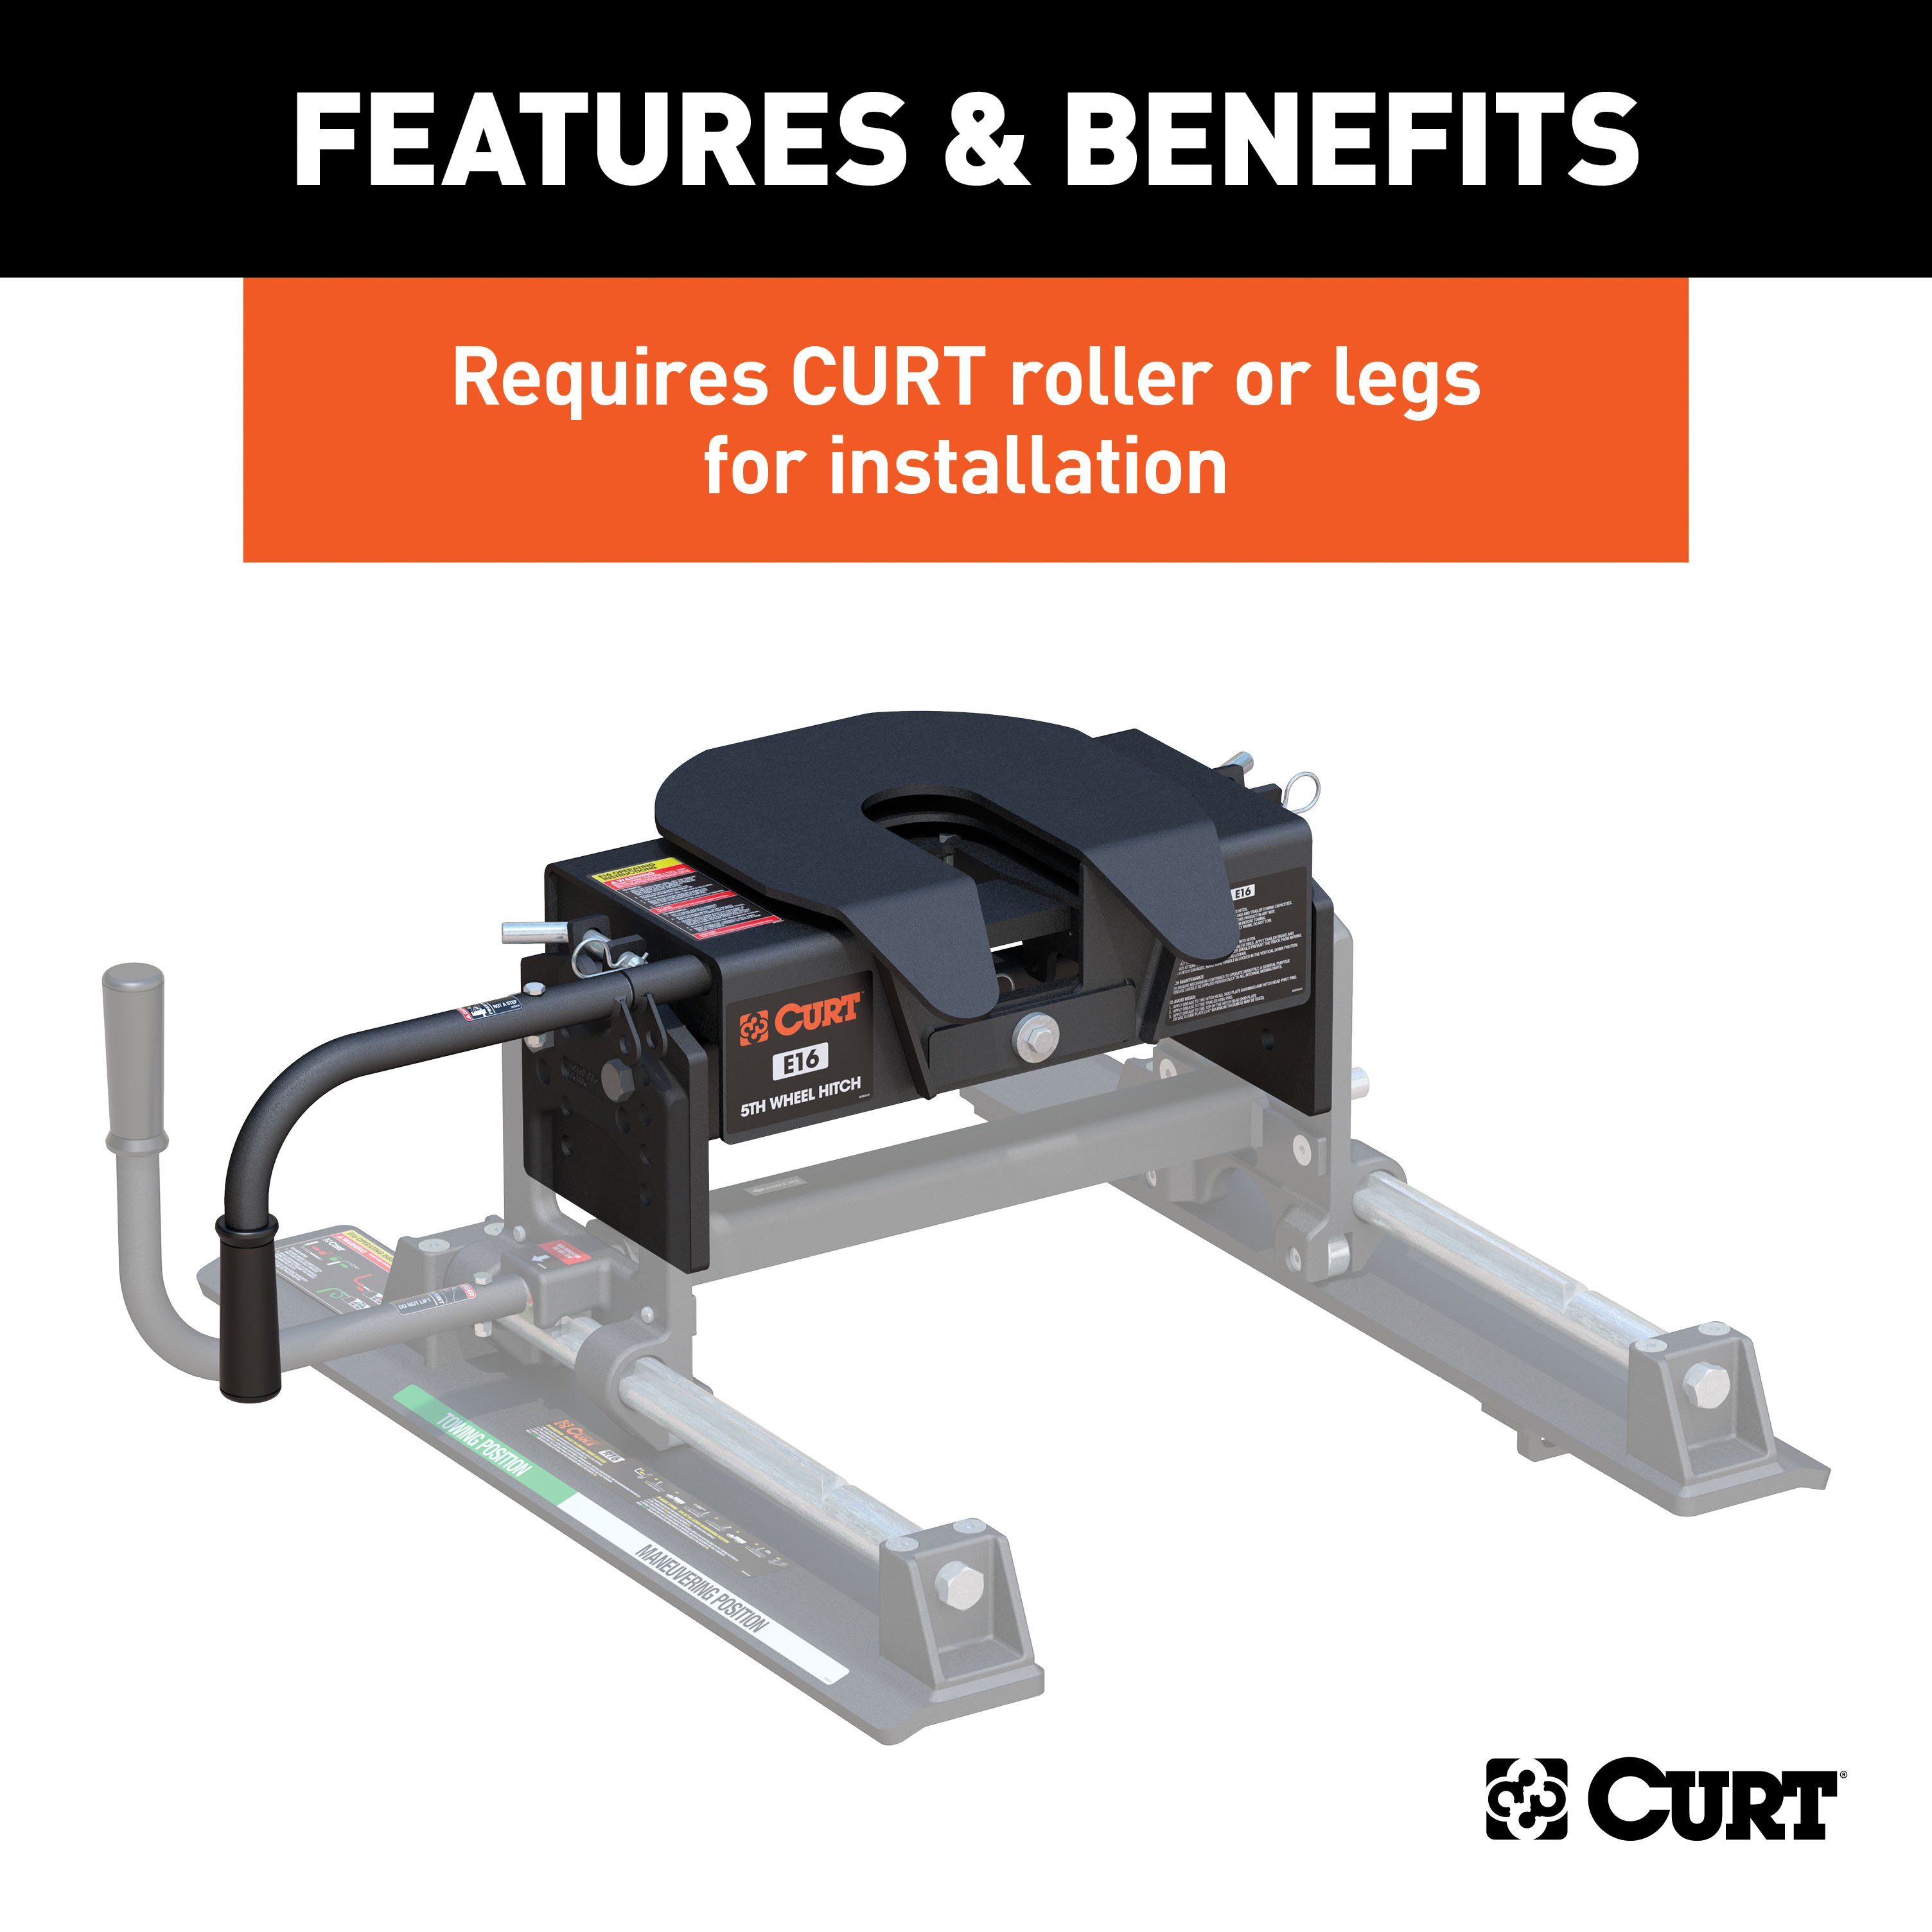
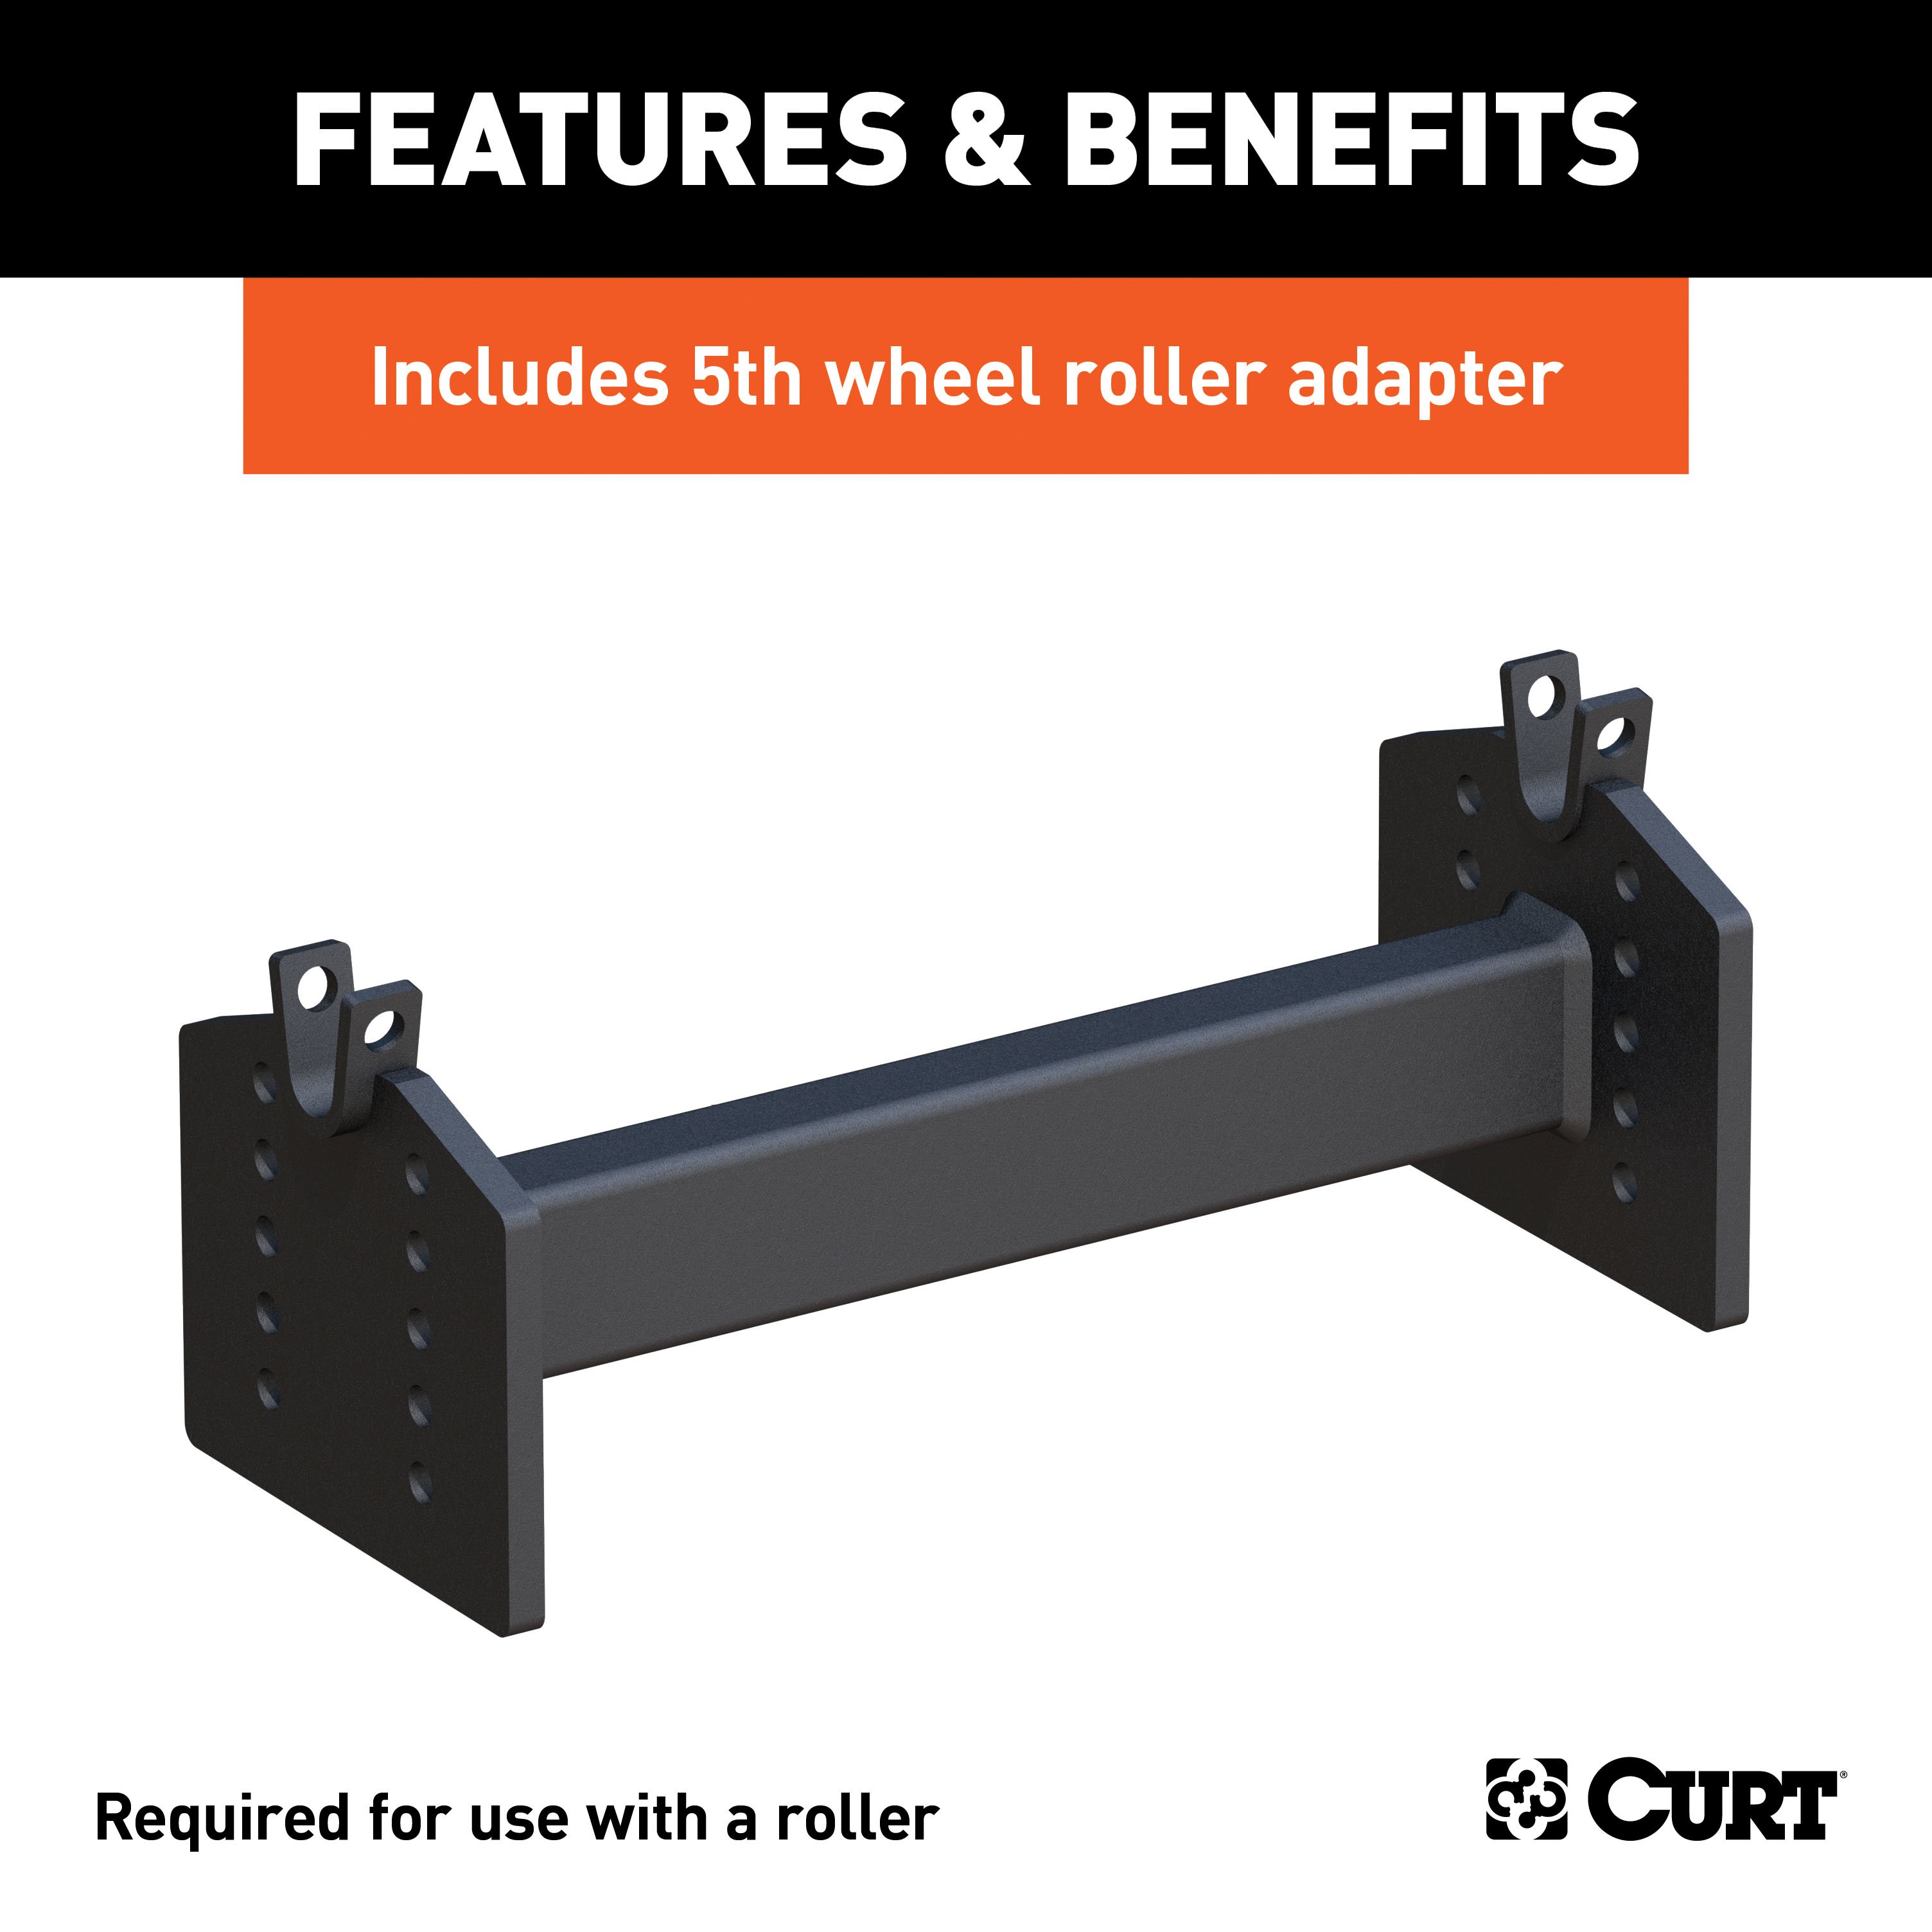
Includes E16 5th wheel hitch head #16515 and 5th wheel adapter #16505
Capacity limited to lowest-rated towing component

Includes E16 5th wheel hitch head #16515 and 5th wheel adapter #16505
Warranty: Limited Lifetime Warranty (One-Year Finish, One-Year Parts)
Finish: CARBIDE BLACK POWDER COAT
Gross Trailer Weight (Pounds): 16,000 LB
Installation Time Exact (Minutes): 0
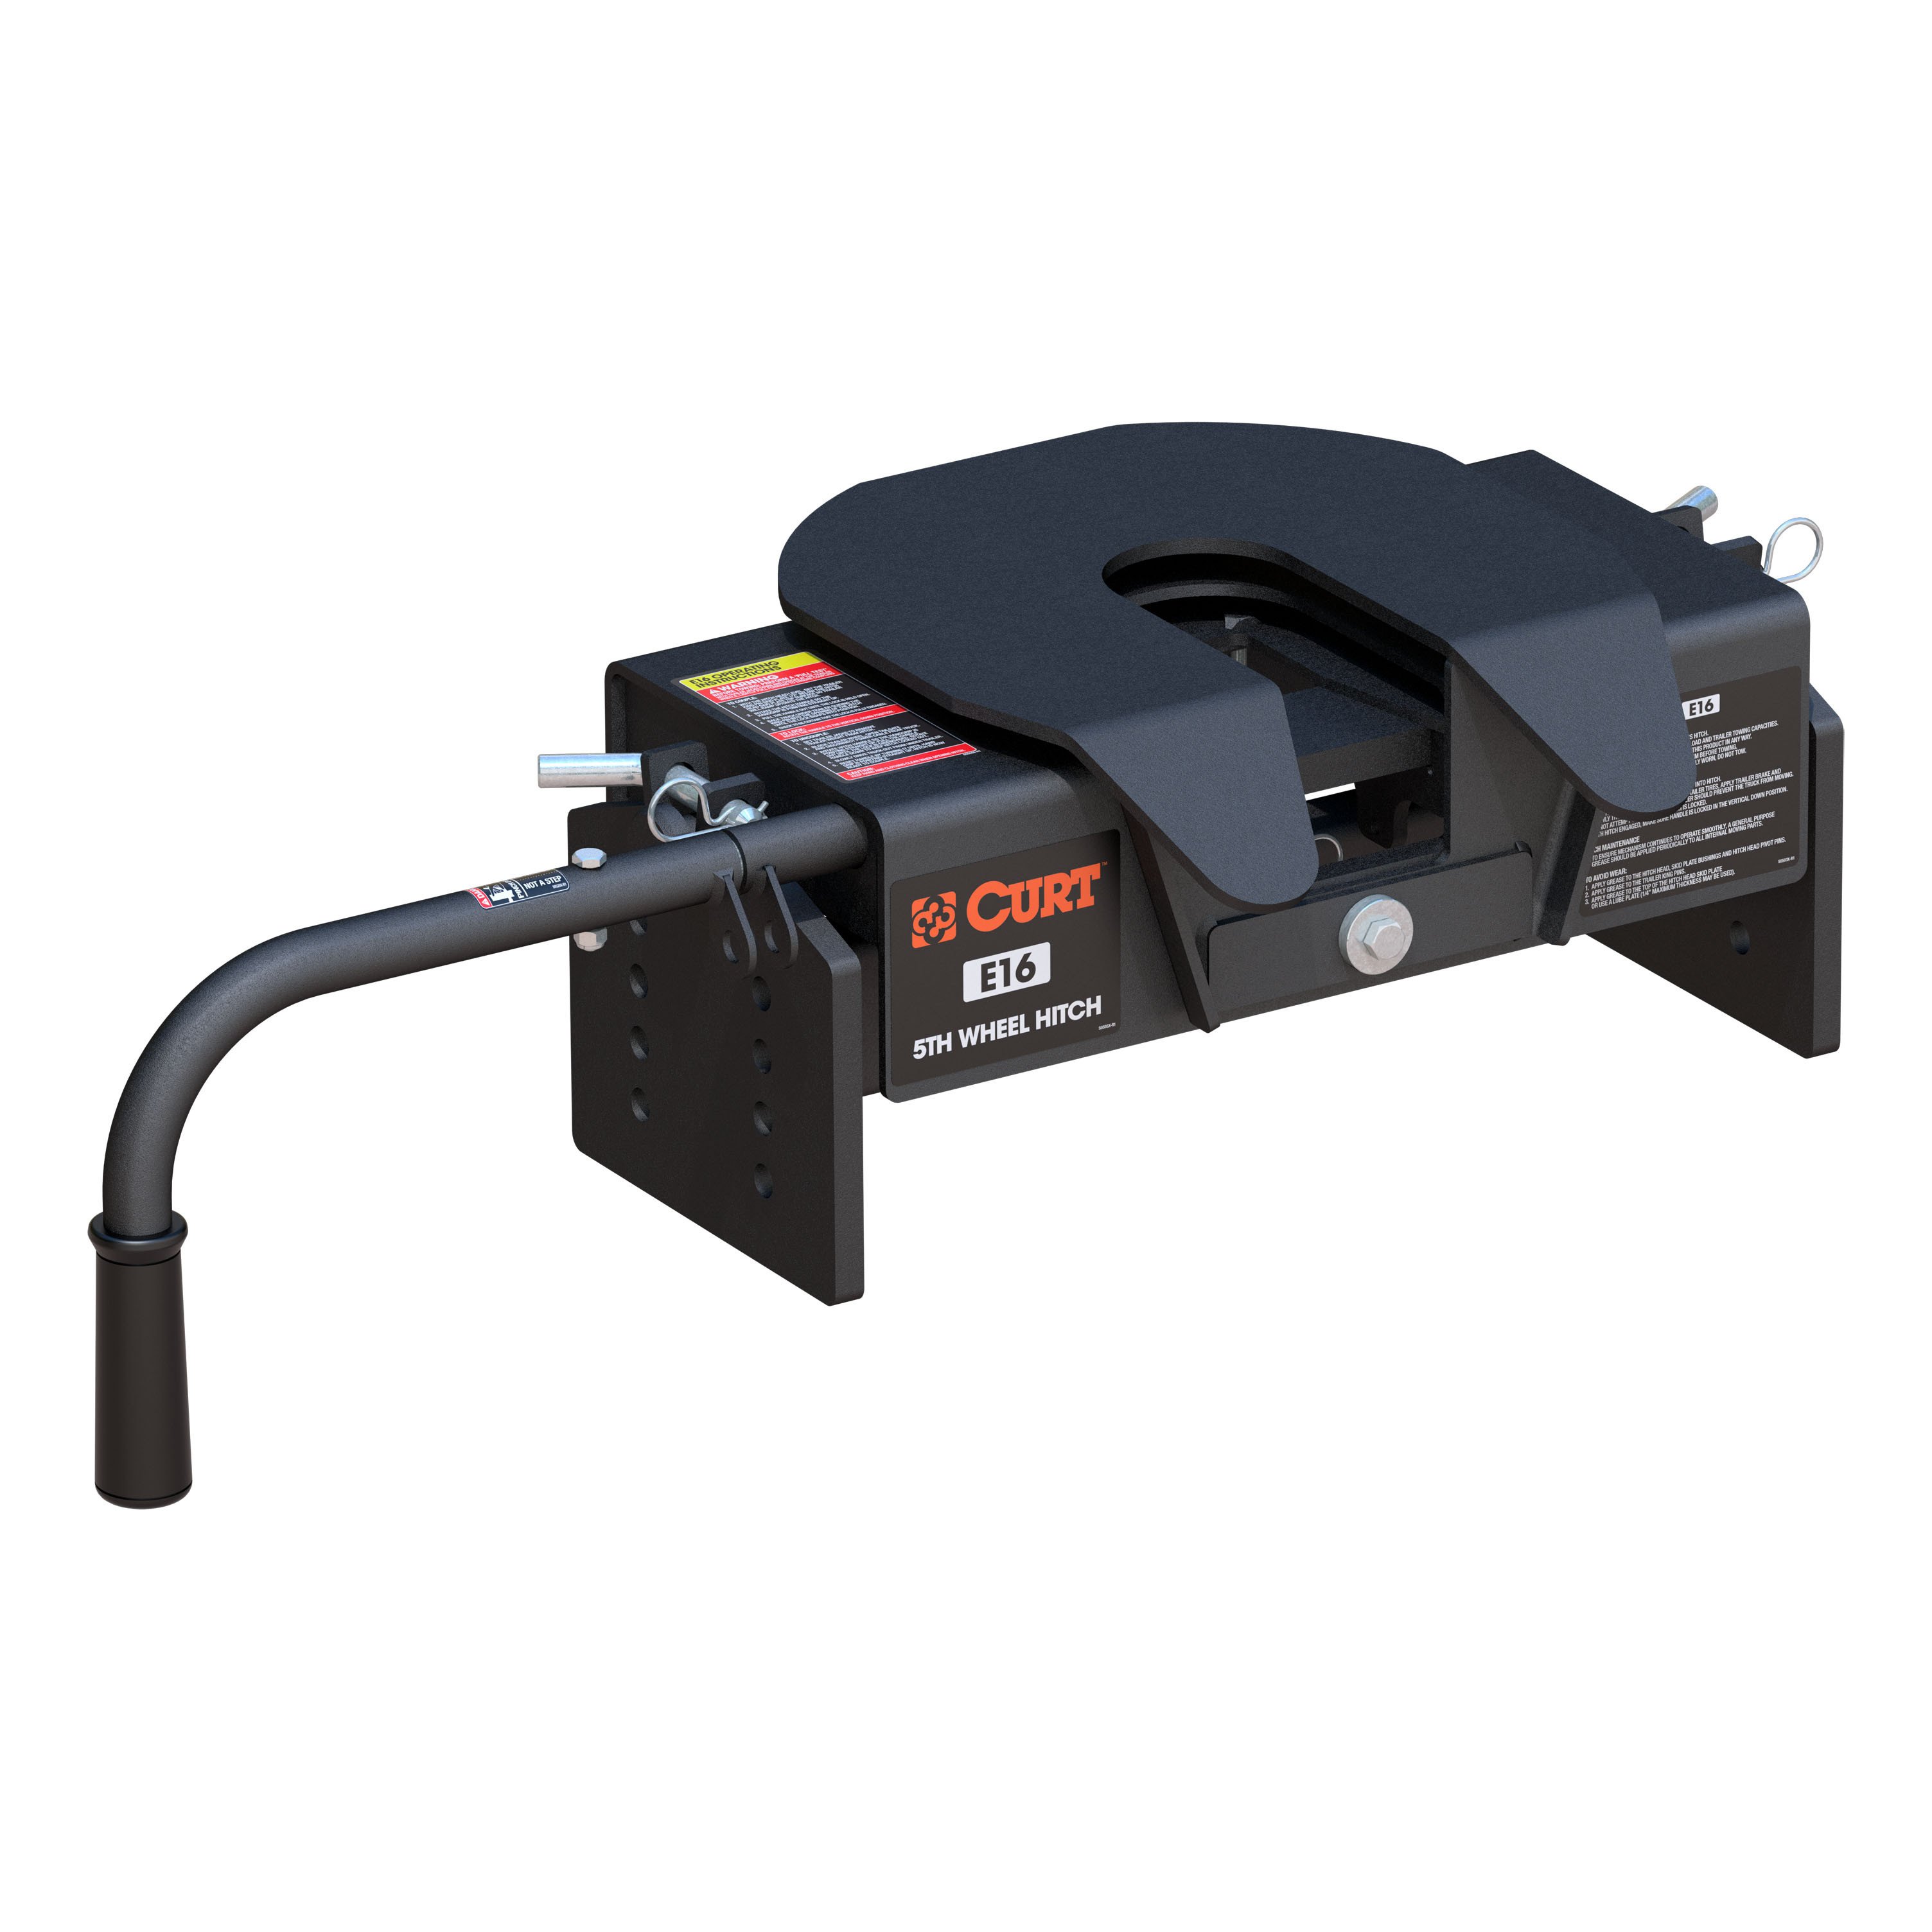
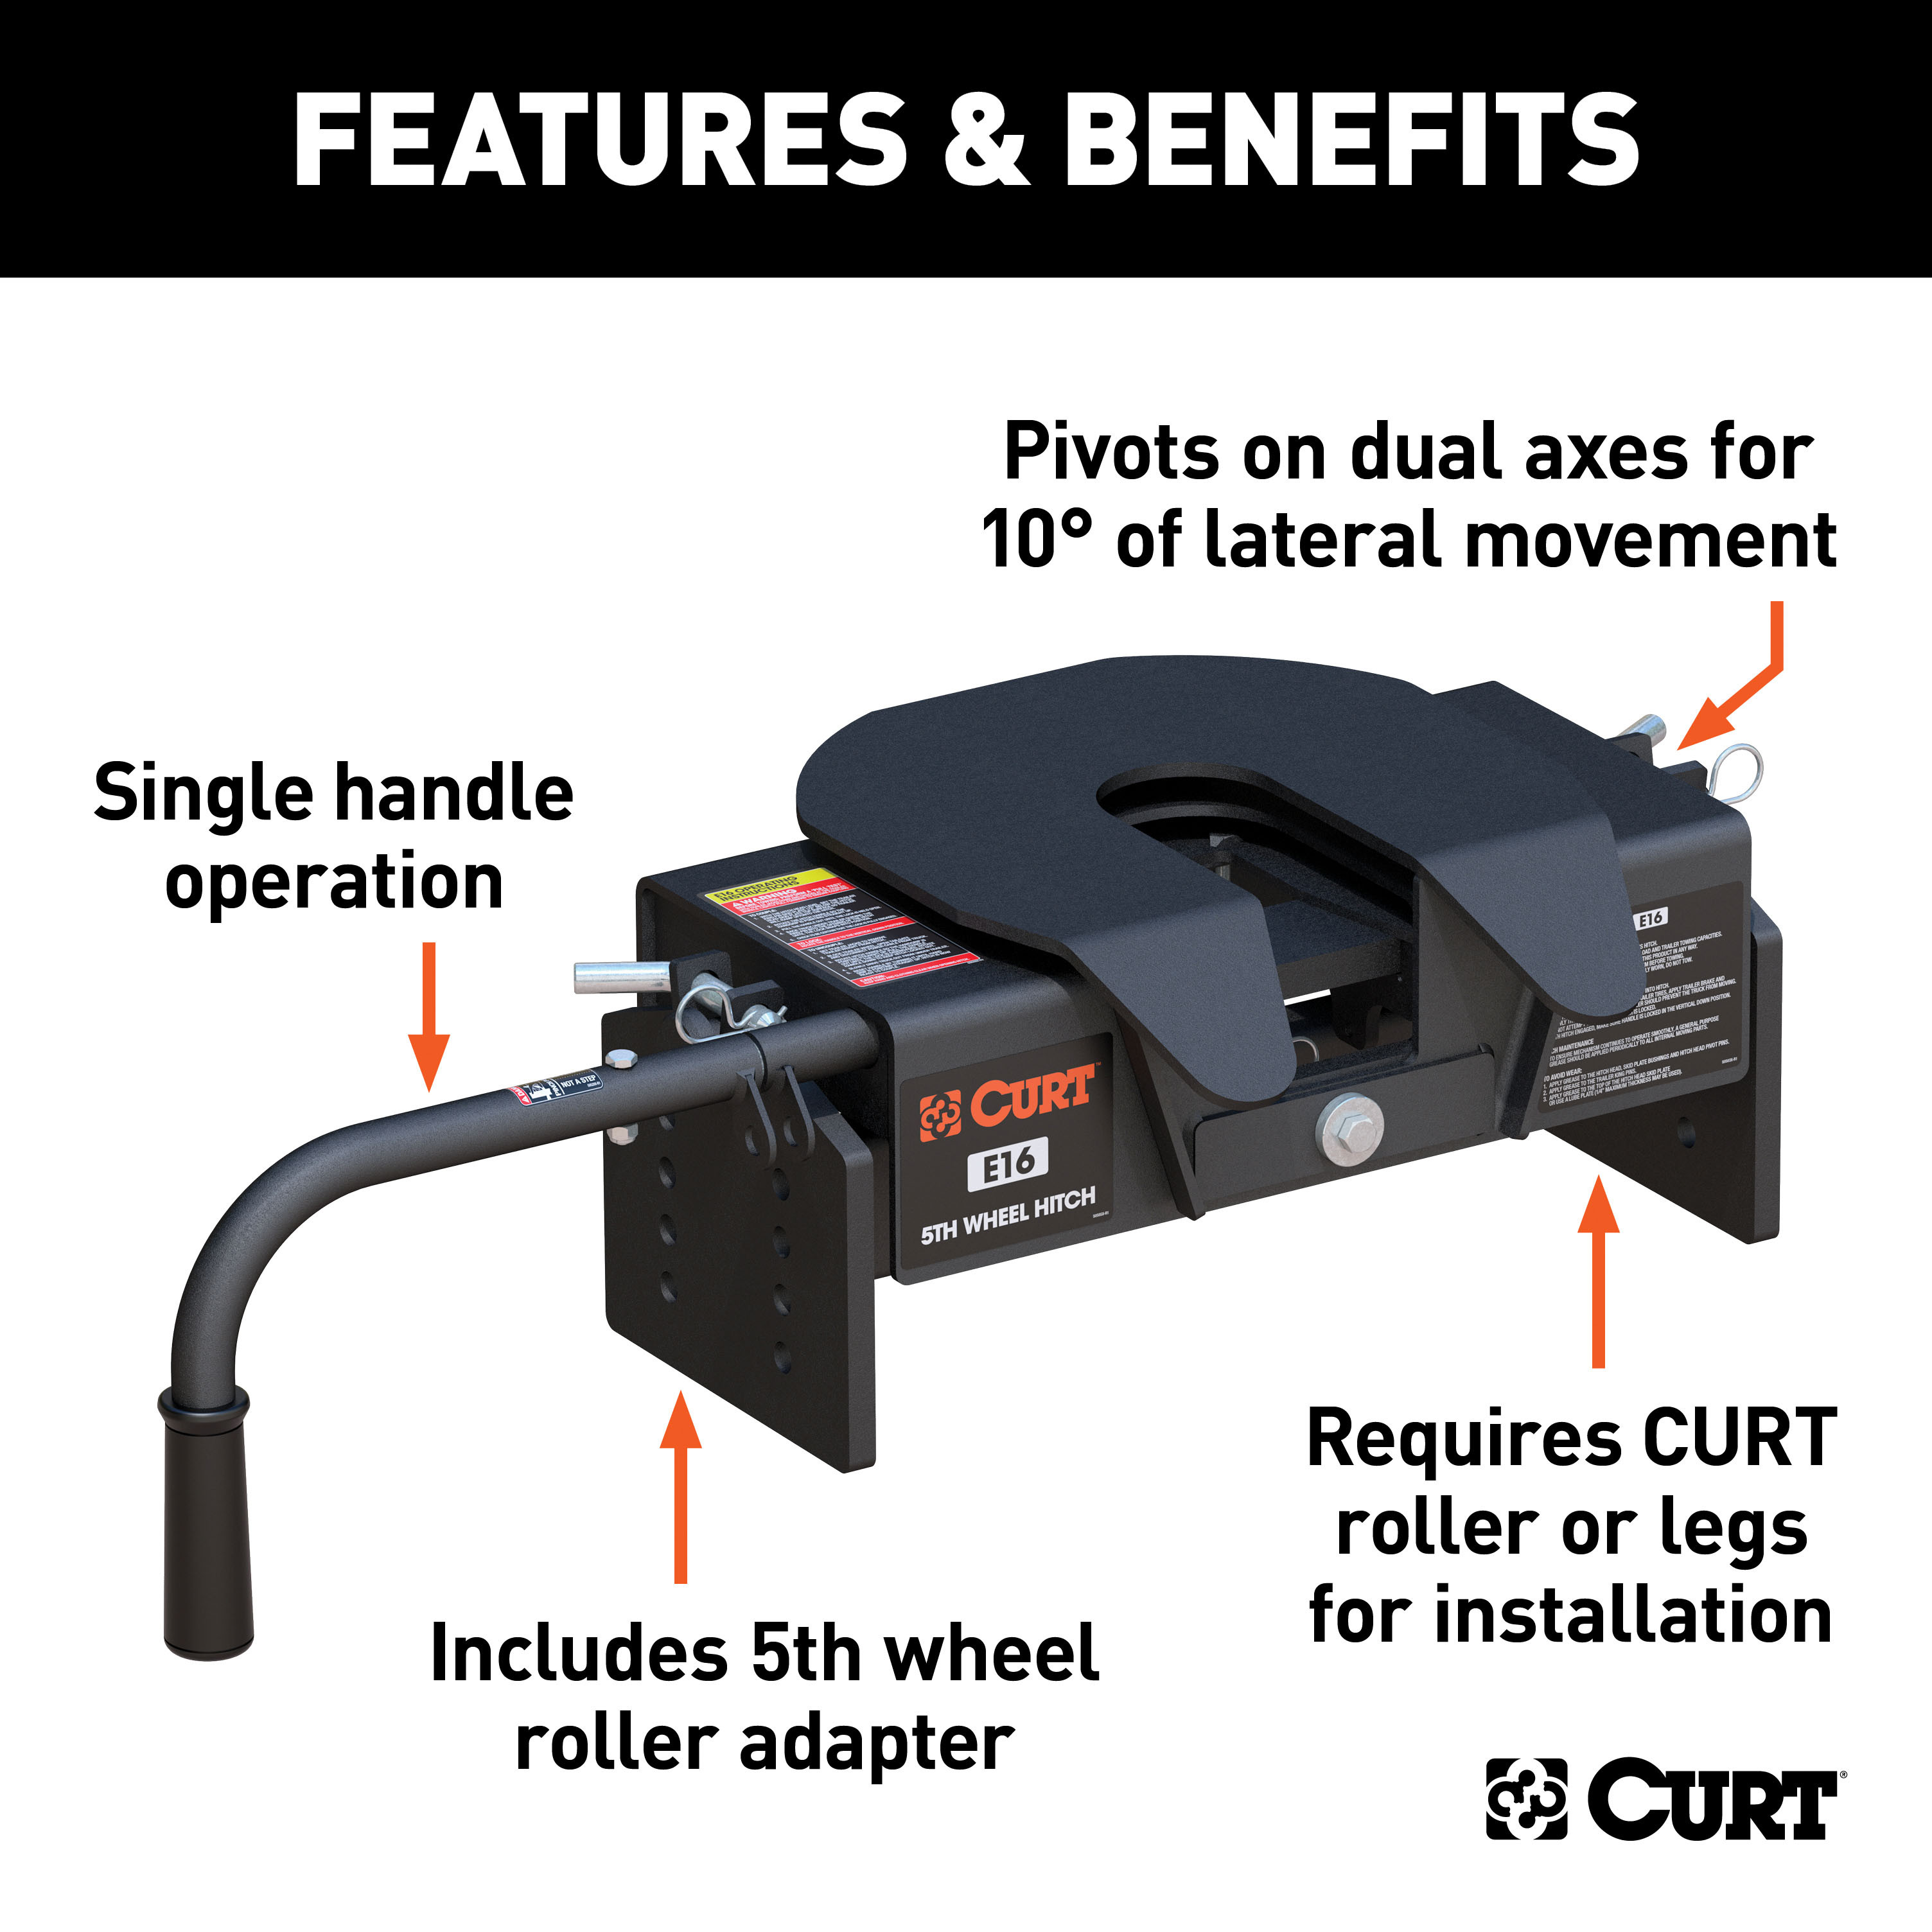
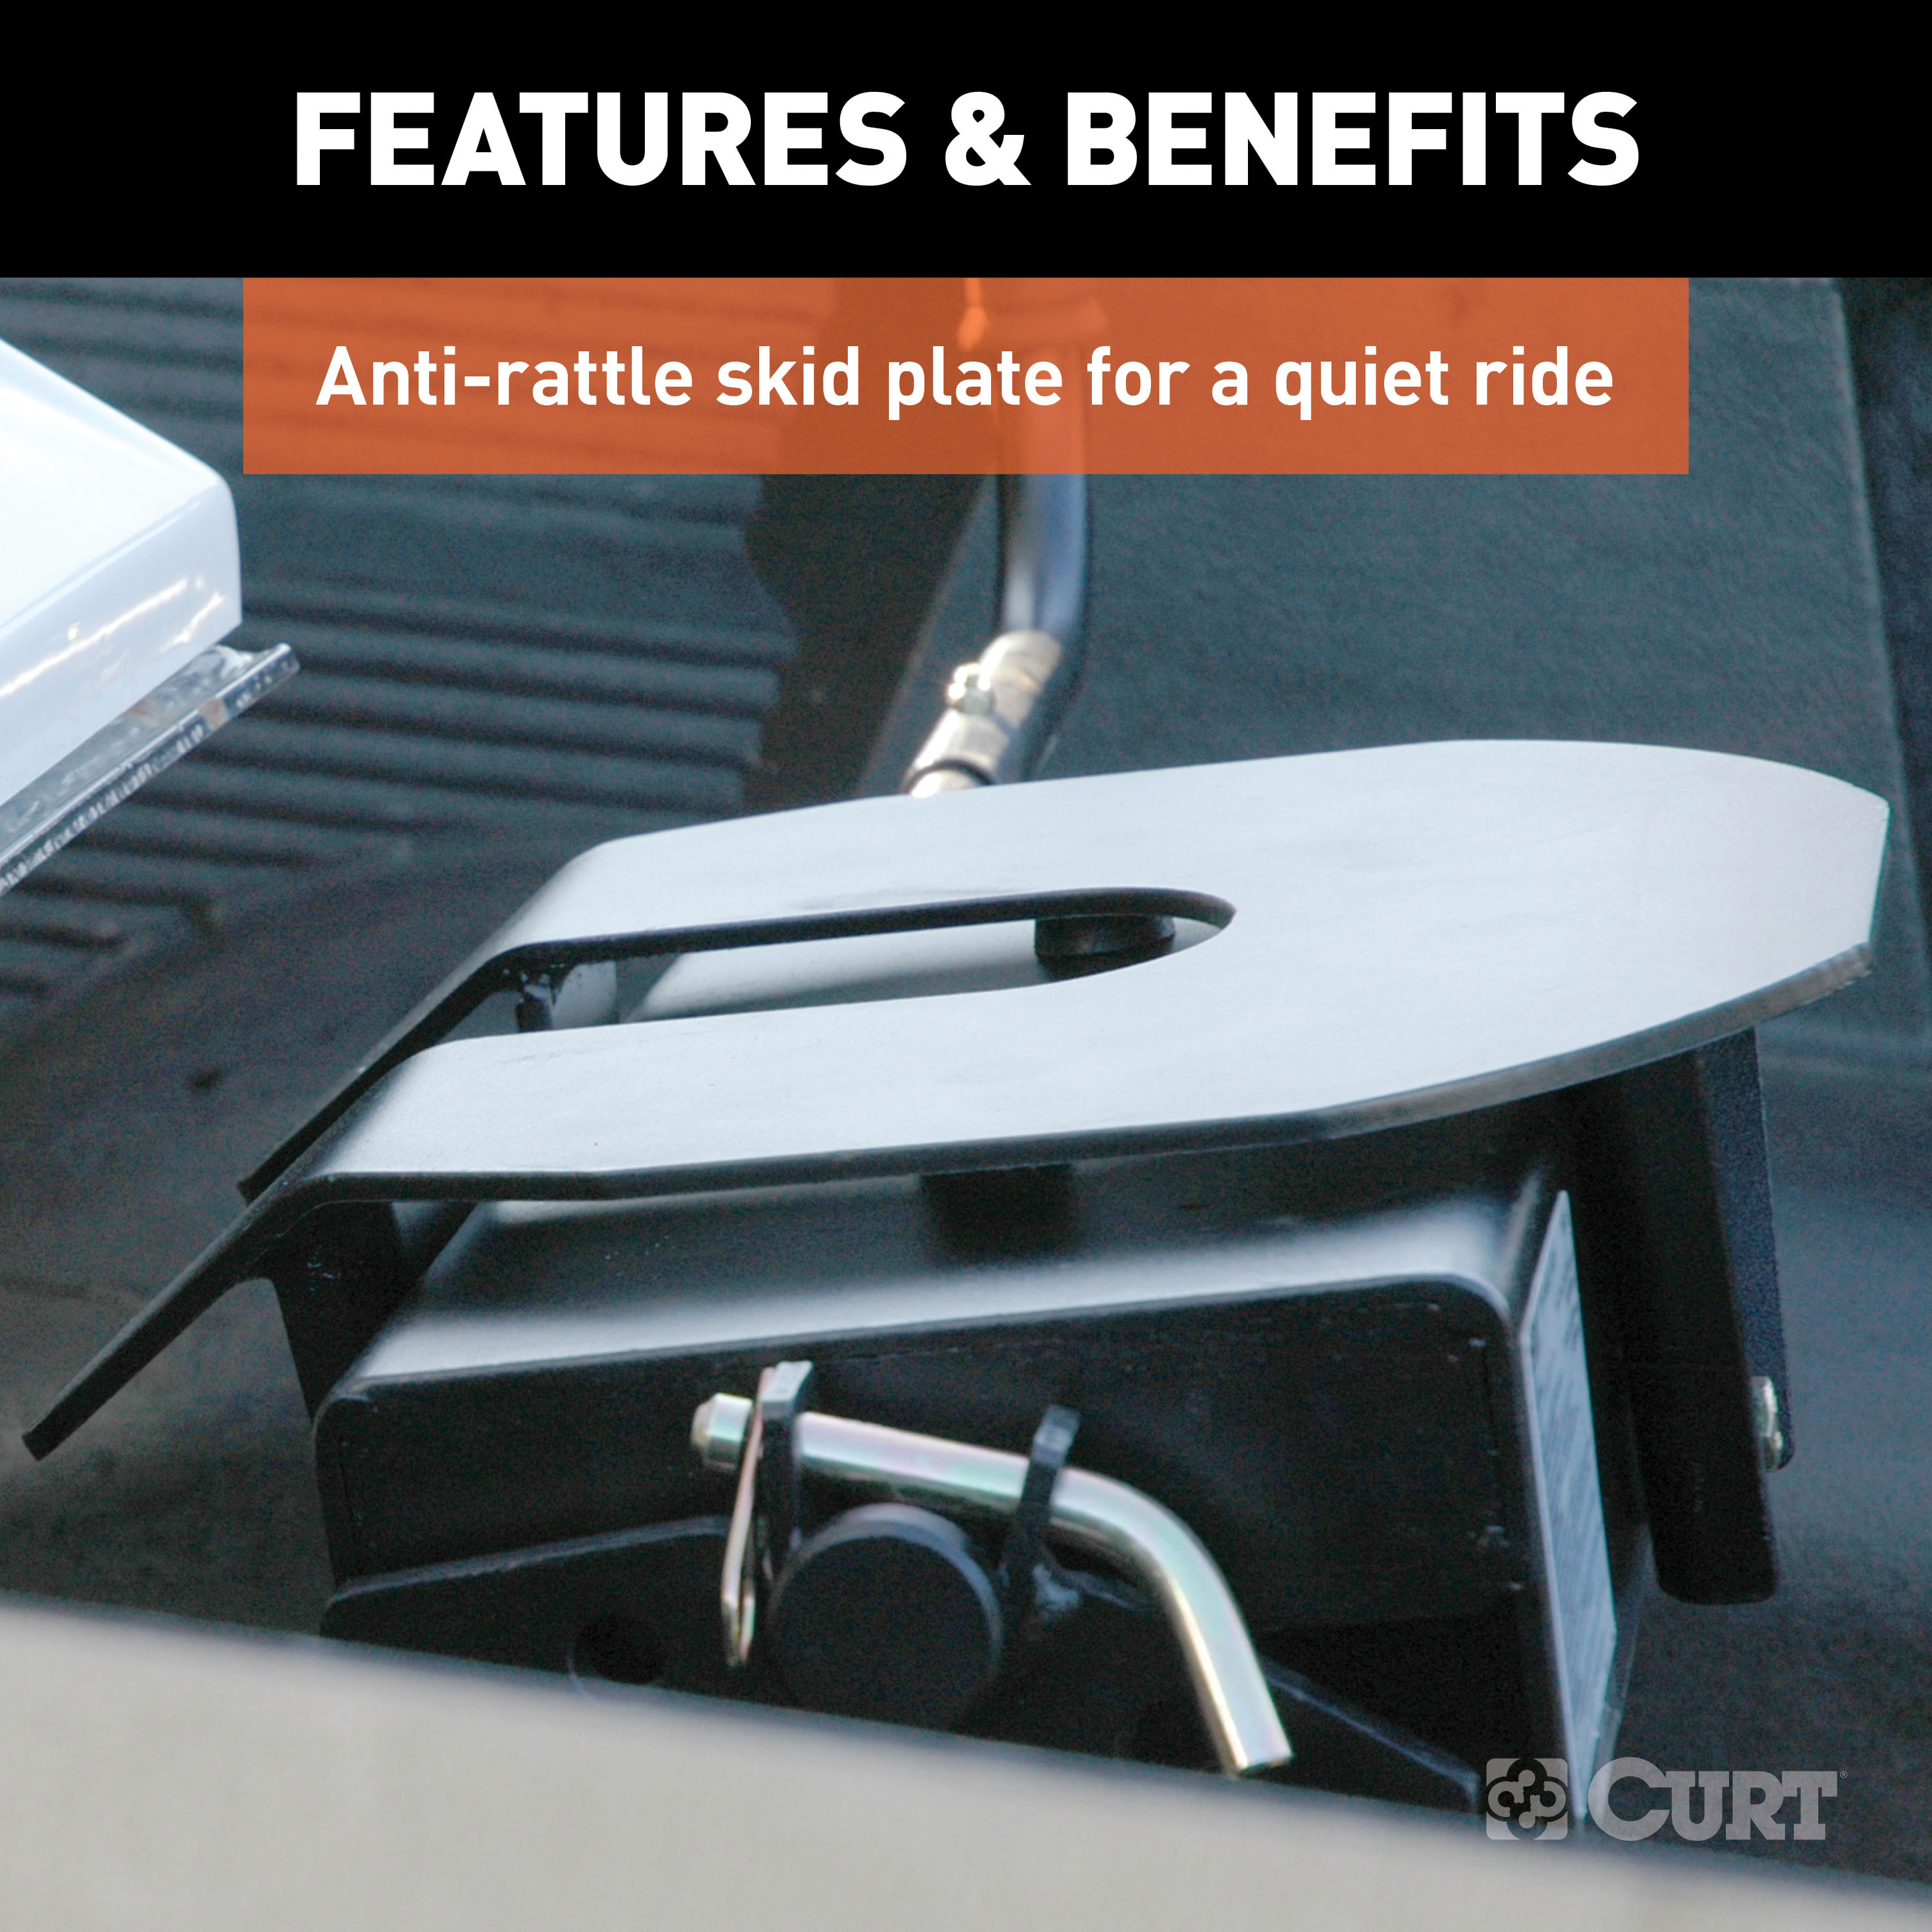
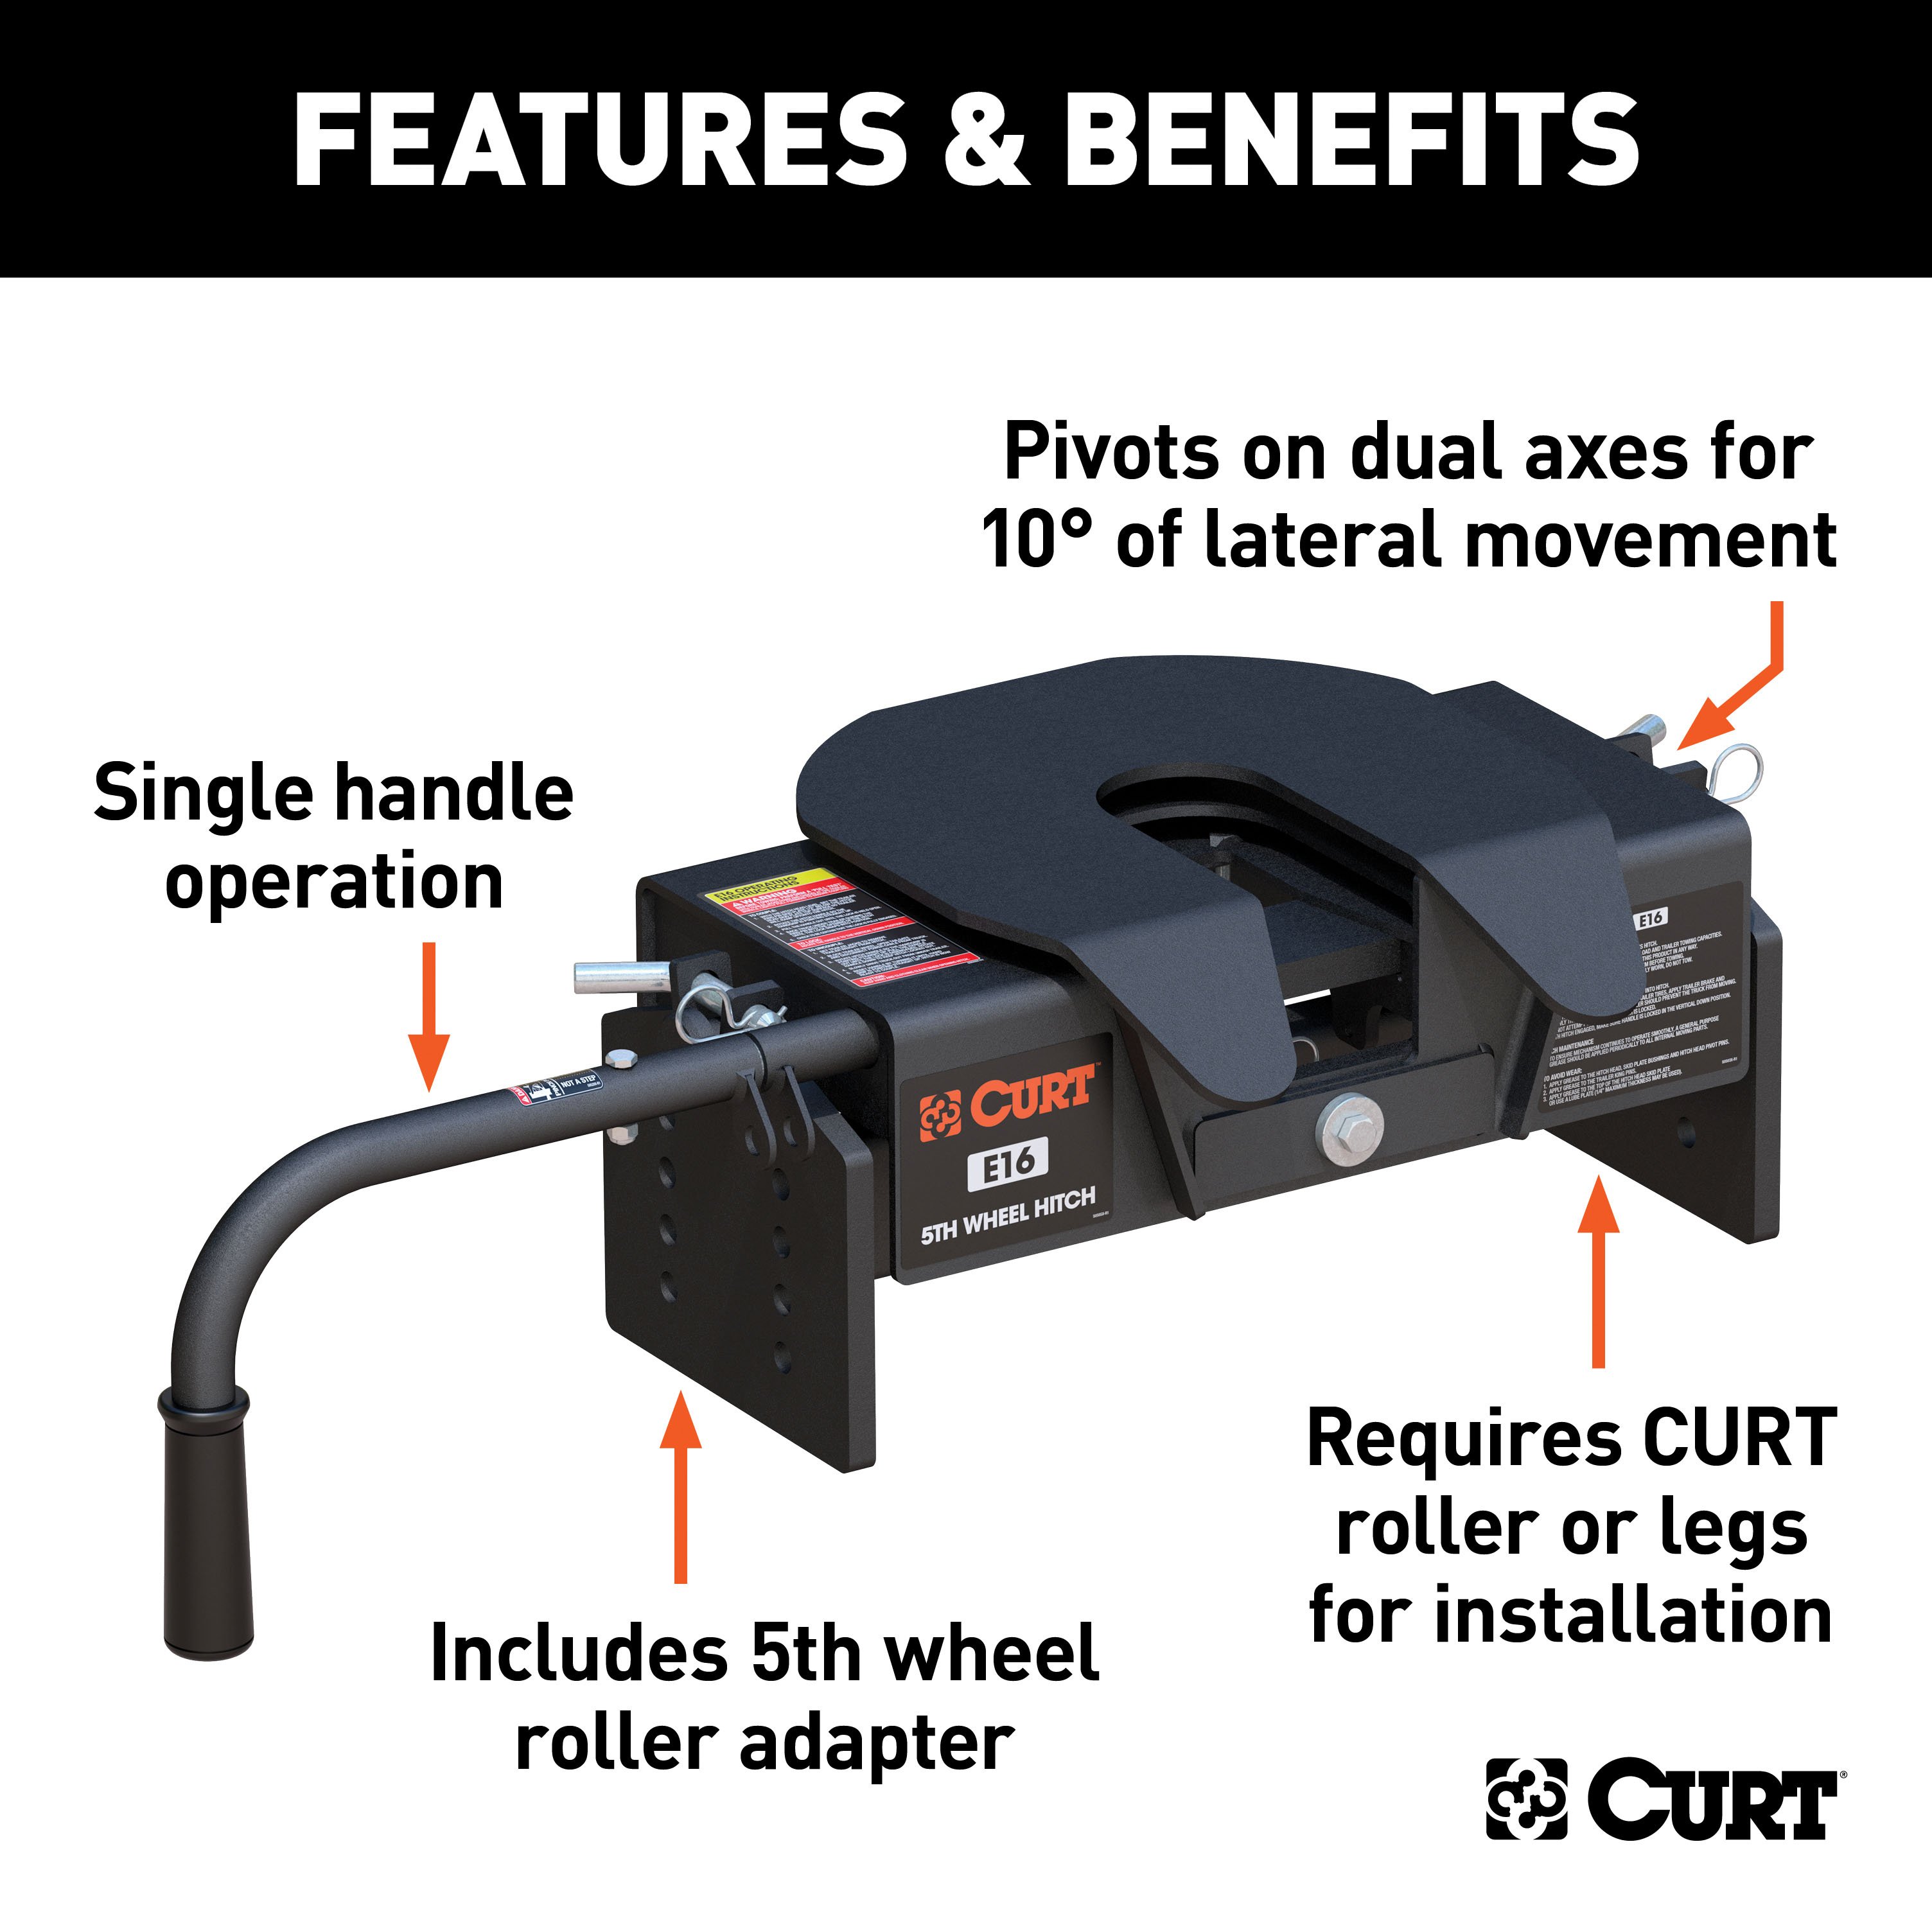
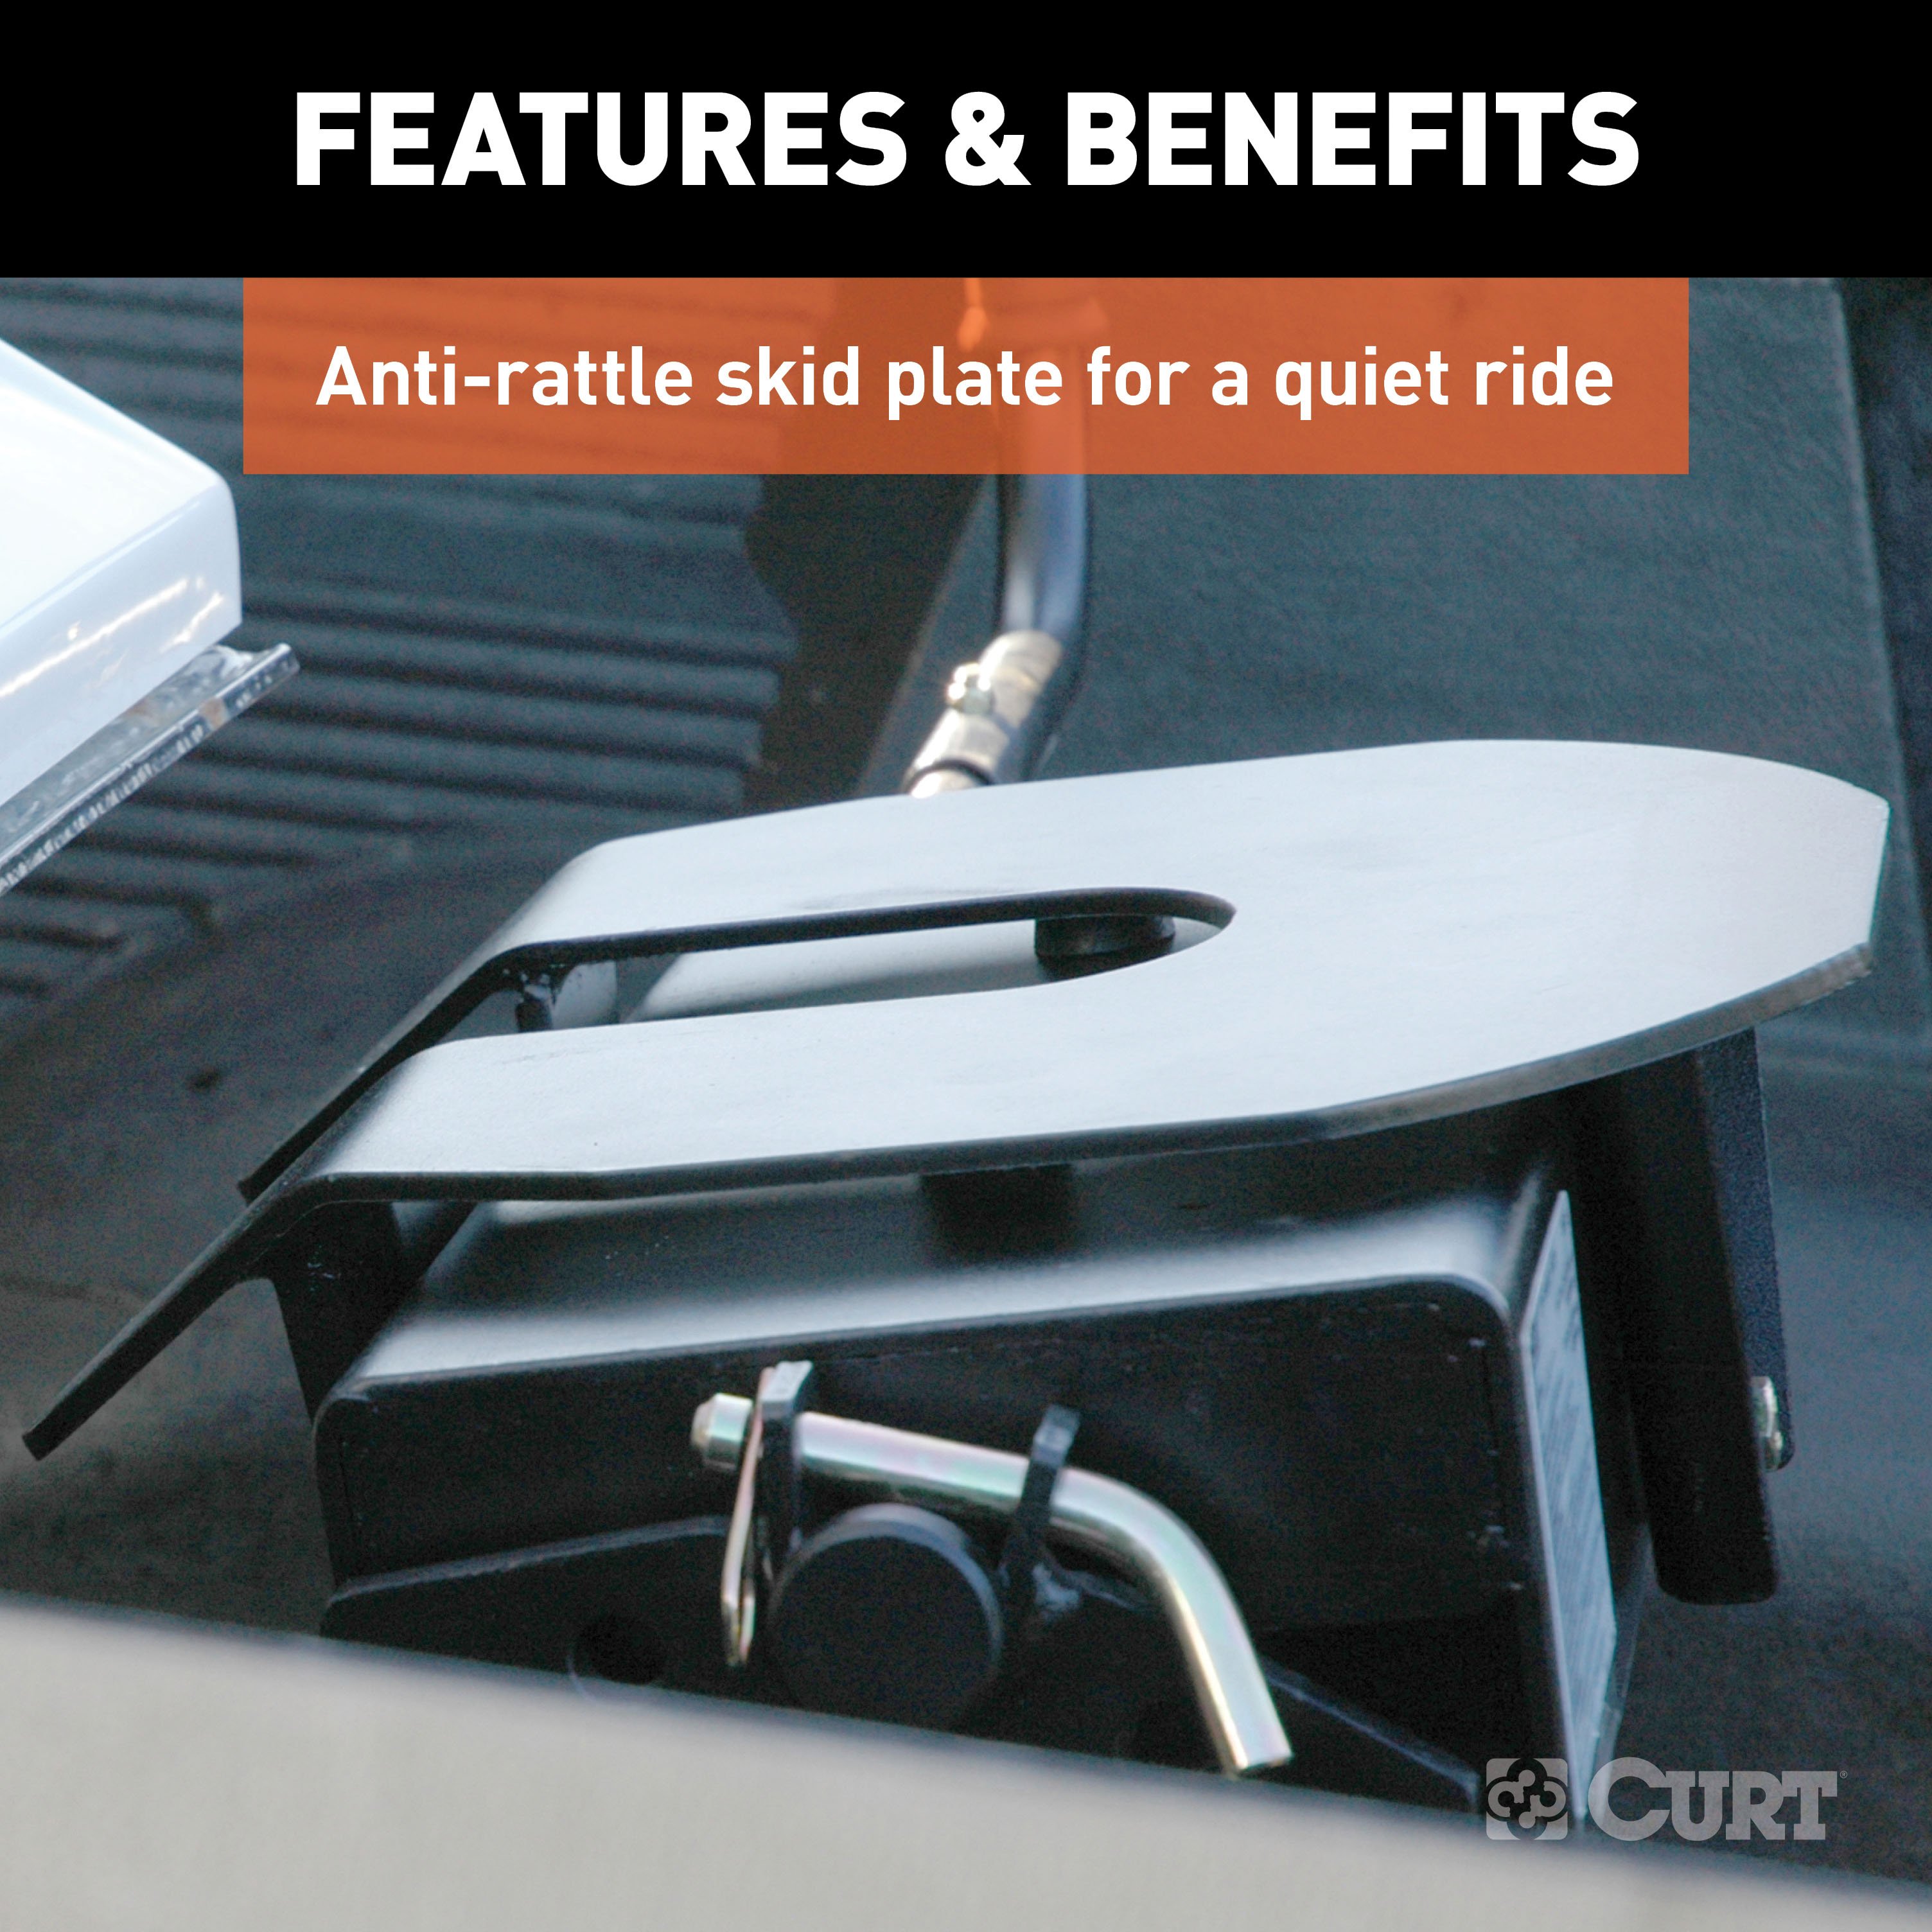
The CURT E16 5th wheel trailer hitch is an economical choice that offers many of the same features found in our Q-Series 5th wheel hitches. The E16 has a gross trailer weight rating of 16,000 lbs. and can withstand a vertical load up to 4,000 lbs. It comes with a dual-pivoting head, 10 degrees of lateral movement and an anti-rattle skid plate to provide a smoother, quieter ride. The E16 also comes with easy, single-handle operation and a durable carbide powder coat for long-lasting protection against the elements. With four height adjustment settings, the E16 is quick and simple to install, and it is backed by a limited lifetime warranty. This 16K 5th wheel hitch head comes ready to be attached to the CURT R16 5th wheel roller.

CURT offers a variety of high-quality trailer hitches and accessories for select vehicle models. Find the perfect fit for your towing needs at TowUniverse.
CURT, a Lippert brand, offers a complete line of towing products and is the leading manufacturer of custom-fit trailer hitches. We offer the broadest selection of custom-fit hitches, and each one is designed, welded, and coated in Wisconsin.
CURT is also a leader in flat towing products, as well as 5th wheel, gooseneck, and weight distribution hitches, ball mounts, electrical components, cargo solutions, and other towing accessories.
For everything from passenger cars and vans to full-size pickups and SUVs, CURT is 'The First Name in Towing Products®.'

Experts available to answer your questions
Call 888-634-9494Rediscover "Us" Time | Tested. Proven. Safe. Towing Products
The 16515 E5 is designed to tow 5th wheel trailers with a Gross Vehicle Weight Rating up to 16,000 lbs. Exceeding this rated capacity could create an unsafe towing condition and is not recommended.
The kingpin weight must not exceed 3,750 pounds.
Yes. The 16515 E5 is height adjustable from 14¼ to 18¼ inches from the bed of the truck in 1-inch increments.
Yes. The hitch is removed from the bed of the truck by pulling 4 retaining pins.
There must be a minimum of 5½ inches of clearance between the bottom of the trailer nose and the top of the truck bed. This prevents damage to the truck, trailer, or hitch due to lack of clearance. During first-use preparation, verify the cross member is set at the proper height to provide this minimum clearance and allows for a level towing attitude of the coach.
No. The 16200 Base Rails and 16500 R5 Roller are ordered separately and do not come with the hitch head assembly. They are essential components and must be purchased separately.
The CM-16515-BK Bolt Kit includes all hardware shown in the unpacking diagram on page 2. The kit contains four ½ inch × 1¾ inch bolts with nylock nuts (torqued to 75 ft-lbs), ½ inch diameter clevis pins (CM-16500-RMP), large hairpin clips (CM-16500-RHP), 3/8 inch clevis pins (CM-16515-HHMP), hairpin clips (CM-16515-HHHP), and a bolt and nylock nut for the hitch handle assembly.
Prior to drilling into the truck bed or frame for installation of the hitch mounts, you must locate the brake, fuel, and electrical lines. Temporarily relocate them if necessary to avoid possible damage.
When installing the frame brackets, make sure three wheels are firmly on the ground at all times and blocked with the axle firmly supported to prevent injury or death from a falling truck.
1. Assemble the hitch handle by rotating the handle shaft so the bolt hole is at the top, holding the handle with grip pointed downward, sliding it onto the shaft, and fastening with the supplied bolt and nylock nut. 2. Place the 16200 mounting rails in the truck bed using their supplied instructions. 3. Place the R5 Roller into the mounting rails and secure with ½ inch diameter clevis pins (CM-16500-RMP) and large hairpin clips (CM-16500-RHP). 4. Slide the cross member weldment into the R5 Roller, insert four ½ inch × 1¾ inch bolts from inside, place nylock nuts on each, and torque to 75 ft-lbs. 5. Place the hitch head onto the cross member weldment and secure with 3/8 inch clevis pins (CM-16515-HHMP) and hairpin clips (CM-16515-HHHP). Check for freedom of movement. The system is then ready for use.
Rotate the handle shaft so the bolt hole is oriented at the top. Hold the handle with the grip pointed downward and slide the handle onto the handle shaft. Fasten the hitch handle using the supplied bolt and nylock nut.
The four ½ inch × 1¾ inch bolts that secure the cross member weldment to the R5 Roller must be torqued to 75 ft-lbs.
After securing the hitch head to the cross member weldment with the 3/8 inch clevis pins and hairpin clips, check for freedom of movement. The hitch head should move freely on the cross member.
Before first use, verify the cross member is set at the proper height to provide a minimum of 5½ inches of clearance between the bottom of the trailer nose and the top of the truck box and allows for a level towing attitude of the coach. If necessary, adjust the cross member to the proper height, ensuring the fasteners are re-torqued to 75 ft-lbs.
Never position yourself or others under the trailer's kingpin area during coupling and uncoupling. Serious injury or death may result if this warning is not observed.
Do not expose hands, body parts, clothing, pets, or valuables between the truck and trailer, the truck bed sides and trailer, or in the bed of the truck. Extreme care should be observed to avoid serious injury to self, property, and observers.
1. Hook up only on a firm, dry, level surface. 2. Place wheel chocks on both sides of the trailer in front and behind the tires (stones, bricks, and wood blocks are not adequate). 3. Adjust the hitch head to level. 4. Lower the tailgate. 5. Back up slowly and stop just before the kingpin box. 6. Put transmission in Park, activate emergency brake, turn off engine. 7. Adjust front trailer jacks so the kingpin plate is ½ inch to 1 inch below the hitch skid plate—never lower the kingpin into the hitch head. 8. Rotate the hitch handle to the up position and pull until extended and locked open. 9. Back up slowly until the kingpin compresses the truck suspension and travels into the hitch head, activating the handle release mechanism. The handle will slide and rotate to the down position. 10. Put transmission in Park, activate emergency brake, turn off engine. 11. Exit and verify the handle is fully down and there is no gap between the kingpin plate and hitch skid plate. 12. Lift and latch the tailgate. 13. Apply brakes, start engine, put in gear for a slight tug of an inch or two to check connection—the trailer should not slip and should rock as one piece. 14. Put transmission in Park and activate emergency brake. 15. Raise front trailer jacks for ground clearance. 16. Attach electrical and breakaway connectors. 17. Attach lanyard and insert plunger into electric brake-away switch (or attach surge brake lanyard if hydraulic brakes present). 18. Remove wheel chocks. 19. Check running lights, directional signals, and brake lights. 20. Pull forward a few feet and apply brakes to verify trailer brakes work properly. 21. Proceed with caution.
1. Block coach wheels front and rear. 2. If necessary, start the truck and back up against the kingpin to relieve pressure on the slide bar. Set parking brake, put transmission in park, turn off engine. 3. Extend the front landing gear until the weight of the coach is just off the skid plate—do not exceed 1/16 inch gap between the kingpin box bottom plate and the hitch skid plate. Do not extend rear stabilizers prior to or during uncoupling. Raising the coach too high while still connected can damage the hitch head and coach components. 4. Disconnect electrical and breakaway connectors. Rotate the hitch handle 180 degrees so the handgrip points straight up, then pull the slide bar all the way open. Lock the hitch handle in the open position by rotating it clockwise 180 degrees until the handgrip points down at the truck bed. 5. Pull the truck slowly away from the coach.
The slide bar can close with heavy force. Use extreme care to keep fingers, hands, extremities, and clothing out of the path of the slide bar. Failure to do so could result in severe injury.
Before first use, perform the following: 1. Verify the cross member is set at the proper height to provide a minimum of 5½ inches clearance between the trailer nose and truck box and allows for a level towing attitude. 2. Ensure coach wheels are blocked front and rear and rear stabilizer jacks are fully retracted. 3. Level the coach so the kingpin box bottom plate is level with the hitch head skid plate. 4. Rotate the hitch handle 180 degrees so the handgrip points straight up and pull the handle out until the slide bar is held open by the locking angle. 5. Slowly back the truck so the kingpin slides fully into the hitch head throat. Set parking brake and put transmission in park. 6. Visually verify the slide bar has closed behind the kingpin and the kingpin box is resting on the skid plate. 7. Positively lock the slide bar by rotating the handle so the handgrip points straight down. 8. Attach electrical and breakaway connectors. Remove blocks from coach wheels and double-check that the hitch is properly attached.
After coupling, always visually check that the slide bar has closed completely across the rear of the kingpin. Additionally, verify there is no gap between the trailer kingpin plate and the hitch skid plate—they should be sandwiched together as one piece.
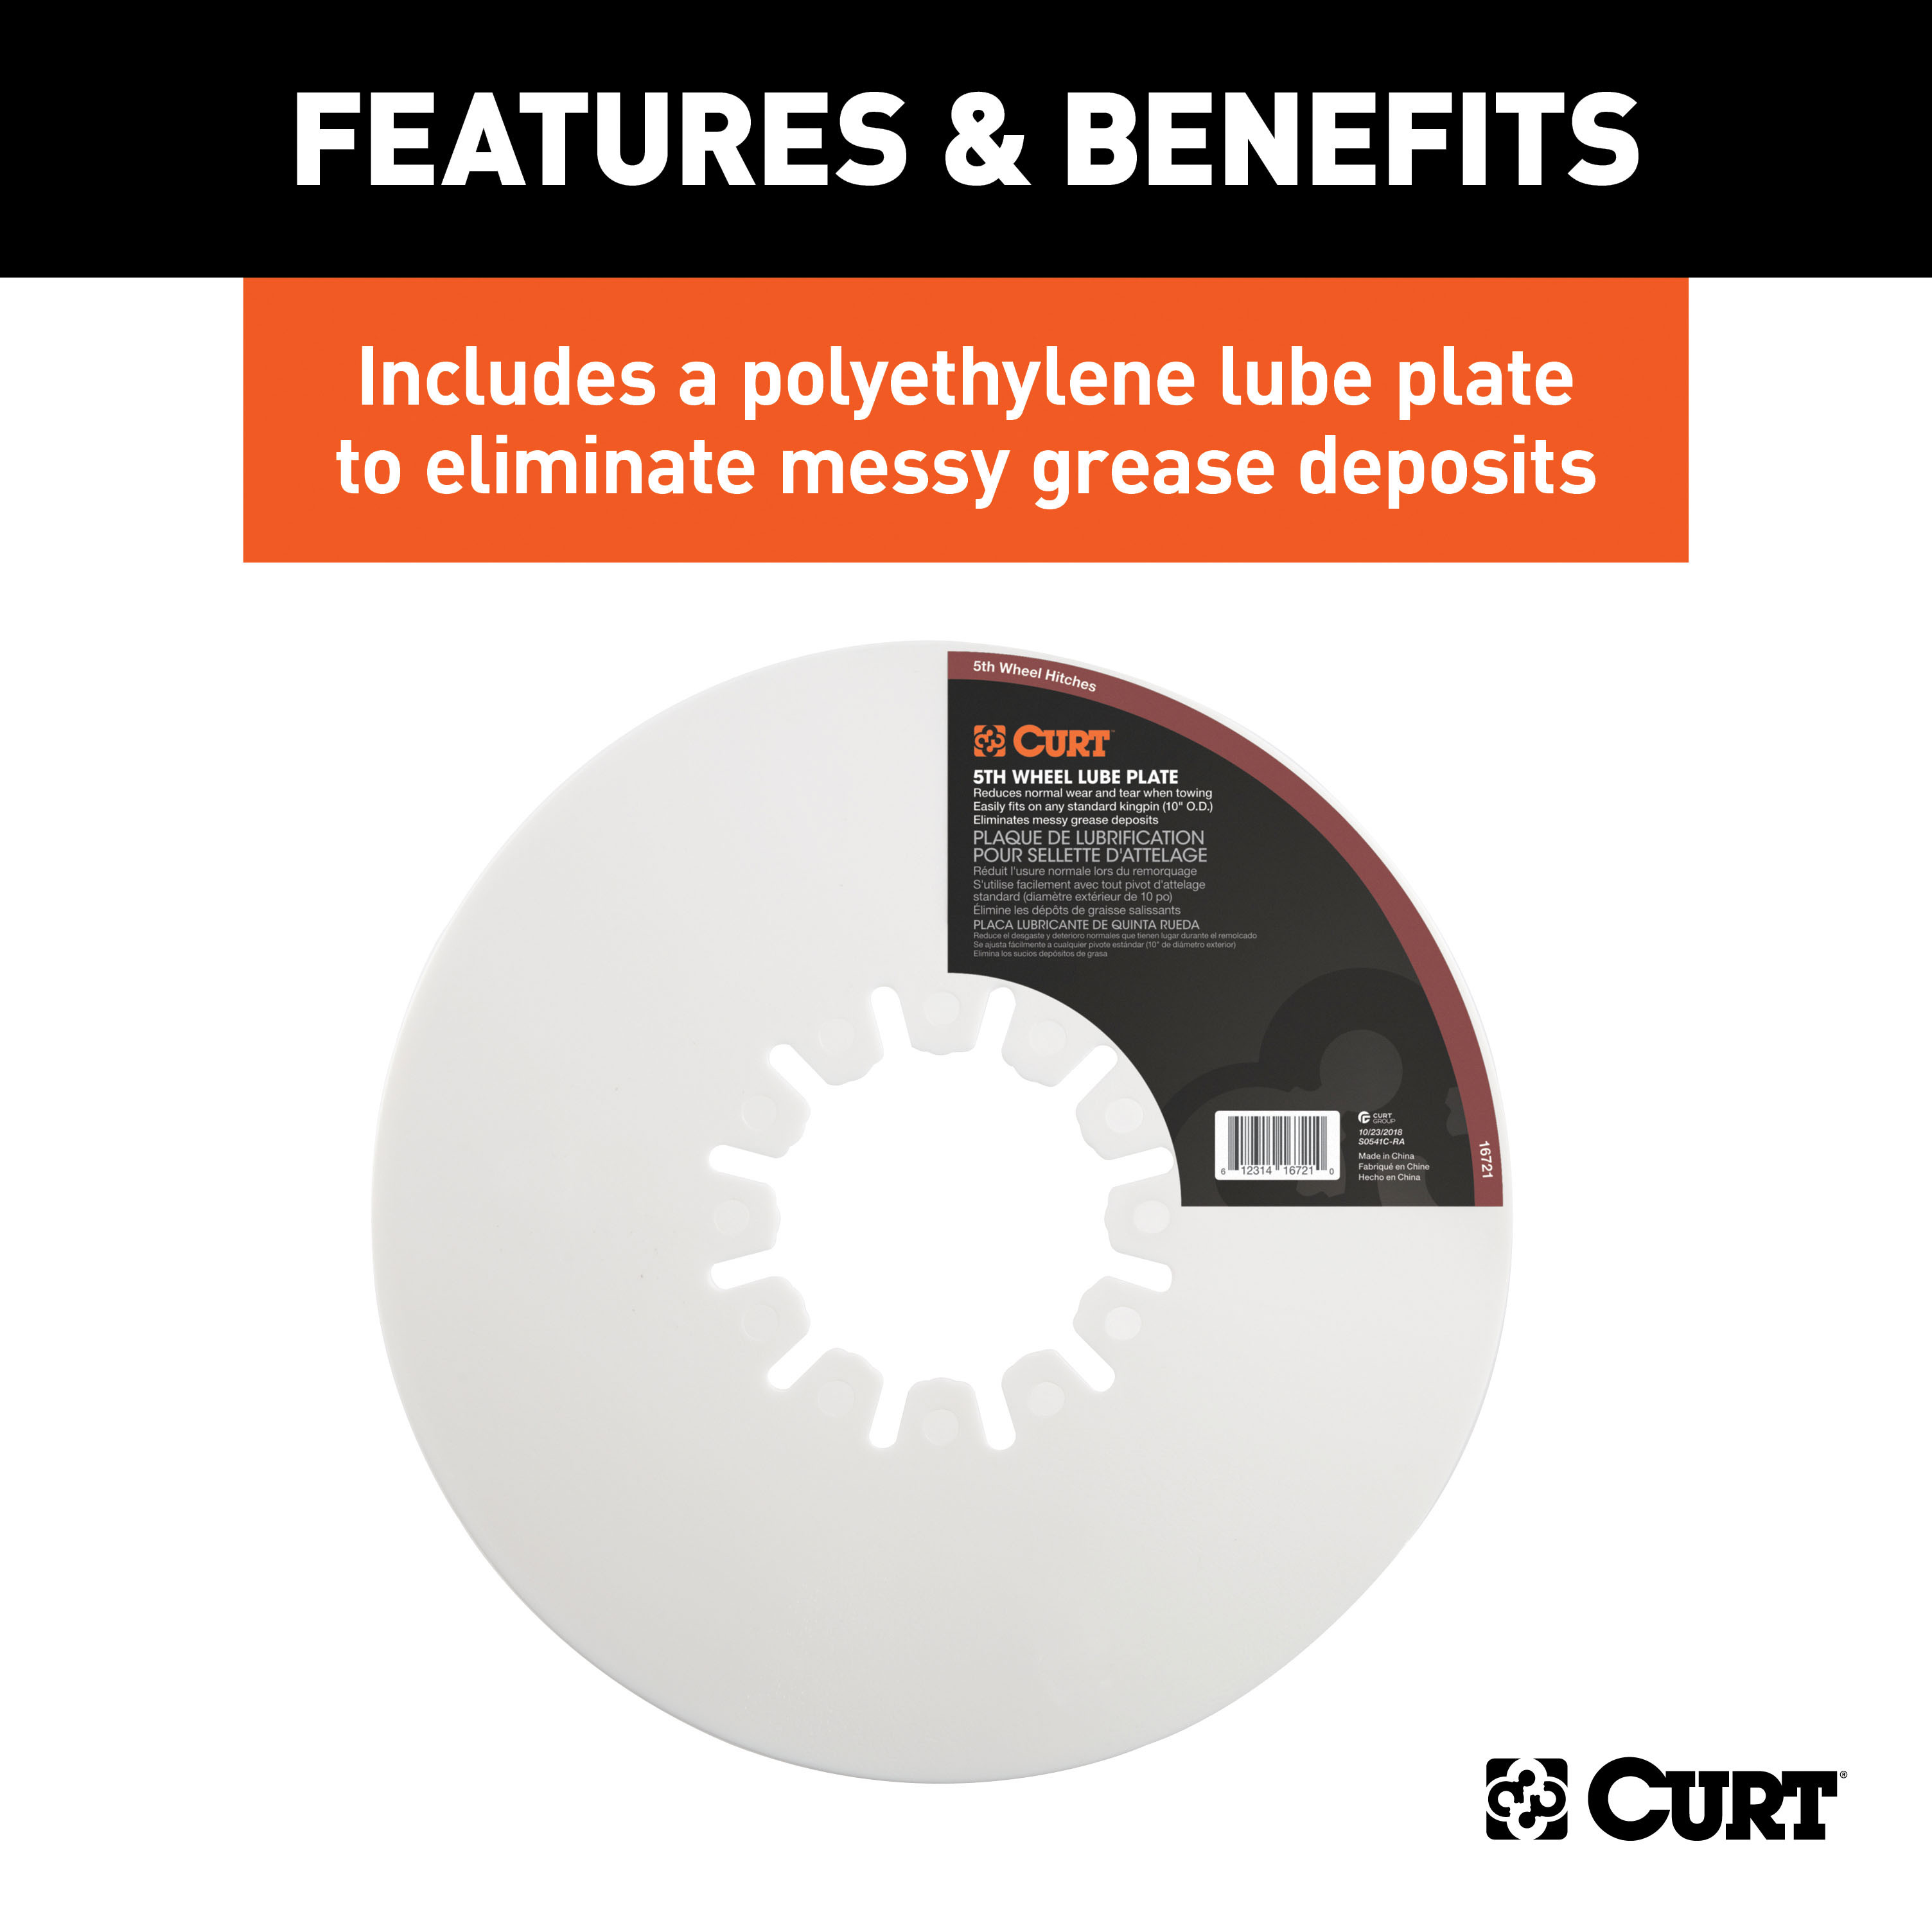
1. After coupling, always visually check that the slide bar has closed completely across the rear of the kingpin. 2. After the first 100 miles, and at least once a year thereafter, inspect all bolts for proper tightness and re-tighten if needed. All fasteners should be torqued to 75 ft-lbs. 3. Once or twice a year, apply a light coat of wheel bearing grease to the surface of the slide bar that holds the kingpin in place (apply with slide bar closed, then pull open and apply grease to the slide bar shaft). 4. At least once a year, thoroughly clean and degrease the hitch head assembly, then lubricate as described above. 5. Periodically inspect the hitch for wear or damage.
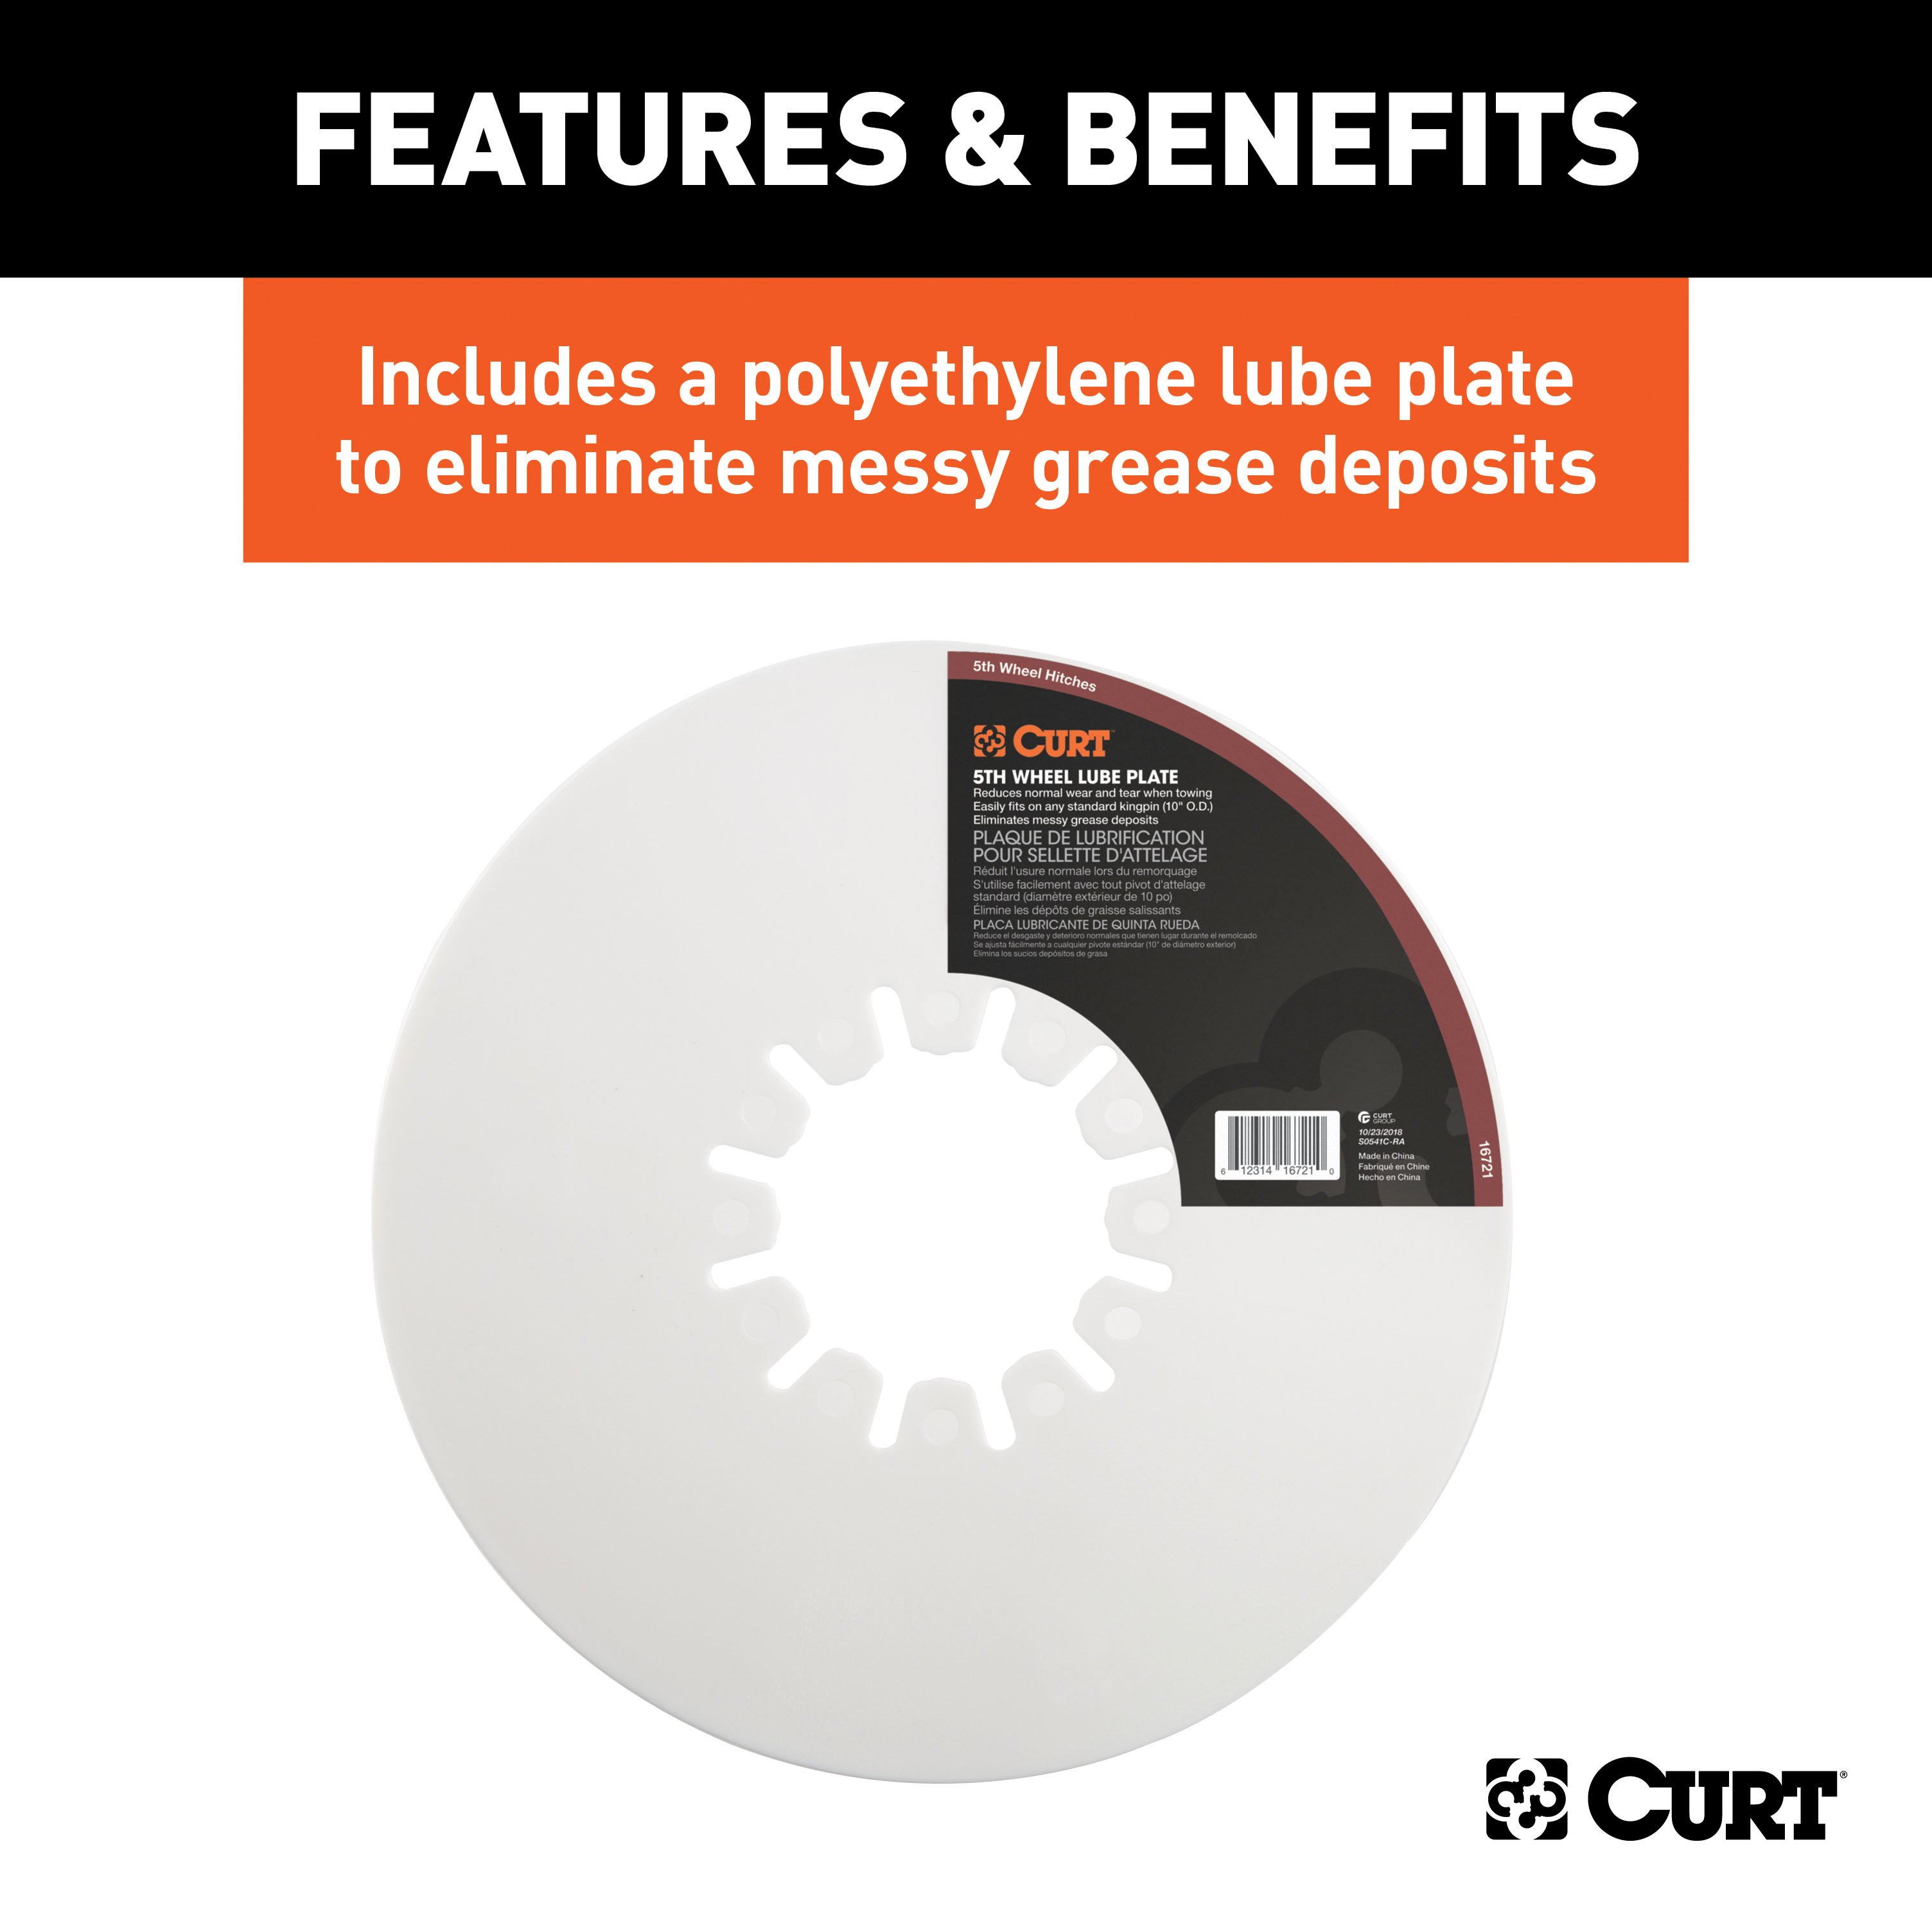
Apply a light coat of wheel bearing grease to the surface of the slide bar that holds the kingpin in place. For best results, apply the grease with the slide bar in the closed position. Then pull the slide bar open and apply a light coating of grease to the slide bar shaft that the handle is attached to.
After the first 100 miles, and at least once a year thereafter, inspect all bolts for proper tightness. Re-tighten bolts if needed. All fasteners should be torqued to 75 ft-lbs.
If excessive wear or damage is found, contact Curt Manufacturing Technical Support Department for assistance at (877) 287-8634.
No. The 16200 Base Rails and 16500 R5 Roller are ordered separately and must be purchased in addition to the hitch head assembly.
The 16515 E5 is designed for trailers with a Gross Vehicle Weight Rating up to 16,000 lbs. Exceeding this capacity is not recommended.
All fasteners on the 16515 E5, including the cross member bolts, should be torqued to 75 ft-lbs.
Yes. Prior to drilling into the truck bed or frame, you must locate the brake, fuel, and electrical lines and temporarily relocate them if necessary to avoid damage.
There must be a minimum of 5½ inches of clearance between the bottom of the trailer nose and the top of the truck bed to prevent damage.
After the first 100 miles and at least once a year thereafter, inspect all bolts and re-tighten if needed. All fasteners should be torqued to 75 ft-lbs.
If the hitch handle is not pointed all the way down after backing up, rotate the handle to the up position and pull until it extends to the locked open position. Repeat the coupling steps 5 through 11 from the Hook Up Instructions.
If a gap is present between the trailer kingpin plate and the hitch skid plate, the hitch connection is not complete. Repeat the coupling steps 5 through 11 from the Hook Up Instructions to ensure proper connection.
Apply the truck's brakes, start the engine, put the truck in gear to give a slight tug for an inch or two and check the hitch connection. Be careful not to let the trailer slip off the hitch. If the connection is complete, the trailer kingpin plate and hitch skid plate should not slide apart and act as one piece. A complete connection will rock the trailer and resistance can be felt.
Pull forward a few feet and apply the brakes to verify the trailer brakes are working properly. If they are not working, adjust the electric brake controller if necessary for proper activation. If the problem persists, contact your dealer or installer.
| Kit # | Head Series | GTW / Vertical Load | Kit Includes | Height Range | |||
|---|---|---|---|---|---|---|---|
| Hitch with Standard Legs # | Head with Adapter Plate # | Slider Only # | Base Rails # | ||||
| Long-Bed Options | |||||||
| 16115 | E16 | 16,000 / 4,000 lbs. | 16115 | -- | -- | -- | 13" - 17" |
| 16116 | E16 | 16,000 / 4,000 lbs. | 16115 | -- | -- | 16200 | 14" - 18" |
| Short-Bed Options | |||||||
| 16511 | E16 | 16,000 / 4,000 lbs. | -- | 16515 | 16564 | -- | 14" - 17" |
| 16611 | E16 | 16,000 / 4,000 lbs. | -- | 16515 | 16564 | 16204 | 15" - 18" |
On Sale Today
Original price was $493.95. Current price is $290.31.You save $203.64 (41%)
Free Shipping
Ships free on all orders
 Authorized Dealer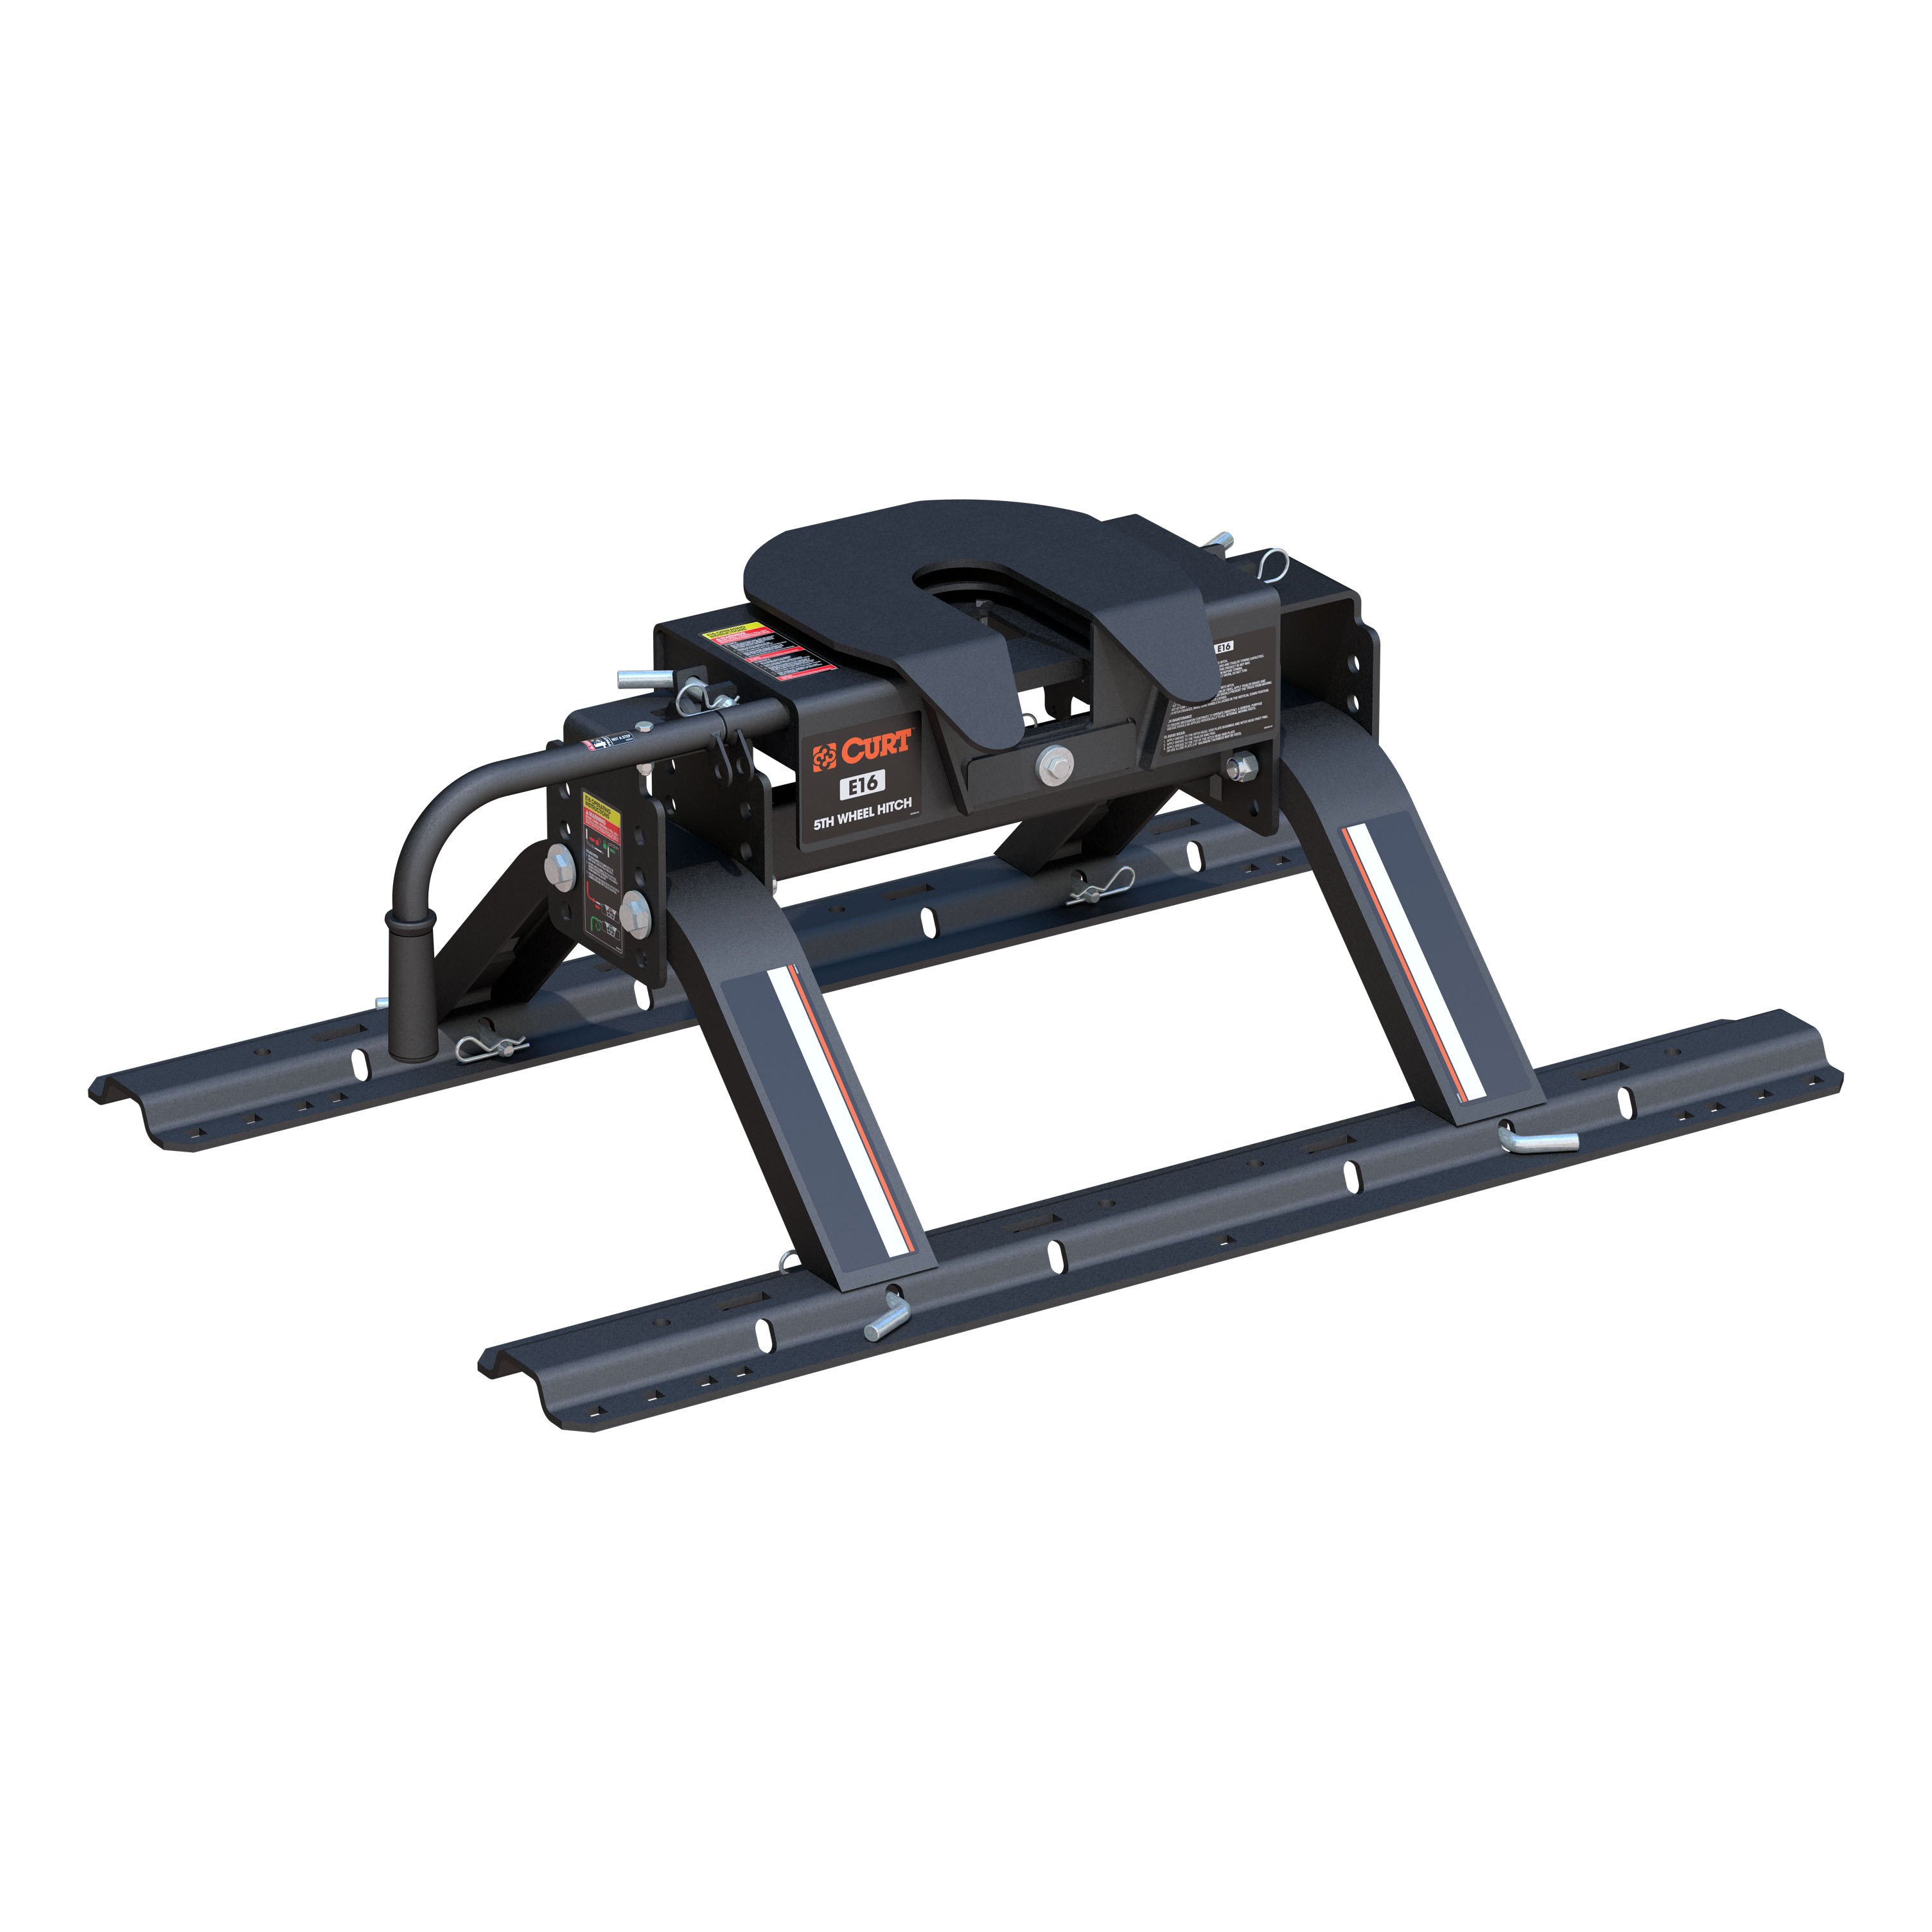


Quick Ship
In stock and ready to ship — order now!
Shipping from Eau Claire, WIFREE SHIPPING
Estimated delivery Wed, Oct 7 - Fri, Oct 9
Order before 2 PM EST Monday–Friday for same-day processing
Guaranteed safe & secure checkout
No reviews have been added for this product.