
CURT 8-10K (No Shank) TruTrack 2P Weight Distribution Hitch with 2x Sway ControlCURTOriginal price was $441.95. Current price is $269.52.Out of Stock
View productOur in-house experts typically reply within one business day.

CURT


Always the correct part
We know our products
Quality Products
Free Shipping!
Always the correct part
We know our products
Quality Products
Free Shipping!


| Warranty | Limited lifetime warranty |
| Adjustable Arms | No |
| Max Towing Capacity | 12,000 lbs |
| Fit Type | Universal |
| Includes Mounting Hardware | Yes |
| Receiver Opening Size | 2 in |
| Gross Trailer Weight Range | 8,000 lbs - 12,000 lbs |
| Tongue Weight Range | 800 lbs - 1,200 lbs |
| Material Type | Cast Steel |
| Spring Bar Attachment System | Unique |
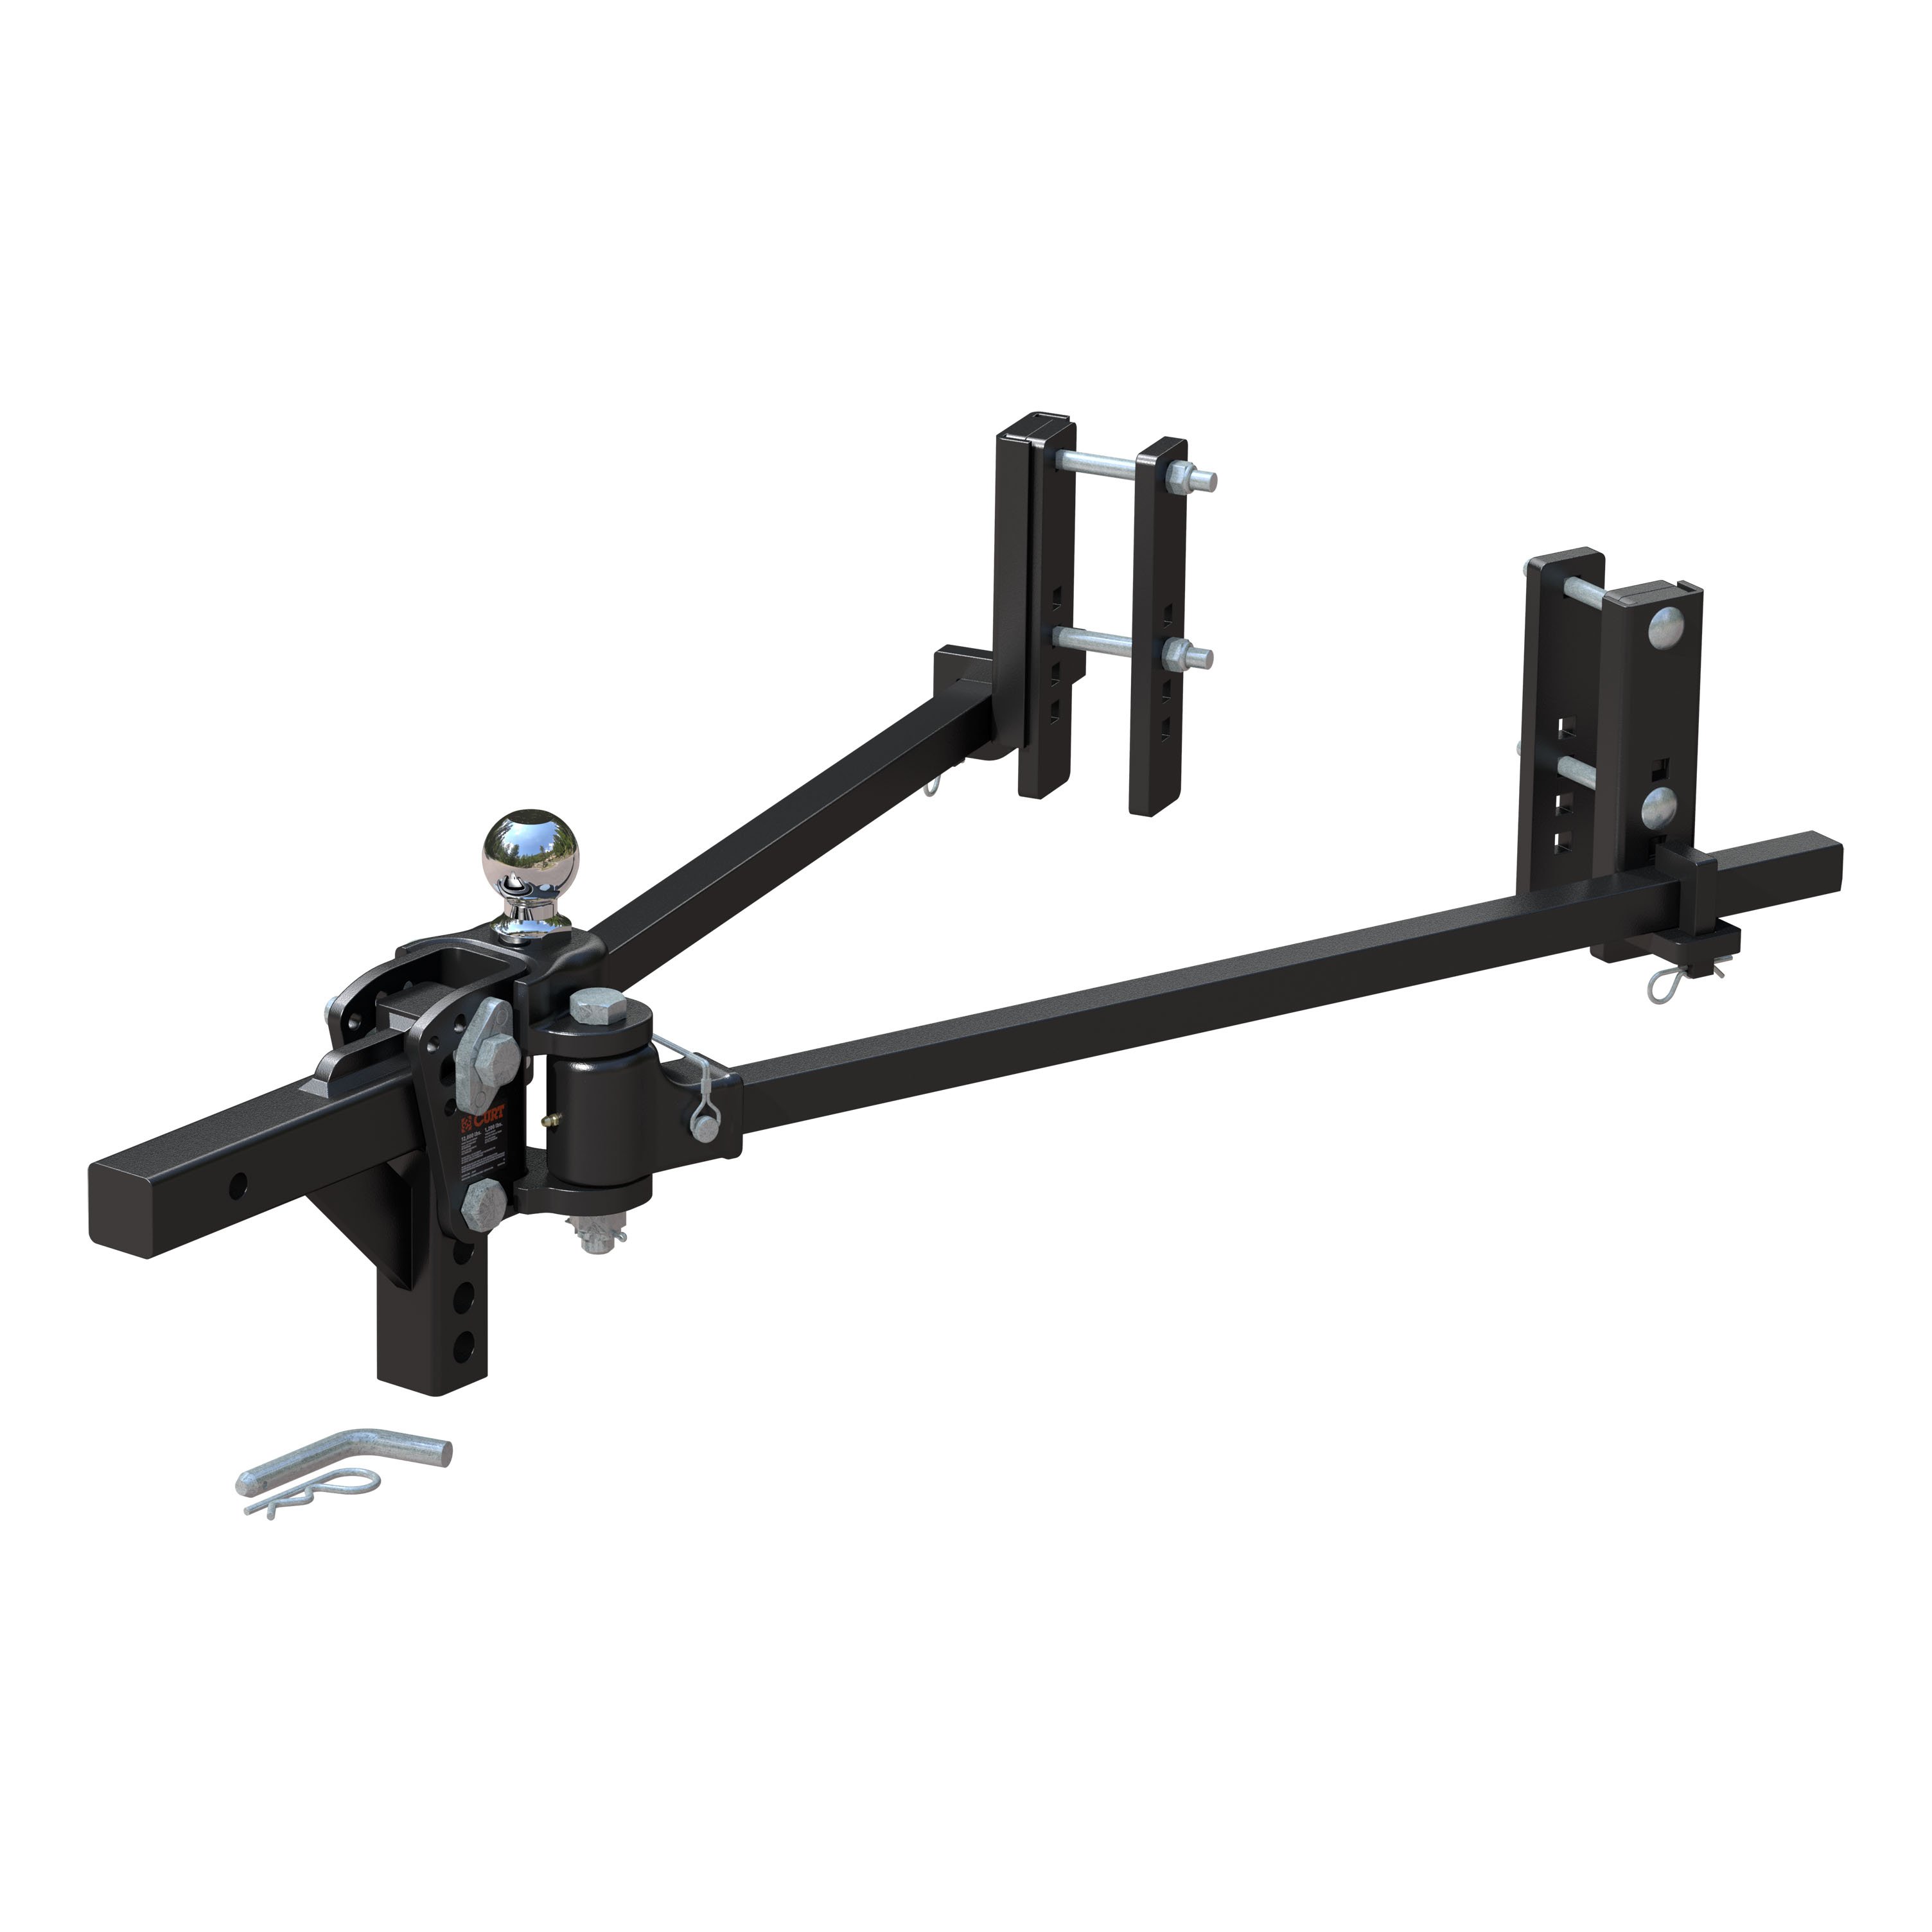
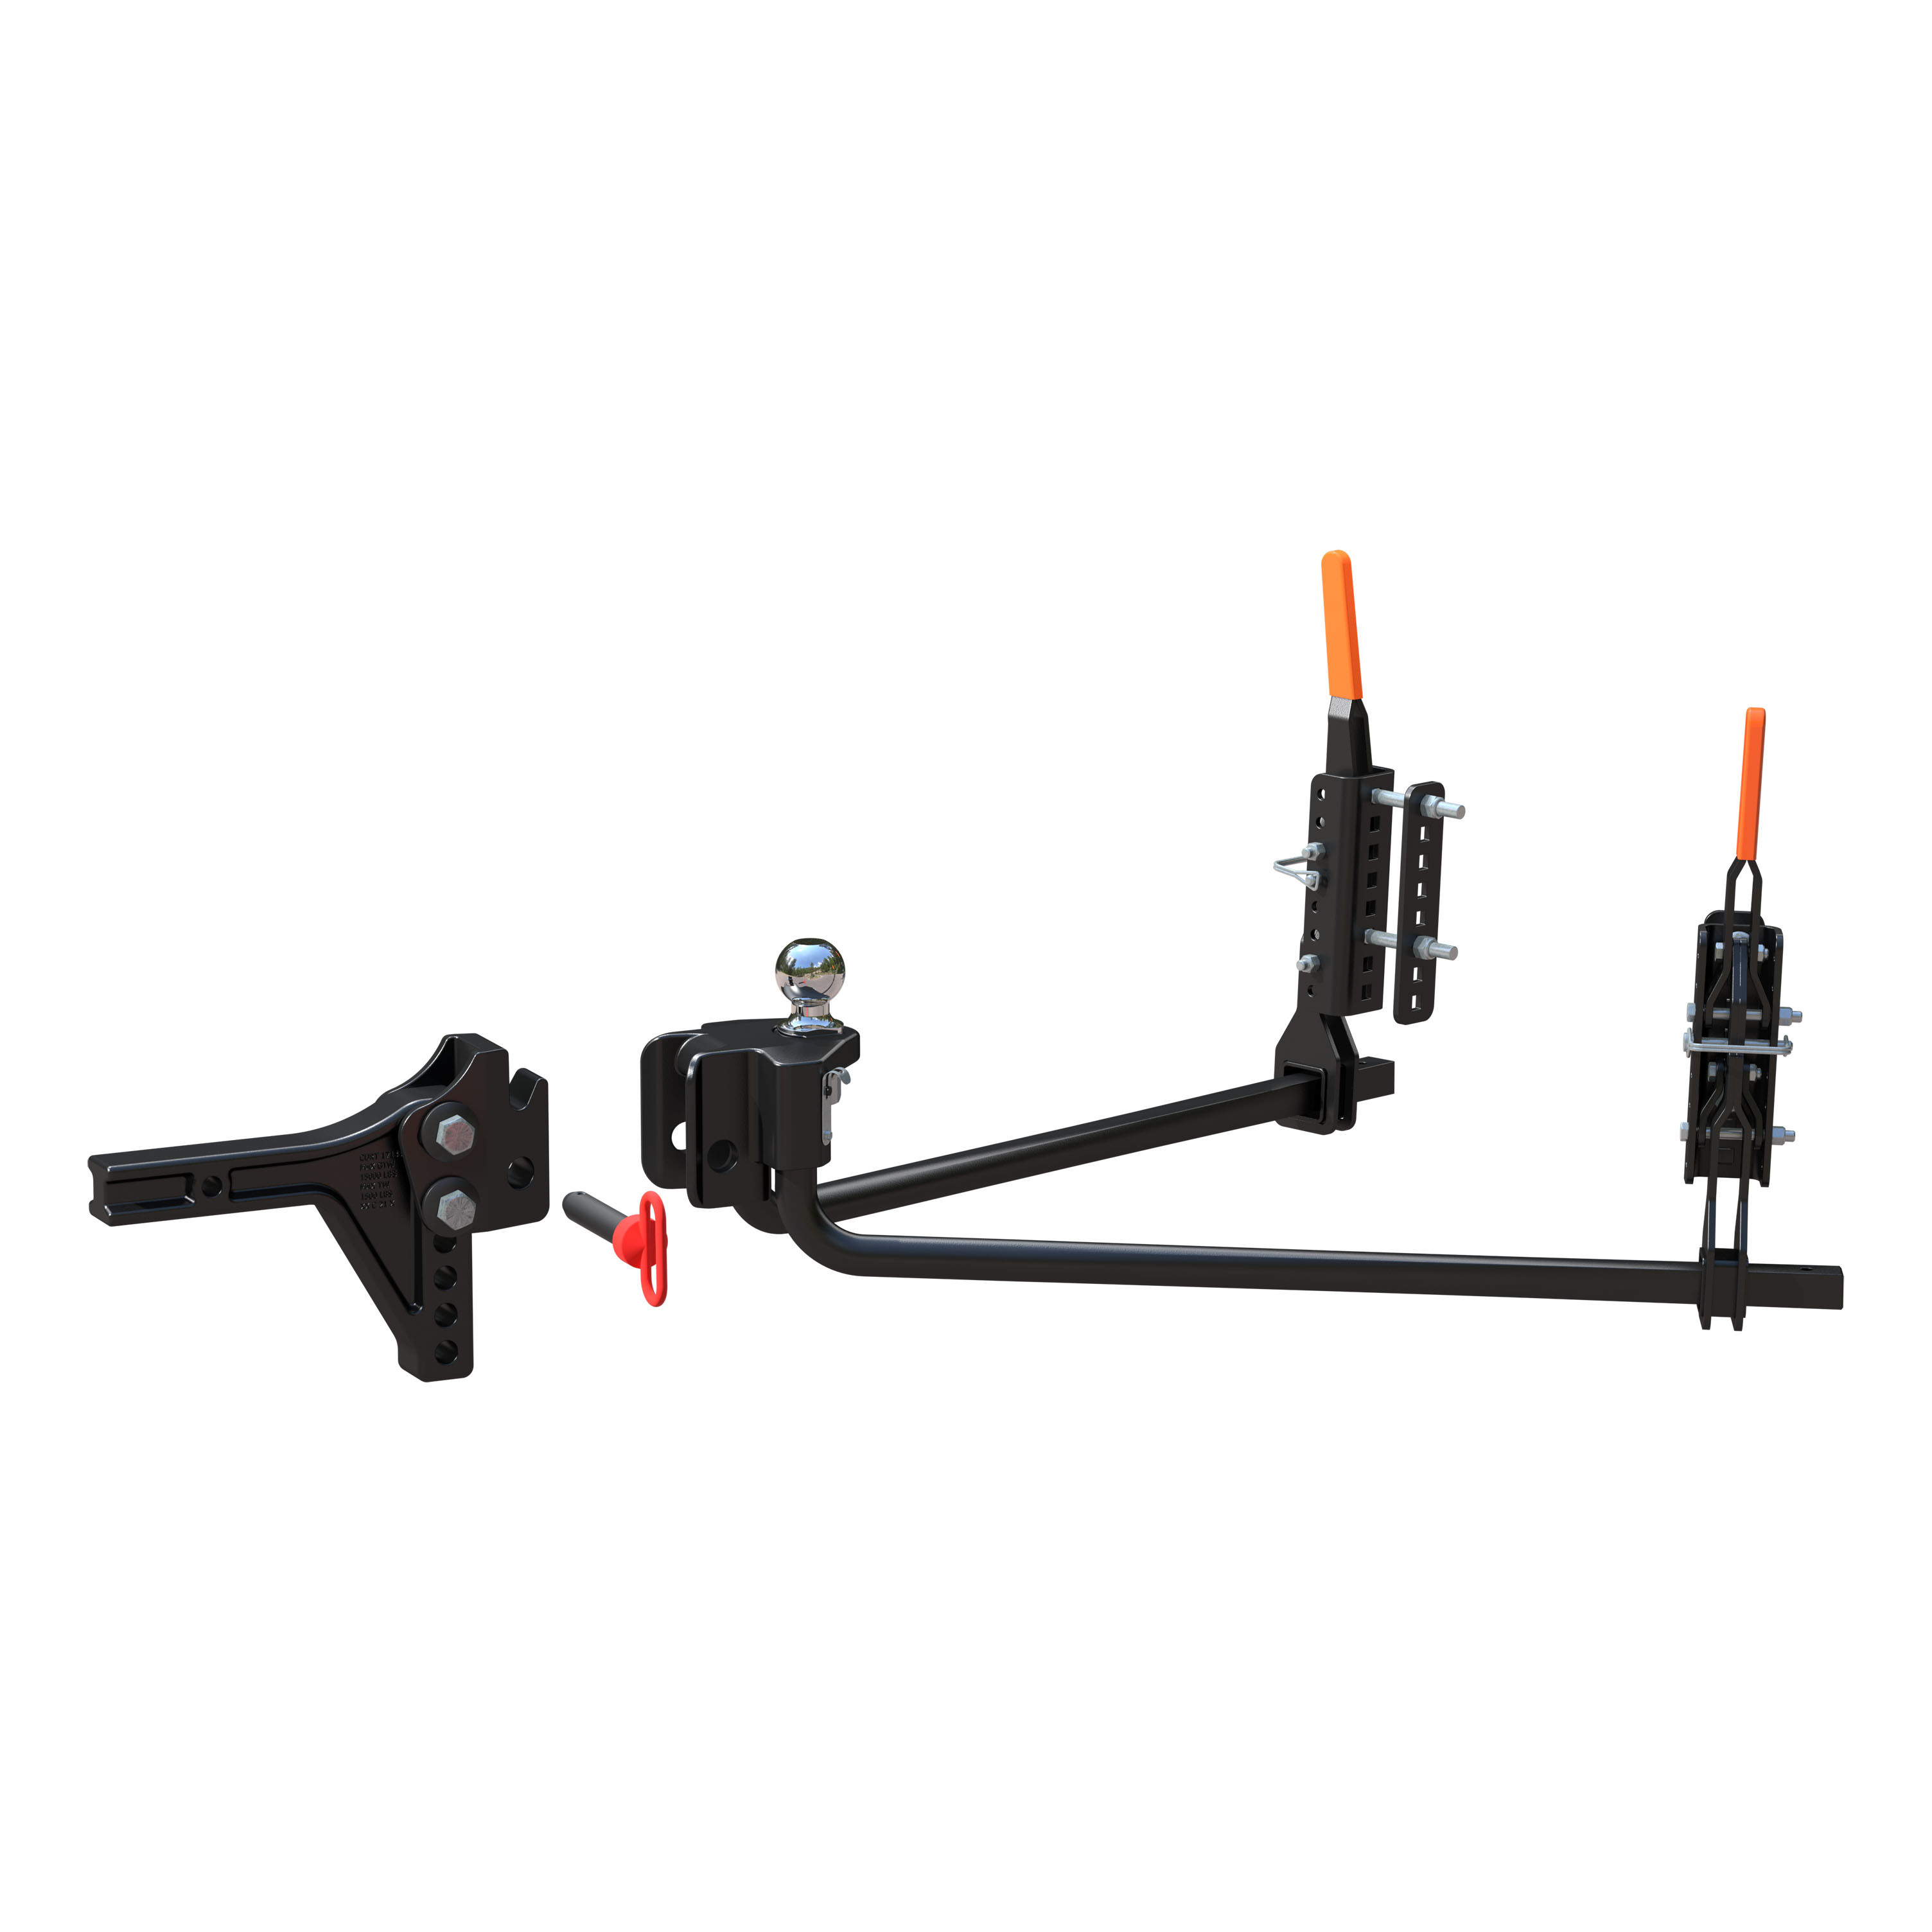
While many weight distribution hitches are made to be compatible with a sway control attachment, the CURT TruTrack is an advanced WD system that integrates the sway control function into the design of the hitch. It combines precise weight distributing with passive sway control to deliver a smoother, safer ride.
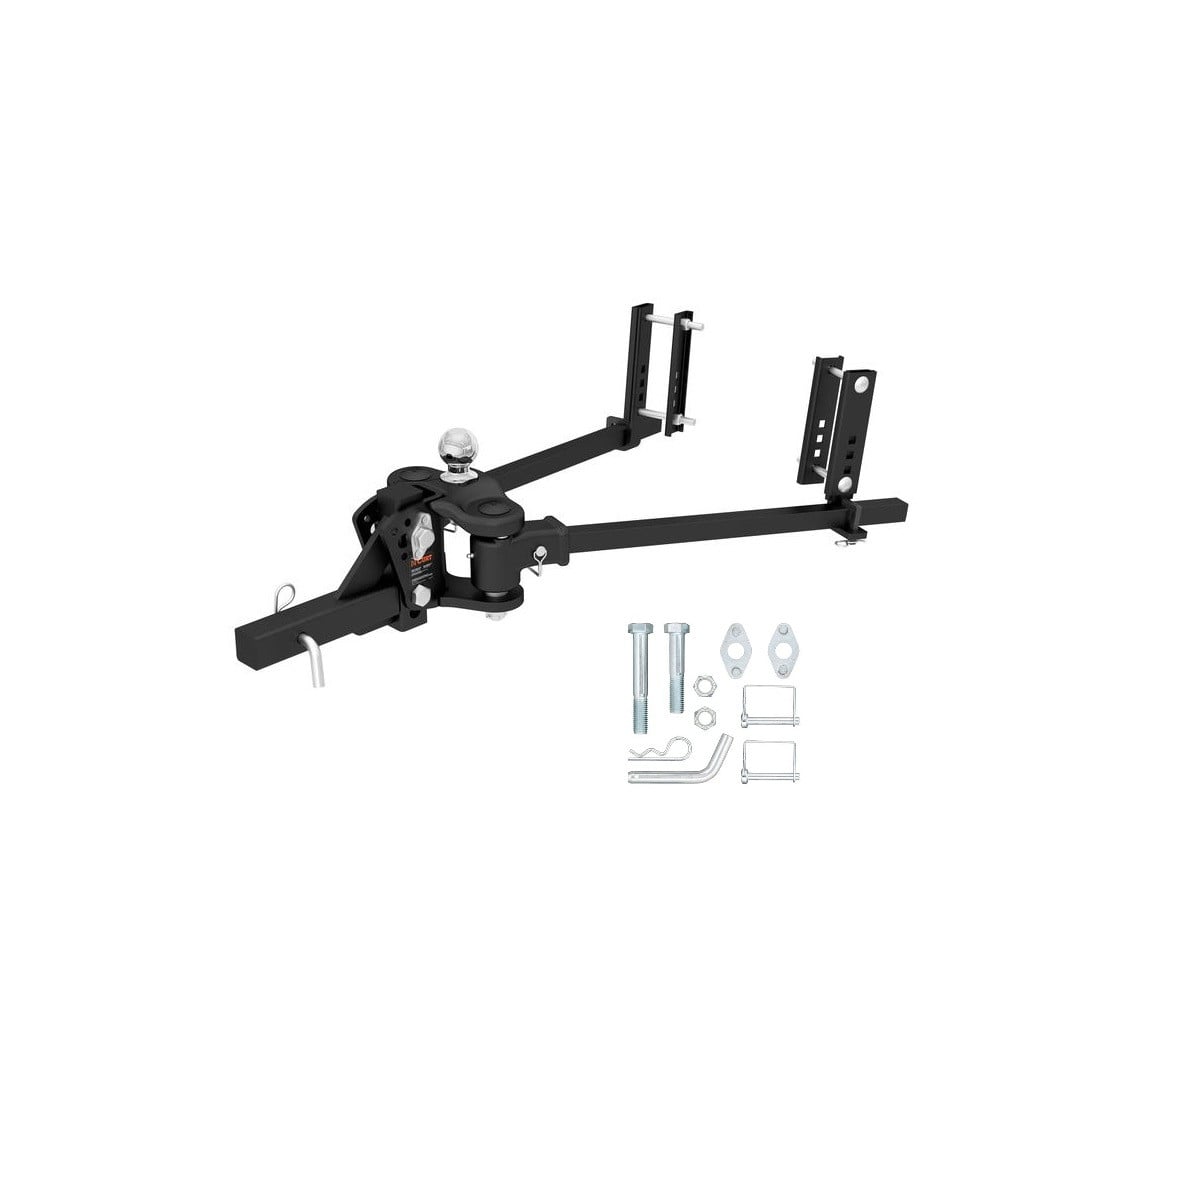
The TruTrack 2P features a unique spring bar attachment system. Like all WD hitches, it uses a pair of spring bars to leverage the trailer tongue weight and spread it across all axles of the vehicle-trailer combination. However, instead of using spring bar chains, the TruTrack connects to the trailer frame using heavy-duty, adjustable support brackets that hold the spring bars in place laterally and vertically.
While regular spring bars angle from side to side, the integrated sway control arms resist this movement and keep the trailer better aligned. In addition to its integrated sway control, the CURT TruTrack offers the same great quality as our other WD hitches, making it the perfect choice for campers, livestock trailers and other heavy-duty trailers. We stand behind this uncompromising hitch, and to prove it, we back it up with a limited lifetime warranty.

CURT offers a variety of high-quality trailer hitches and accessories for select vehicle models. Find the perfect fit for your towing needs at TowUniverse.
CURT, a Lippert brand, offers a complete line of towing products and is the leading manufacturer of custom-fit trailer hitches. We offer the broadest selection of custom-fit hitches, and each one is designed, welded, and coated in Wisconsin.
CURT is also a leader in flat towing products, as well as 5th wheel, gooseneck, and weight distribution hitches, ball mounts, electrical components, cargo solutions, and other towing accessories.
For everything from passenger cars and vans to full-size pickups and SUVs, CURT is 'The First Name in Towing Products®.'

Experts available to answer your questions
Call 888-634-9494Limited lifetime warranty (one-year finish, one-year parts)
The CURT 17355 is a weight distribution hitch with spring bars designed to distribute tongue weight across the tow vehicle's axles, improving stability and handling when towing a trailer. It mounts into the vehicle's receiver tube and connects to the trailer's A-frame coupler via a ball mount. The spring bars reduce front-end squat and rear-end rise during towing.
The 17355 is designed for tow vehicles with a receiver tube and trailers with A-frame couplers. To confirm fitment, check that your vehicle has a receiver hitch and your trailer has a standard A-frame coupler. For specific vehicle compatibility, contact CURT Product Support at 877-287-8634 or visit curtmfg.com.
Without spring bars, the hitch supports a gross trailer weight (GTW) of up to 12,000 lbs. and tongue weight (TW) of up to 1,200 lbs. With spring bars, the GTW ranges from 8,000 to 12,000 lbs. and TW ranges from 800 to 1,200 lbs. Do not exceed your vehicle manufacturer's recommended towing capacity. The weight rating when spring bars are not used is also dependent on the trailer ball manufacturer's weight ratings.
No. The manual states that you must always use a pair of spring bars and they must be rated the same. The tongue weight rating of the spring bars represents the capacity of a pair, not an individual bar.
You will need a ratchet, socket set, torque wrench, and tape measure. A torque wrench is essential because the 3/4" hex bolts must be torqued to 200 lb-ft, and failure to do so may result in complete system failure.
Yes, but only if your vehicle has air springs, air shocks, or an automatic leveling system. Check your vehicle owner's manual or other instructions for these items. Unless otherwise indicated, air springs and air shocks should be deflated to their minimum recommended pressure before assembling and adjusting the weight distribution hitch.
The first step is to measure the trailer coupler height. Line up the tow vehicle and trailer on level pavement in a straight position. Use the trailer tongue jack to level the trailer, then measure the distance from pavement to the top of the coupler socket and record it. This measurement is needed to determine the target uncoupled ball height for your tow vehicle.
For cars, vans, and small SUVs, add 1/8" to the coupler height for each 100 lbs. of tongue weight. For example, if the coupler is 16" high and your tongue weight is 1,000 lbs., add 1.25" (10 × 1/8") to get a target ball height of 17.25". This allows for vehicle squat when the trailer is coupled.
Yes. On high-ground-clearance vehicles, the shank may be inverted to obtain the proper ball height. However, if the shank is used in the inverted position, you must check for adequate ground clearance to ensure the ball does not contact the ground or other obstacles.
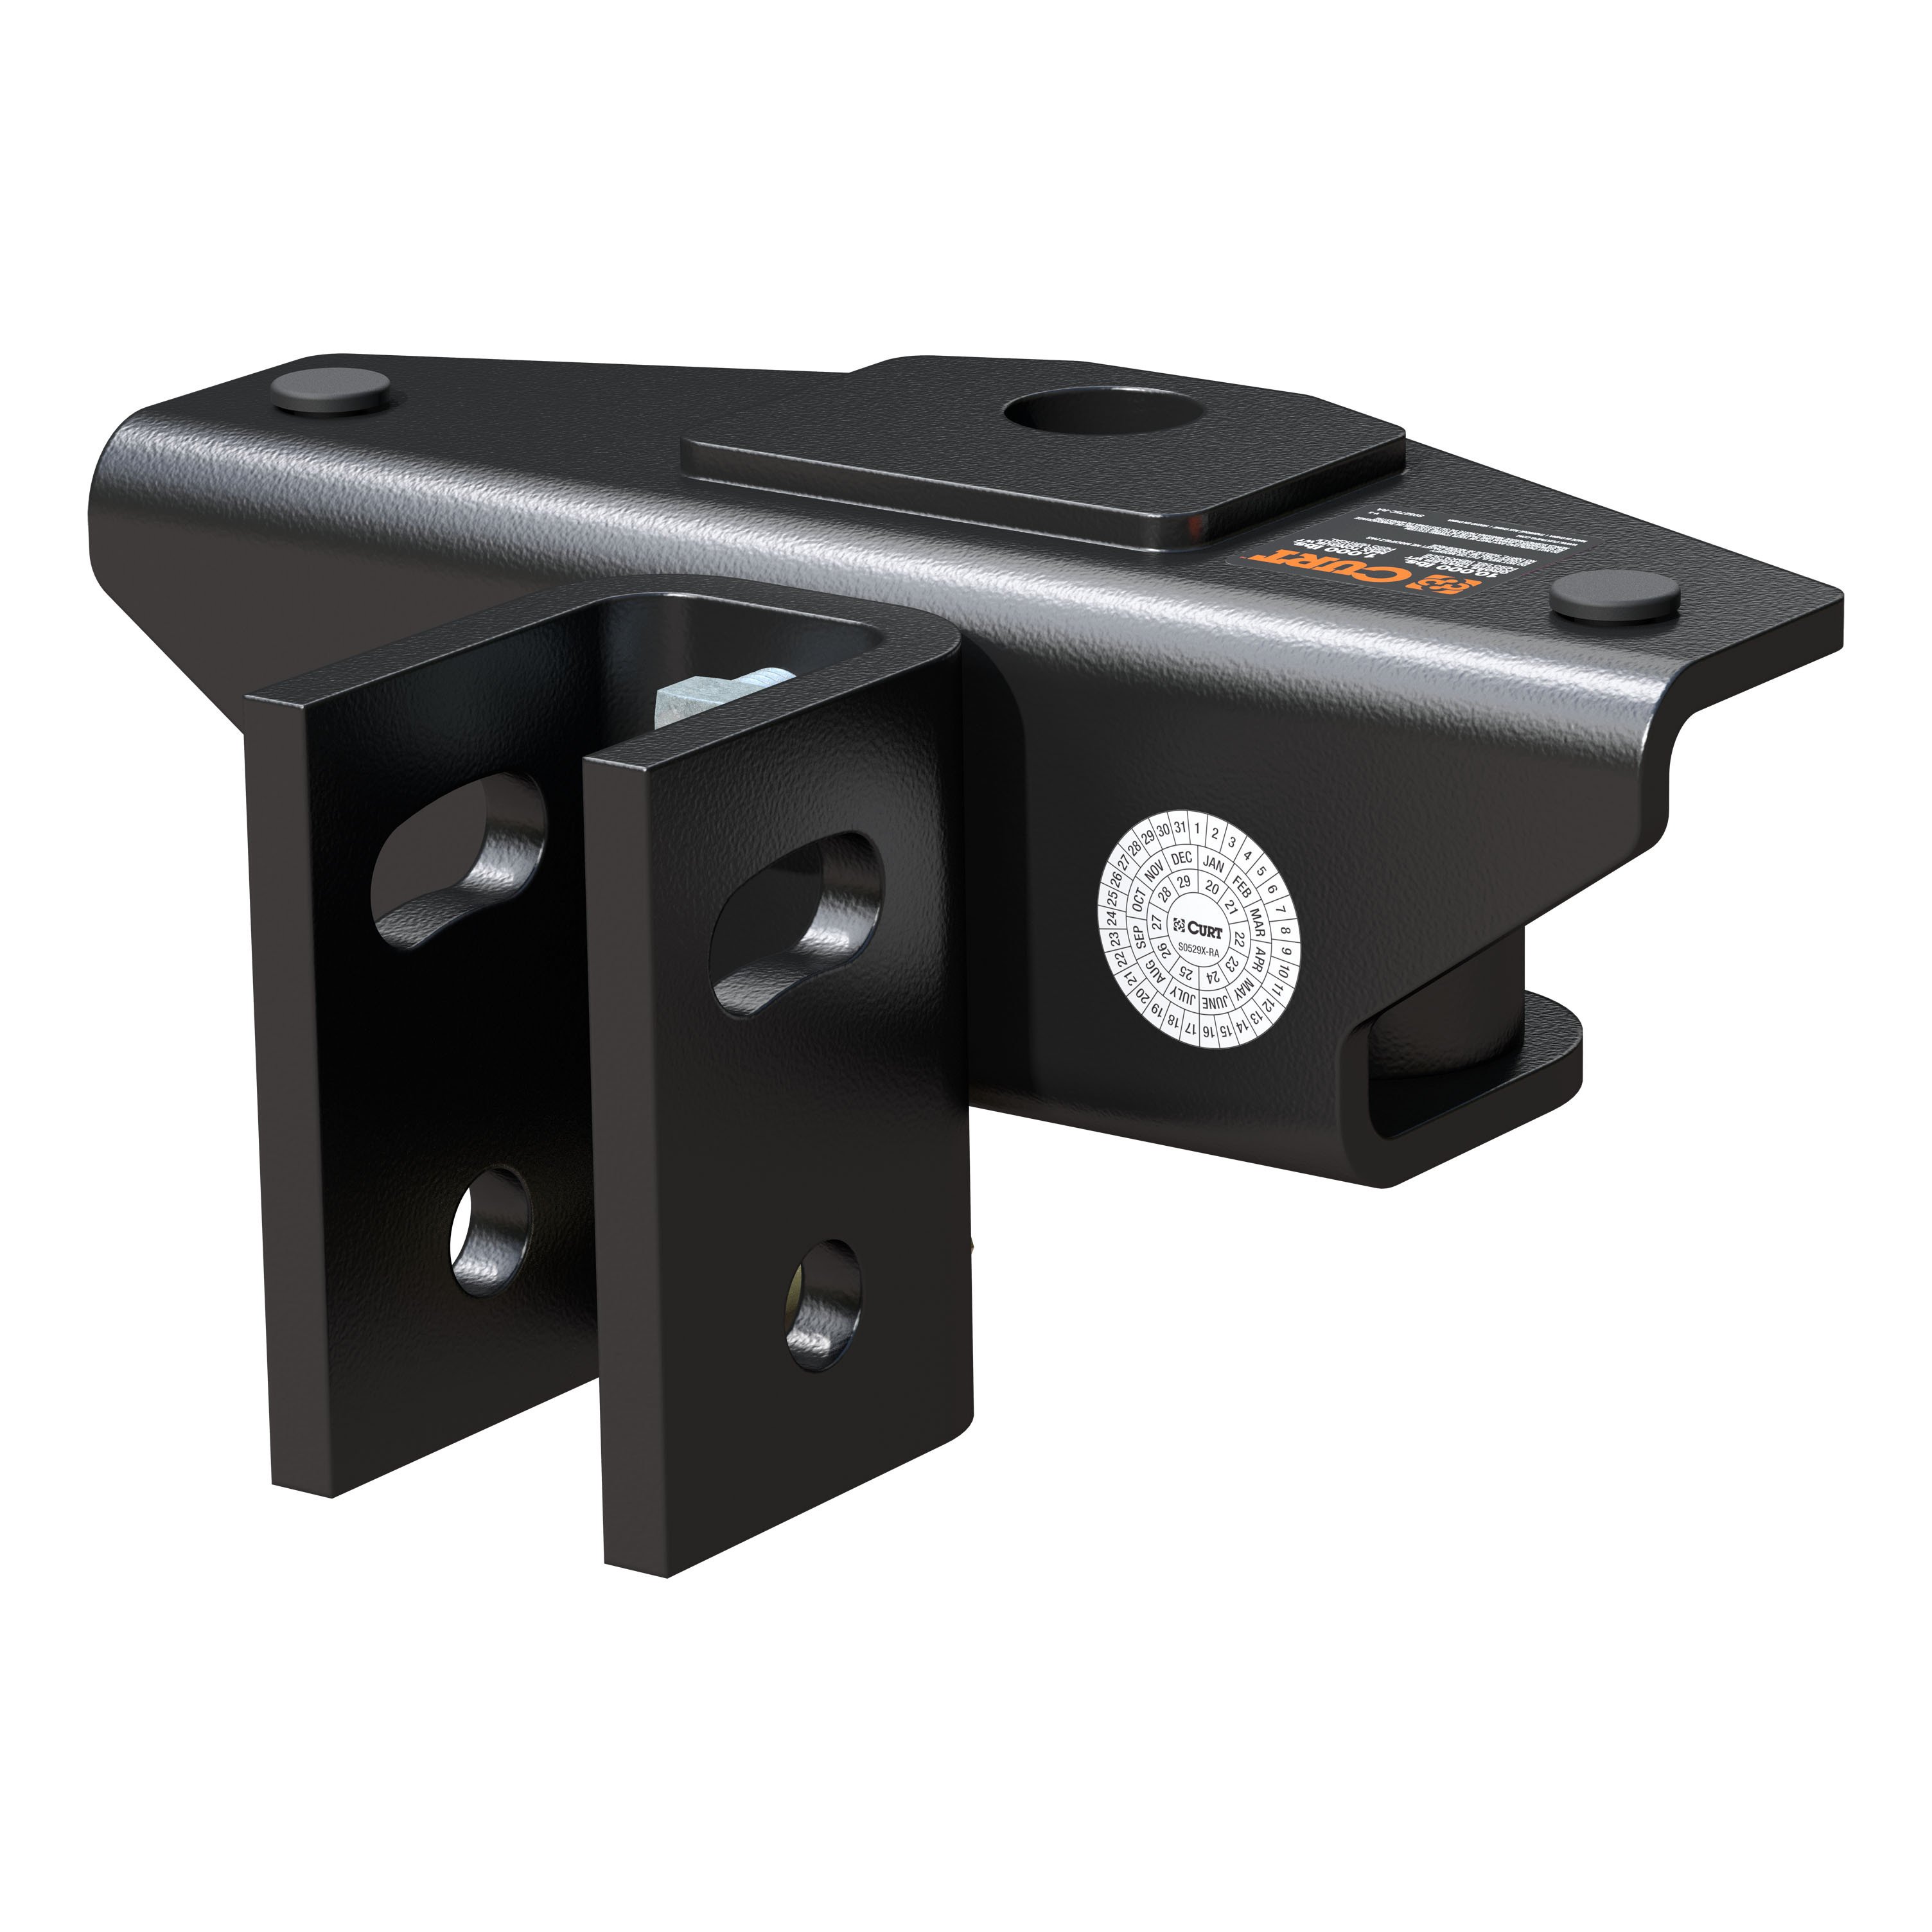
Slide the hitch head up or down on the adjustable shank to the nearest bolt hole alignment position that corresponds with the target uncoupled ball height you determined in Step 3. Mark the position on the shank. Then loosely attach the hitch head to the shank in that position.
The head tilt spacers (#6) are components that set the initial tilt position of the hitch head. For initial setup, place the spacers into the position shown in the manual (Position 1). Tighten the 3/4"-10 hex bolts just enough to hold the spacers in the hitch head. These bolts will be fully tightened to 200 lb-ft after the correct tilt setting has been determined.
Secure the two spring bars (#3) with the wire lock lynch pins (#10). The spring bars are installed after the support brackets are positioned on the trailer A-frame. Raise the spring bars using the lift bar as a lever, hook the lift bar into the L-bracket, then pry the spring bar onto the L-bracket by rotating the lift bar to vertical. Once supported, remove the lift handle and secure the spring bar with the retainer clip and cotter pin.
Mark the position of the support brackets by making a center line on the trailer A-frame 4" in from the end of the spring bars. Install one support bracket on each side of the A-frame. The wide channel bracket should be installed over the narrow channel bracket.
The nylock nuts on the carriage bolts that secure the support brackets should be tightened to 25 lb-ft initially (Step 12). After the correct tilt position has been determined and the tow vehicle is sitting level, the 3/4" hex bolts and nylock nuts must be torqued to 200 lb-ft. Failure to tighten the bolts to 200 lb-ft may result in complete system failure.
Head tilt adjustment allows you to change the angle of the hitch head to level your tow vehicle when coupled to the trailer. If your tow vehicle cannot be leveled with the initial 'Position 1' head setting, increase the tilt position. Increasing head tilt allows more tension to be applied to the spring bars. The manual provides five position settings with different spring bar heights: Position 1 (9.25"), Position 2 (10.75"), Position 3 (12.75"), Position 4 (14.75"), and Position 5 (16").
After lowering the jack to apply load to the hitch, the vehicle should settle evenly. Remeasure the front and rear bumper reference points. If the front has settled much more than the rear, lower the L-brackets to reduce the load on the spring bars. The spring bars should be nearly horizontal when correct height is achieved. Additionally, the loaded ball height should never be greater than the uncoupled ball height.
The loaded ball height should never be greater than the uncoupled ball height. If it is, front wheel overload and loss of rear wheel traction can result, leading to unstable handling, reduced braking ability, and a tendency to jackknife when turning and braking at the same time. If the loaded trailer ball height is greater than the uncoupled height, reduce take-up on the spring bar, remeasure, and adjust until the proper height is obtained.
Before towing, check all of the following connections: hitch pin & clip (securing shank to receiver), head to shank fasteners, trailer ball nut, coupler latch, spring bar support brackets, safety chains, lights and turn signals, and braking system (including breakaway switch). Ensure all hardware is secure and functioning properly.
Keep the socket-mounted ends of the spring bars and the lock pins in the head assembly free from dirt and well lubricated. Keep the head assembly exterior clean and do not allow dirt or stones to lodge between the spring bars and the head. Keep hitch parts painted to prevent rust and maintain good appearance; do not paint over labels. Keep lift brackets clean and lubricated to ensure ease of operation. Apply grease to the grease zerk and brush grease on inner and outer ball bearings prior to each use.
Periodic inspection of your product should be performed to ensure all hardware and components remain secure. Excessive wear in the socket-mounted ends of the spring bars and lock pins may indicate an overload or inadequate lubrication.
To lower the spring bars, first remove the weight from them by using the trailer jack to lift the front of the trailer and rear of the tow vehicle. With the tension removed, carefully remove the cotter pin and retainer clip. Then use the lift bar as a lever to pry the spring bar off the L-bracket.
Keep clear of the pivot path of all moving parts when there is tension on the spring bar. Maintain control of the lift handle at all times when raising or lowering the spring bar. Be sure that the locking clip and cotter pin are in place once the spring bar is in position.
The kit includes: 1 hitch head, 1 adjustable shank, 2 spring trunnion bars, 2 spring bar support brackets, 1 snap-up handle, 2 head tilt spacers, 1 hex bolt 3/4"-10 x 5", 1 hex bolt 3/4"-10 x 4", 2 nylock nuts 3/4"-10, 2 wire lock lynch pins, and 1 hitch pin & clip 5/8".
Yes, if your vehicle has air springs, air shocks, or automatic leveling, deflate them to minimum recommended pressure before assembly. Check your vehicle owner's manual for specific instructions.
The 3/4" hex bolts and nylock nuts must be torqued to 200 lb-ft after the correct tilt position is determined. Initial tightening of support bracket bolts is 25 lb-ft. Failure to reach 200 lb-ft may result in complete system failure.
The loaded ball height must never exceed the uncoupled ball height, or front wheel overload and loss of rear wheel traction can result, leading to unstable handling and jackknife risk. If this occurs, reduce spring bar take-up and readjust.
Check: hitch pin & clip, head to shank fasteners, trailer ball nut, coupler latch, spring bar support brackets, safety chains, lights and turn signals, and braking system including breakaway switch.
Lower the L-brackets to reduce the load on the spring bars. This will redistribute the weight more evenly between the front and rear axles. After adjustment, the spring bars should be nearly horizontal when correct height is achieved.
This condition causes front wheel overload and loss of rear wheel traction, leading to unstable handling, reduced braking ability, and jackknife risk. To fix it, reduce take-up on the spring bar, remeasure the ball height, and adjust until the loaded ball height is equal to or lower than the uncoupled ball height.
Increase the head tilt position. Increasing head tilt allows more tension to be applied to the spring bars. The manual provides five position settings: Position 1 (9.25"), Position 2 (10.75"), Position 3 (12.75"), Position 4 (14.75"), and Position 5 (16"). After determining the correct tilt position and leveling the vehicle, tighten the 3/4" hex bolts and nylock nuts to 200 lb-ft.
Excessive wear in this area may indicate an overload or inadequate lubrication. Ensure the spring bars and lock pins are kept free from dirt and well lubricated. If wear continues, the hitch may be overloaded; verify that you are not exceeding the weight ratings (8,000–12,000 lbs. GTW and 800–1,200 lbs. TW with spring bars).
| Part # | GTW | TW | Bar Style | Bar Length | Description |
|---|---|---|---|---|---|
| 17599 | 5,000 - 8,000 lbs. | 500 - 800 lbs. | Round | 35" | Hitch head, shank, pre-torqued 2-5/16" trailer ball (40006), spring bars and lift brackets |
| 17601 | 8,000 - 10,000 lbs. | 800 - 1,000 lbs. | Round | 35" | Hitch head, shank, pre-torqued 2-5/16" trailer ball (40006), spring bars and lift brackets |
| 17355 | 8,000 - 12,000 lbs. | 800 - 1,200 lbs. | Trunnion | 35-9/16" | Hitch head, shank, spring bars with HD support brackets (17517), pre-torqued 2-5/16" trailer ball |
Free Shipping
Ships free on all orders
 Authorized Dealer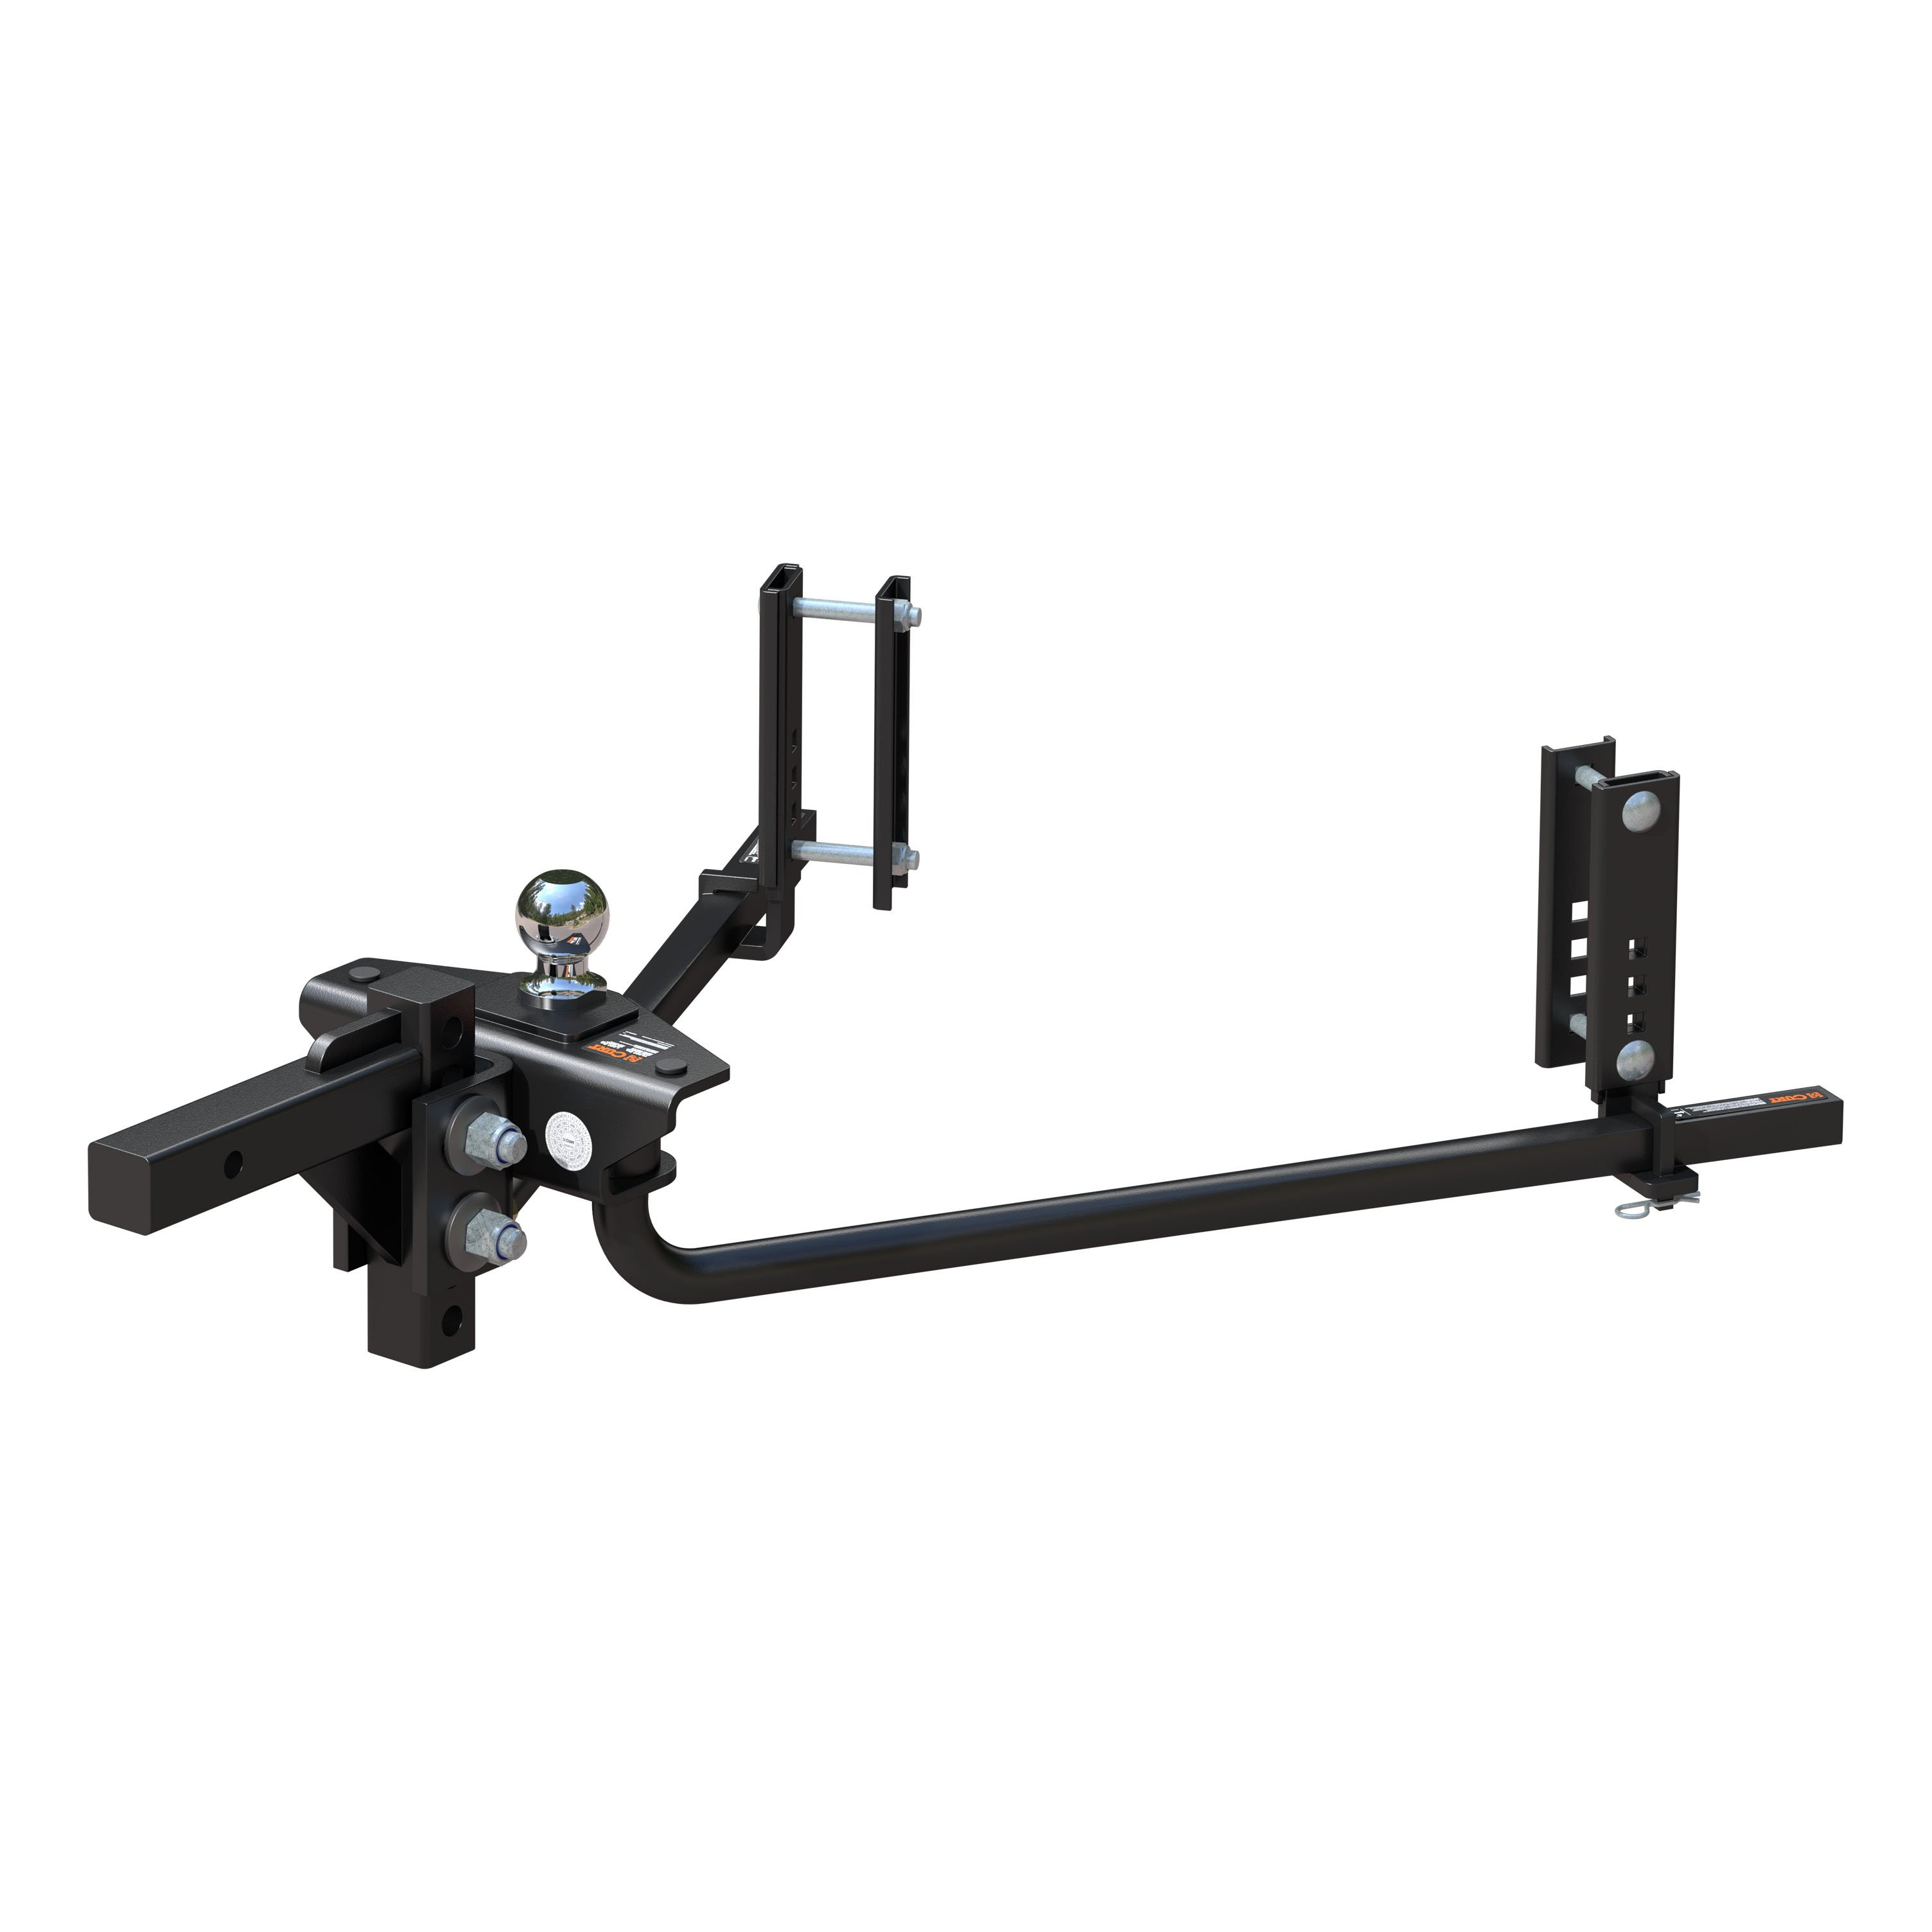
Quick Ship
In stock and ready to ship — order now!
Shipping from Lancaster, TXFREE SHIPPING
Estimated delivery Sun, Sep 27 - Tue, Sep 29
Order before 2 PM EST Monday–Friday for same-day processing
Guaranteed safe & secure checkout
No reviews have been added for this product.