

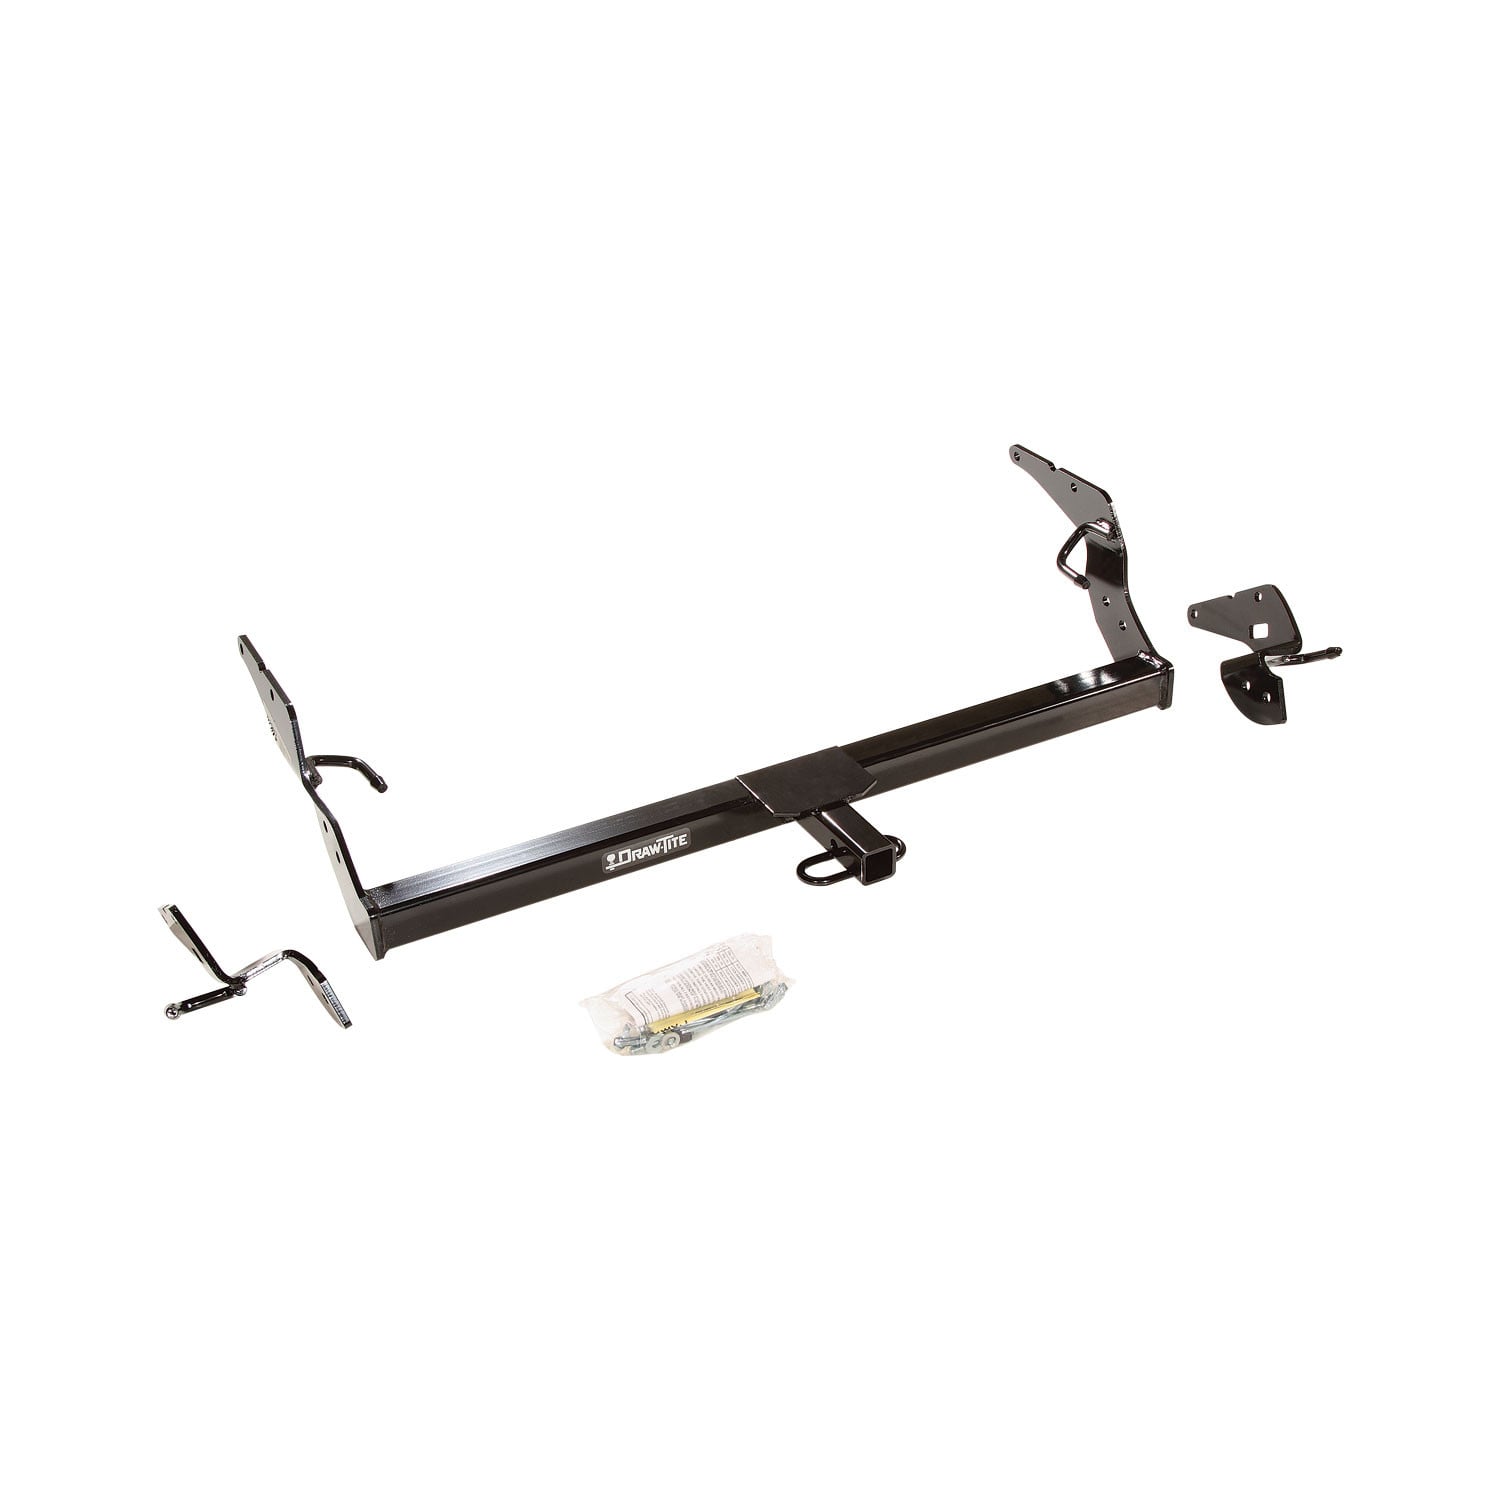
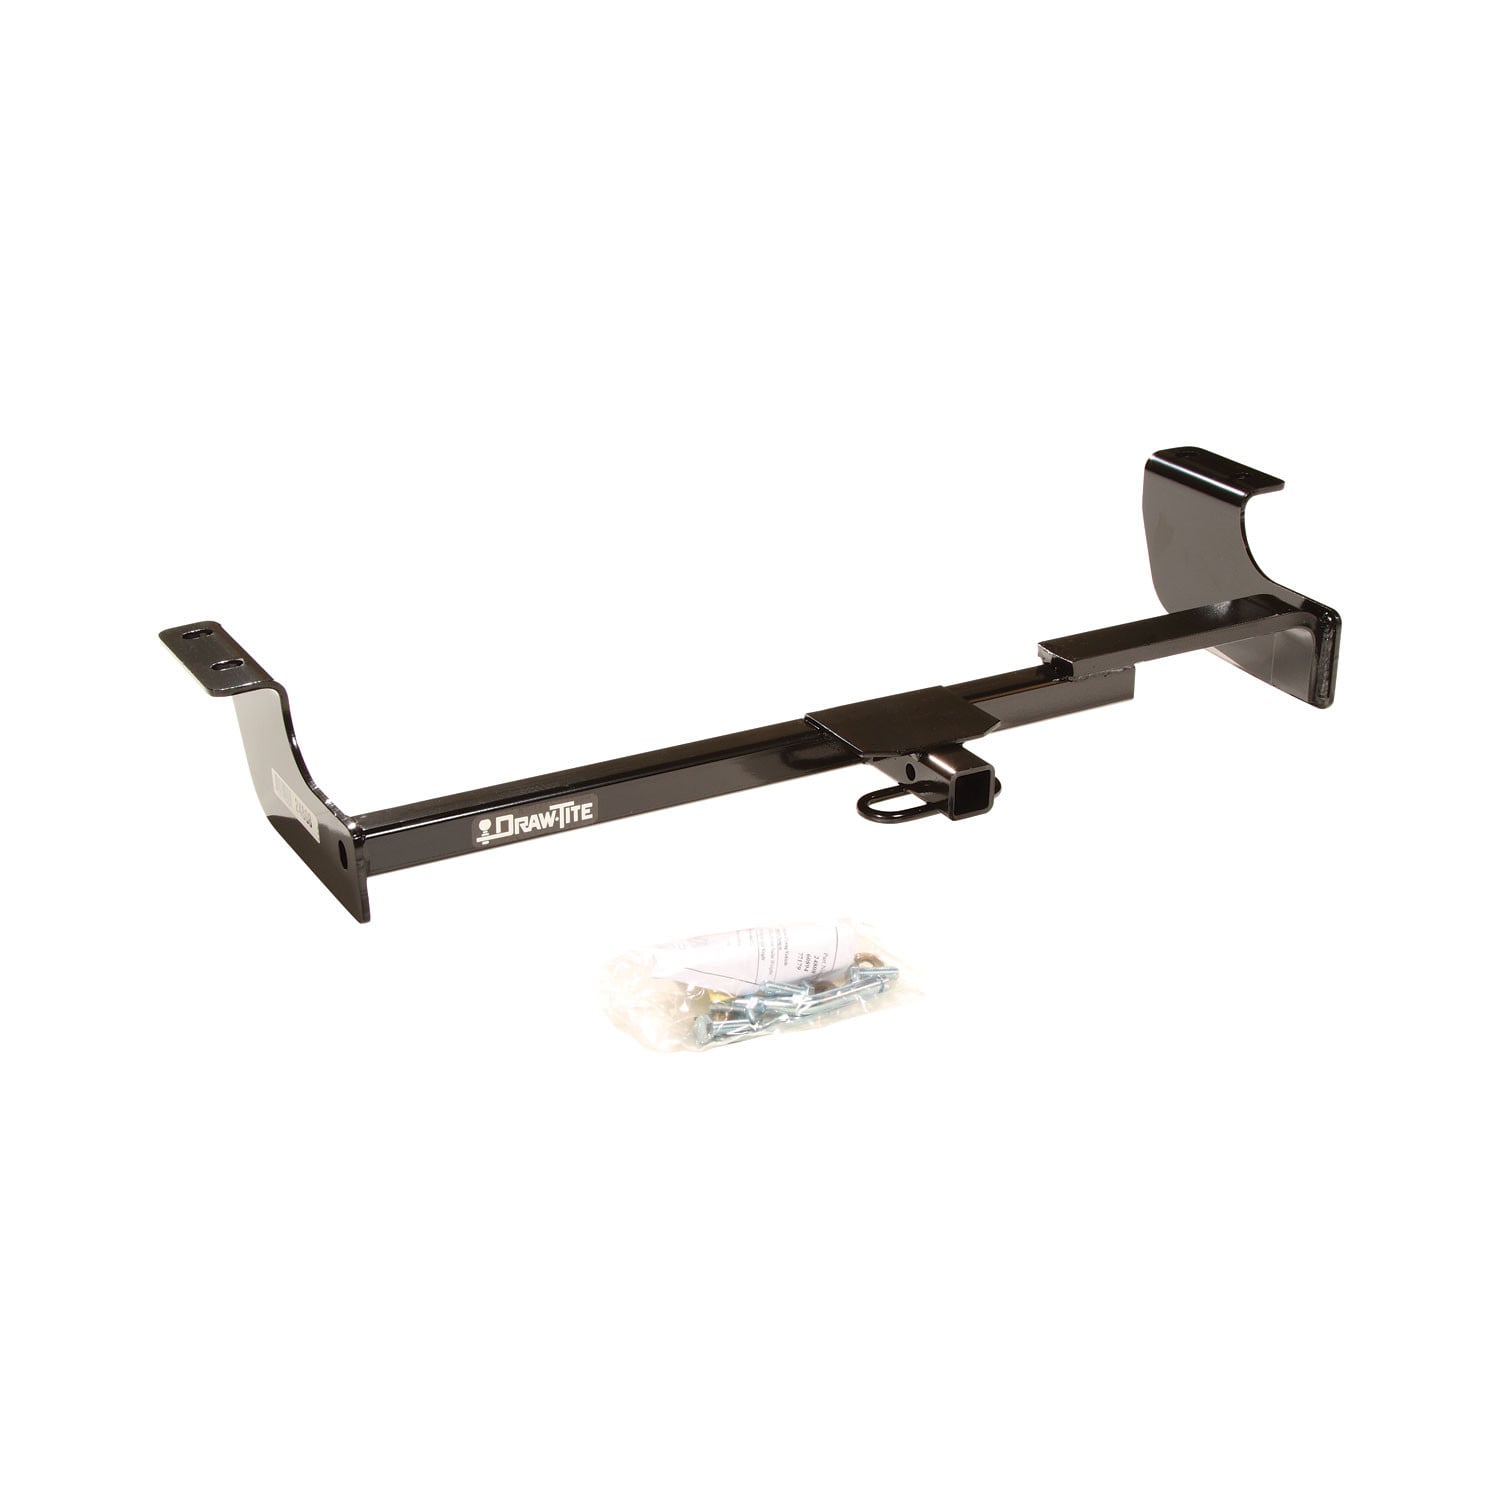
Draw-tite Class 1 Trailer Hitch, 1-1/4" Square Receiver, Black for Select Toyota Corolla 24913Draw-titeOriginal price was $286.25. Current price is $215.79.Out of Stock
View productOur in-house experts typically reply within one business day.

Draw-tite
Verify Fitment
Select your vehicle to confirm this part fits.
2023 - 2026 Toyota Crown
Confirmed to Fit




Always the correct part
We know our products
Quality Products
Free Shipping!
Always the correct part
We know our products
Quality Products
Free Shipping!
Select your vehicle to find the exact plug-and-play parts that fit — no cutting or splicing.

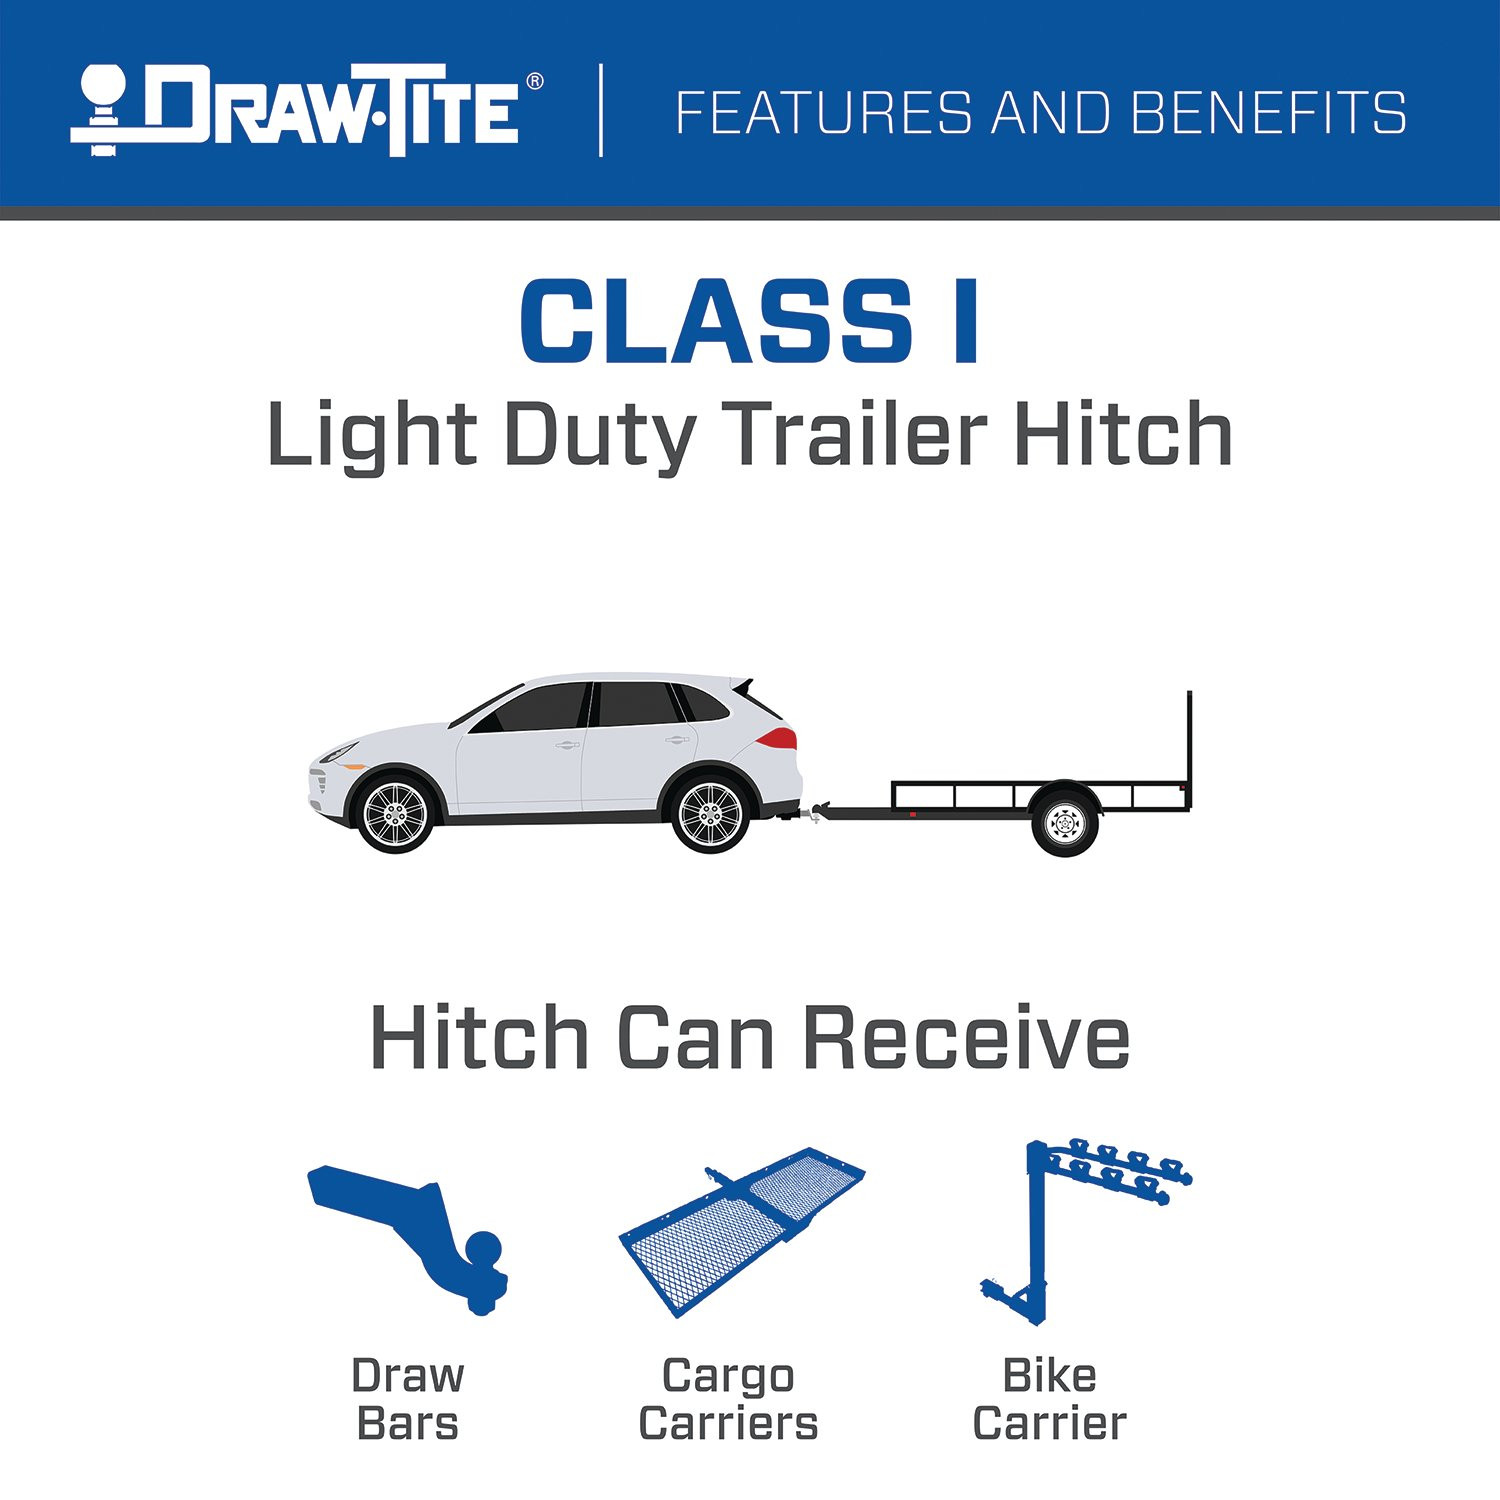
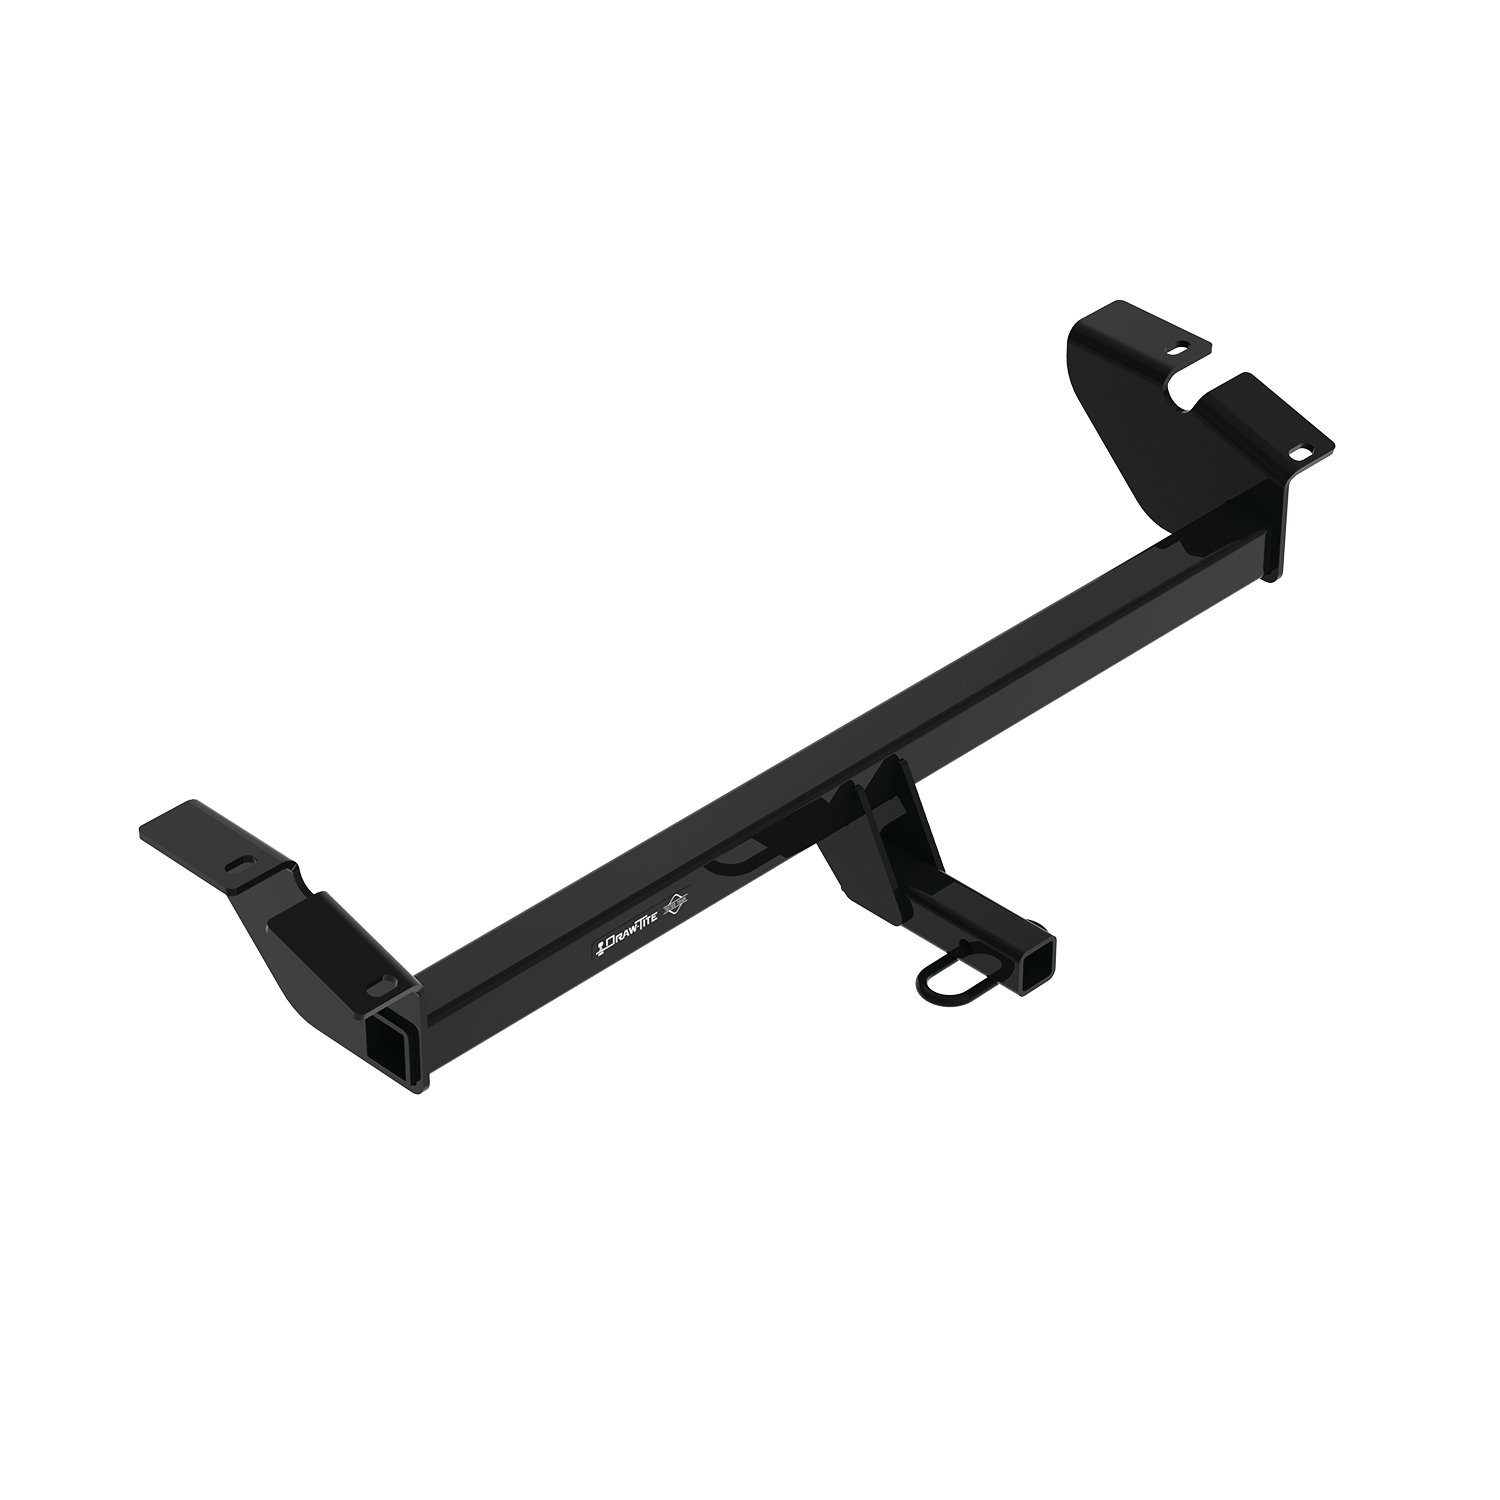
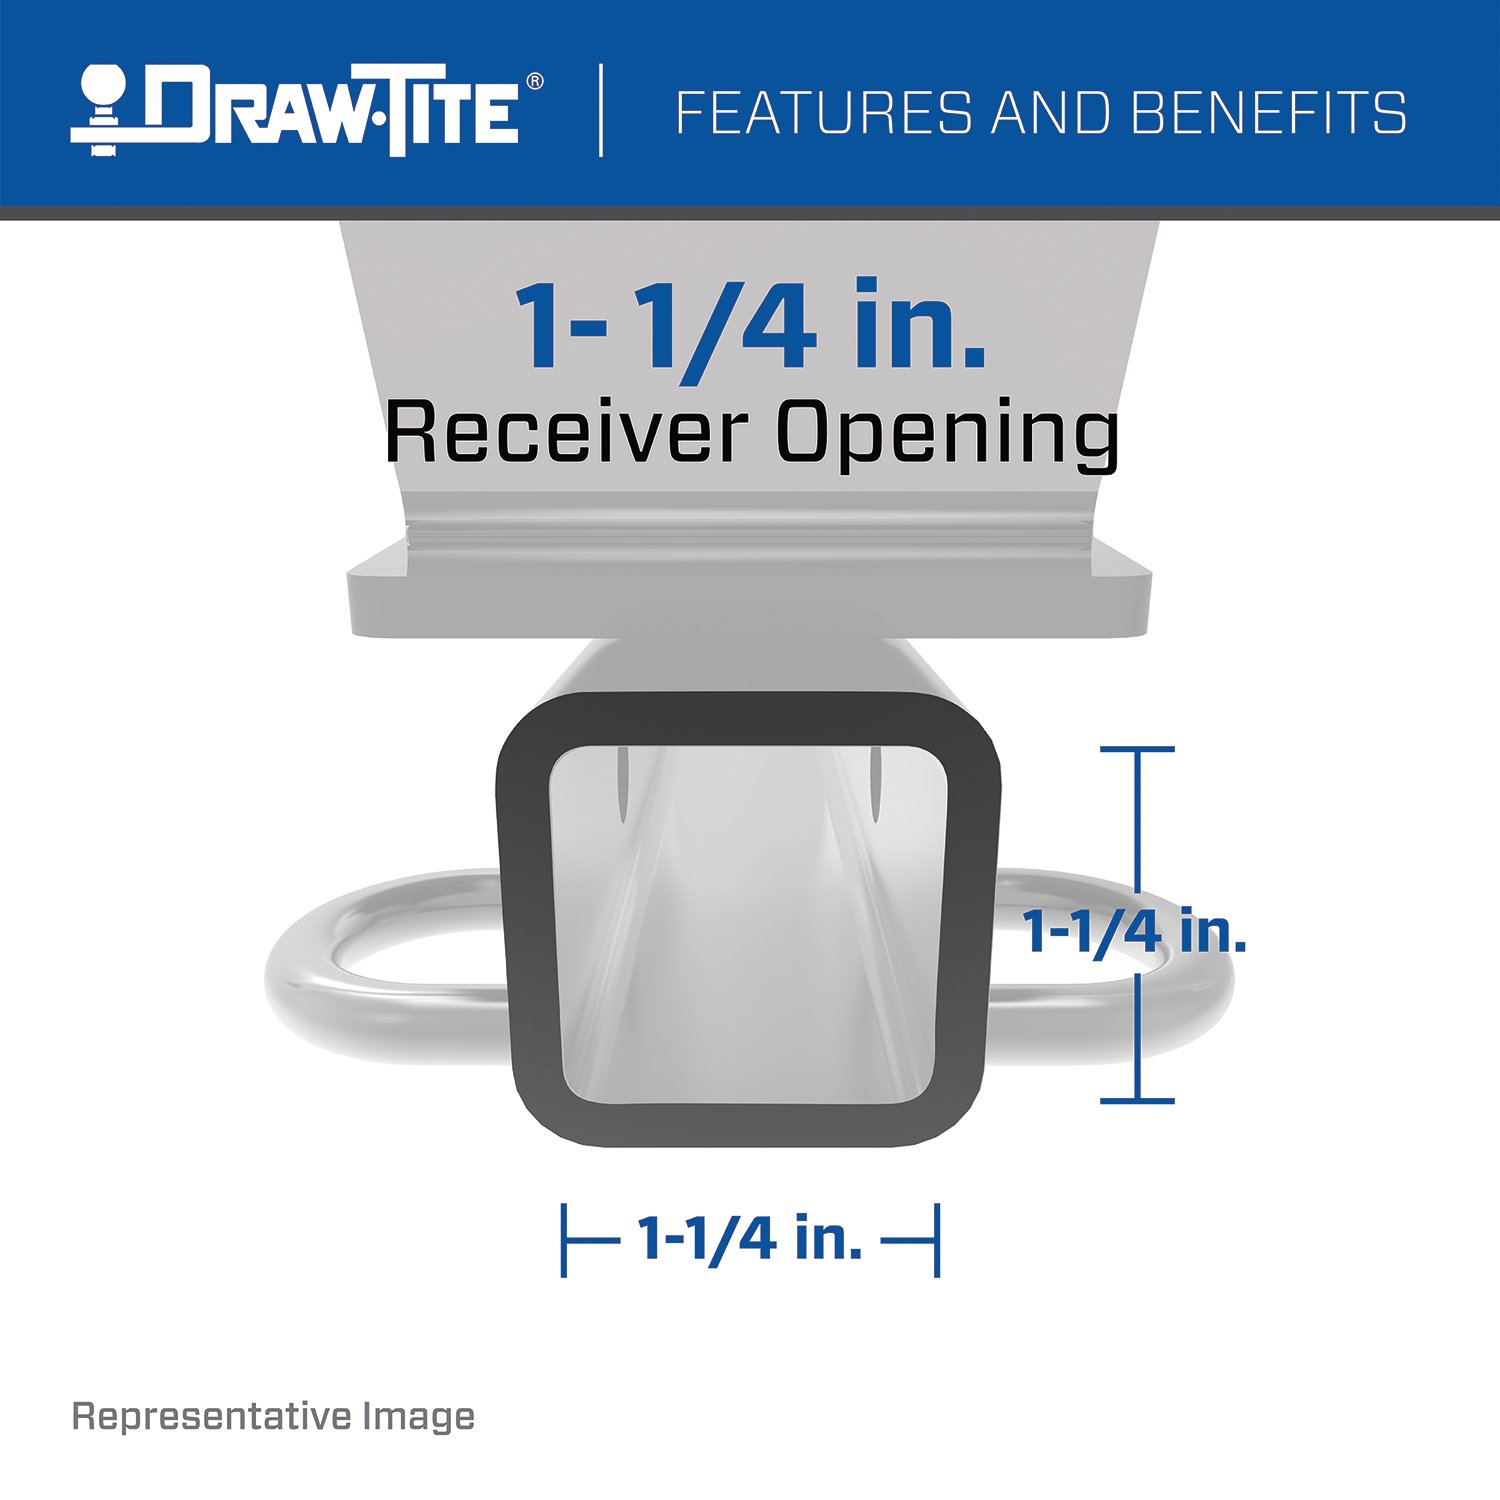
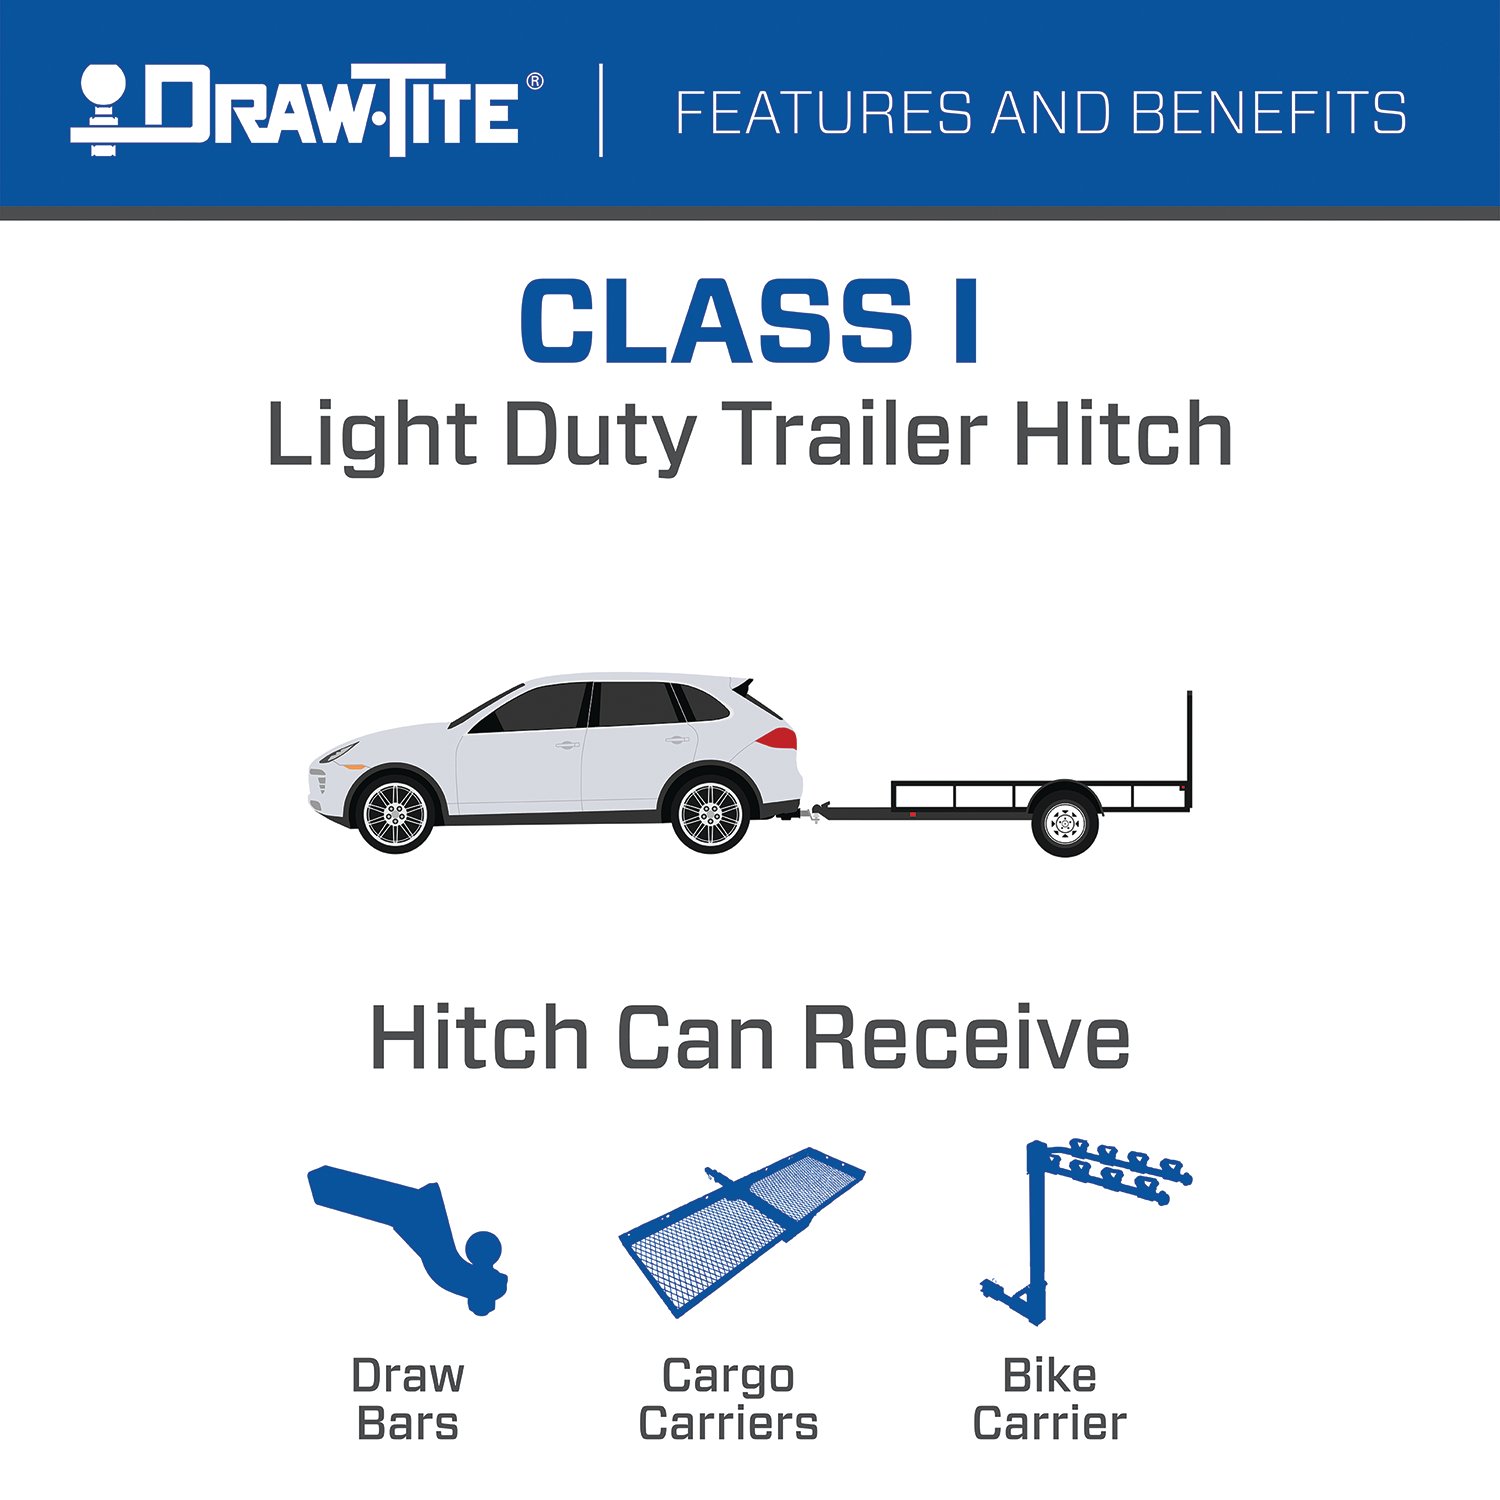
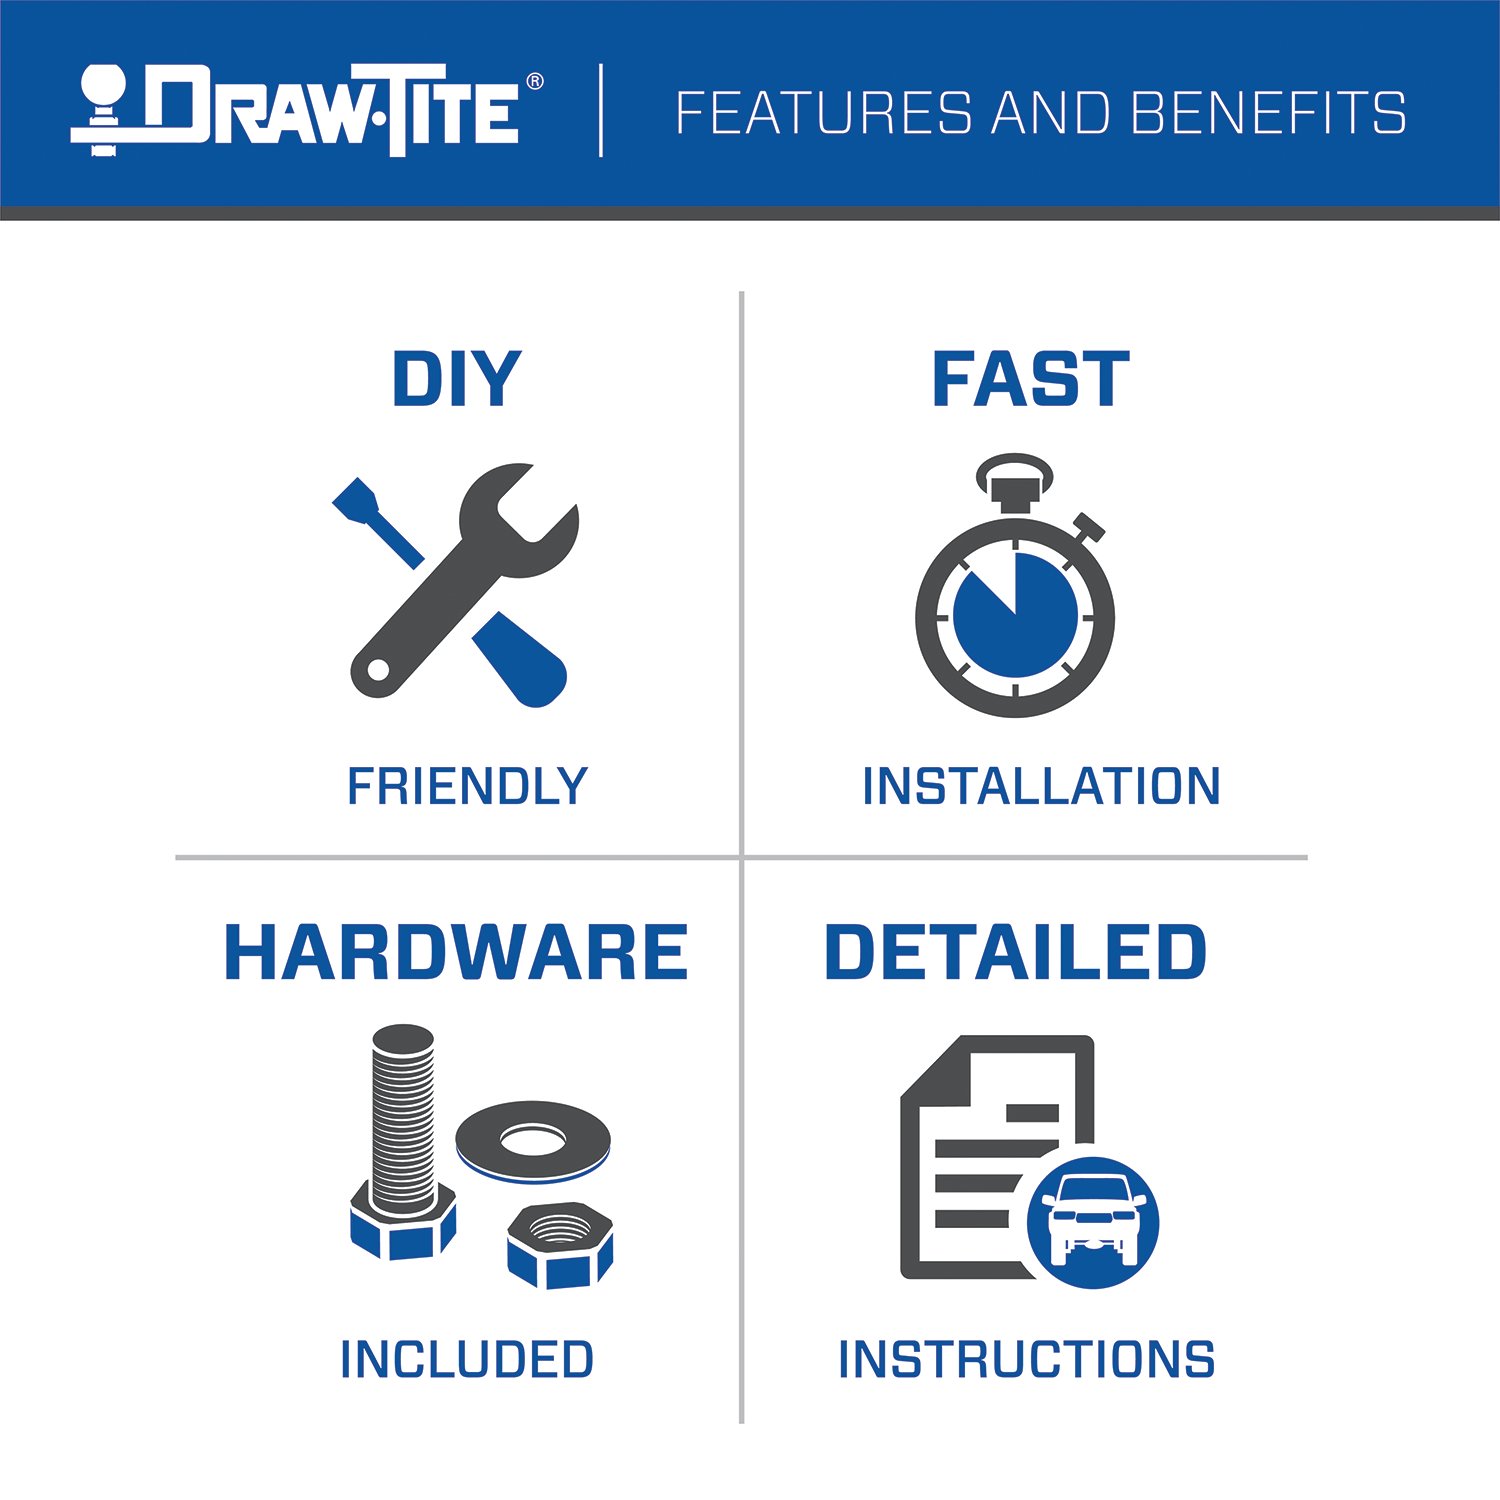
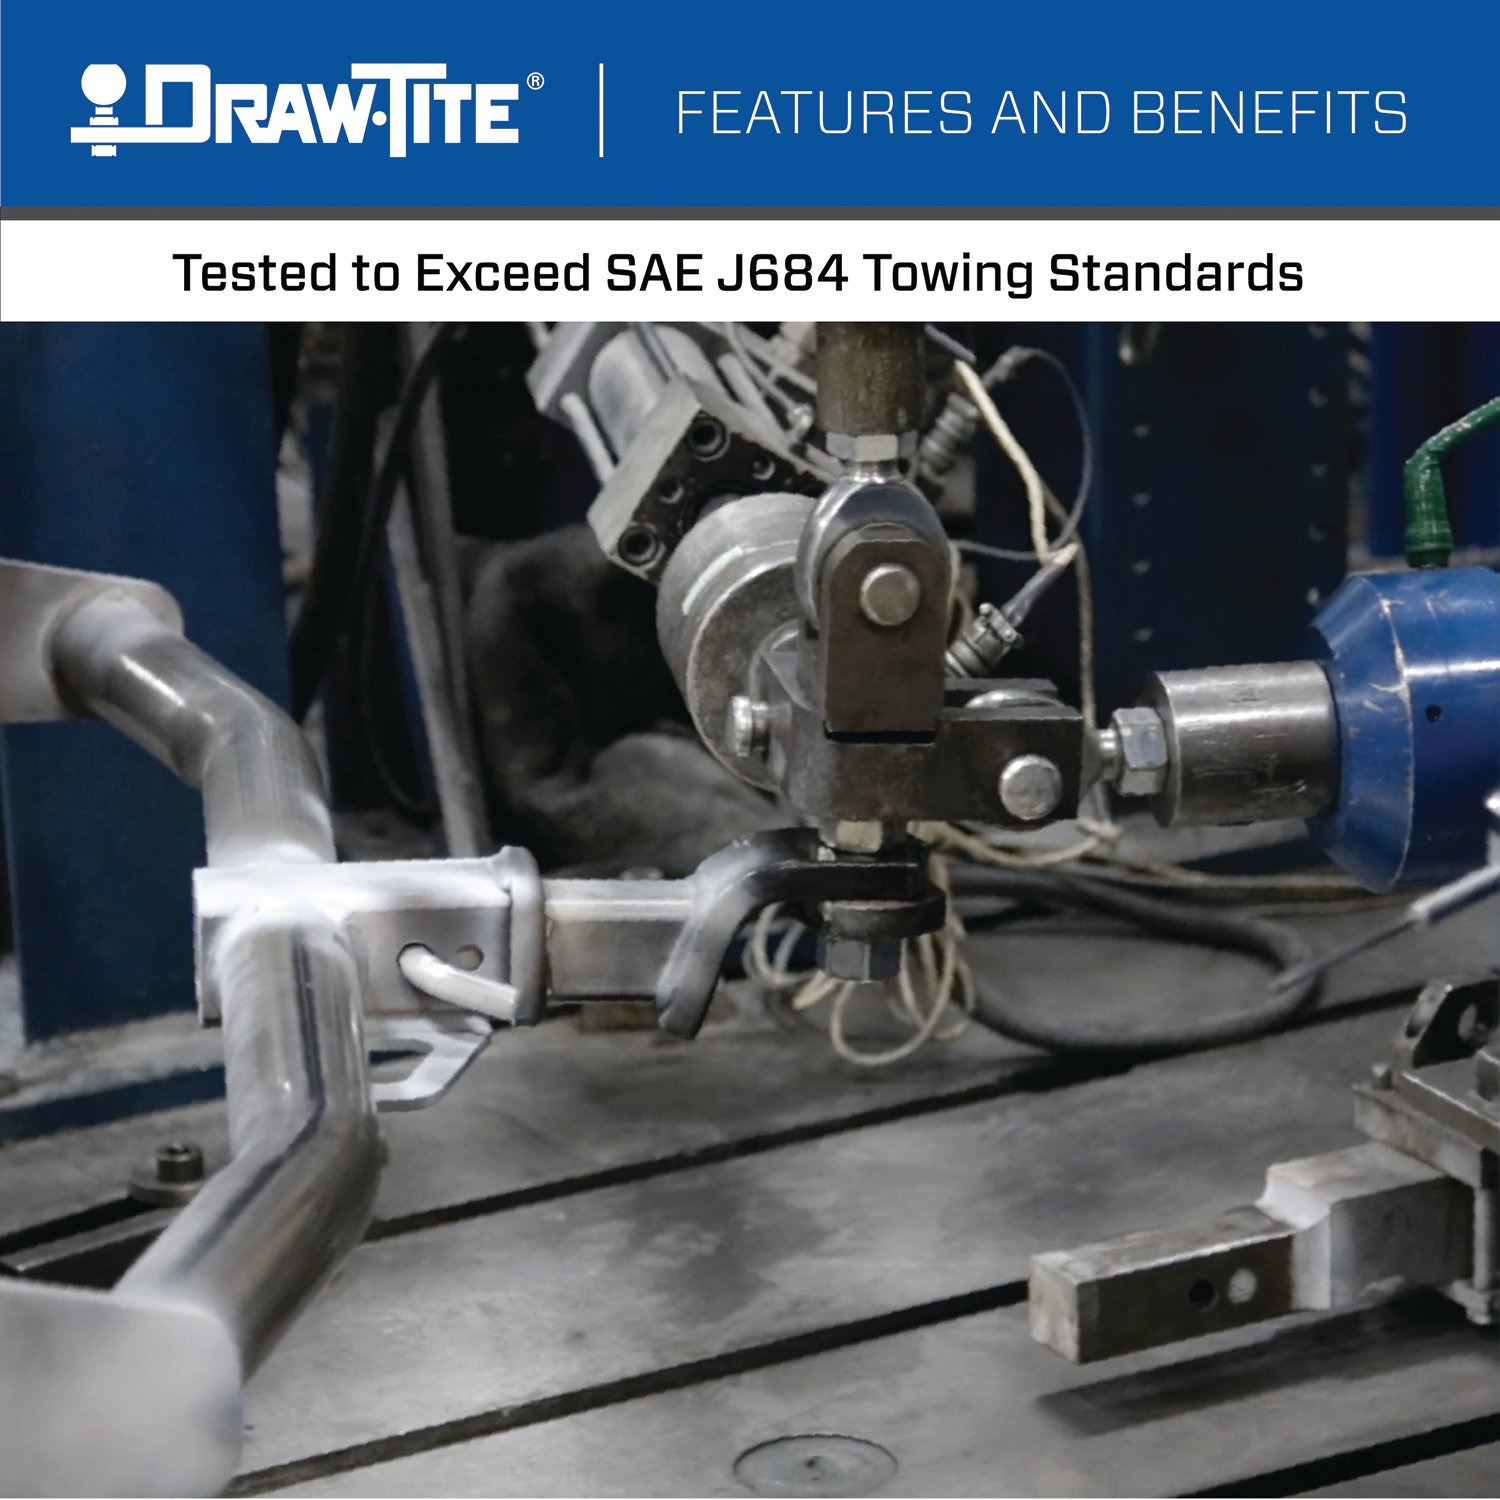
DRAW-TITE Class 1 trailer hitches are the perfect mix of style and stability for those times when youre working on a home project or heading out on an adventure. This DRAW-TITE Class 1 receiver hitch is rated for up to 2,000 lbs. gross trailer weight (GTW) and up to 200 lbs. tongue weight (TW). No weight distribution kits can be used on this specific trailer hitch. DRAW-TITE hitches are designed to provide top towing performance, with solid-all-welded construction and a black powder coat finish to resist rust and corrosion. The Class 1 trailer hitch has a 1-1/4 inch square receiver tube opening so you can easily attach accessories like a bike rack or cargo carrier, or a utility trailer. Includes all the mounting hardware needed for installation and are backed by a nationwide lifetime limited warranty. DRAW-TITE trailer hitches are tested to exceed V-5 and SAE J684 standards. DRAW-TITE: North Americas Favorite Hitch.
| BRAND: | DRAW-TITE |
| PART NUMBER: | 25009 |
| WARRANTY: | LIMITED LIFETIME WARRANTY |
| WEIGHT: | 30 LBS |
| GROSS TOWING WEIGHT: | 2,000 LBS. |
| GROSS TONGUE WEIGHT: | 200 LBS. |
| RECEIVER SIZE: | 1.25 IN. |
| HITCH CLASS: | I |
| DRILLING REQUIRED: | NO |
| MOUNTING HARDWARE INCLUDED: | YES |
| ATTACHMENT LOCATION: | REAR |
| HITCH VISIBILITY: | CONCEALED |
| CROSS-TUBE TYPE: | SQUARE TUBE |
| BALL MOUNT INCLUDED: | NO |
| COLOR: | BLACK |
| FINISH: | BLACK POWDER COAT OVER E-COAT |
| MATERIAL: | STEEL |
| MOUNTING LOCATION: | VEHICLE FRAME |
| MOUNTING TYPE: | BOLT-ON |
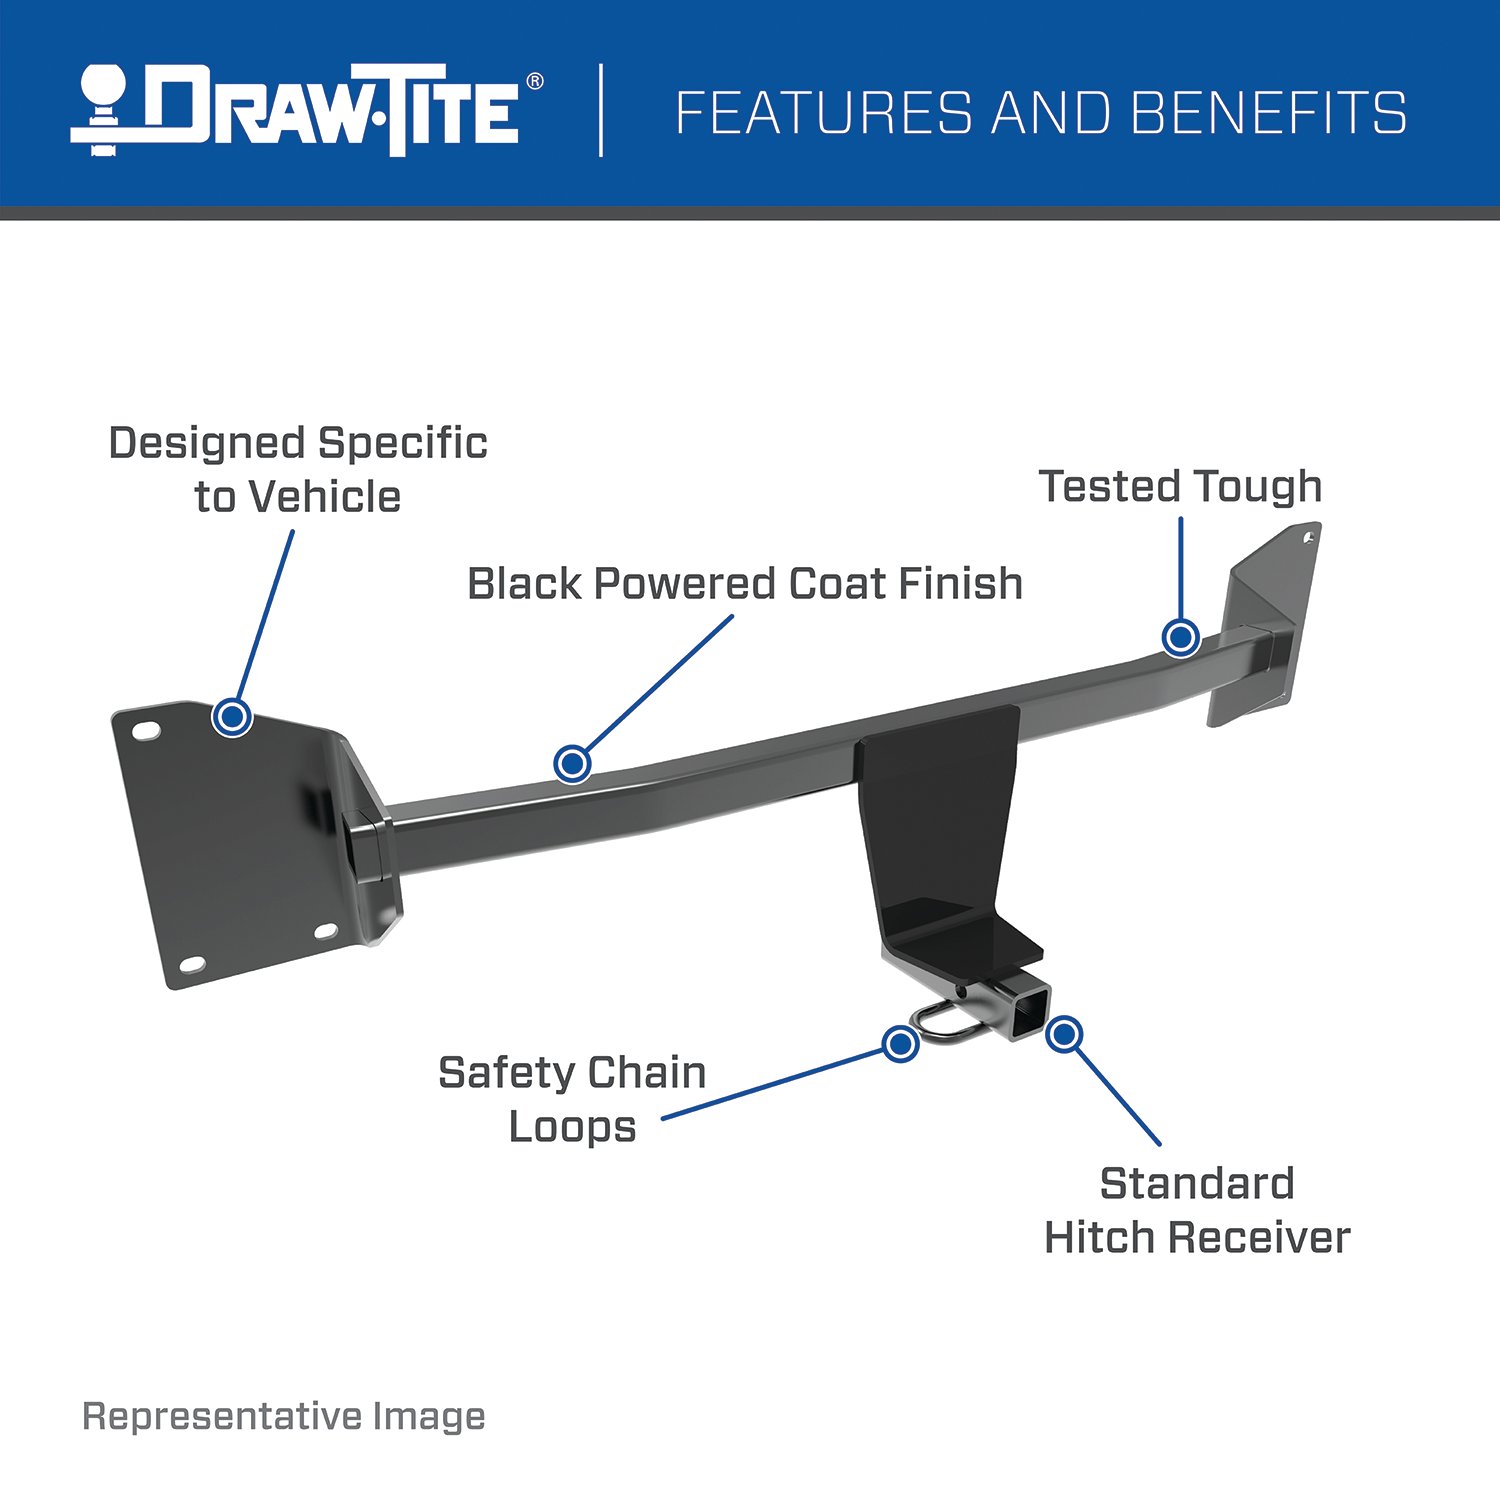

Draw-Tite has designed custom-fit trailer hitches since 1946 and is one of North America's most widely fitted hitch brands. Receiver hitches use solid all-welded construction and low-profile designs that follow modern vehicle contours, install with minimal bumper cutting or drilling, meet or exceed V5 CSA and SAE J684 standards, and carry a limited lifetime warranty.
Draw-Tite has been leading custom-fit trailer hitch design and engineering since its founding in 1946, and it remains one of the most widely fitted hitch brands in North America. The company's stated approach is straightforward: every hitch is tested rigorously so that it performs well beyond published industry standards, a philosophy it markets as Tested Tough. It sits within the Horizon Global towing group alongside Reese, Fulton, Bulldog, Tekonsha, Bargman and Wesbar.
Custom fit is the defining characteristic. Rather than adapting a universal design, Draw-Tite engineers a trailer hitch for a specific make, model and model year, so it bolts to existing frame locations with minimal bumper cutting or drilling. Low-profile designs follow the rear contours and aerodynamic styling of modern vehicles, which matters more than it once did now that rear fascias are shaped and sensor-equipped. Construction is solid all-welded steel for maximum strength, and every hitch meets or exceeds V5 CSA and SAE J684 standards and is backed by a nationwide limited lifetime warranty.
The range spans receiver sizes and classes to suit different loads, from 1-1/4 inch receivers for bike racks, cargo carriers and light trailers up through 2 inch receivers for heavier towing. Front mount hitches add a receiver at the front of the vehicle for winch mounts, snow plows, spare carriers and precise trailer positioning.
The Hidden Hitch series takes concealment further by mounting behind the vehicle's rear fascia, so the vehicle keeps its factory appearance until a removable receiver is fitted. Each is custom designed per make and model for a no-drill installation that does not compromise ground clearance, rated for up to 3,500 pounds gross trailer weight and 350 pounds tongue weight. Matching plug-and-play wiring completes the towing system.
Experts available to answer your questions
Call 888-634-9494Lifetime
Yes, the Draw-tite Class 1 Trailer Hitch, 1-1/4" Square Receiver, Black for Select Toyota Crown 25009 (Part #DT25009) is designed to fit the 2023-2026 Toyota Crown.
The Draw-tite Class 1 Trailer Hitch, 1-1/4" Square Receiver, Black for Select Toyota Crown 25009 (Part #DT25009) fits the following vehicles: 2023-2026 Toyota Crown. Always verify your specific year, make, and model before ordering.
The Draw-tite Class 1 Trailer Hitch, 1-1/4" Square Receiver, Black for Select Toyota Crown 25009 (Part #DT25009) fits 2023-2026 Toyota Crown models. The 2026 model year is the last year covered by this part number. For newer models, check for an updated version.
The Draw-tite Class 1 Trailer Hitch, 1-1/4" Square Receiver, Black for Select Toyota Crown 25009 (Part #DT25009) Drilling is required for installation. Basic hand tools are typically all you need.
Part number 25009 is designed for Toyota Crown vehicles. However, the manual states to visit the manufacturer's website for the most up-to-date information regarding specific application years, sub-models, and trim levels, as fitment may vary.
The 25009 is a weight-carrying hitch with a maximum gross trailer weight (GTW) of 2000 lb (907 kg) and maximum tongue weight of 200 lb (90 kg). Weight-distributing capacity is not applicable for this model. Never exceed your vehicle manufacturer's recommended towing capacity.
Required tools include: ratchet, safety glasses, sockets (10 mm, 17 mm, 19 mm, 11/16"), torque wrench, socket extension, flat-head screwdriver, 12 mm wrench, drill with ½" and step drill bits, die grinder, and exhaust removal pliers.
Yes. You must enlarge the rearmost attachment hole in the driver-side frame rail to ½" and enlarge the forward attachment hole to 1" using a step drill bit to allow fastener installation.
Yes. You must trim the center tab of the bumper fascia using a die grinder or suitable cutting tool, as shown in the fascia trim diagram (Figure 3).
Tighten all M12 fasteners to 68 Lb.-Ft. (92 N·M) and all 7/16" fasteners to 50 Lb-Ft. (68 N·M) using a torque wrench.
Always wear safety glasses during installation. Observe safety precautions when working beneath the vehicle. Do not cut access or attachment holes with a torch. Support the exhaust system to prevent damage when lowering it. Never cut, weld, or modify the hitch.
Check that all fasteners are tight and the hitch is securely mounted to the vehicle. Verify that the ball is properly tightened. Regularly check fastener tightness to ensure hitch towing capacity and product longevity.
The fastener kit 25009F includes: 1× M12 × 1.25 × 45 mm bolt, 1× ½" conical washer, 3× 7/16-14 × 1.50" carriage bolts, 3× 3/16 × 1.00 × 2.00 spacers, 3× 7/16" conical washers, 3× 7/16-14 hex nuts, and 3× 7/16" wireforms.
The exhaust system must be lowered during installation. You will remove two bolts from the exhaust bracket on each side and use exhaust removal pliers to remove rubber isolators from two brackets forward of the muffler. The exhaust system is then lowered and supported to prevent damage. After hitch installation, the exhaust is raised back into position and the bolts and isolators are reinstalled.
You must remove: the tie-down bracket from the passenger-side frame rail (using a 17 mm socket), the heat shield (using a 10 mm socket), hole plugs from the frame rails (using a flat-head screwdriver), and fascia brackets from the rear edge of the fascia (using a 10 mm socket to remove 1 bolt and 2 nuts). The exhaust system must also be lowered.
No. After removing the tie-down bracket from the passenger-side frame rail using a 17 mm socket, you should return the bracket to the vehicle owner.
Two carriage bolts are installed in the driver-side frame rail and one carriage bolt is installed in the passenger-side frame rail, for a total of three bolts. These are installed using the wireform procedure before the hitch is raised into position.
The wireform procedure is illustrated in Figure 3. It involves: (A) inserting the bolt and block into the frame, (B) aligning the block on the access hole, and (C) pulling the bolt through the block. This allows carriage bolts and spacers to be installed in the frame rails. The wireforms are kept attached during initial fastener installation and are carefully removed in Step 10 before installing the hex nuts and conical washers.
1. Install carriage bolts and spacers in the frame rails using the wireform procedure (Step 8), keeping wireforms attached. 2. Raise the hitch into position and align attachment holes with the bolts and weldnuts in the frame (Step 9). 3. Loosely install the M12 bolt and ½" conical washer with teeth side toward the hitch (Step 10). 4. Carefully remove wireforms and install 7/16" hex nuts and 7/16" conical washers with teeth side toward the hitch onto the carriage bolts (Step 10). 5. Torque all M12 fasteners to 68 Lb.-Ft. (92 N·M) and all 7/16" fasteners to 50 Lb-Ft. (68 N·M) (Step 11).
All M12 fasteners must be tightened to 68 Lb.-Ft. (92 N·M) using a torque wrench.
All 7/16" fasteners must be tightened to 50 Lb-Ft. (68 N·M) using a torque wrench.
The conical washers must be installed with the teeth side facing toward the hitch. This applies to both the ½" conical washer (installed with the M12 bolt in Step 10) and the 7/16" conical washers (installed with the carriage bolts in Step 10). Figure 1 illustrates the correct orientation.
No. In Step 10, the M12 bolt and ½" conical washer are installed loosely. All fasteners are then torqued to their specified values in Step 11 after the wireforms are removed and all hex nuts and conical washers are installed.
Remove any excessive caulk or sealant that may interfere with the hitch before raising it into position and aligning the attachment holes.
After torquing all fasteners in Step 11, reinstall the fascia brackets (Step 12) and the heat shield (Step 13) that were removed earlier. Then raise the exhaust system into position and reinstall the bolts and rubber isolators that were removed in Step 2 (Step 14).
Using a ½" drill bit, enlarge the rearmost attachment hole in the bottom of the driver-side frame rail. Using a step drill bit, enlarge the forward attachment hole to 1" to allow for fastener installation.
No. The manual explicitly states: "Do not cut access or attachment holes with a torch." Use a drill with appropriate drill bits (½" and step drill bit) instead.
The maximum gross trailer weight (GTW) for the 25009 weight-carrying hitch is 2000 lb (907 kg). However, you must never exceed your vehicle manufacturer's recommended towing capacity. The lowest capacity of any component in your towing system (gross trailer weight, tongue weight, trailer hitch, or vehicle) determines the maximum load you can safely tow.
The maximum tongue weight for the 25009 weight-carrying hitch is 200 lb (90 kg). Never exceed this limit or your vehicle manufacturer's recommended tongue weight capacity.
If the hitch is removed, plug all holes in the trunk pan or other body panels to prevent entry of water and exhaust fumes.
A hitch or ball which has been damaged should be removed and replaced. Do not attempt to repair or continue using a damaged hitch or ball.
You should regularly check that all fasteners are tight and the hitch is securely mounted to the vehicle. In order to ensure hitch towing capacity and longevity of the product, ensure that all fasteners are torqued to the prescribed torque values (M12 fasteners to 68 Lb.-Ft. / 92 N·M and 7/16" fasteners to 50 Lb-Ft. / 68 N·M).
Yes. For additional security, thread locker can be used on all fasteners. This is optional but recommended to help prevent fastener loosening over time.
The authorized drawbar kit is part number 3593, sold separately. The drawbar must be used in the RISE position only.
The manual does not state whether the drawbar kit 3593 is required. It is listed as an authorized kit sold separately. Consult the manufacturer or your vehicle's documentation to determine if a drawbar is necessary for your application.
The installation difficulty is rated as Beginner. However, installation times and difficulty levels may vary depending on installer expertise, vehicle condition, and availability of proper tools and equipment. Installation times are listed on Horizon Global websites or in downloadable application guides.
Regularly check that all fasteners are tight. If fasteners have loosened, retorque them to the prescribed values: M12 fasteners to 68 Lb.-Ft. (92 N·M) and 7/16" fasteners to 50 Lb-Ft. (68 N·M). For additional security and to help prevent future loosening, thread locker can be applied to all fasteners.
Before raising the hitch into position, remove any excessive caulk or sealant that may interfere with the hitch. Ensure that the attachment holes in the hitch are properly aligned with the bolts and weldnuts in the vehicle frame. If alignment issues persist, verify that the frame holes have been enlarged to the correct sizes (½" for the rearmost hole and 1" for the forward hole).
1 compatible vehicles
| Year | Make & Model | Notes |
|---|---|---|
| 2023 - 2026 | Toyota Crown | Class 1 Trailer Hitch: 2000 lbs 200/2,000 lbs. Weight Carrying (tongue weight/gross trailer weight) Drilling Required Install Time is 60 minutes |
Free Shipping
Ships free on all orders
 Authorized Dealer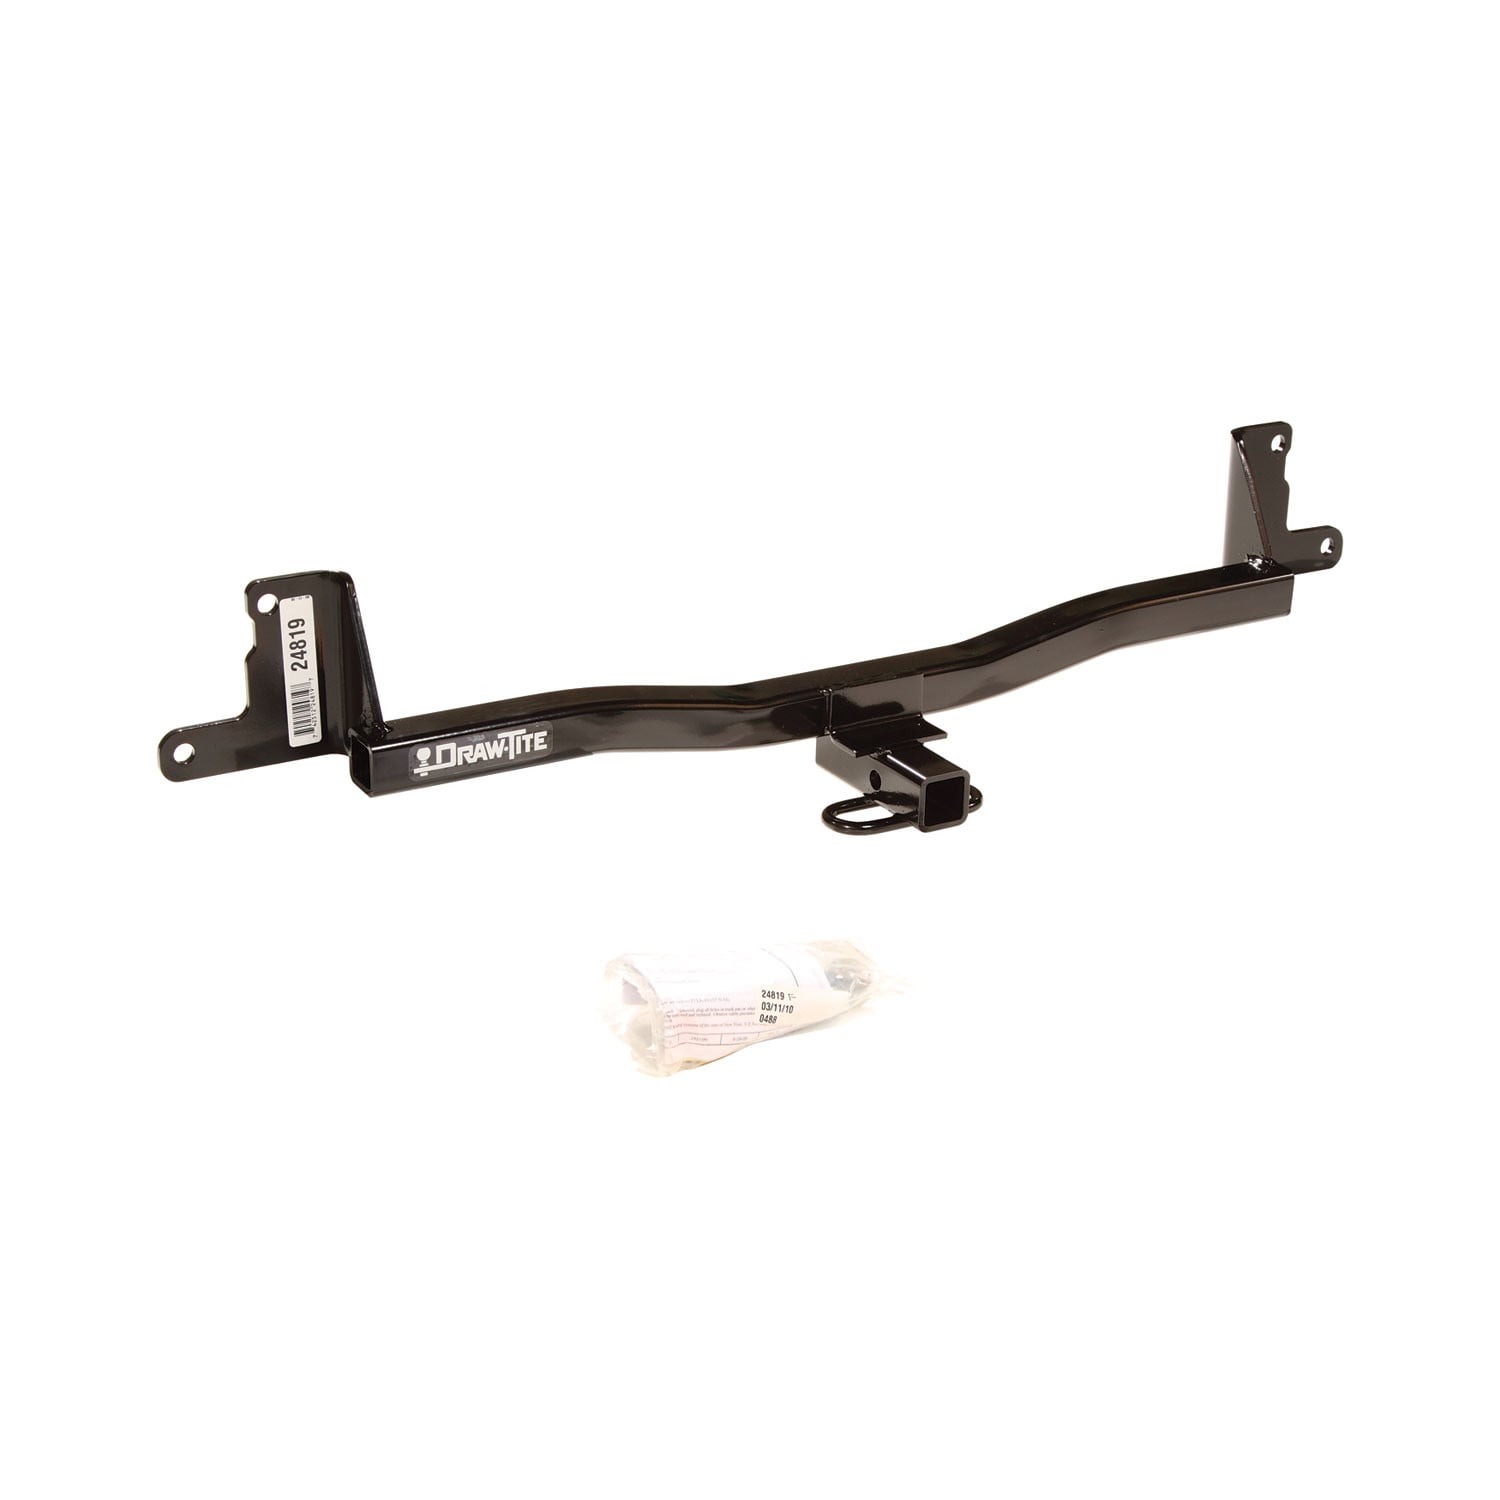

FREE ShippingFREE SHIPPING
Estimated delivery Thu, Oct 22 - Sun, Oct 25
Order before 2 PM EST Monday–Friday for same-day processing
Guaranteed safe & secure checkout
No reviews have been added for this product.