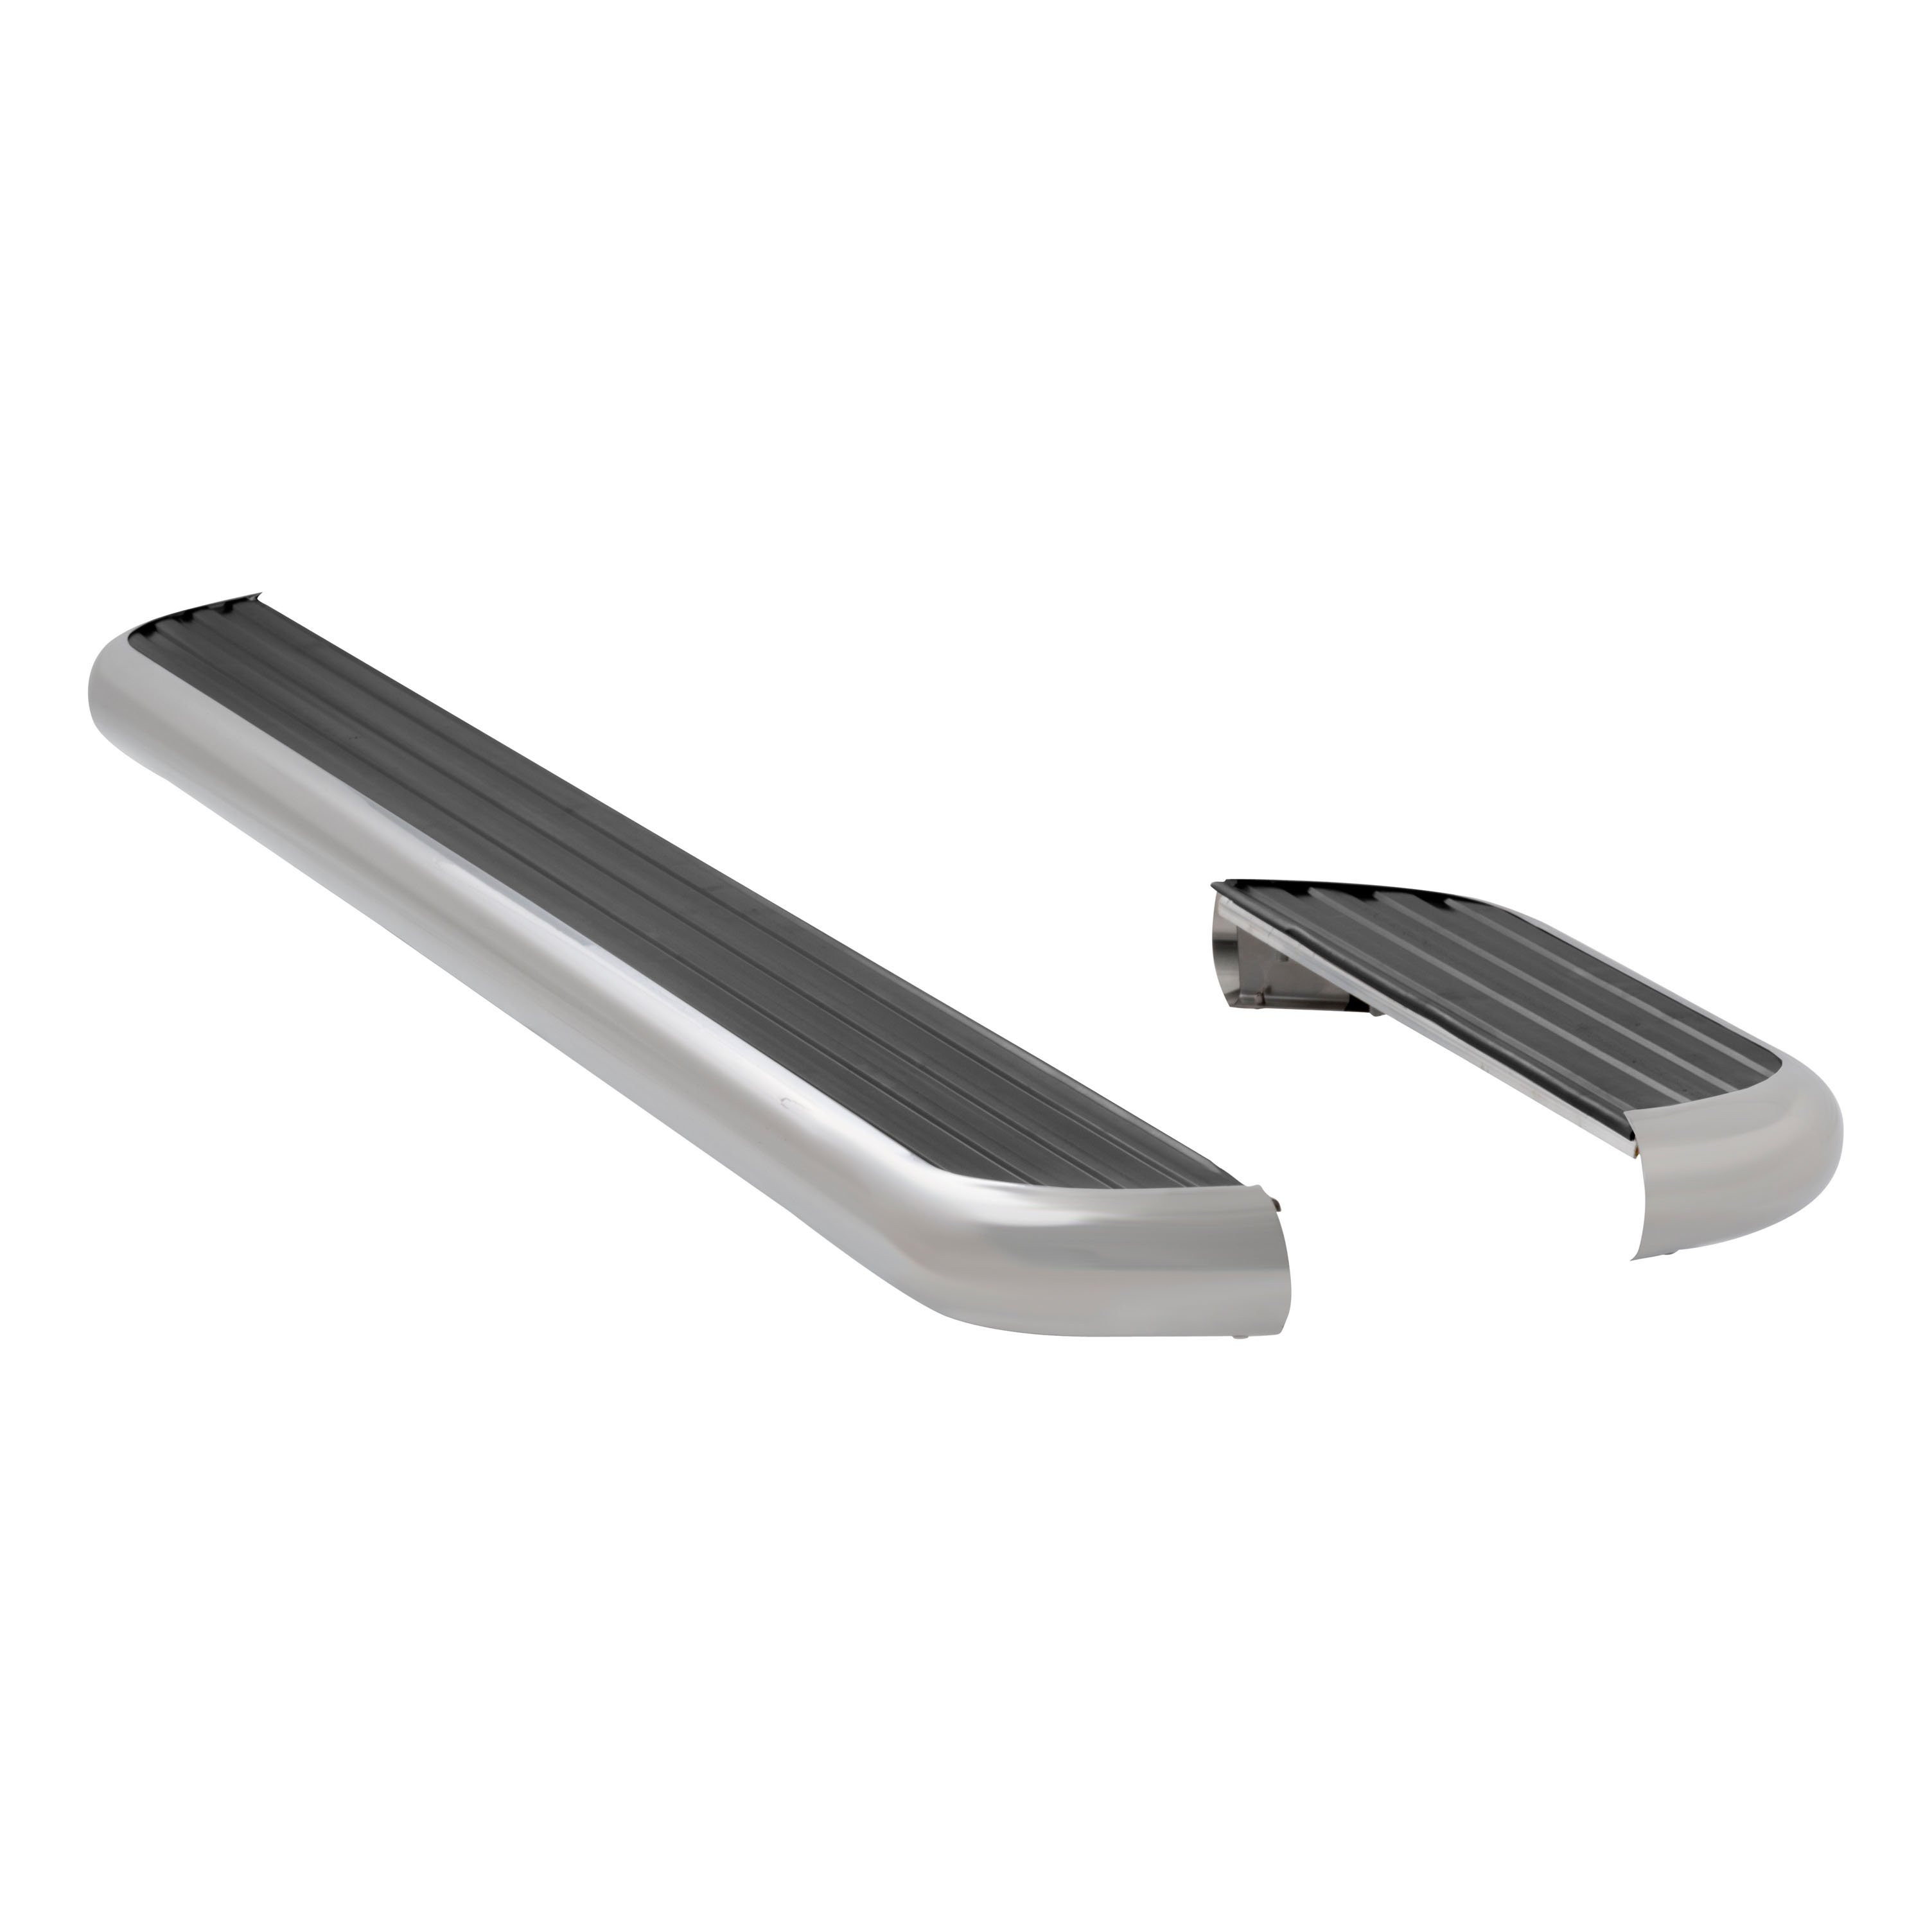
LUVERNE MegaStep 6-1/2" x 36", 100" Aluminum Running Boards, Select Ford E-Series Vans 575100-570124LuverneOriginal price was $907.95. Current price is $796.95.In Stock
View productOur in-house experts typically reply within one business day.

Luverne
Verify Fitment
Select your vehicle to confirm this part fits.
2003 - 2014 Ford E-150
Confirmed to Fit
2001 - 2002 Ford E-150 Econoline
Confirmed to Fit
2003 - 2014 Ford E-250
Confirmed to Fit
2001 - 2002 Ford E-250 Econoline
Confirmed to Fit
2001 - 2019, 2021 - 2027 Ford E-350 Super Duty
Confirmed to Fit
2001 - 2002 Ford E-450 Econoline Super Duty
Confirmed to Fit
2003 - 2019, 2021 - 2027 Ford E-450 Super Duty
Confirmed to Fit


Always the correct part
We know our products
Quality Products
Free Shipping!
Always the correct part
We know our products
Quality Products
Free Shipping!

LUVERNE MegaStep 6-1/2" running boards are the ultimate combination of style and functionality. They have 5" wide treads that extend the full length of the side steps, and they feature a strong, lightweight aluminum core with a stainless steel trim for a bright, clean accent. MegaStep running boards mount easily with vehicle-specific brackets, pre-installed fasteners and an adjustable design to perfectly fit your unique vehicle. LUVERNE MegaSteps are designed to offer the best features from a variety of side accessory options. Their non-skid rubber treads cover the entire topside of the boards, giving them the functionality and convenience of a running board. However, unlike most running boards, MegaSteps are styled after the popular look of many nerf bars. This makes them a unique and useful extension of your vehicle. To give MegaStep running boards an even greater advantage over other side steps, they are built to outlast the elements. We construct them with a strong, lightweight aluminum base that naturally resists rust, and we finish them with a high-polish stainless steel trim. The trim is a heavy-duty, 18-gauge stainless steel to make it more than just a fancy accent, and its highly polished finish gives the running boards a bright, long-lasting shine. Installation of LUVERNE MegaStep running boards is easy and customizable. The boards come with pre-installed fasteners and attach using high-strength, vehicle-specific mounting brackets. They are also uniquely designed to be adjustable inward, outward, forward or backward, giving you complete freedom to position the steps wherever you want them. This particular set of running boards is designed to fit specific years of the Ford E150, E150 Econoline, E250, E250 Econoline, E350 Super Duty, E450 Econoline Super Duty and E450 Super Duty (see application info to verify fitment). Brackets for these running boards are included but ship separately.
LUVERNE MegaStep 6-1/2" running boards are the ultimate combination of style and functionality, featuring 5" wide rubber treads that extend the full length of the side steps for dependable, non-skid traction wherever the road takes you.

LUVERNE has manufactured truck accessories in the United States since 1963, specialising in grille guards, running boards, side steps and mud guards for pickups, commercial vans and SUVs. Products are built primarily from stainless steel, aluminium and mild steel, with model-specific mounting kits that use existing frame locations for a bolt-on installation.
LUVERNE has been manufacturing automotive accessories in the United States since 1963, and six decades of continuous production have made it a nationally recognised name in the truck accessory market. Now a Lippert brand, it concentrates on a defined set of products rather than spreading across the whole aftermarket: front-end protection, step access and spray protection for pickup trucks, commercial vans and sport utility vehicles.
Step products are the largest part of the catalog and the range is unusually deep, because the right step depends on the vehicle's ride height, the width of the rocker panel and how often people get in and out. The O-Mega II six-inch oval steps give a wide, flat standing surface in polished stainless or black powder coat, while the Regal 7 seven-inch oval steps go wider still for full-size crew cabs and lifted trucks. The broader running board and side bar range covers round tube, oval and boxed profiles across cab configurations, with treads positioned at the door openings where they are used.
Grille guards protect the front end against impacts, brush and road debris, built in tubular stainless or steel with model-specific brackets that tie into factory frame mounting points. Because the fit is engineered per vehicle, installation is a bolt-on job that does not require drilling or cutting on most applications.
Rounding out the line, LUVERNE mud guards and mud flaps shield rocker panels, paint and following vehicles from stones and road spray, in widths matched to the tyre and fender they sit behind. Material choice runs through everything the brand does: stainless steel where appearance and corrosion resistance matter most, aluminium where weight is the priority, and mild steel with protective coating where strength and value lead. Customers include contractors, fleet operators, van upfitters and truck owners.
Experts available to answer your questions
Call 888-634-9494Limited Lifetime Warranty (Five-Year Finish, One-Year Parts)
7 compatible vehicles
| Year | Make & Model | Notes |
|---|---|---|
| 2003 - 2014 | Ford E-150 | — |
| 2001 - 2002 | Ford E-150 Econoline | — |
| 2003 - 2014 | Ford E-250 | — |
| 2001 - 2002 | Ford E-250 Econoline | — |
| 2001 - 2019, 2021 - 2027 | Ford E-350 Super Duty | — |
| 2001 - 2002 | Ford E-450 Econoline Super Duty | — |
| 2003 - 2019, 2021 - 2027 | Ford E-450 Super Duty | — |
The Model 570121 is designed for 2001 and newer Ford cut-away vans only. Verify your vehicle year and model match this specification before purchasing. If you have a different vehicle type or year, this product will not fit.
The kit includes one 54-inch O-MEGA step assembly (Model 585054), two front mounting brackets (one right, one left), two center mounting brackets (one right, one left), four plastic end caps, two step pads (4-1/2" × 20"), eight hex head cap screws (5/16-18" × 1"), sixteen square head screws (5/16-18 × 1"), twelve Phillips head tek screws (#8-18 × 1/2"), four U-nuts (short 5/16-18"), two long U-nuts (5/16-18"), sixteen serrated flange nuts (5/16-18", stainless), four serrated flange nuts (5/16-18", zinc-plated), twelve flat washers (5/16"), and four lock washers (5/16").
You will need a torque wrench calibrated to 19 foot pounds, a hacksaw or band saw to cut the step plates to length (approximately 36-1/2"), and a drill with a Ø11/32" bit if your vehicle's pinch weld does not have pre-drilled holes. Standard hand tools for bolt installation are also required.
Yes. On the passenger side, remove the tape covering the mounting holes in the inside quarter panel at the two front locations. This exposes the pre-drilled holes where the U-nuts will be installed. Repeat this on the driver side before installing those brackets.
Only if your vehicle does not have pre-drilled holes in the pinch weld. If holes are missing, you must drill an Ø11/32" hole through the pinch weld at each bracket location, using the hole in the bracket as a guide. This is a permanent modification. If your vehicle has factory holes in the pinch weld, no drilling is required.
Yes. The O-MEGA step plates (Model 585054) are supplied at 54 inches and must be cut down to approximately 36-1/2" for this application. Use a hacksaw or band saw to cut them to length. Remove the end cap from the unbolted end before cutting, then reinstall it after cutting.
1. Remove tape from the inside quarter panel to expose mounting holes. 2. Install short U-nuts (item #11) at the first hole set from the front, and long U-nuts (item #12) at the second hole set. 3. Install front mounting brackets using hex bolts, flat washers, and lock washers into the U-nuts; finger-tighten only. 4. Install bolts through the pinch weld using hex bolts, flat washers, and serrated flange nuts; finger-tighten only. 5. Tighten the pinch weld bolt first, then the U-nut bolts to 19 foot pounds. 6. Repeat on the driver side.
1. Cut the step plates to approximately 36-1/2" length using a hacksaw or band saw. 2. Install three square head screws (item #9, 5/16-18 × 1") in the front and rear track of the step plates. 3. Reinstall the end cap and bolt it down with the end set of bolts. 4. Position the step on the mounting brackets so the square head screws sit in the slots of the brackets and the step is centered front to rear on the vehicle. 5. Install serrated flange nuts (item #13) on the square head screws and tighten to 19 foot pounds.
All fasteners are tightened to 19 foot pounds of torque. This applies to the mounting bracket bolts (both the U-nut bolts and the pinch weld bolts) and the step plate mounting bolts. Finger-tighten all bolts initially, then apply final torque in the sequence specified: pinch weld bolts first, then U-nut bolts for the brackets, and finally the step plate bolts.
Mounting brackets use 5/16-18 × 1" hex bolts (item #8) with 5/16" flat washers (item #15) and 5/16" lock washers (item #16) for U-nut connections, and 5/16" serrated flange nuts (item #14, zinc-plated) for pinch weld connections. Step plates use 5/16-18 × 1" square head screws (item #9) with 5/16" serrated flange nuts (item #13, stainless steel). All fasteners are 5/16-18 thread size.
Finger-tightening allows you to position the brackets and step assembly correctly before final torque is applied. This ensures the brackets sit flush against the vehicle body and the step is centered front to rear. Once positioning is confirmed, bolts are tightened to the final specification of 19 foot pounds in the correct sequence.
The short 5/16-18" multi-thread U-nuts (item #11) are installed at the first hole set from the front of the vehicle. The long 5/16-18" multi-thread U-nuts (item #12) are installed at the second hole set from the front. The difference in length accommodates the varying thickness of the vehicle body at these two locations.
No. The kit includes right-hand and left-hand specific brackets. Use mounting bracket front RH (item #2) and center RH (item #4) on the driver side, and mounting bracket front LH (item #3) and center LH (item #5) on the passenger side. The installation sequence is identical on both sides.
When positioning the O-MEGA step on the mounting brackets in step 10, ensure the step is centered along the length of the vehicle—not tilted forward or backward. The square head screws should sit in the slots of the mounting brackets, and the step should be positioned so it is equidistant from the front and rear of the vehicle.
Two step pads (4-1/2" × 20", item #7) are included in the kit. The manual states to see the mounting instructions that come with the step plates (Model 585054) for step pad mounting instructions. Refer to those separate instructions for pad installation details.
The four plastic end caps (2.95" × 6.70", item #6) are installed on the ends of the step plates. One end cap is removed before cutting the step plates to length, then reinstalled and bolted down after cutting. The other end caps finish the appearance of the step assembly.
Yes, if it is a 2001 or newer Ford cut-away van. This product is not compatible with other vehicle types or earlier model years.
Yes. The step plates must be cut to approximately 36-1/2" using a hacksaw or band saw. Drilling is required only if your vehicle's pinch weld lacks pre-drilled holes; if so, drill Ø11/32" holes using the bracket as a guide.
Tighten all bolts and screws to 19 foot pounds of torque. Finger-tighten first to position components, then apply final torque in sequence: pinch weld bolts first, then U-nut bolts, then step plate bolts.
A torque wrench (19 foot pounds), a hacksaw or band saw, a drill with Ø11/32" bit (if pinch weld lacks holes), and standard hand tools. Refer to the step plates' separate instructions for step pad installation tools.
The installation sequence is the same on both sides, but use right-hand brackets on the driver side and left-hand brackets on the passenger side. Repeat steps 1–5 on the driver side after completing the passenger side.
On Sale Today
Original price was $636.95. Current price is $558.95.You save $78.00 (12%)
Free Shipping
Ships free on all orders
 Authorized Dealer


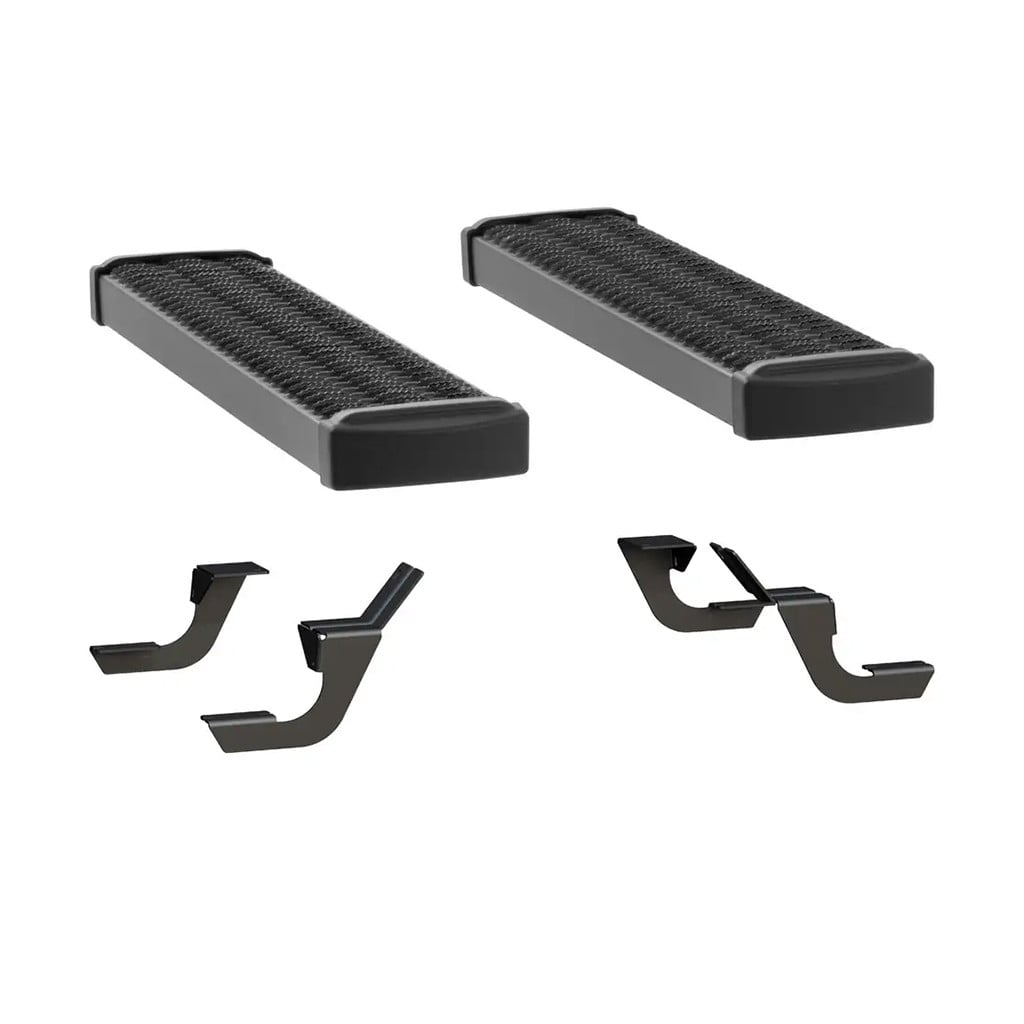
Quick Ship
In stock and ready to ship — order now!
FREE ShippingFREE SHIPPING
Estimated delivery Fri, Oct 9 - Mon, Oct 12
Order before 2 PM EST Monday–Friday for same-day processing
Guaranteed safe & secure checkout
No reviews have been added for this product.