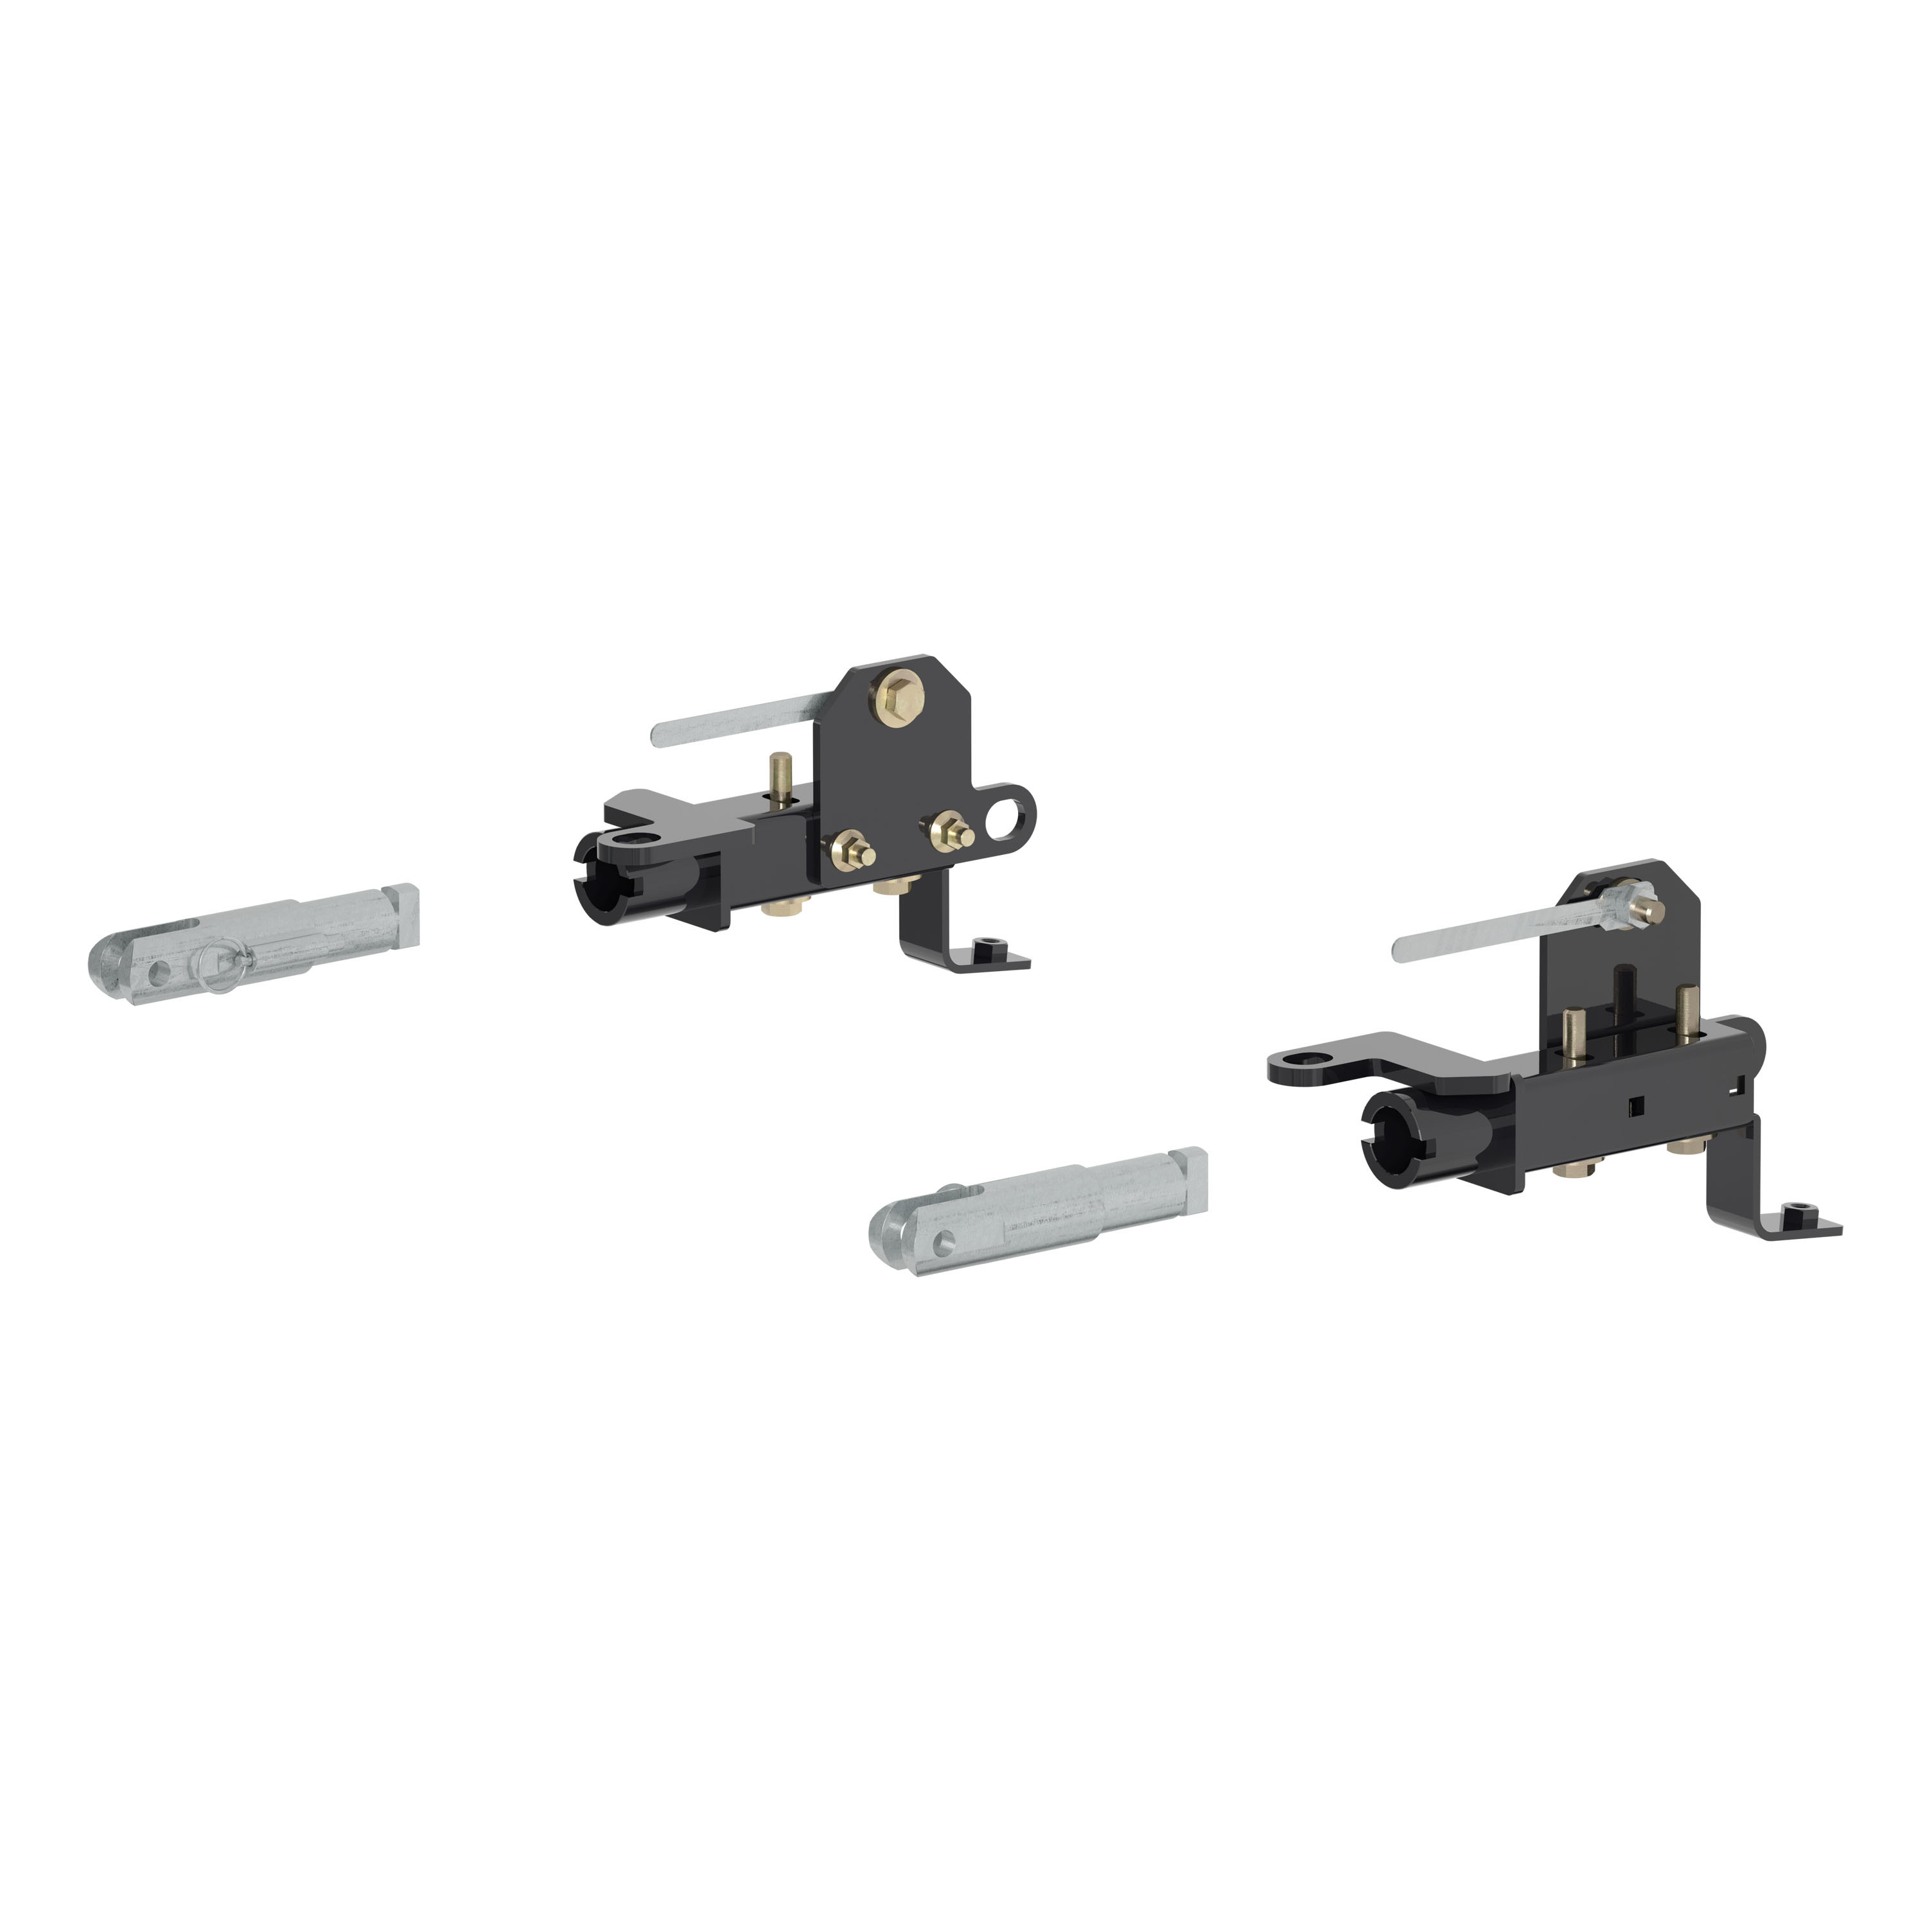
CURT 70127 Custom Tow Bar Base Plate Brackets for Dinghy Towing, Fits Select Ford RangerCURTOriginal price was $652.95. Current price is $404.99.In Stock
View productOur in-house experts typically reply within one business day.

CURT
Verify Fitment
Select your vehicle to confirm this part fits.



Always the correct part
We know our products
Quality Products
Free Shipping!
Always the correct part
We know our products
Quality Products
Free Shipping!
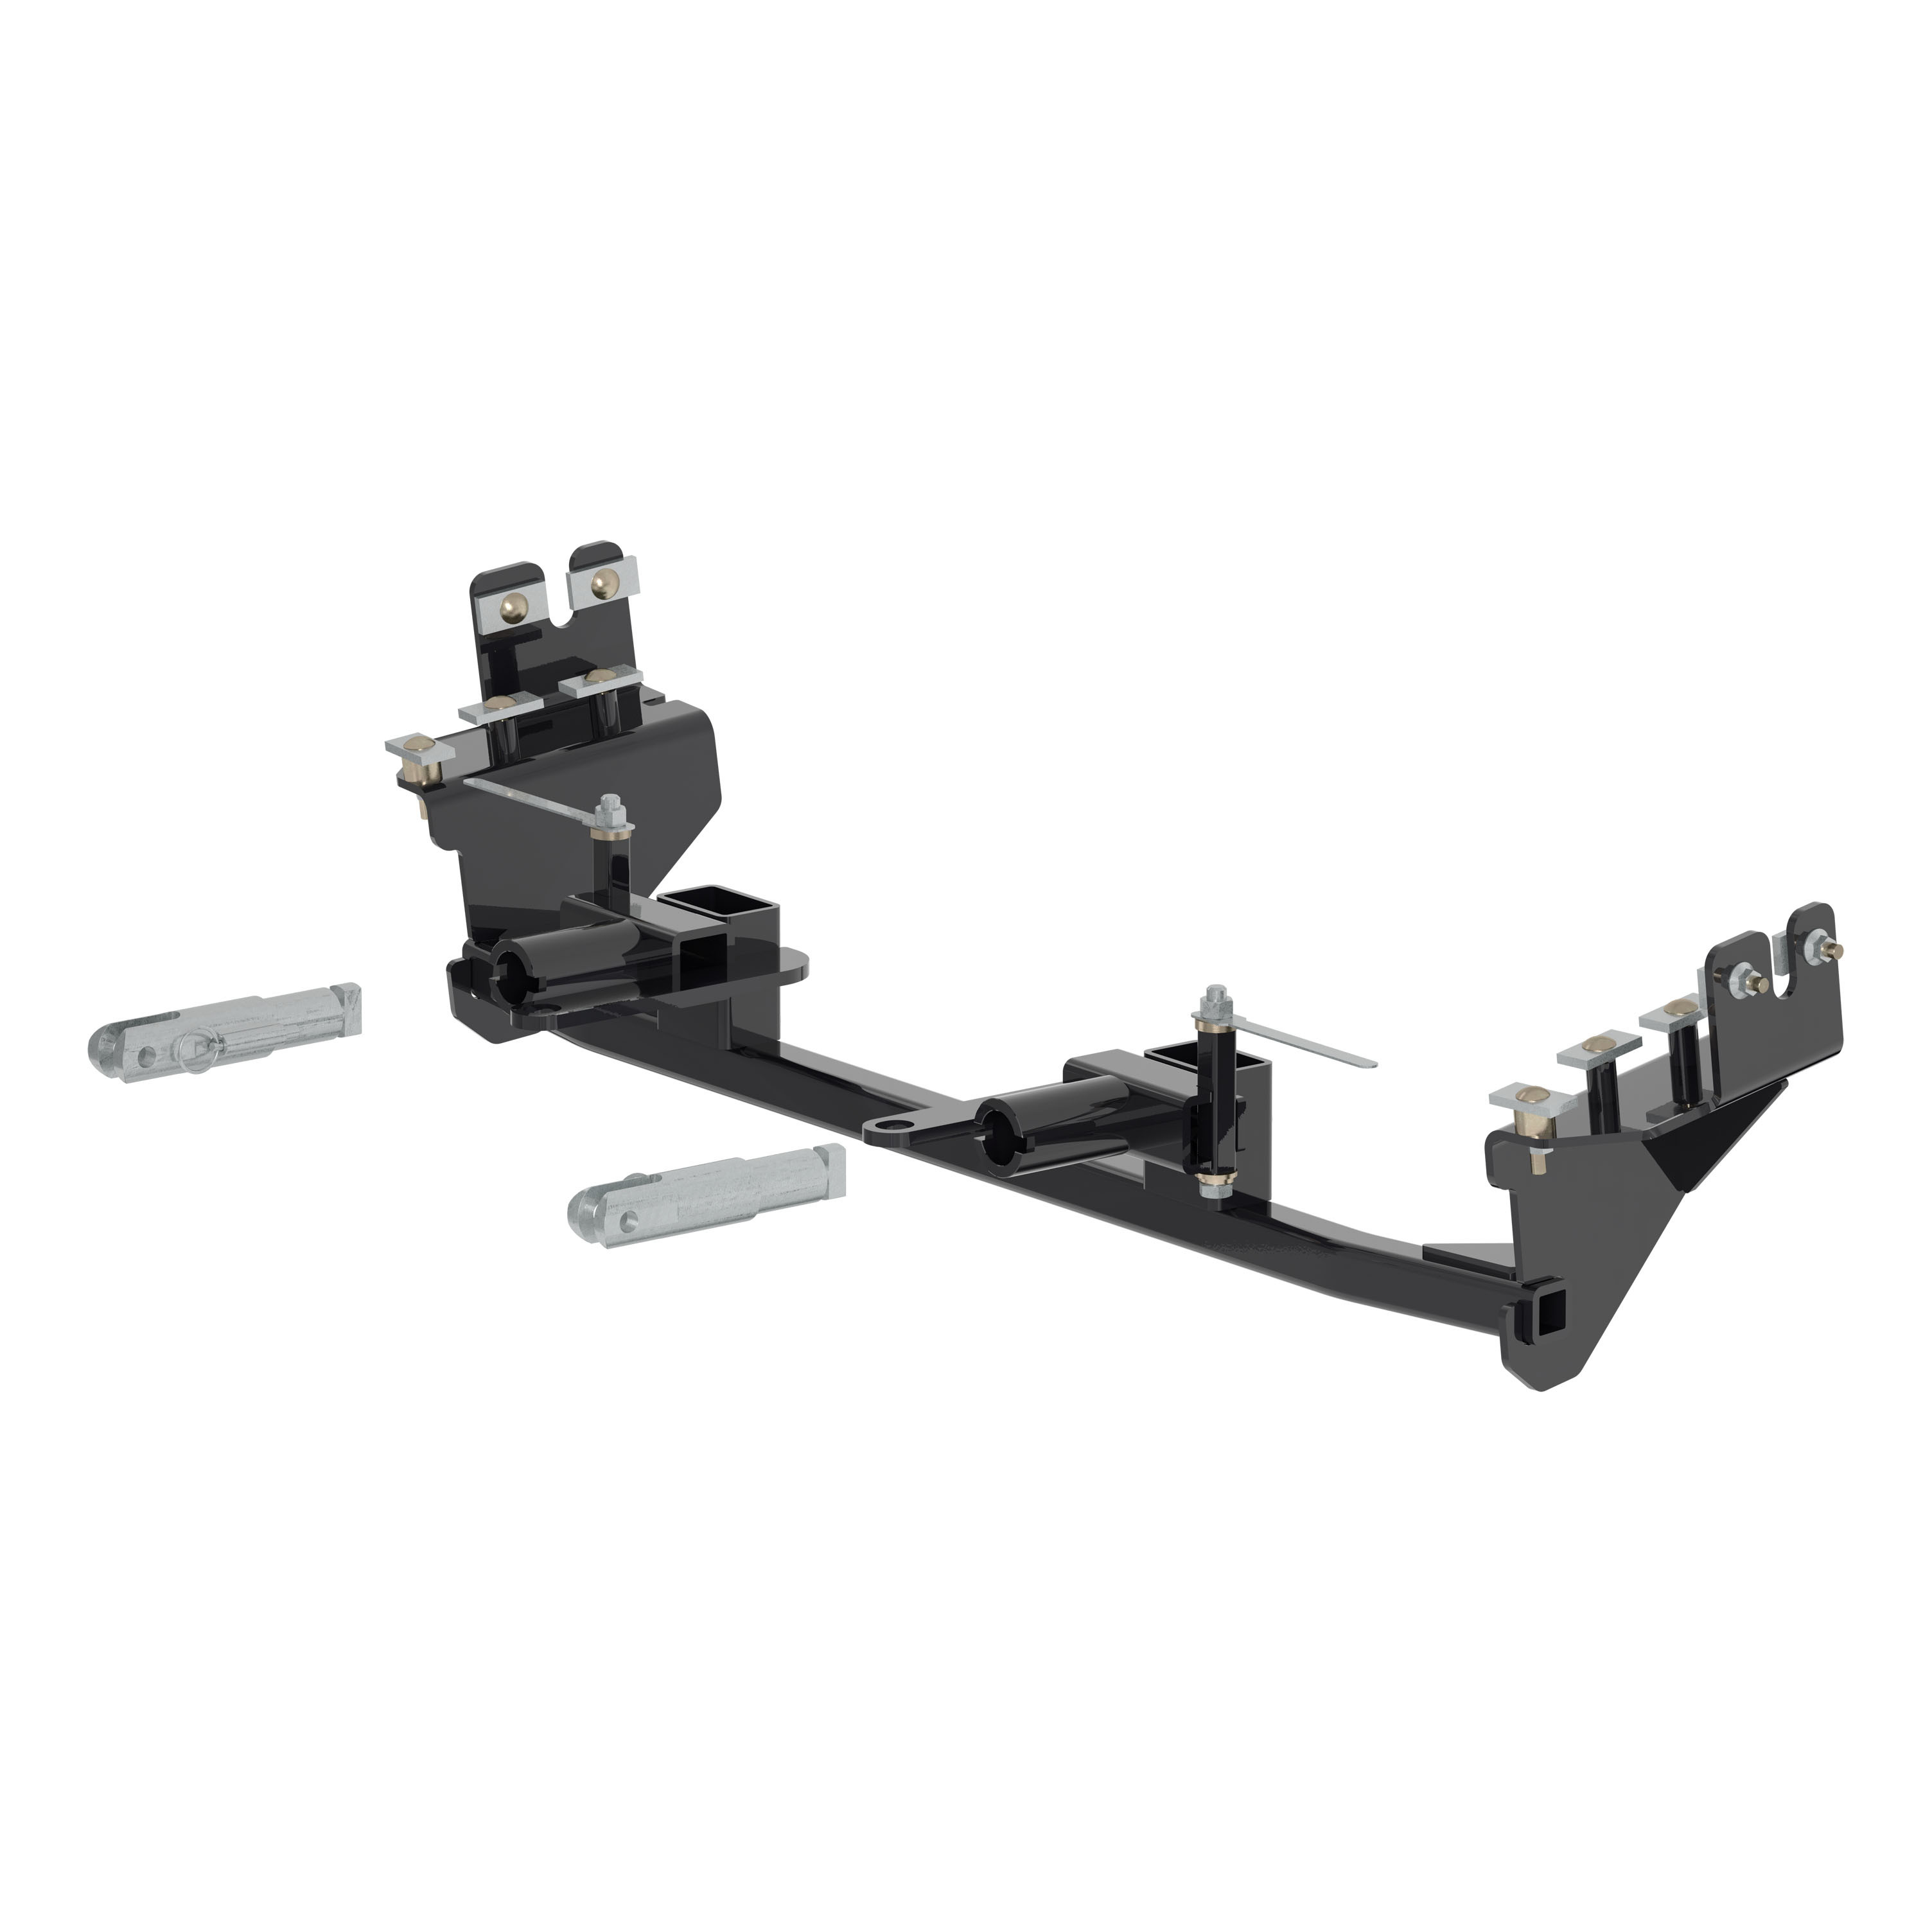
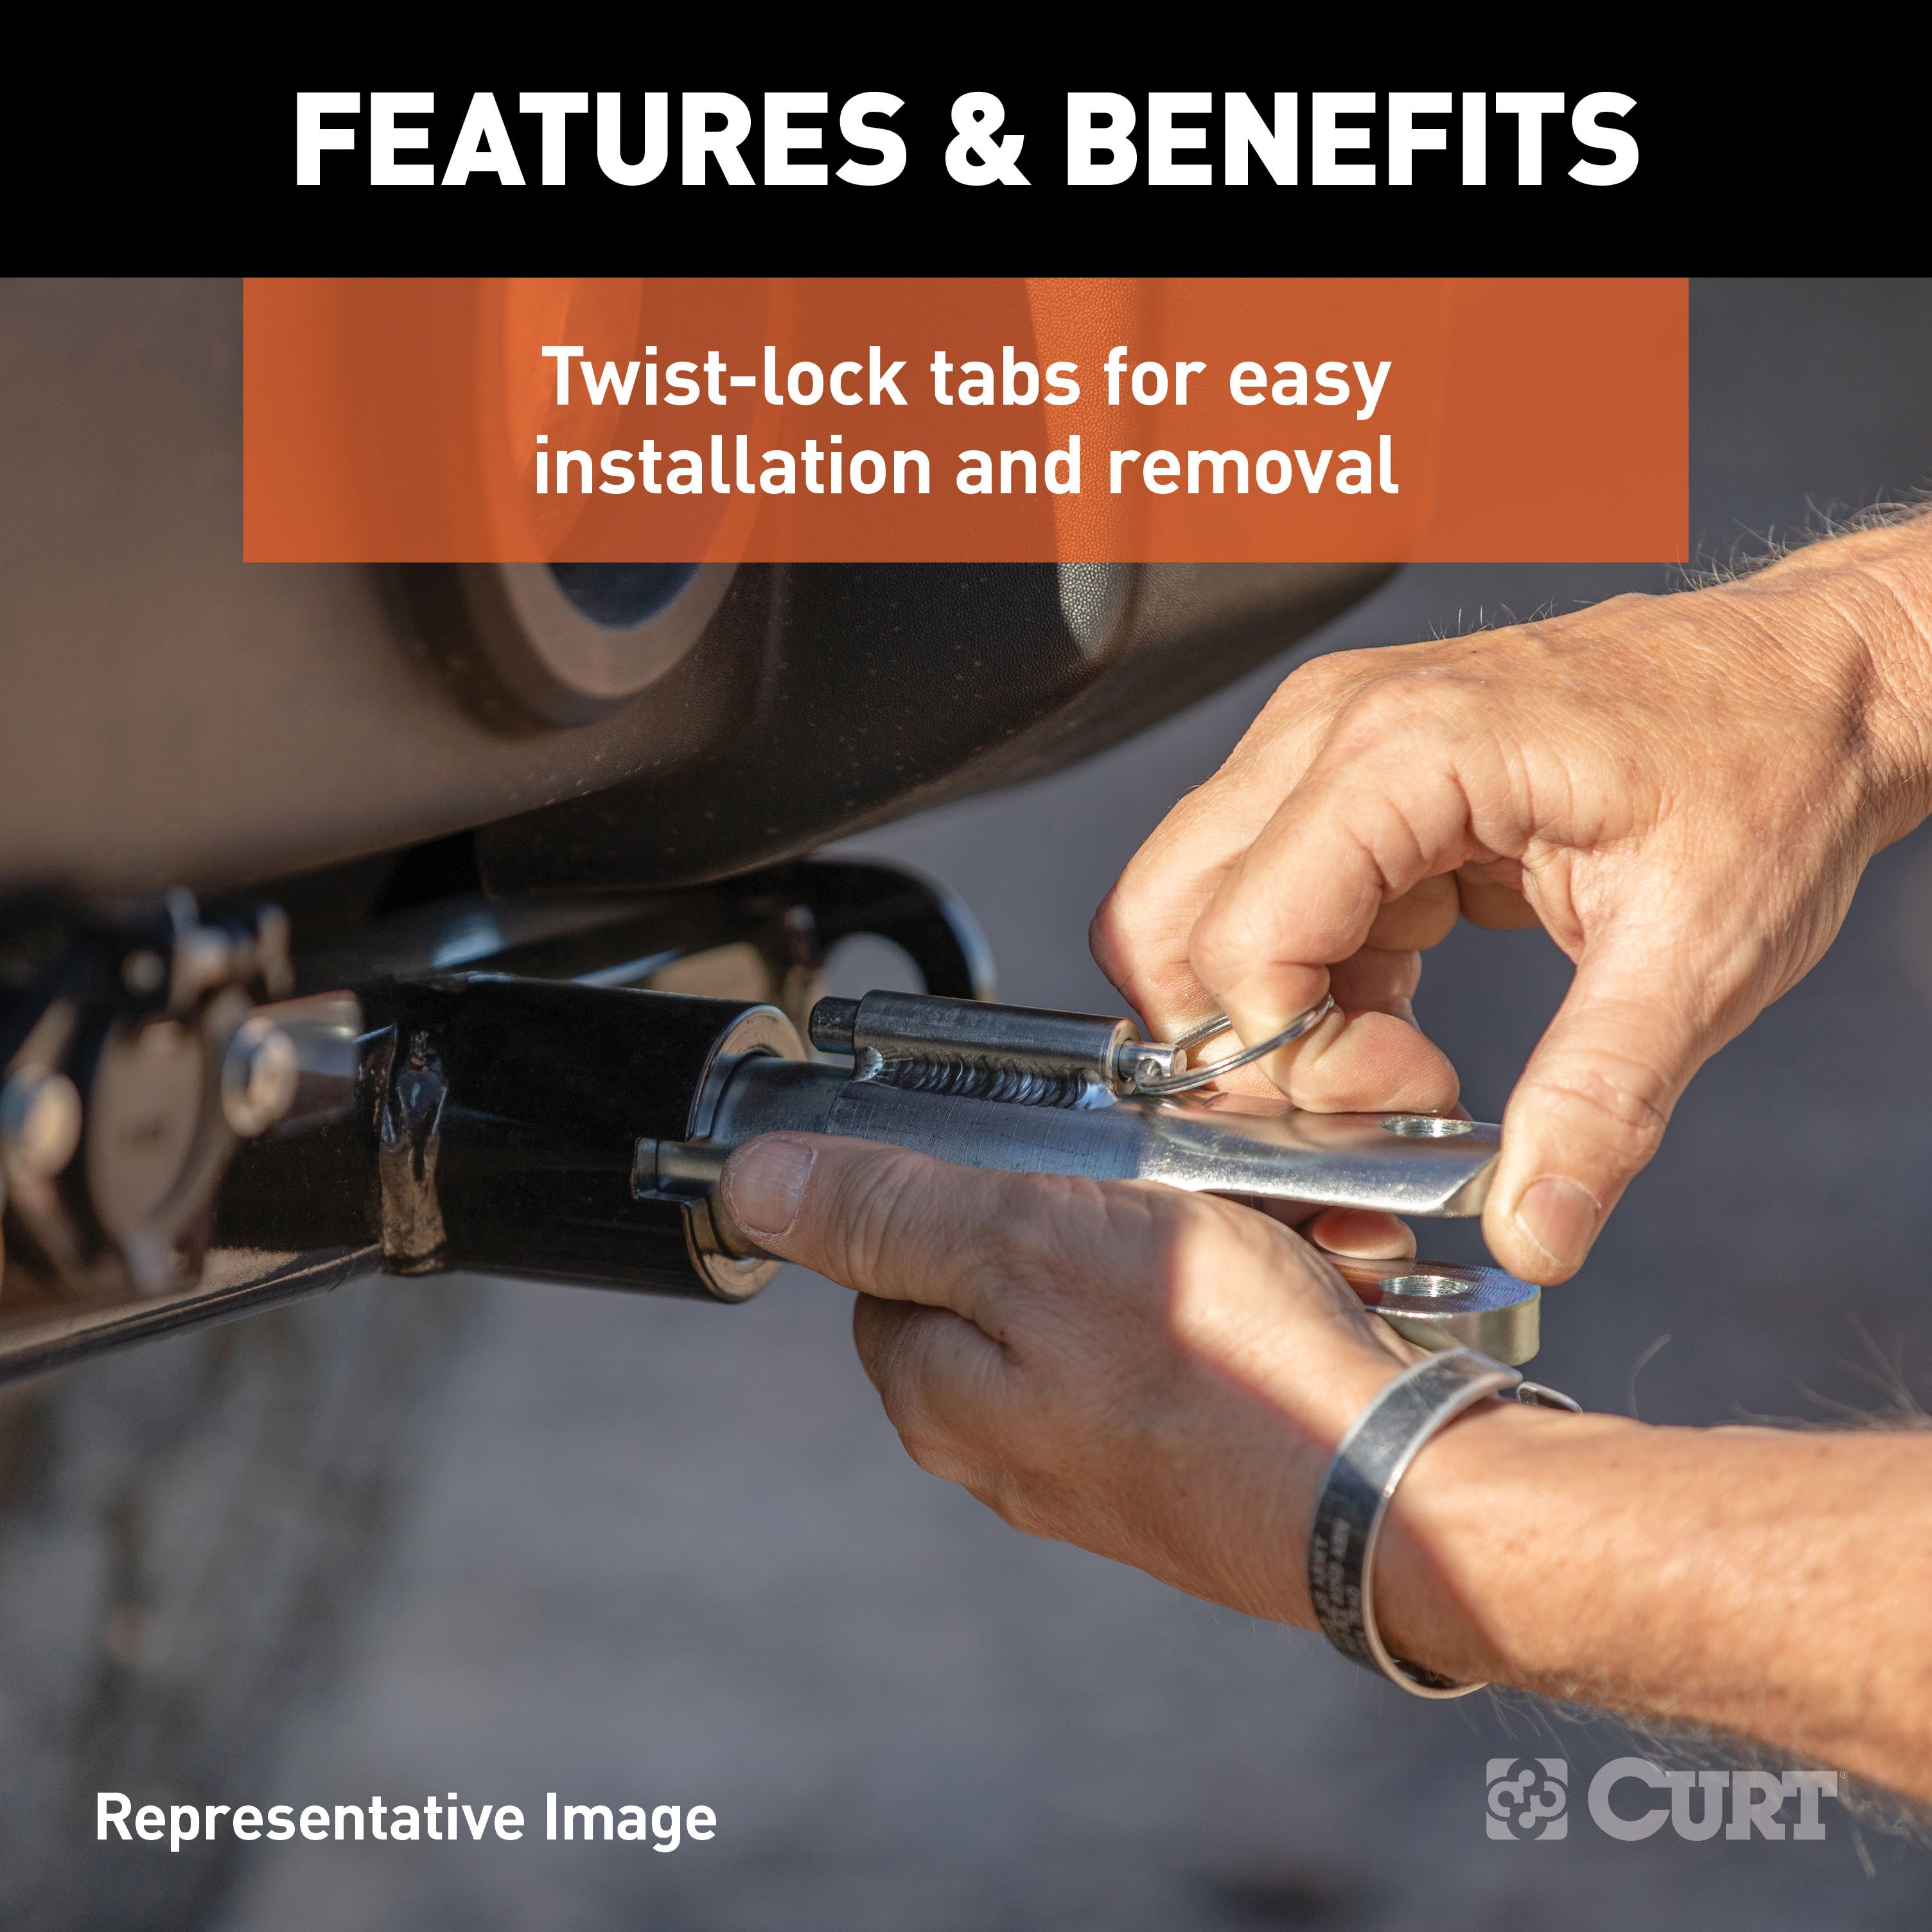
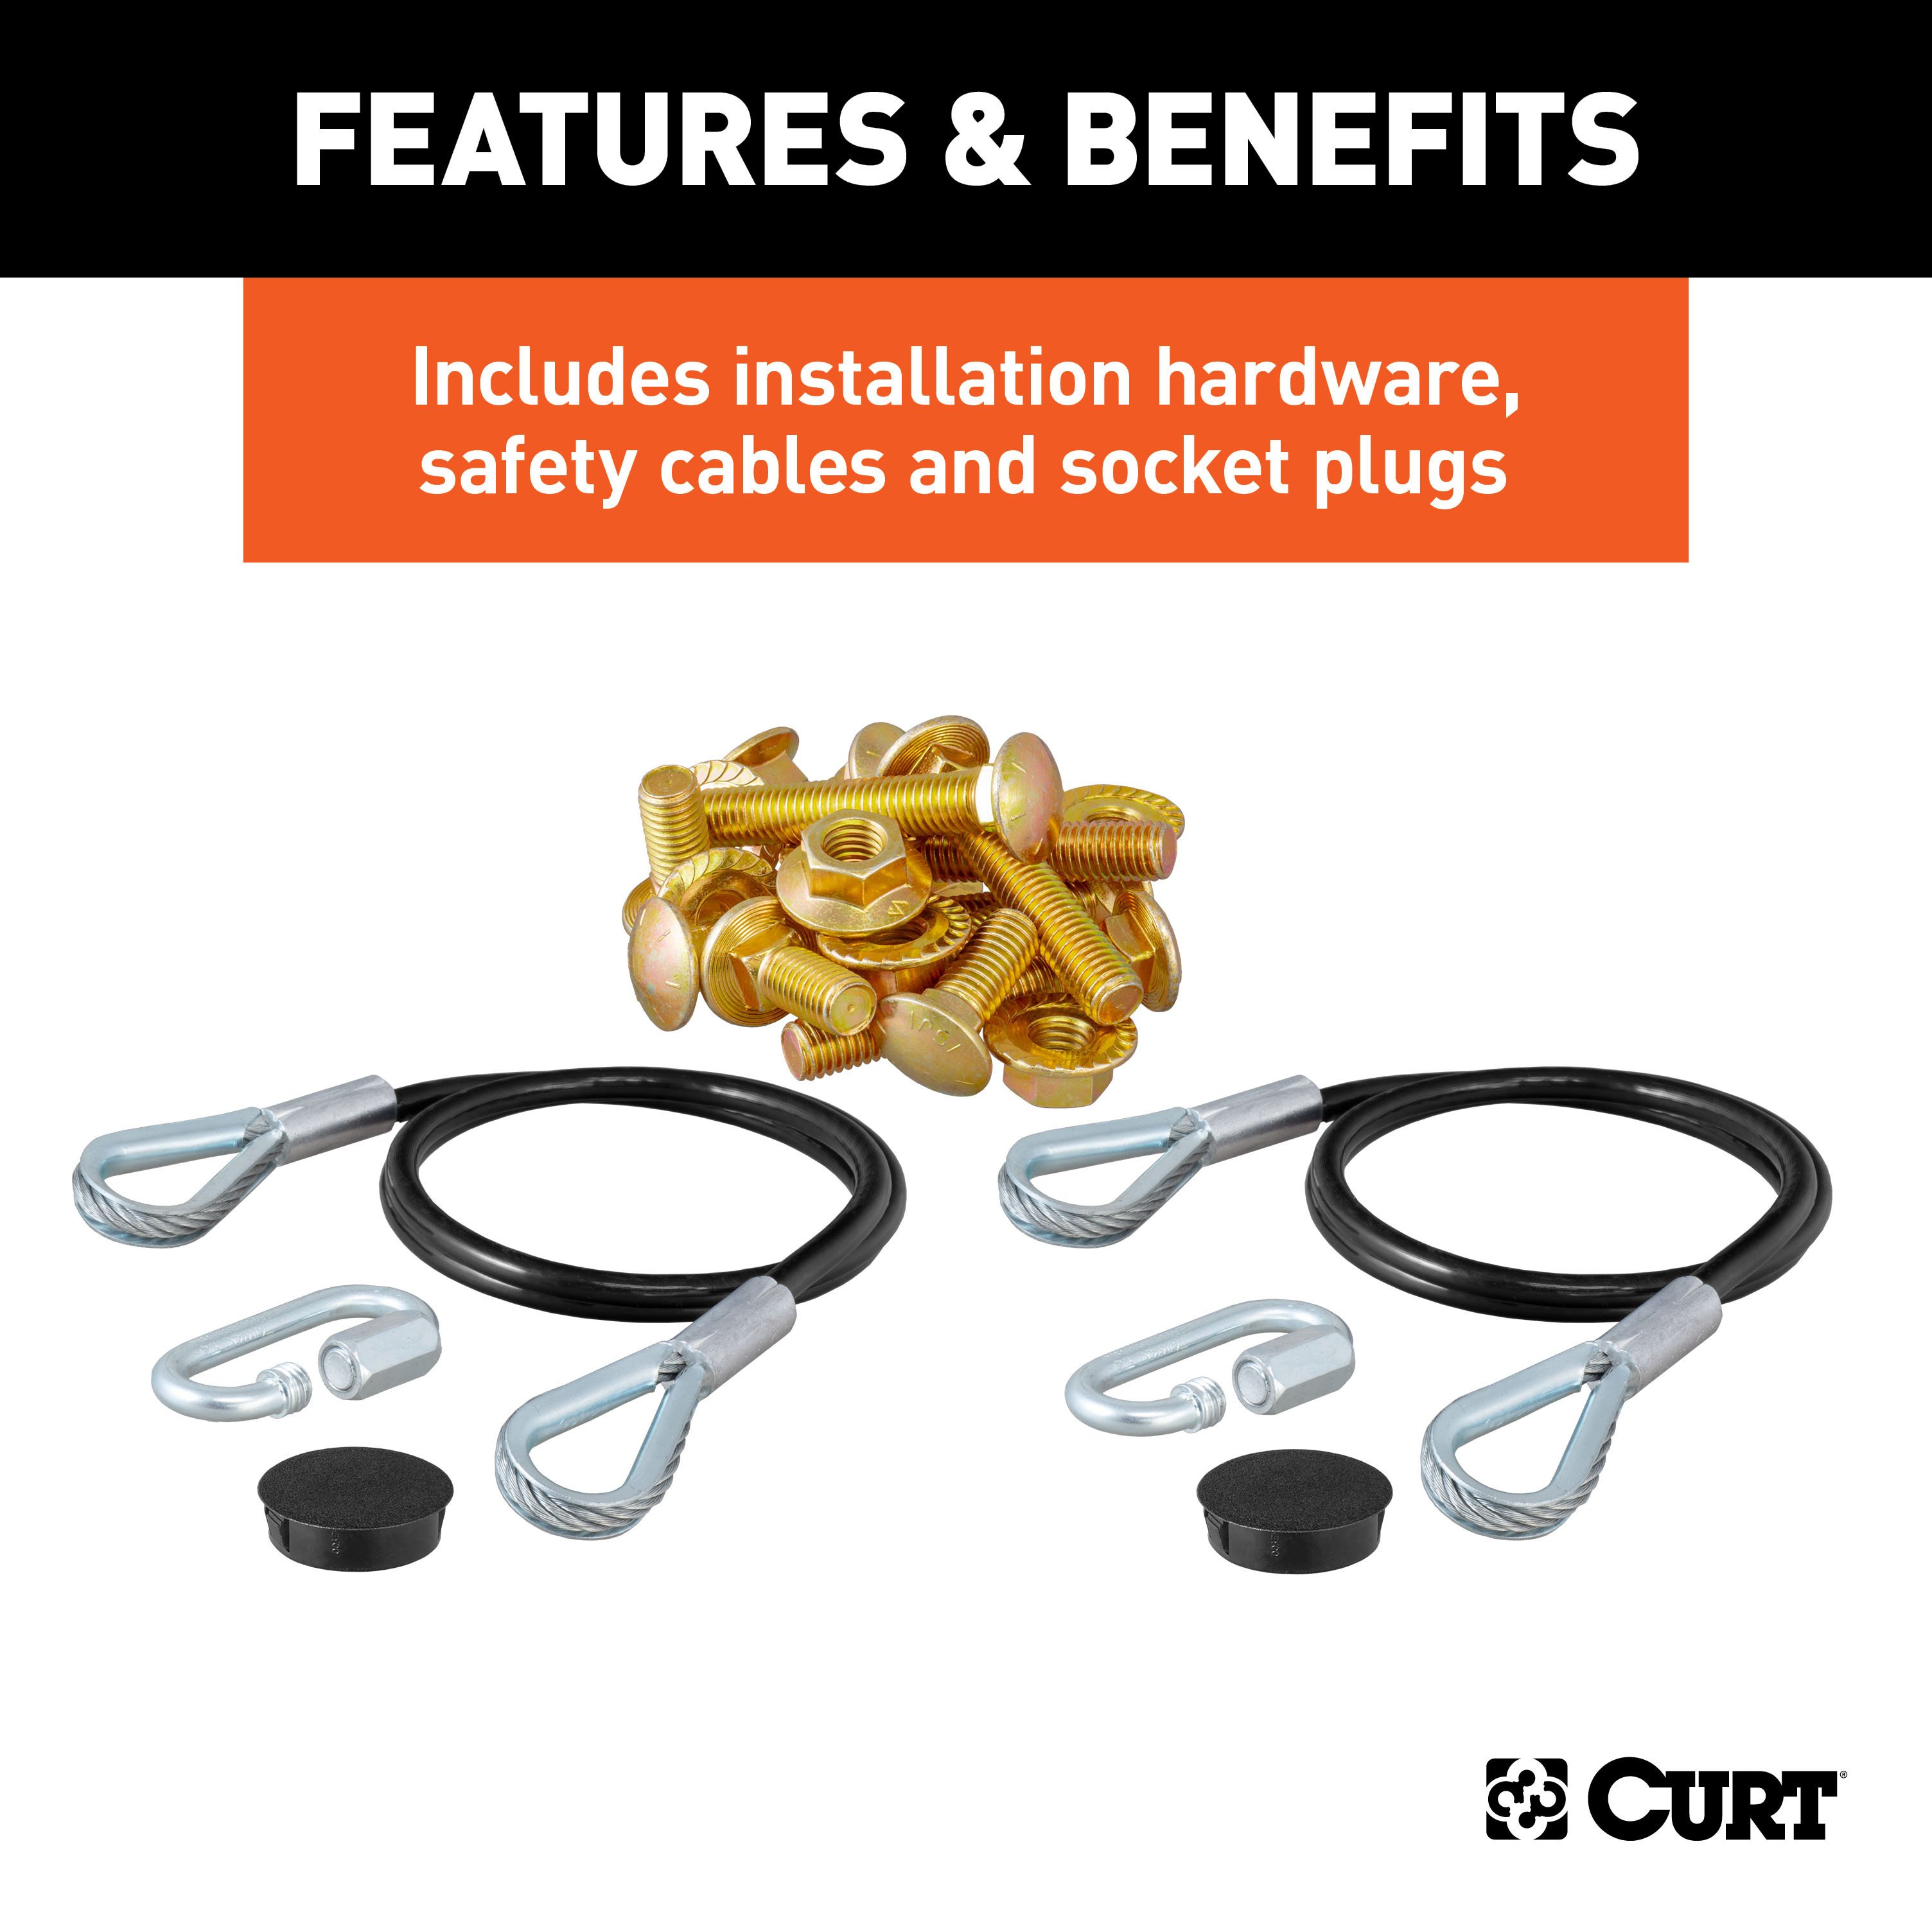
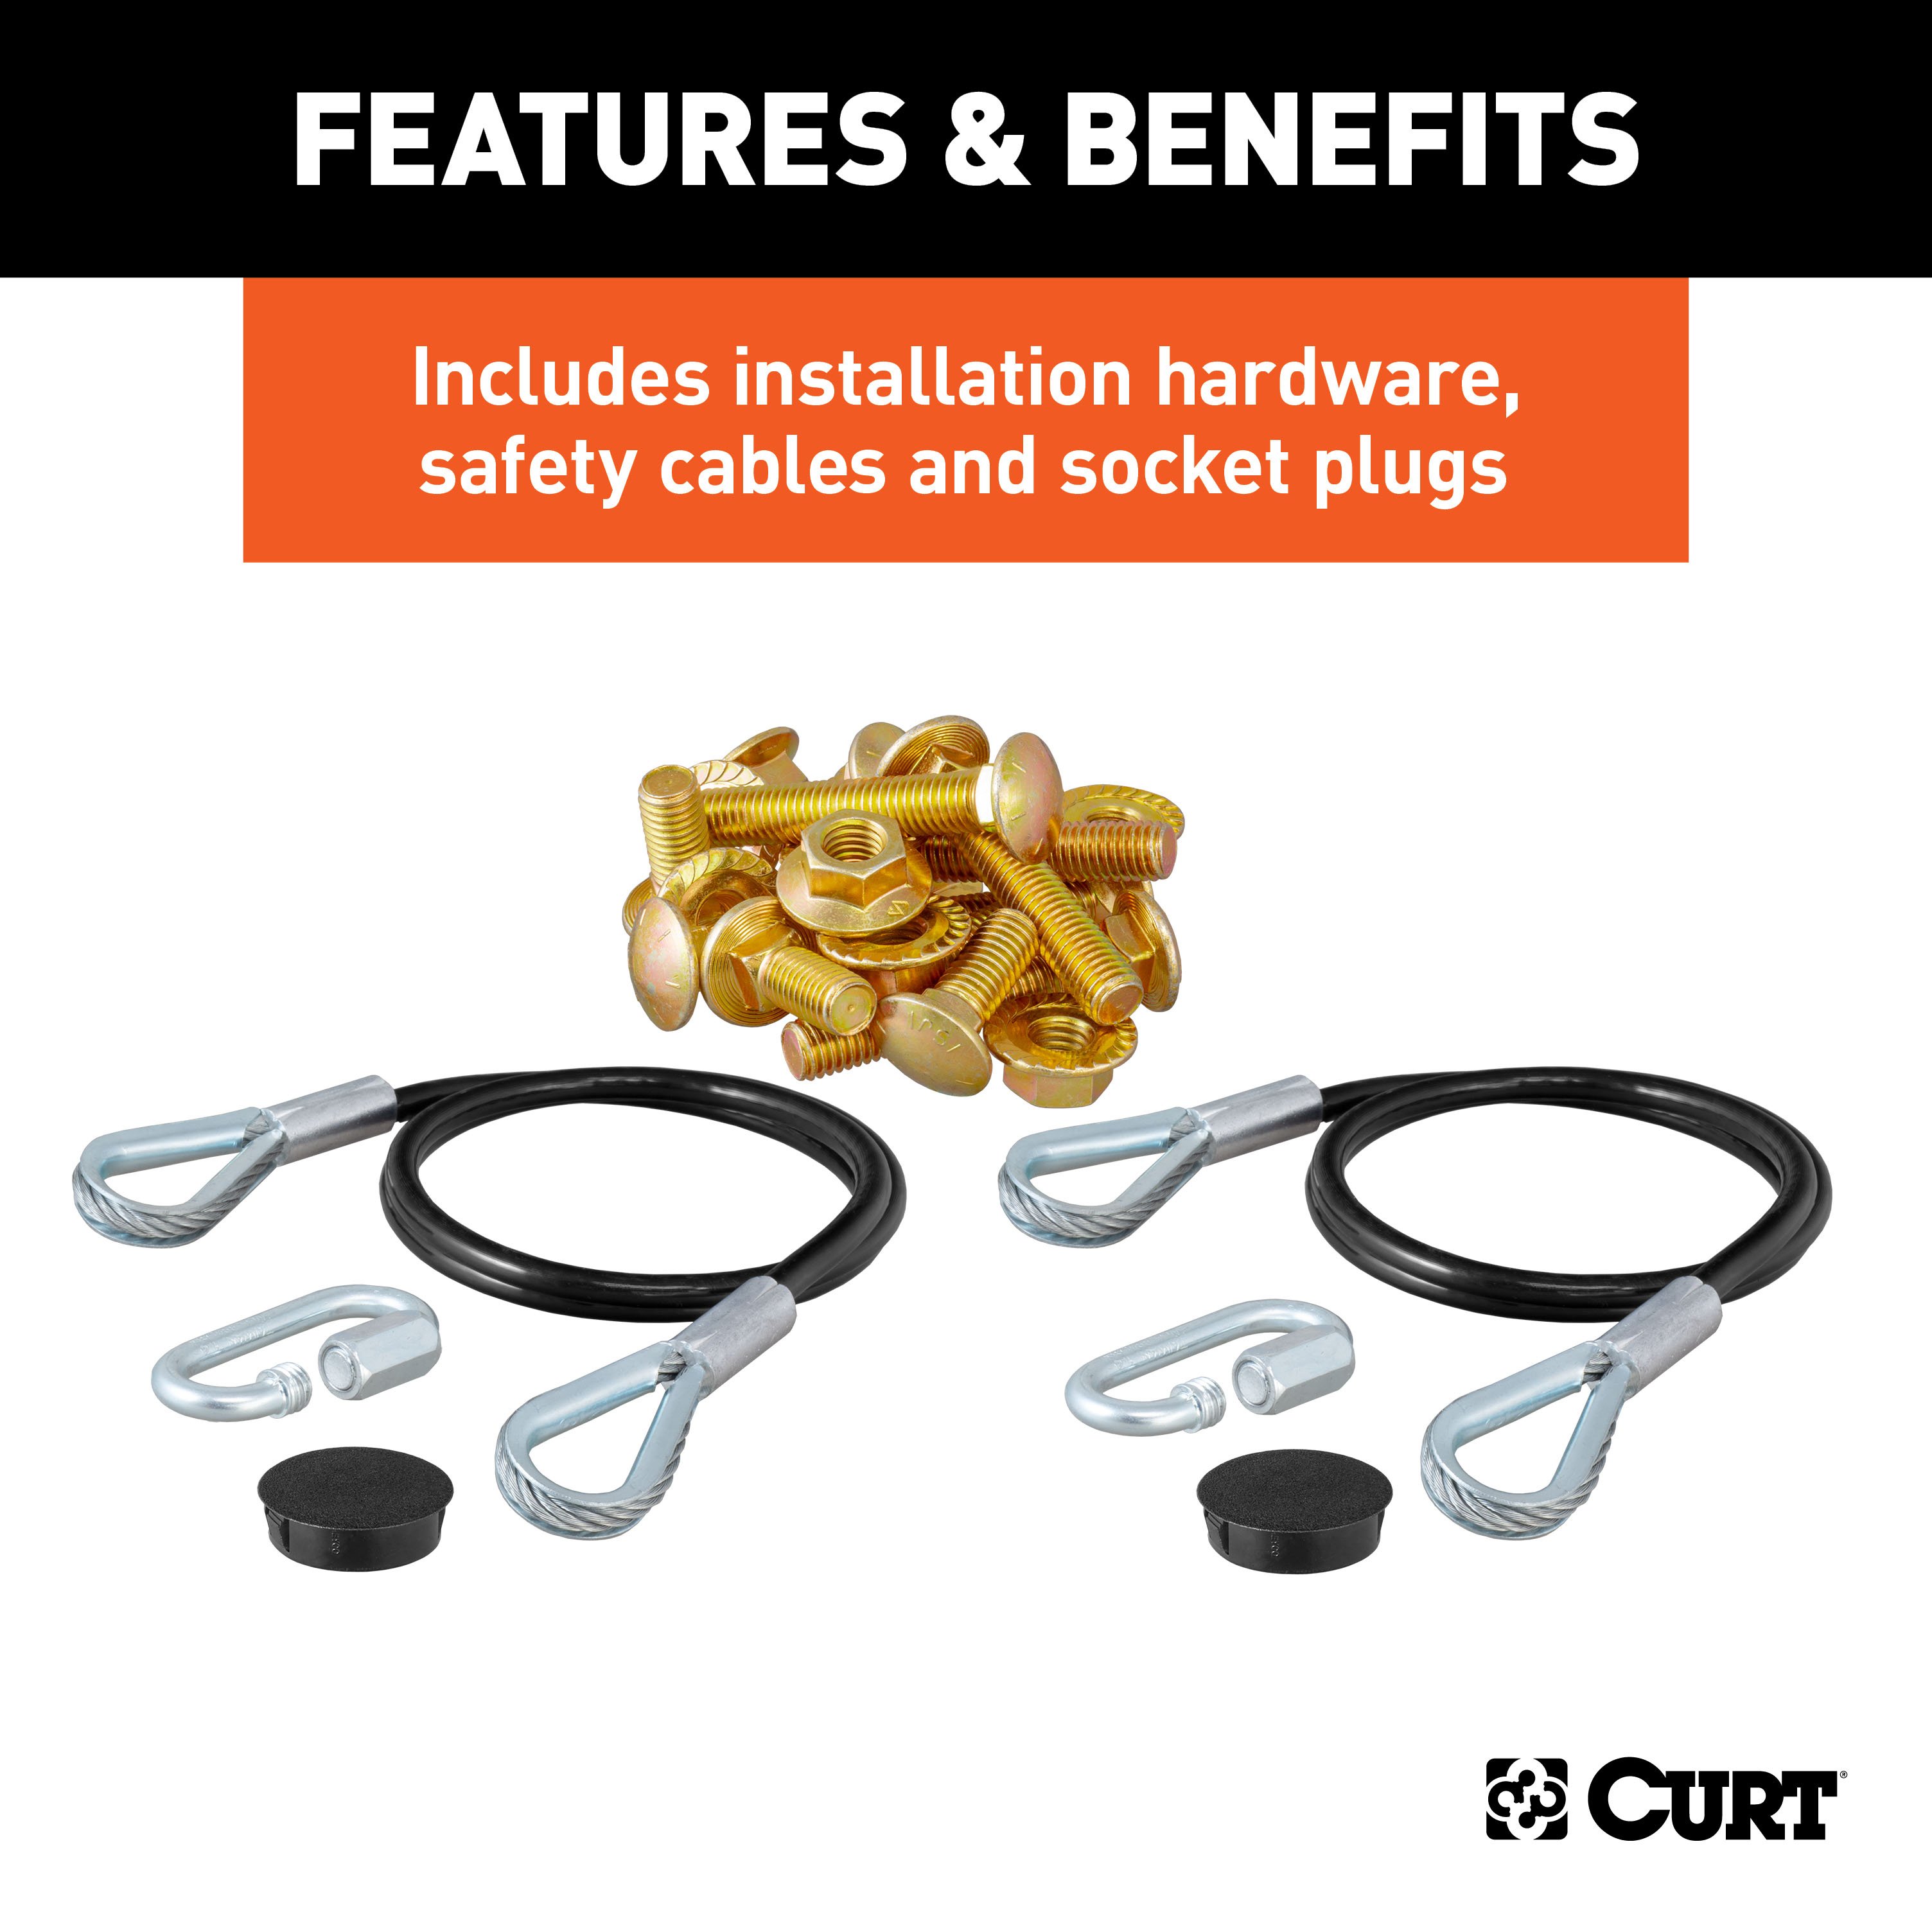
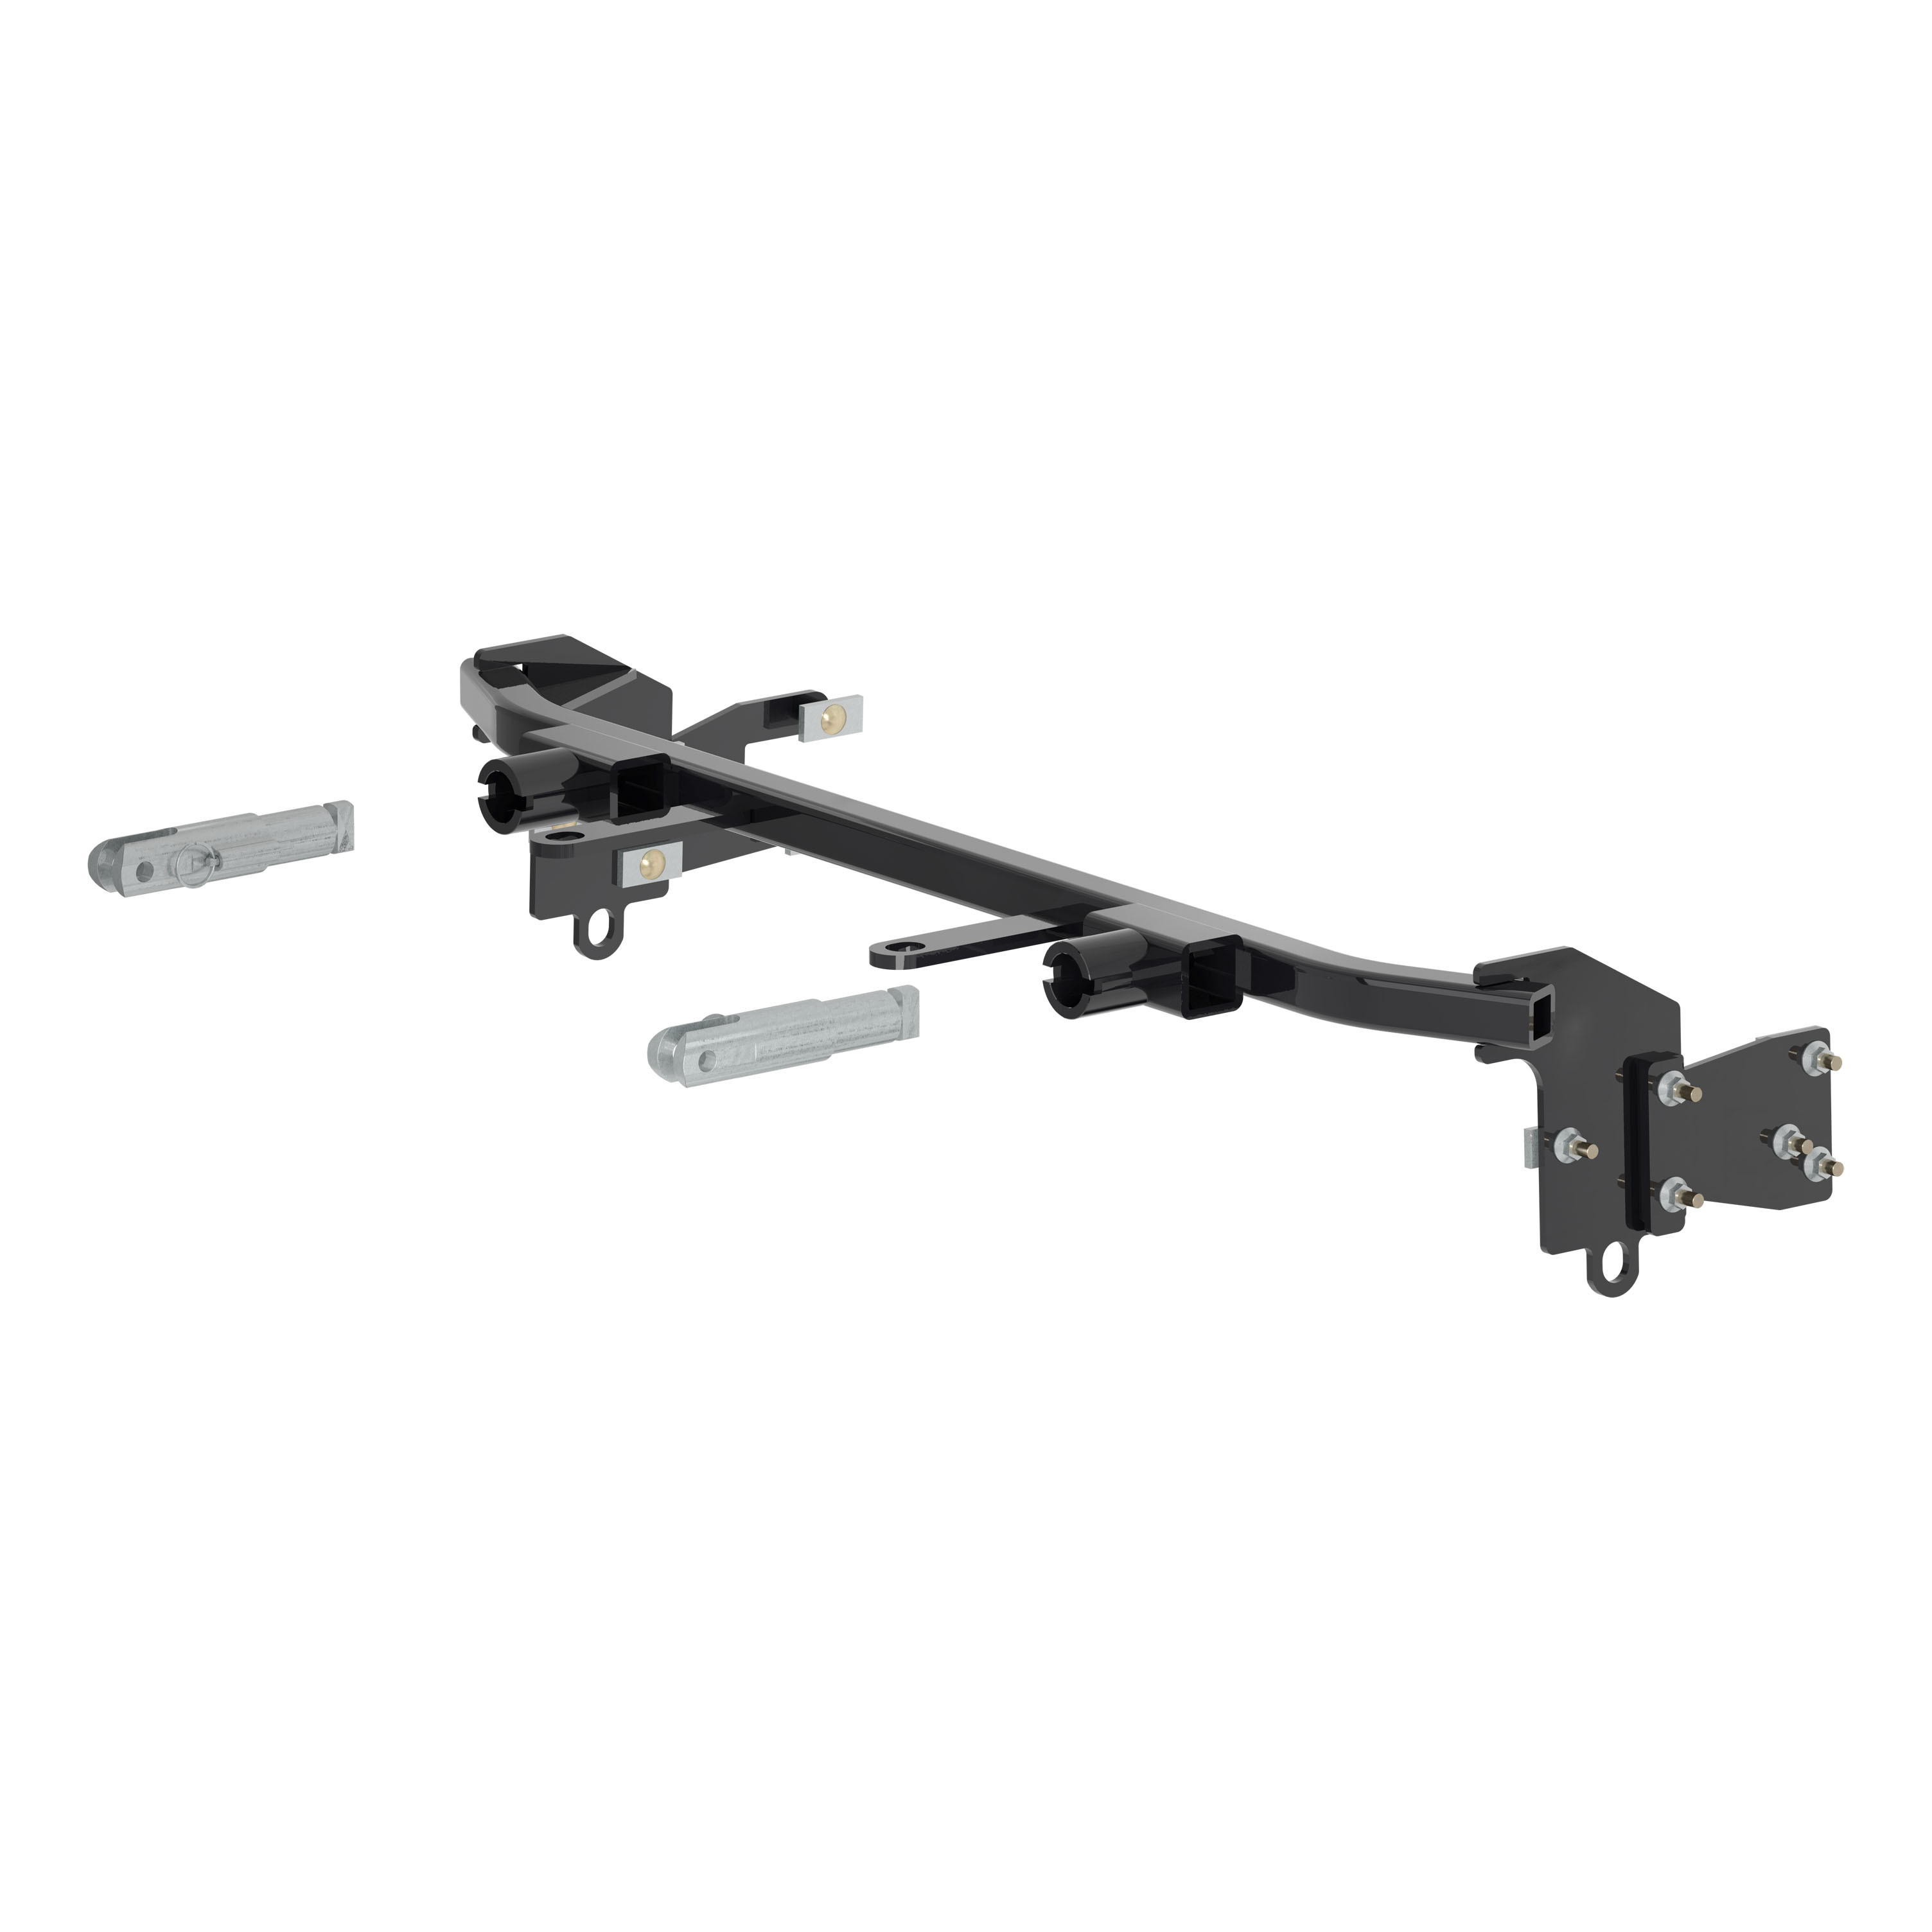
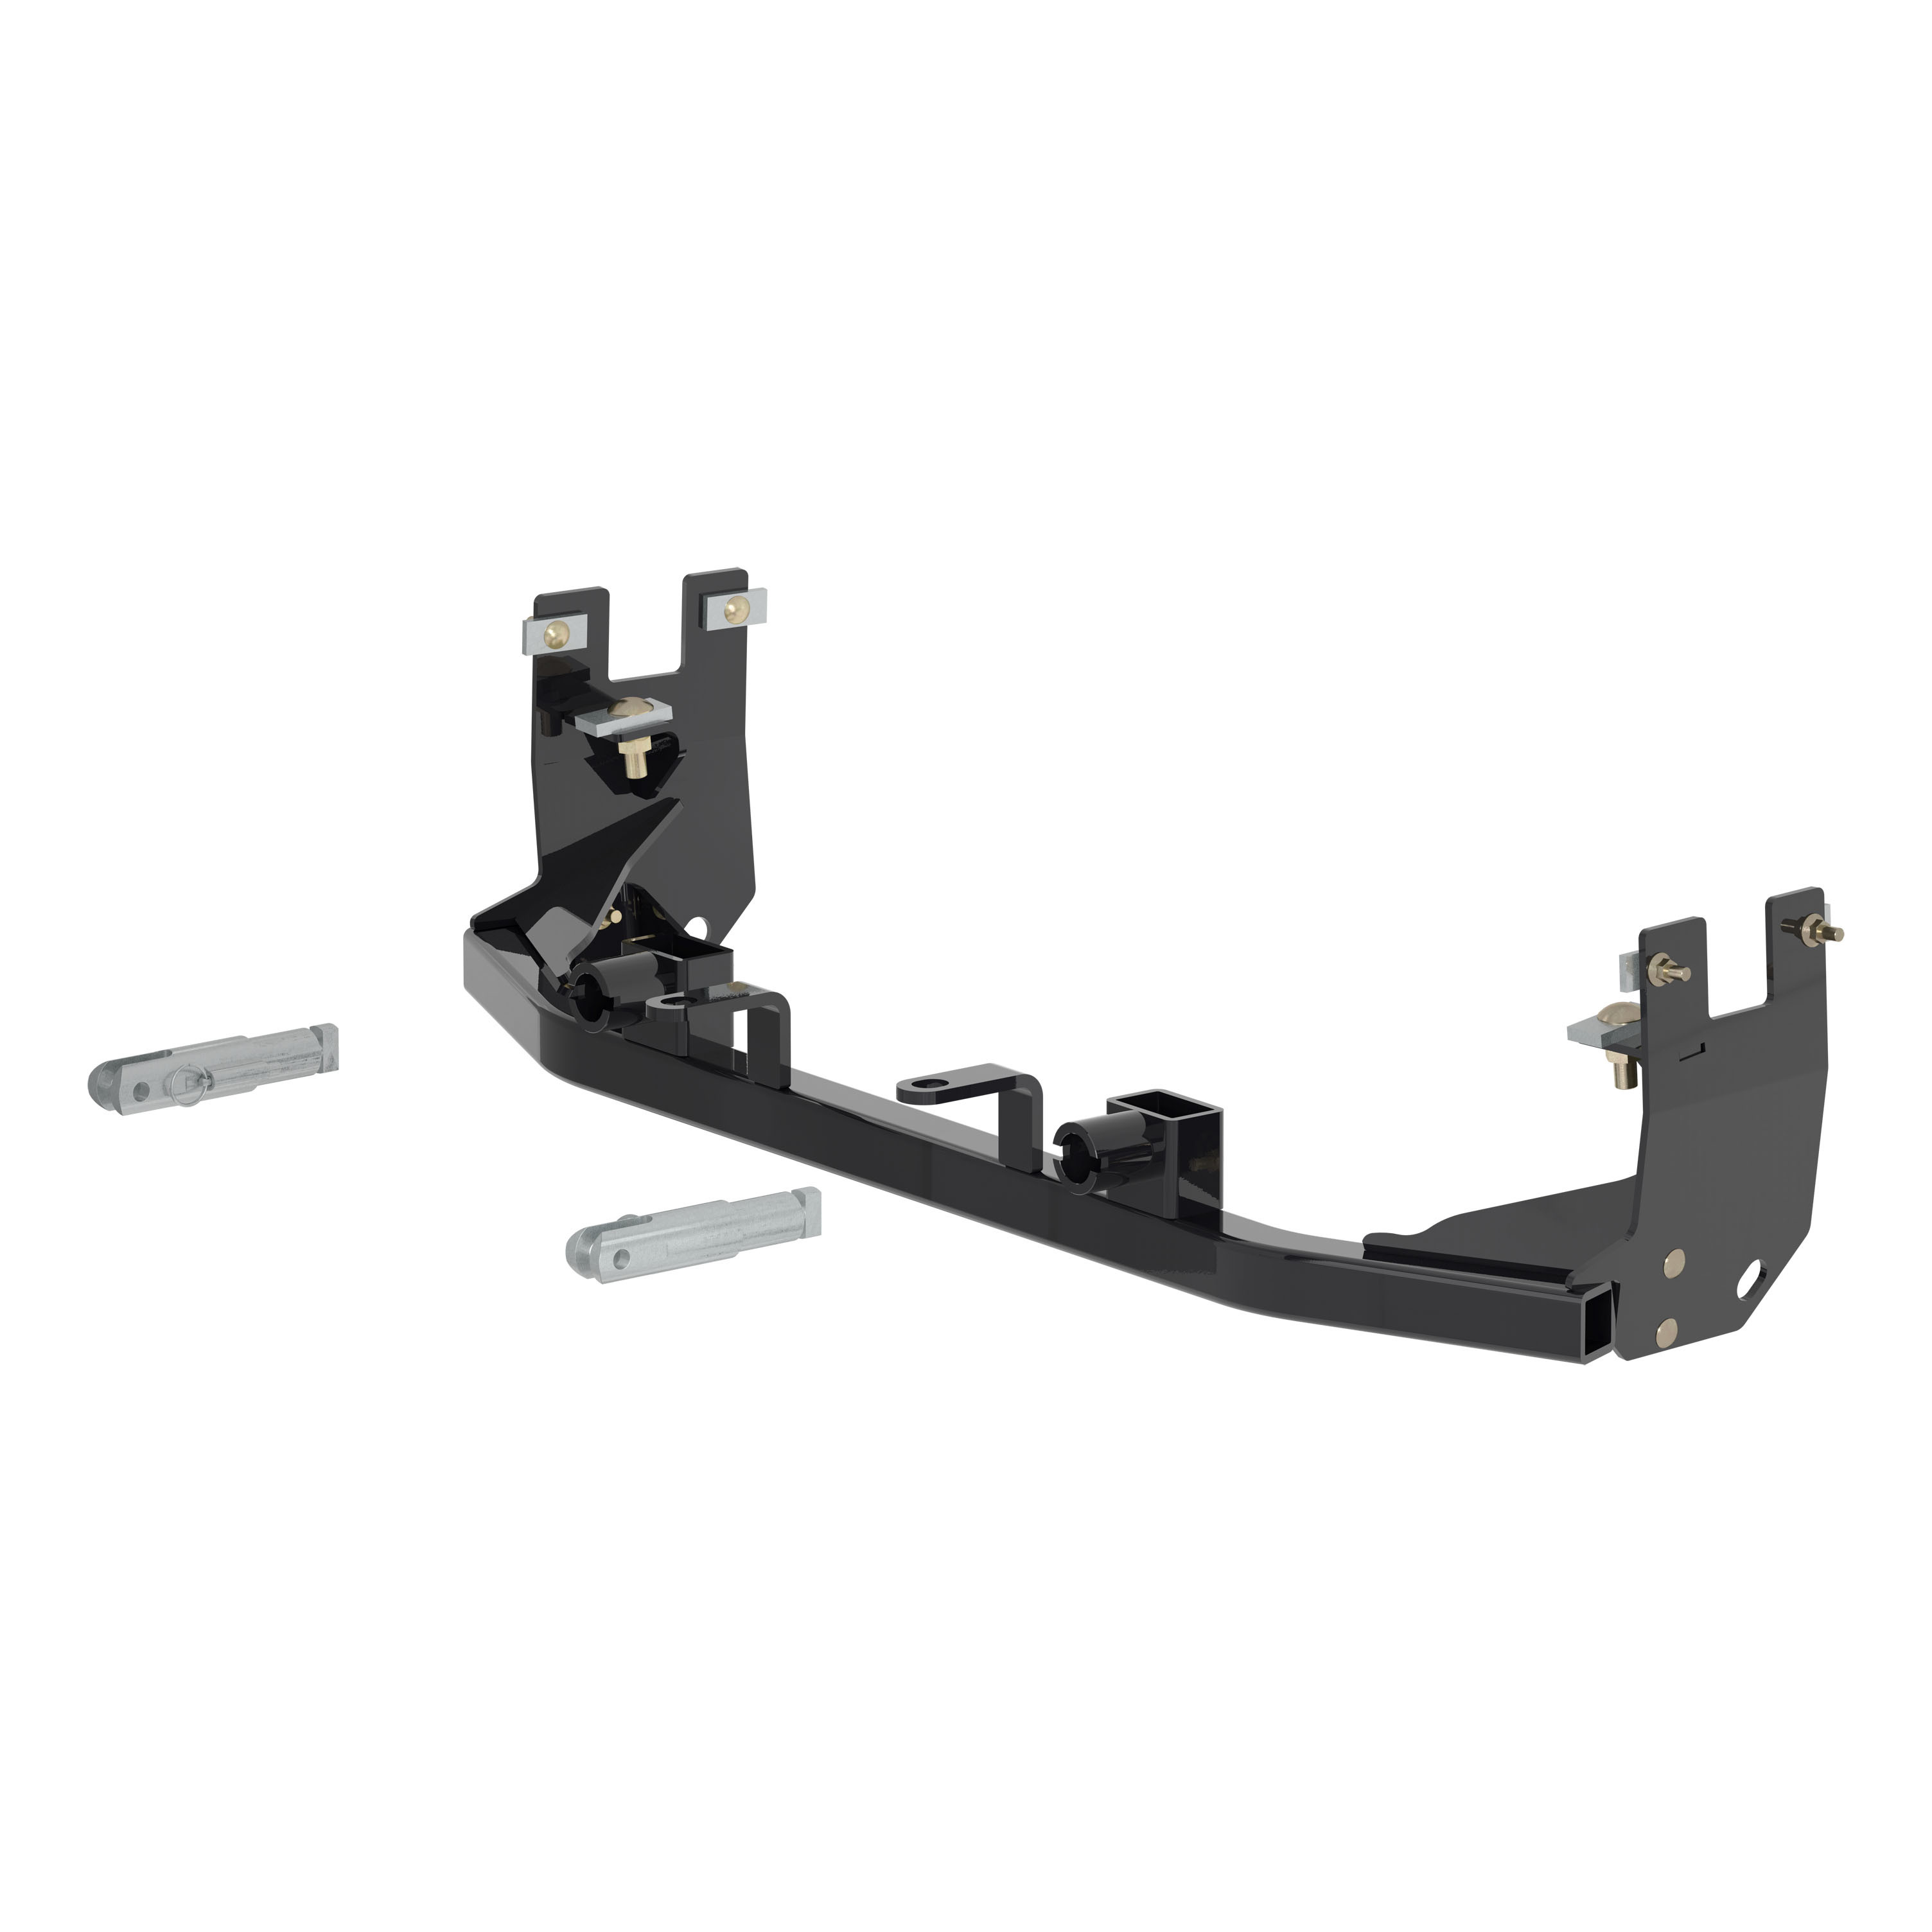
Includes base plate, safety cables and installation hardware (tow bar sold separately)

Includes base plate, safety cables and installation hardware (tow bar sold separately)

Warranty: Limited Lifetime Warranty (One-Year Finish, One-Year Parts)
Finish: GLOSS BLACK POWDER COAT
Installation Difficulty: Professional
Installation Time Exact (Minutes): 180
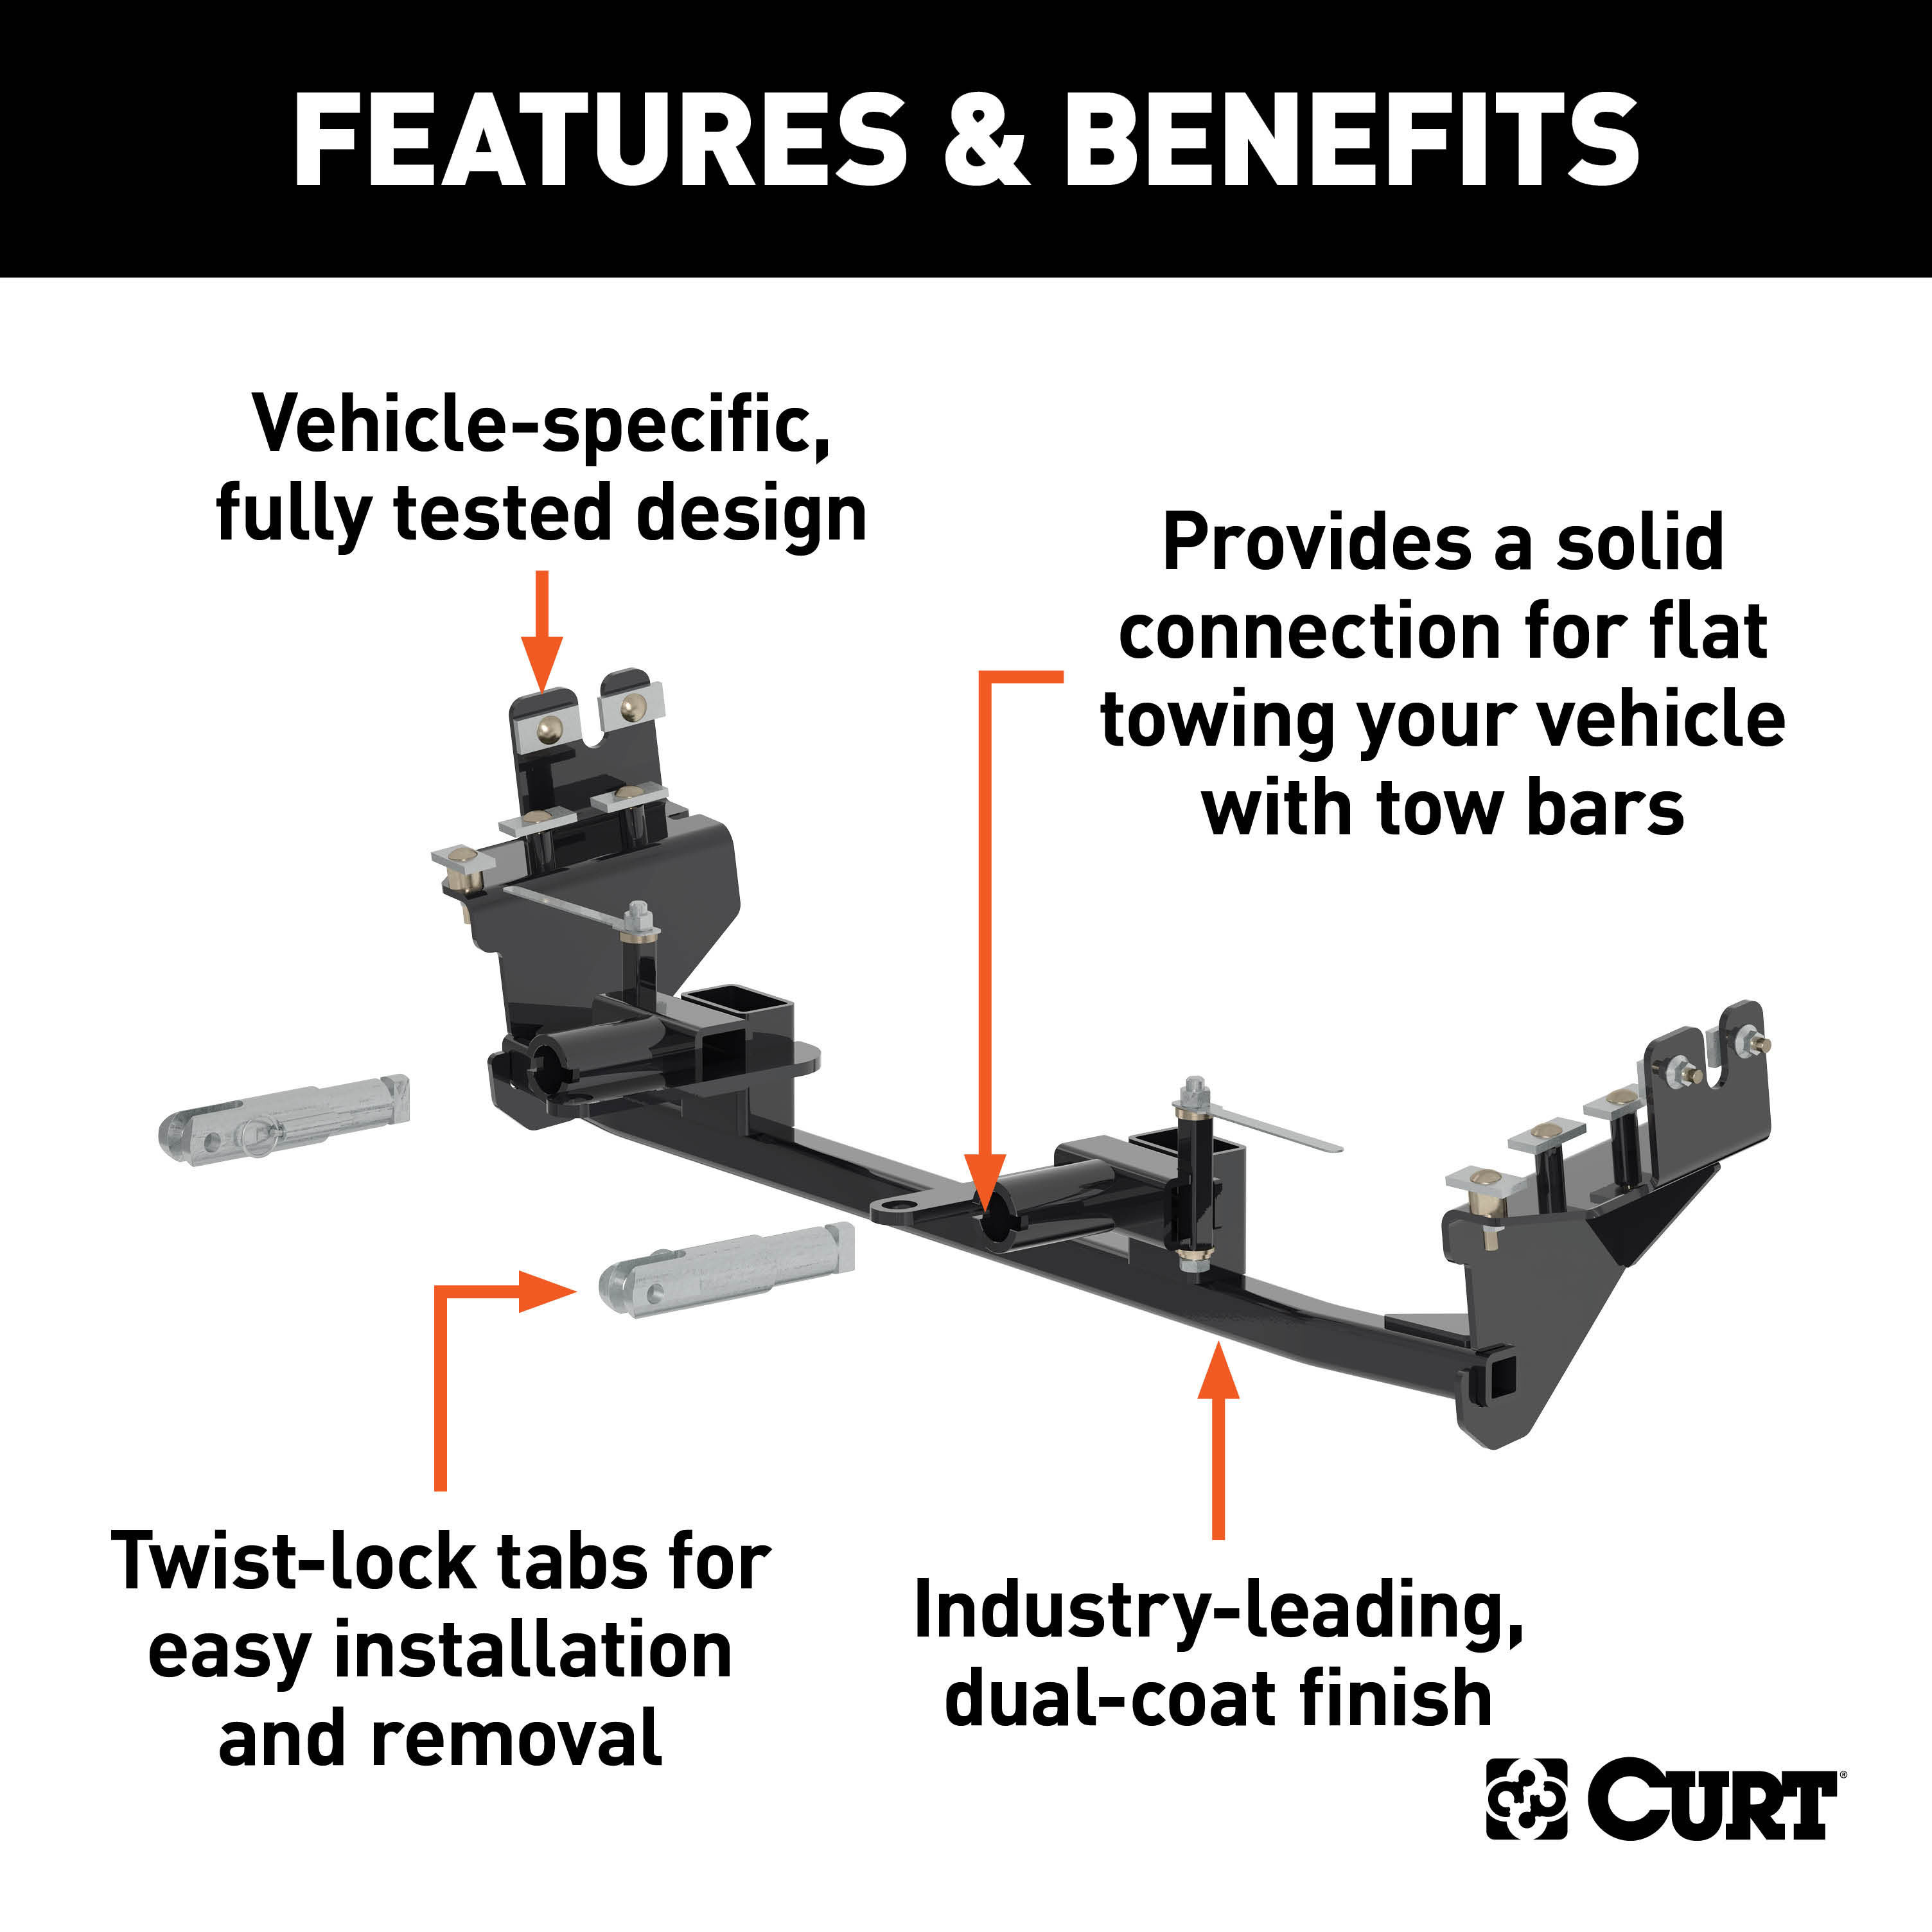
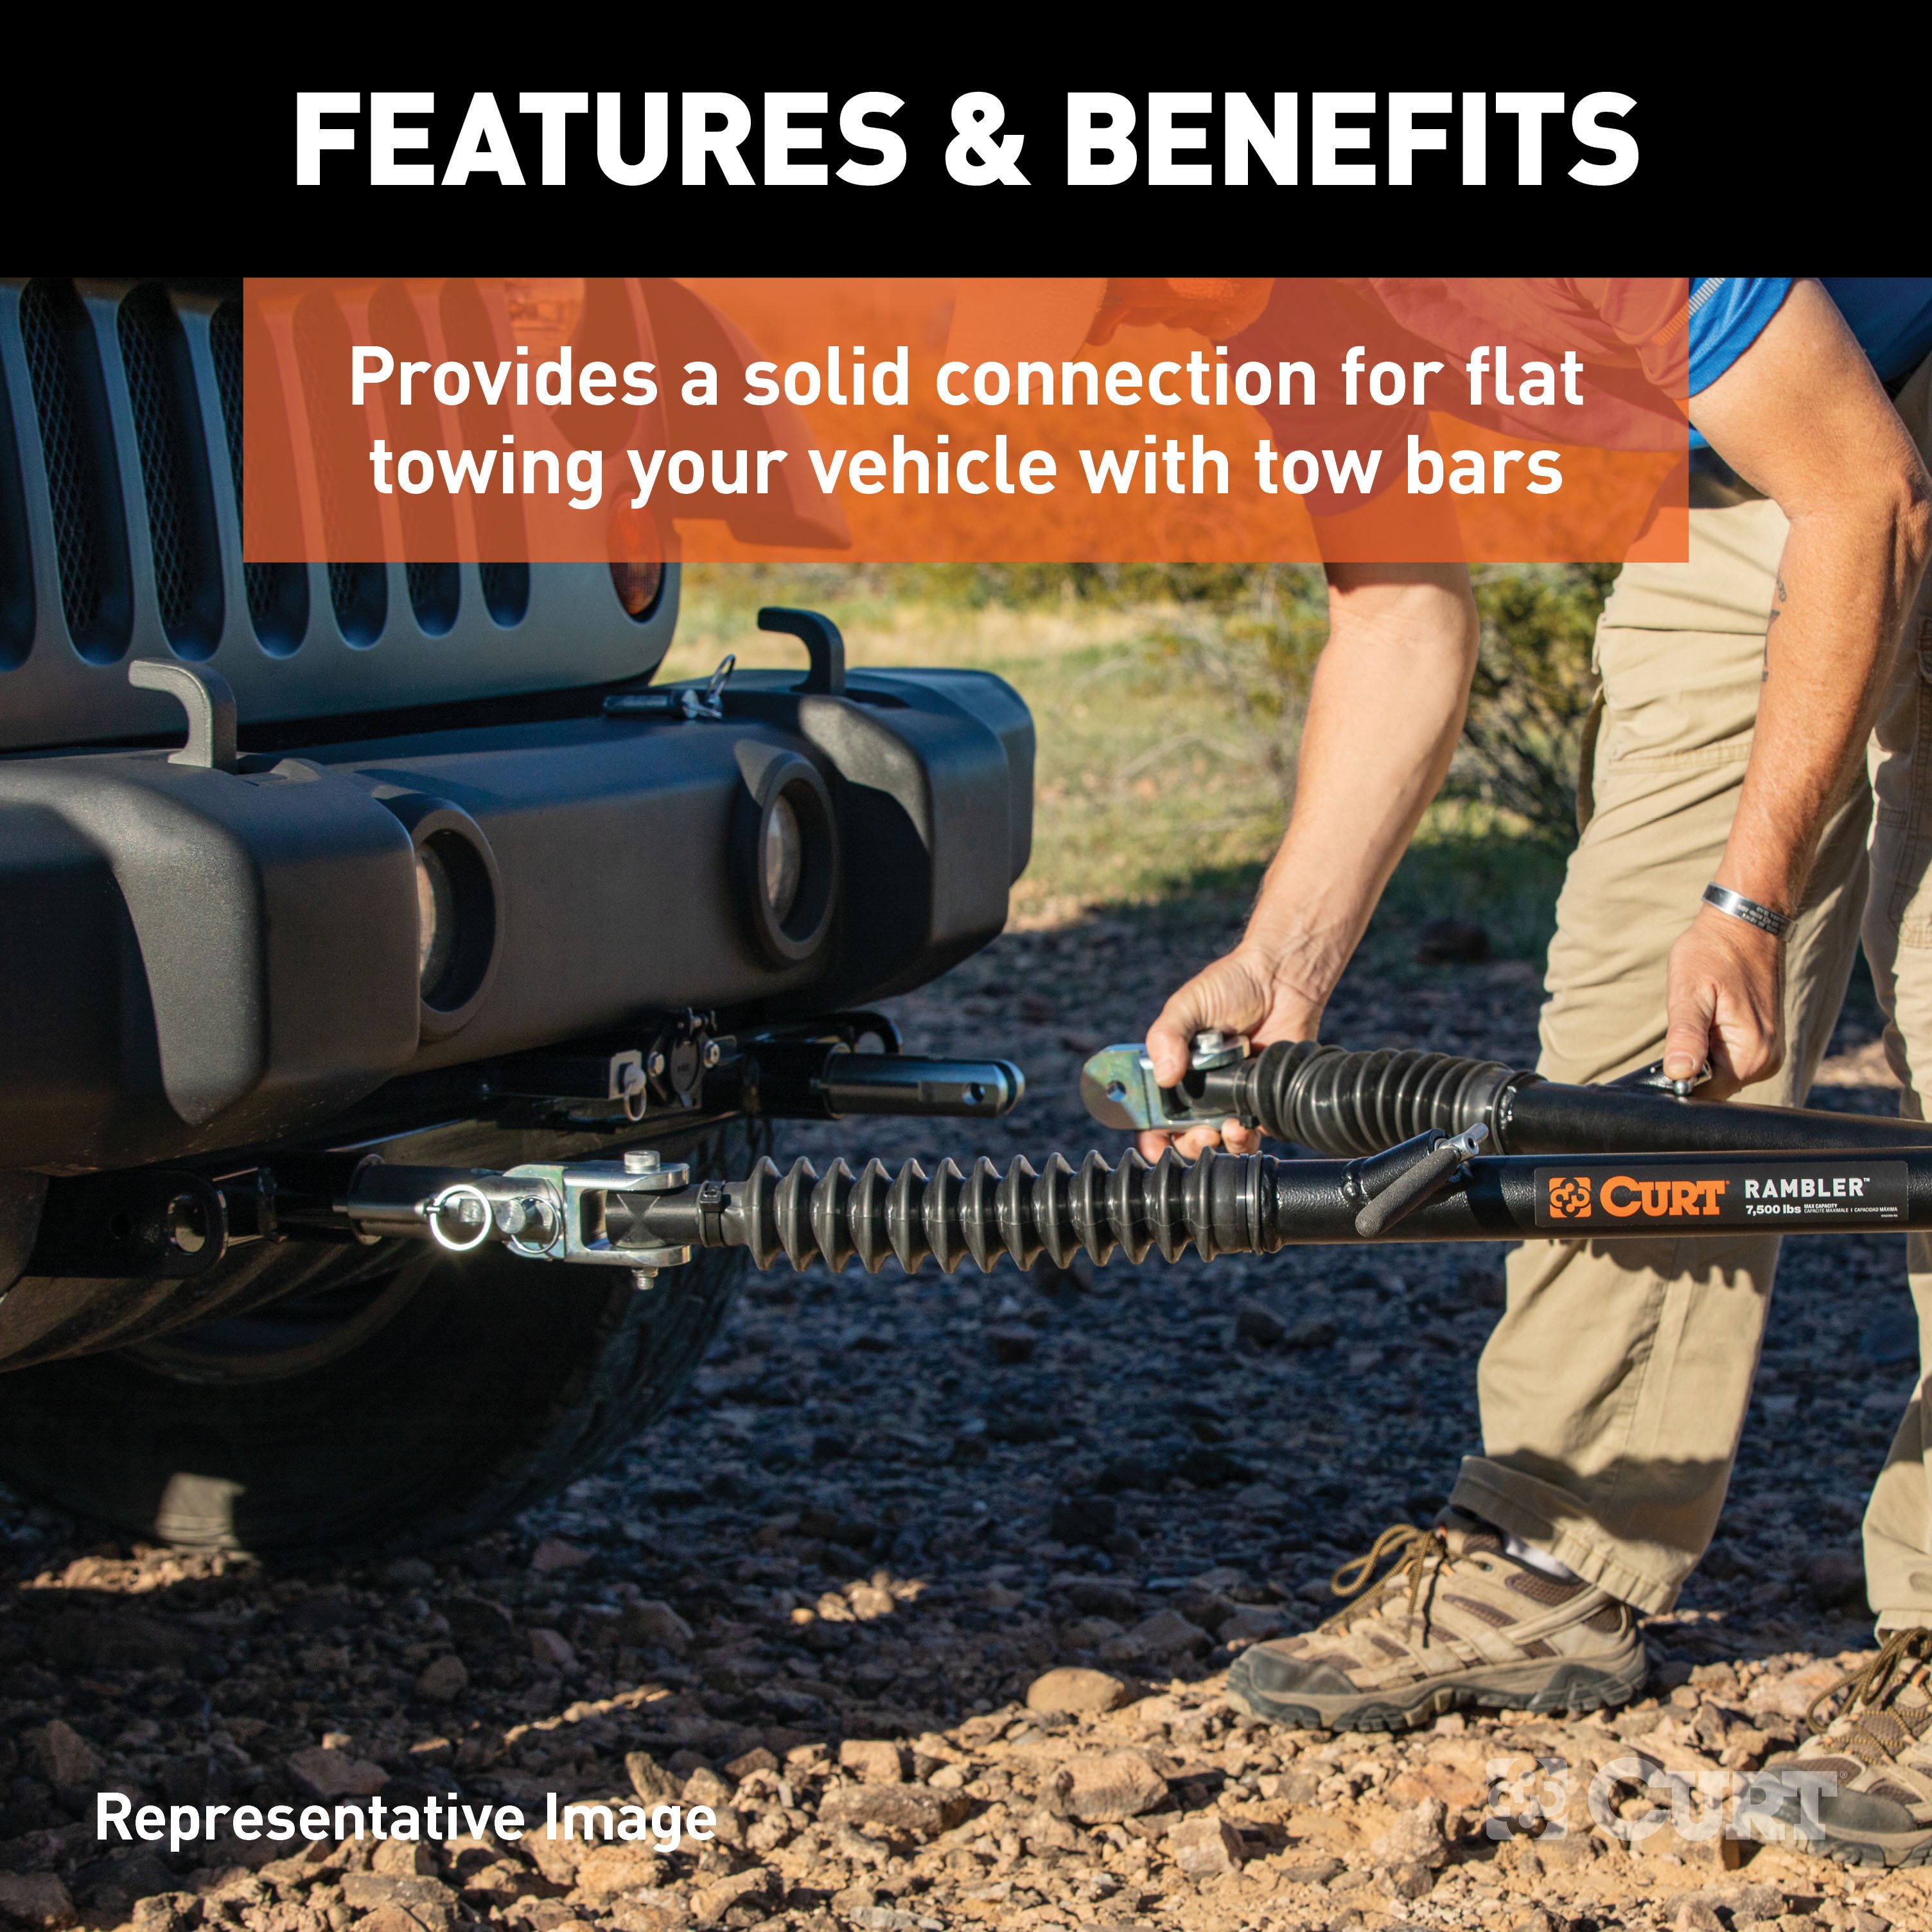
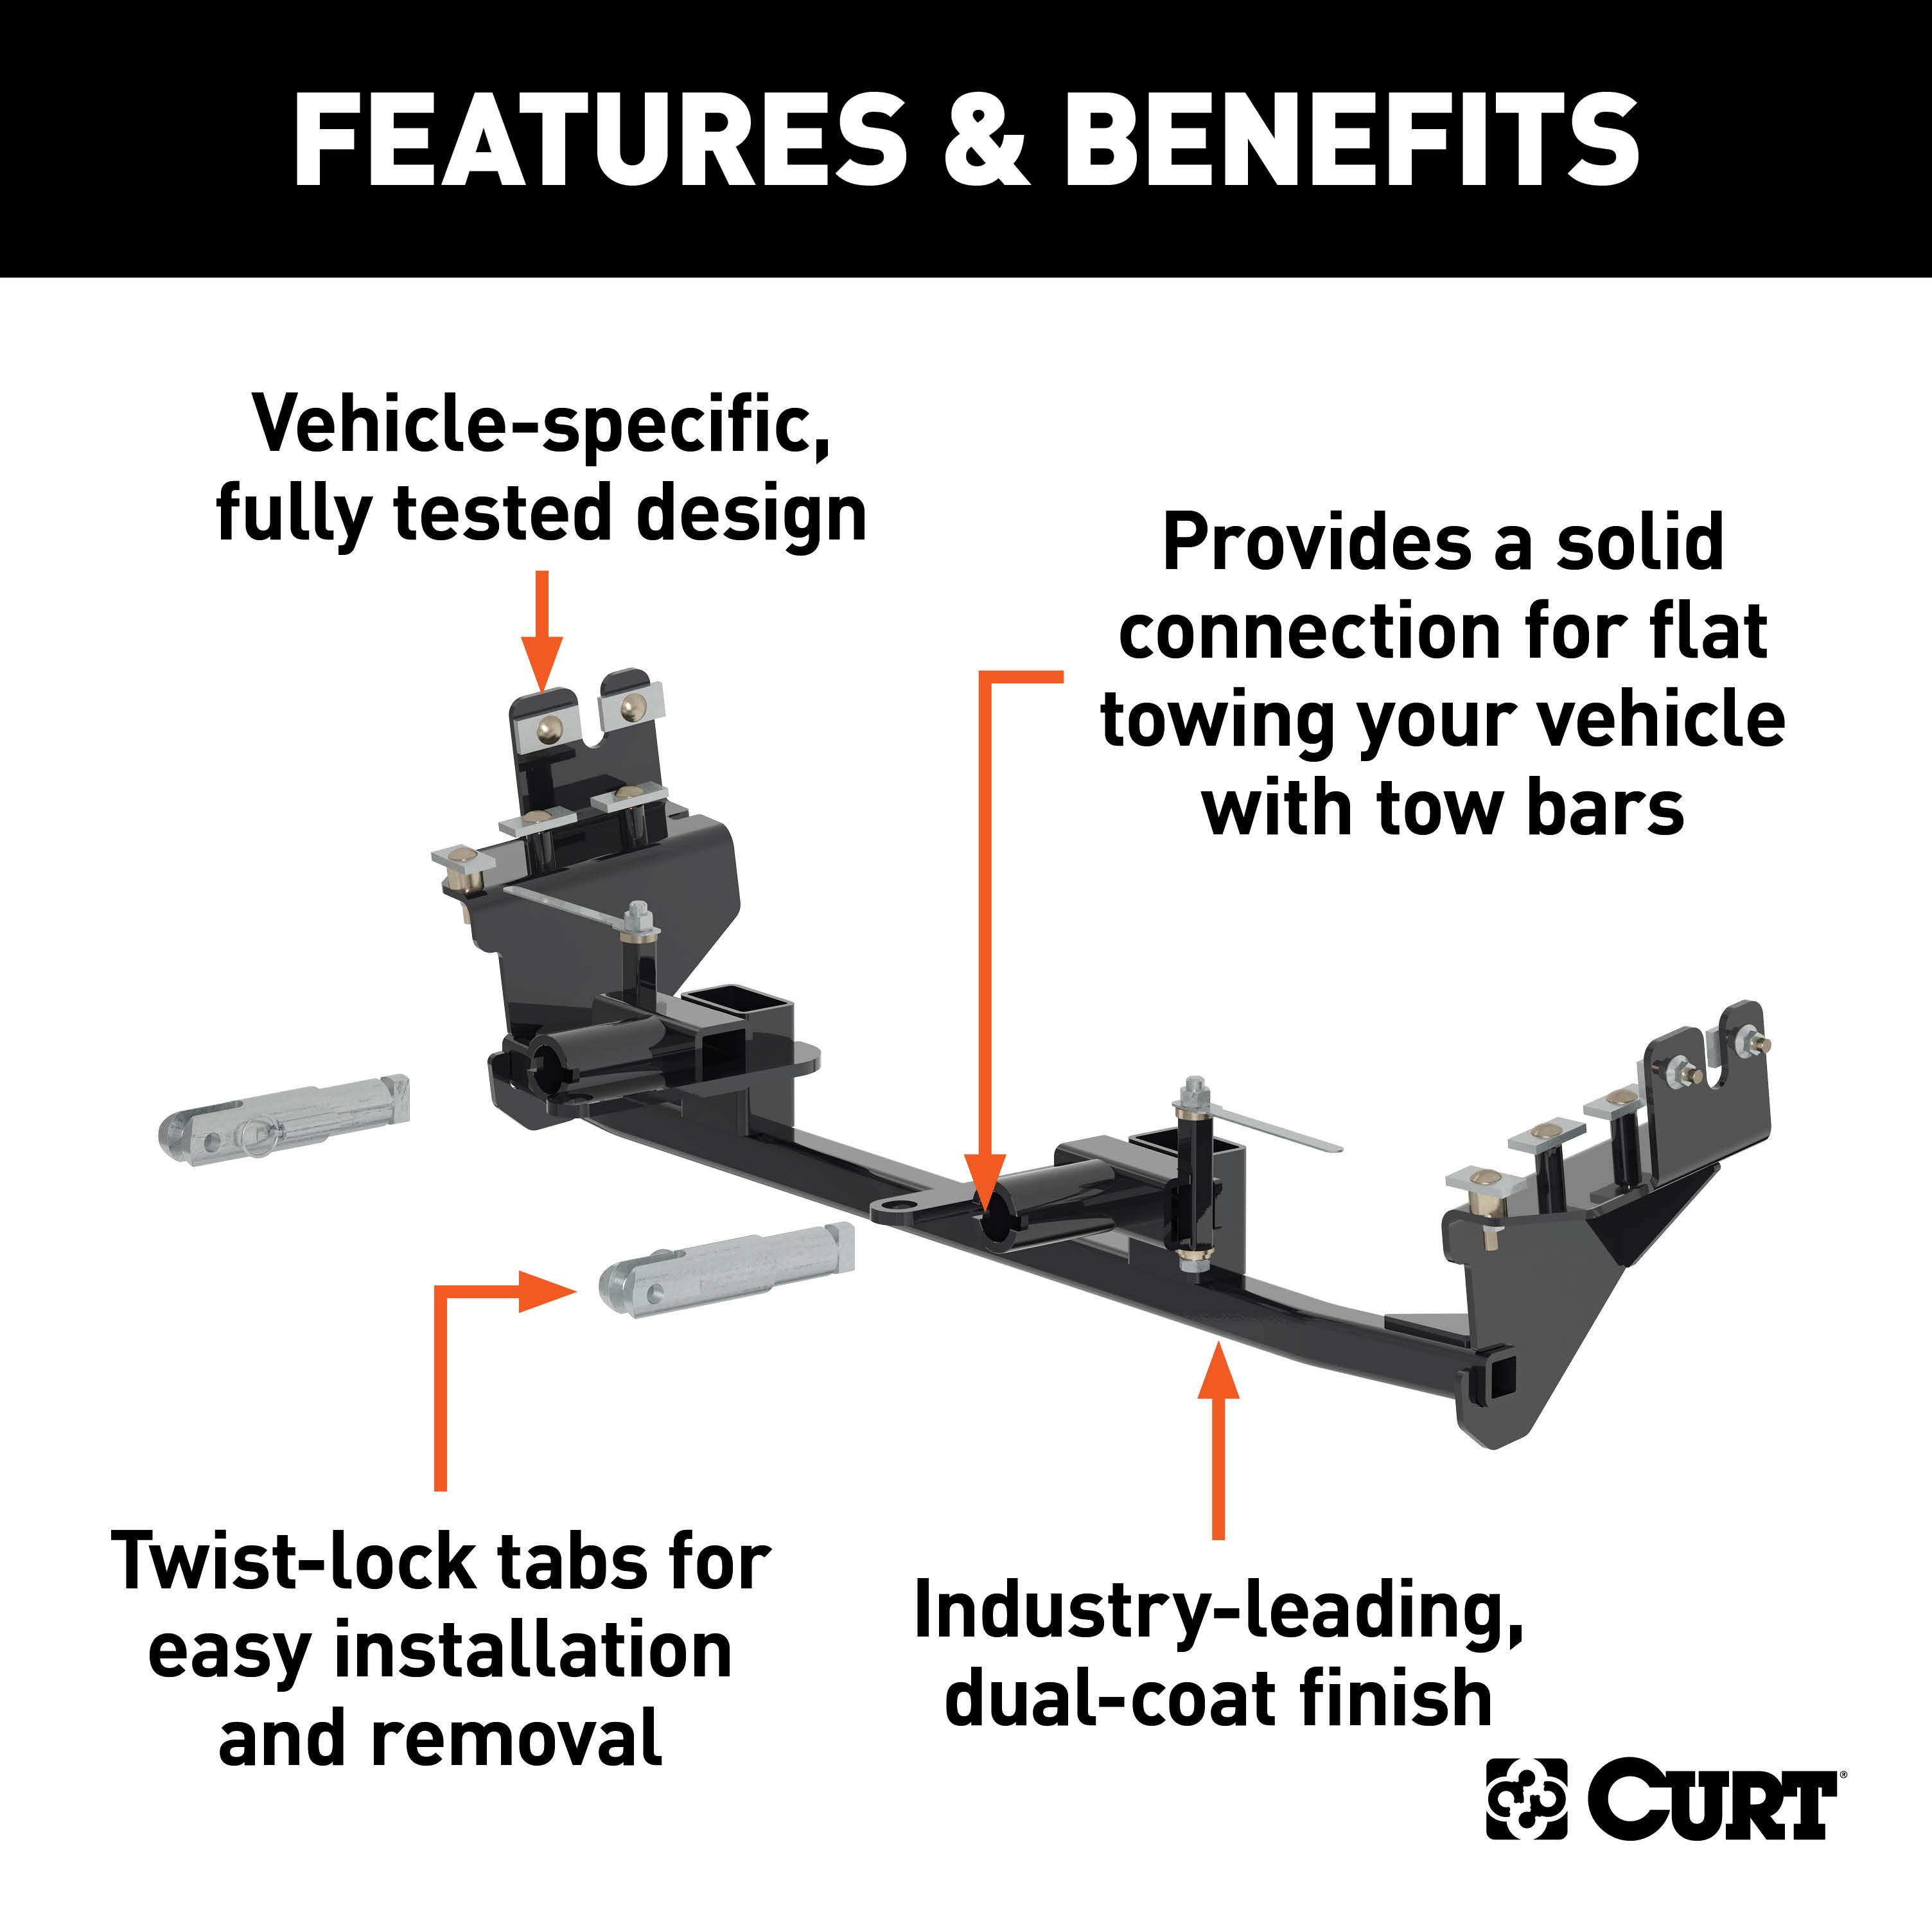
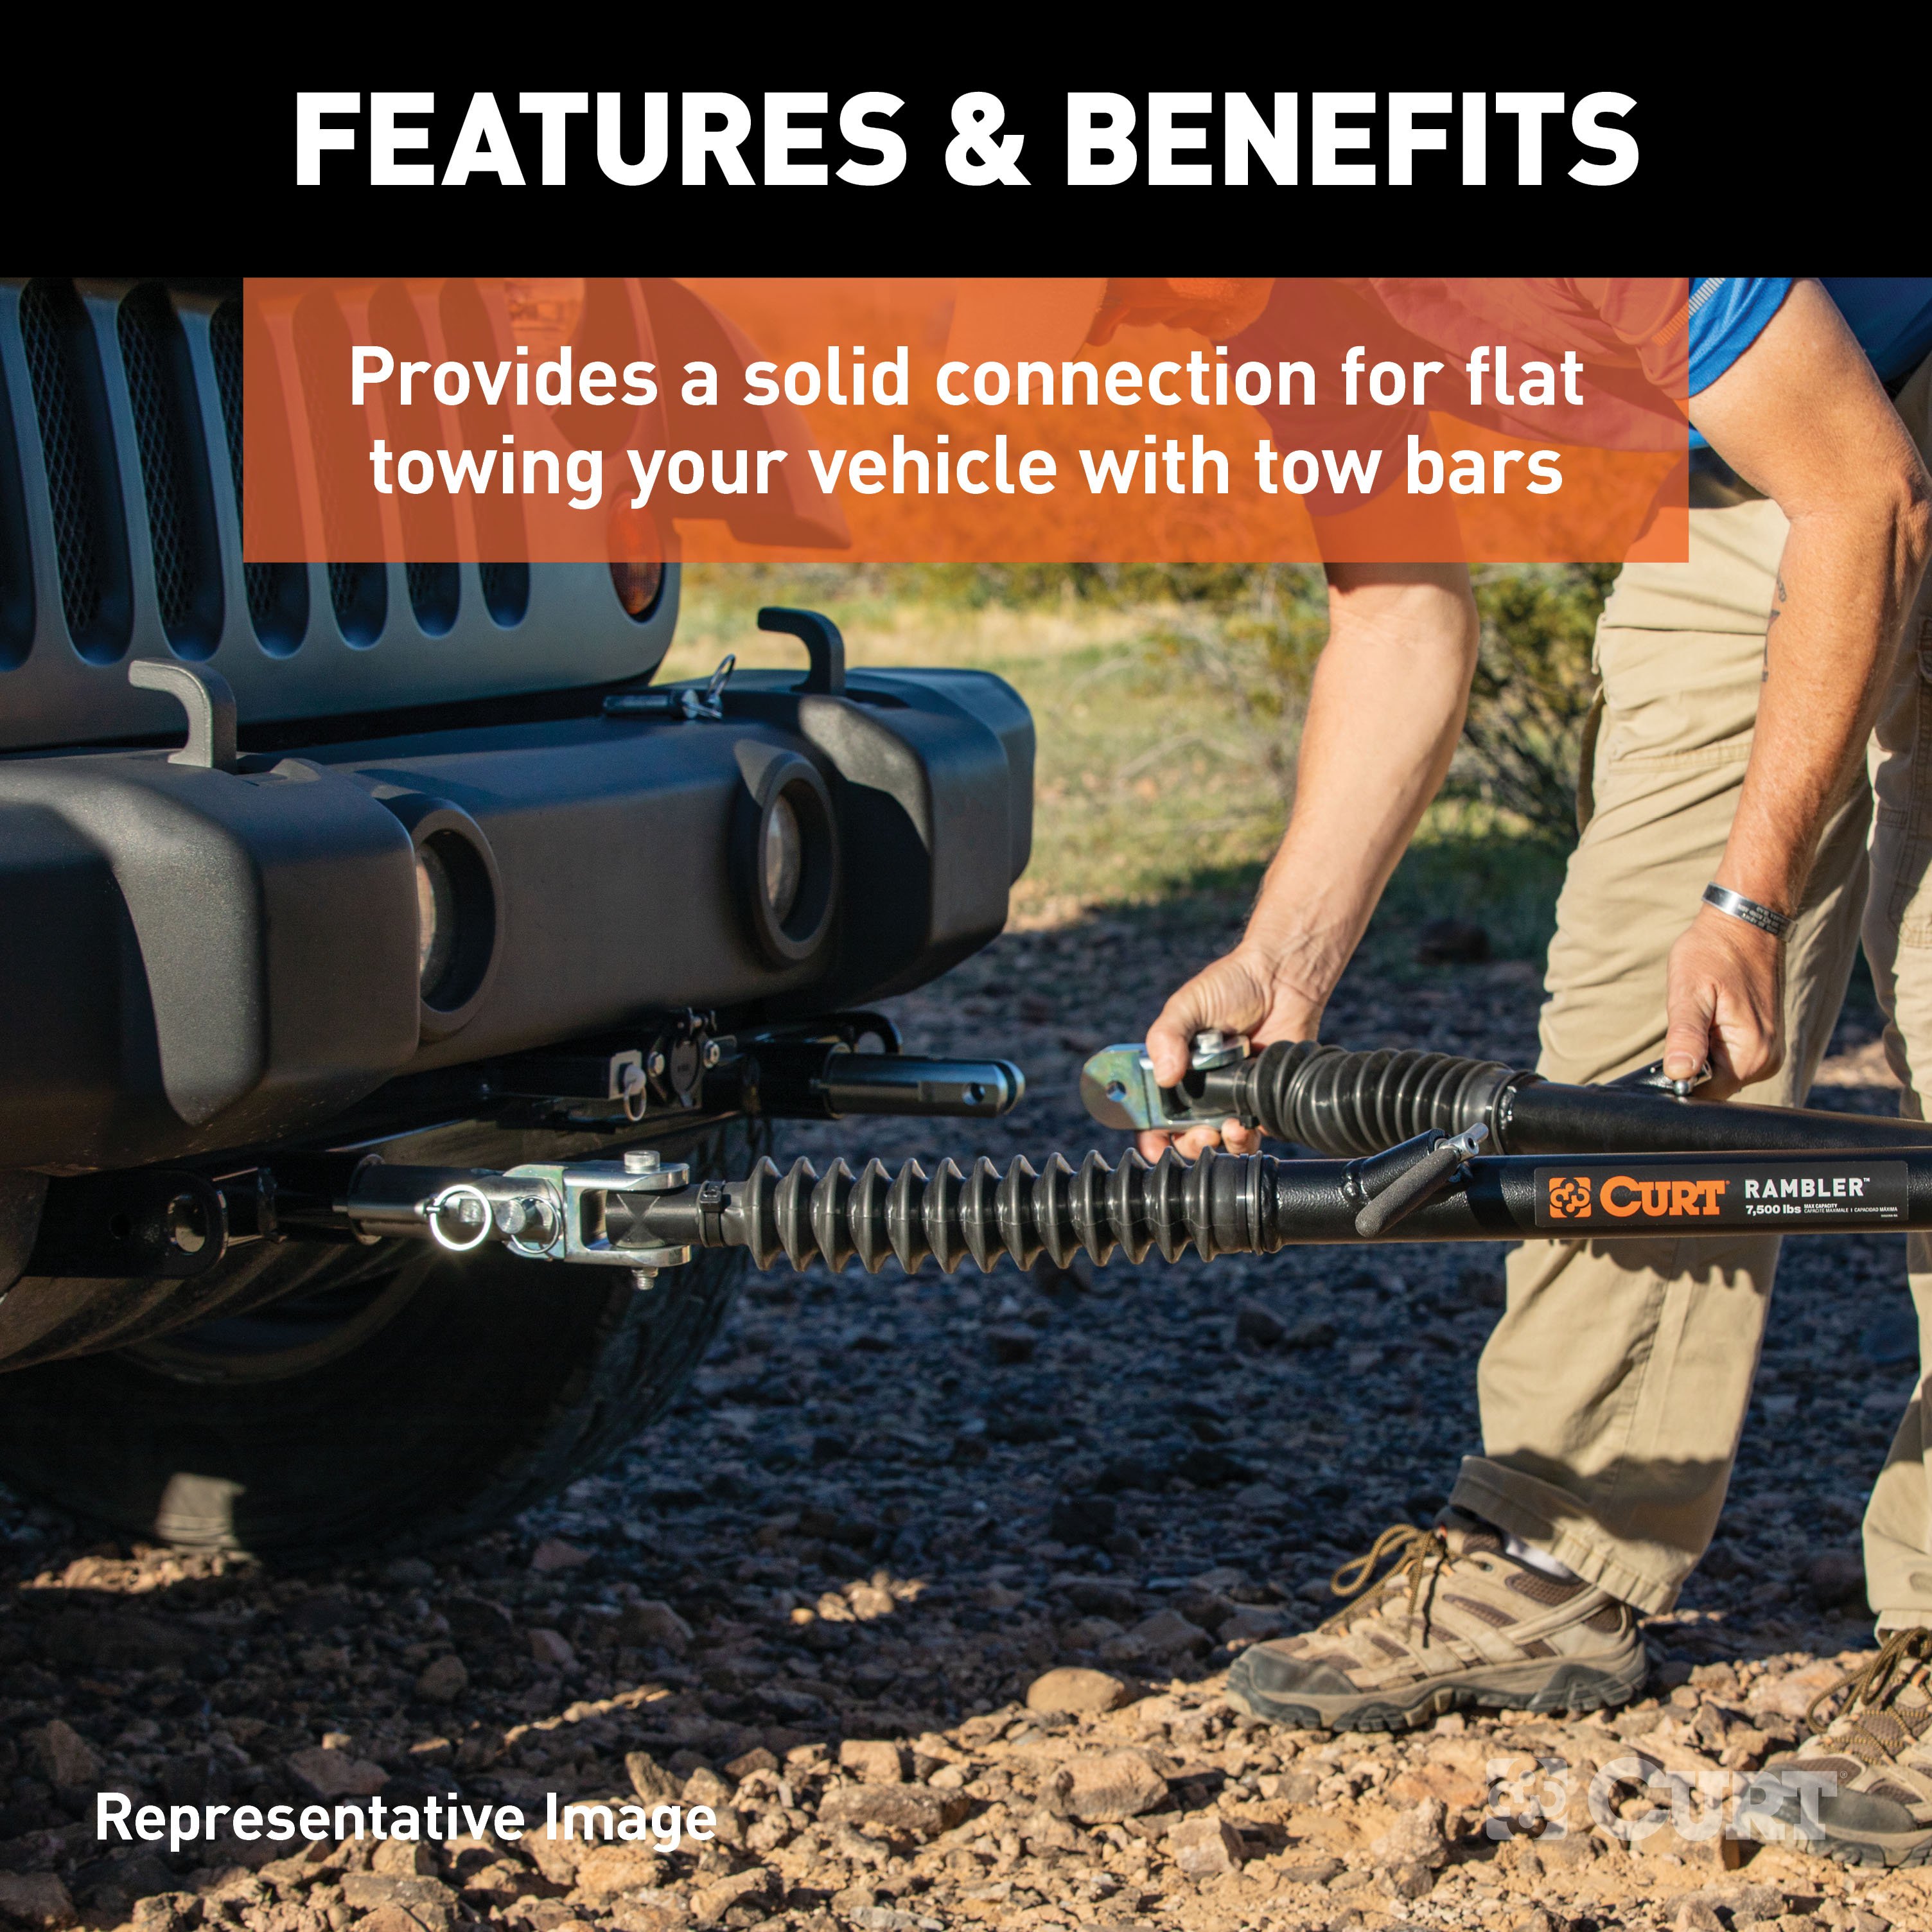
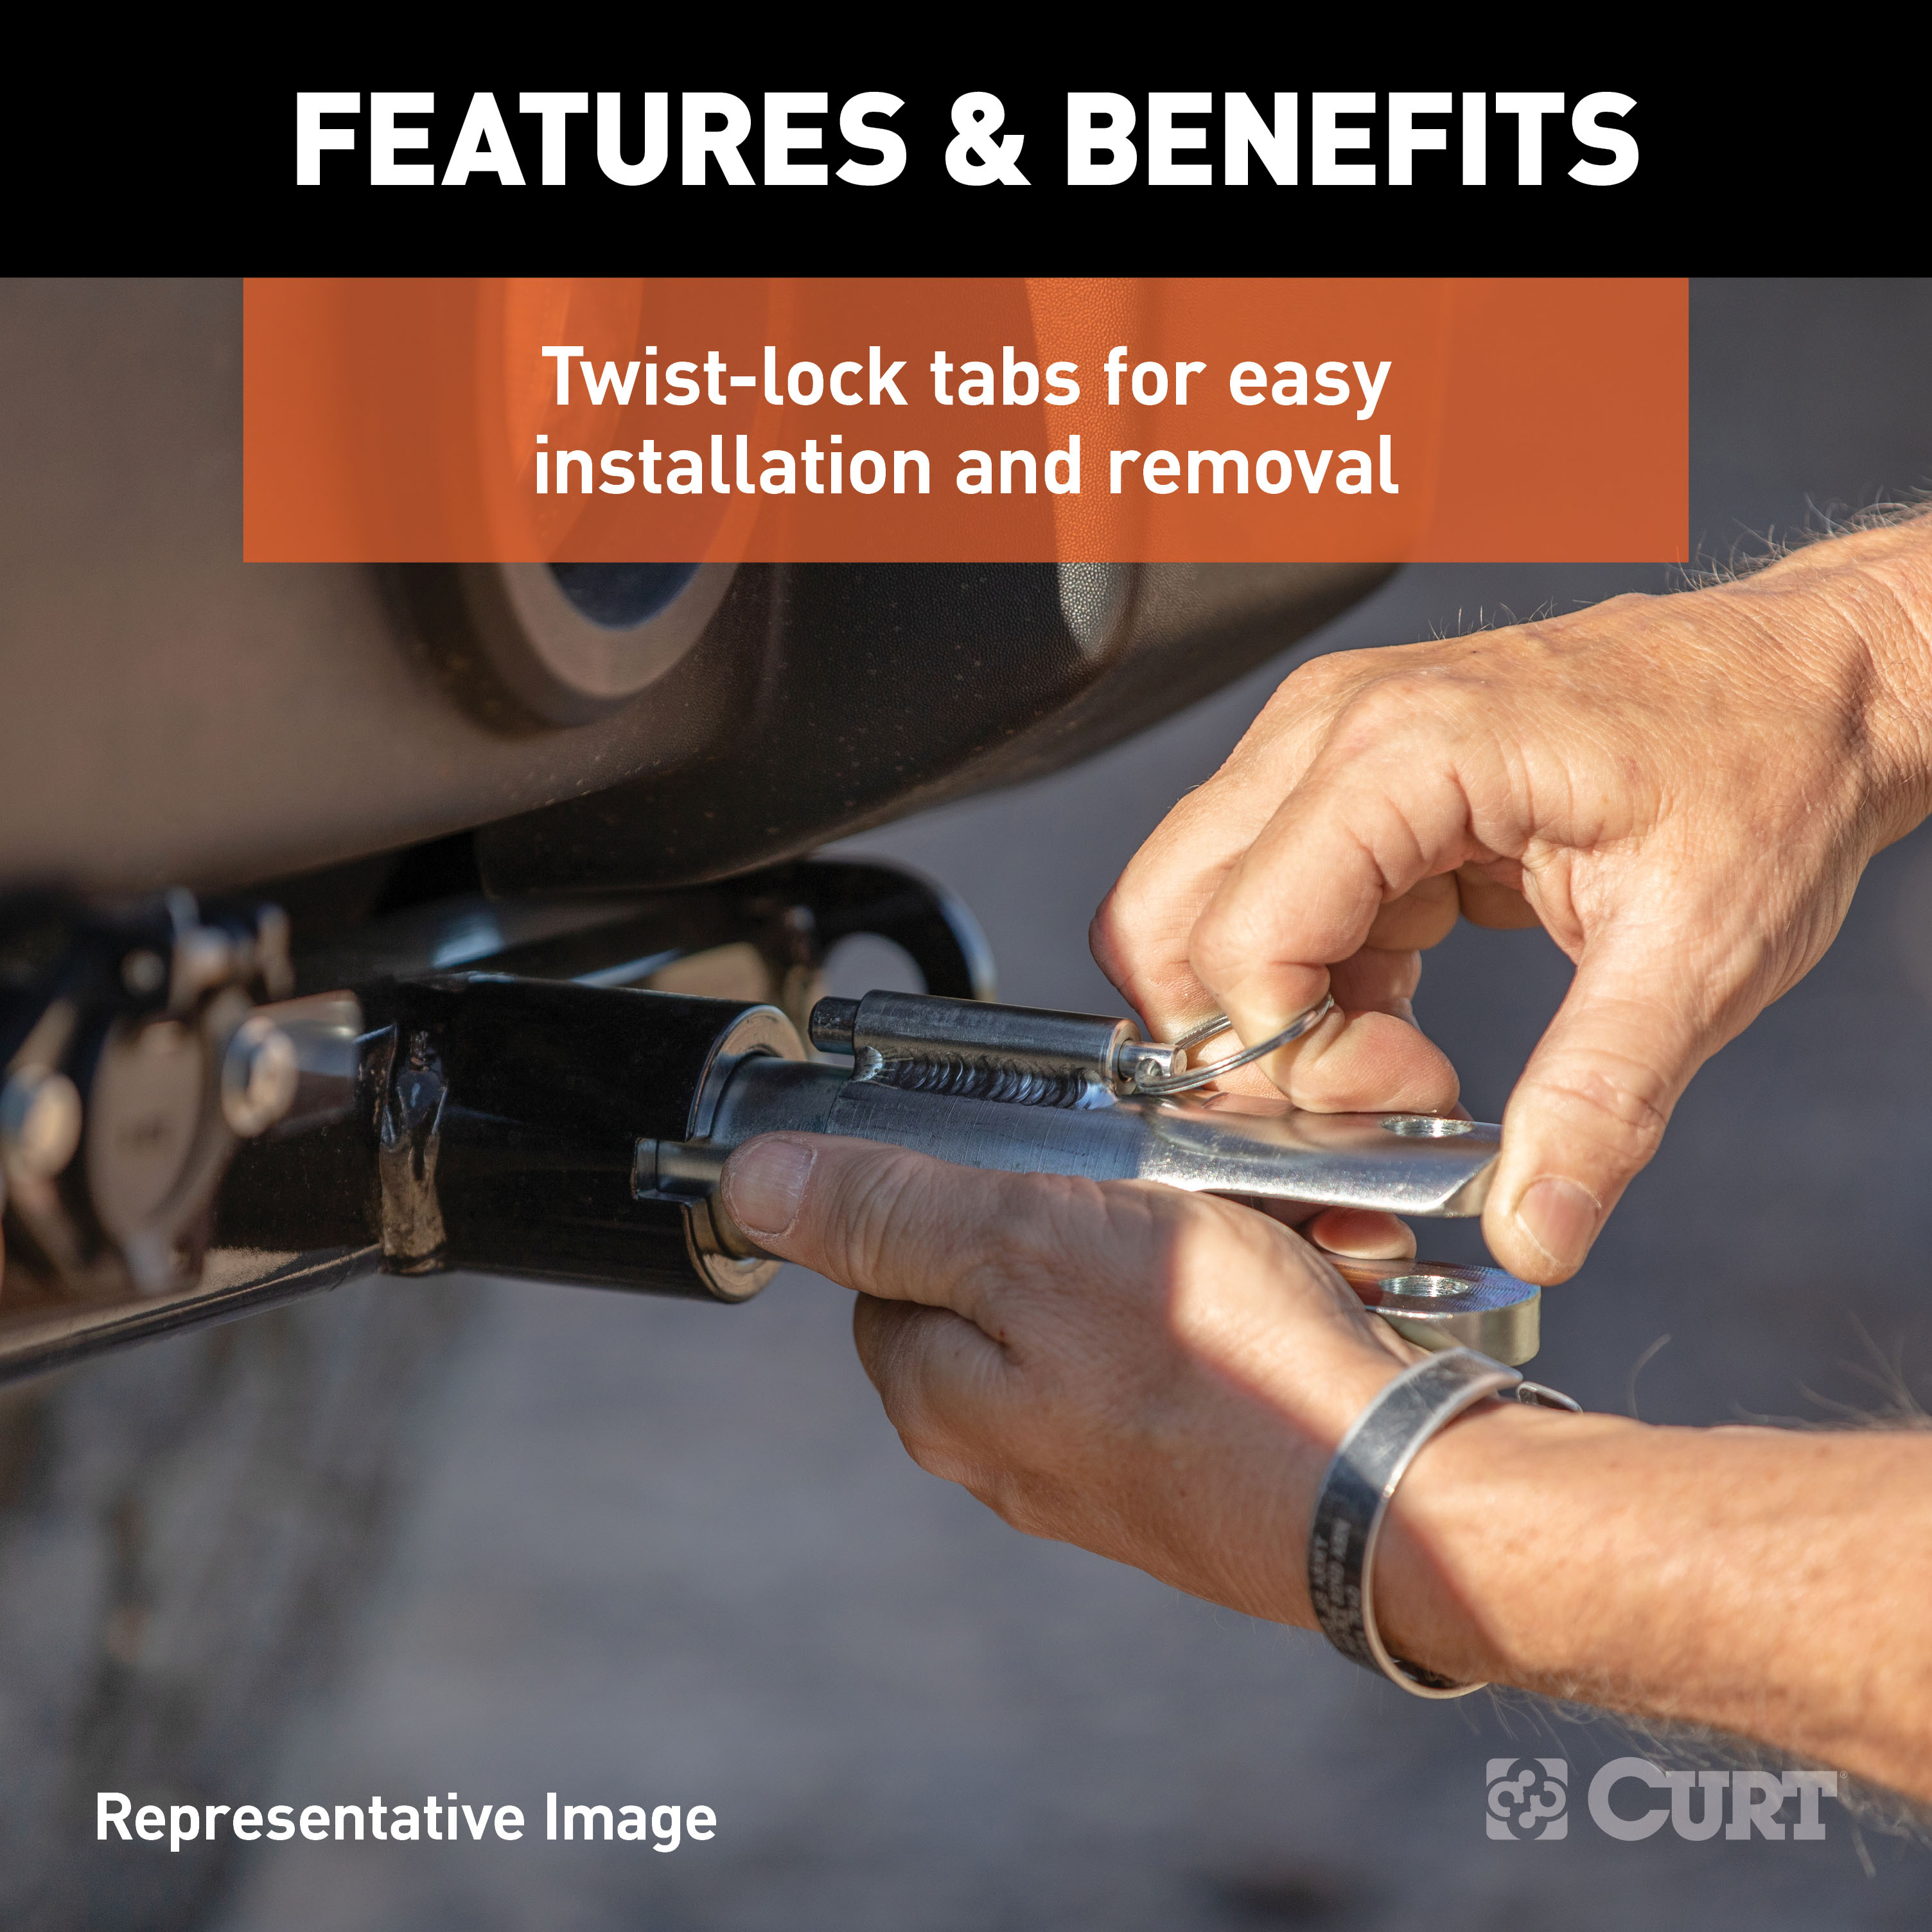
CURT tow bar base plates are engineered for a custom fit on each unique vehicle. This custom tow bar base plate fits select years of the Ford Flex (see application info to verify fitment). It features an OE style design to fully integrate with the front of the vehicle and maintain a factory look. This Ford Flex tow bar baseplate is constructed from high-quality steel and is precisely welded for a perfect fit. It is physically tested for absolute safety and peace of mind while dinghy towing. It also features a unique co-cured finish of liquid A-coat and highly durable powder coat to protect against the outdoor elements. This base plate for towing comes with attachment tabs, safety cables and installation hardware.

CURT offers a variety of high-quality trailer hitches and accessories for select vehicle models. Find the perfect fit for your towing needs at TowUniverse.
CURT, a Lippert brand, offers a complete line of towing products and is the leading manufacturer of custom-fit trailer hitches. We offer the broadest selection of custom-fit hitches, and each one is designed, welded, and coated in Wisconsin.
CURT is also a leader in flat towing products, as well as 5th wheel, gooseneck, and weight distribution hitches, ball mounts, electrical components, cargo solutions, and other towing accessories.
For everything from passenger cars and vans to full-size pickups and SUVs, CURT is 'The First Name in Towing Products®.'

Experts available to answer your questions
Call 888-634-9494Limited Lifetime Warranty (One-Year Finish, One-Year Parts)
Rediscover "Us" Time | Tested. Proven. Safe. Towing Products
3 compatible vehicles
| Year | Make & Model | Notes |
|---|---|---|
| 2013 - 2019 | Ford Flex | No Drilling Required Installation Time - Visibility - |
| 2013 - 2015 | Lincoln MKS | No Drilling Required Installation Time - Visibility - |
| 2013 - 2019 | Lincoln MKT | No Drilling Required Installation Time - Visibility - |
The CURT 70135 Custom Tow Bar Base Plate Brackets for Dinghy Towing, Fits Select Ford Flex (Part #BKDK70135) fits the following vehicles: 2013-2019 Ford Flex; 2013-2015 Lincoln MKS; 2013-2019 Lincoln MKT. Always verify your specific year, make, and model before ordering.
The CURT 70135 Custom Tow Bar Base Plate Brackets for Dinghy Towing, Fits Select Ford Flex (Part #BKDK70135) fits 2013-2019 Ford Flex models. The 2019 model year is the last year covered by this part number. For newer models, check for an updated version.
Yes, the CURT 70135 Custom Tow Bar Base Plate Brackets for Dinghy Towing, Fits Select Ford Flex (Part #BKDK70135) is designed to fit the 2013-2019 Ford Flex.
The CURT 70135 Custom Tow Bar Base Plate Brackets for Dinghy Towing, Fits Select Ford Flex (Part #BKDK70135) Drilling is not required for installation. Typical installation time is . Basic hand tools are typically all you need.
The CURT 70135 is designed for Lincoln MKS, Lincoln MKT, and Ford Flex models. The manual provides specific bumper removal and installation instructions for these vehicles. If your vehicle is not listed, contact CURT product support at 877-287-8634 to confirm compatibility.
Yes, the CURT 70135 includes an adaptive cruise control (ACC) bracket (part 70135-ACCB) for models equipped with ACC. During installation, the ACC bracket is mounted on the driver side to the bumper beam and ACC sensor bracket using 1/4" hex bolts and flange nuts. The outer edge of the ACC bracket is then cut off with a reciprocating saw. The manual emphasizes that nothing must be installed in front of the ACC sensor, as obstructions will affect sensor accuracy.
The manual does not specify the weight capacity of the base plate itself. However, the included safety cables are rated for 7,500 lbs each. For the vehicle's towing capacity, refer to your vehicle owner's manual and never exceed the vehicle manufacturer's recommended gross vehicle weight rating (GVWR).
Required tools are: torque wrench, utility knife, sockets (5.5mm, 8mm, 9/16", 10mm), tape measure, hammer, large clamp, drill with bits (1/4", 13/32", 17/32"), flat screwdriver, Phillips screwdriver, and reciprocating saw. The manual rates installation difficulty as Difficult.
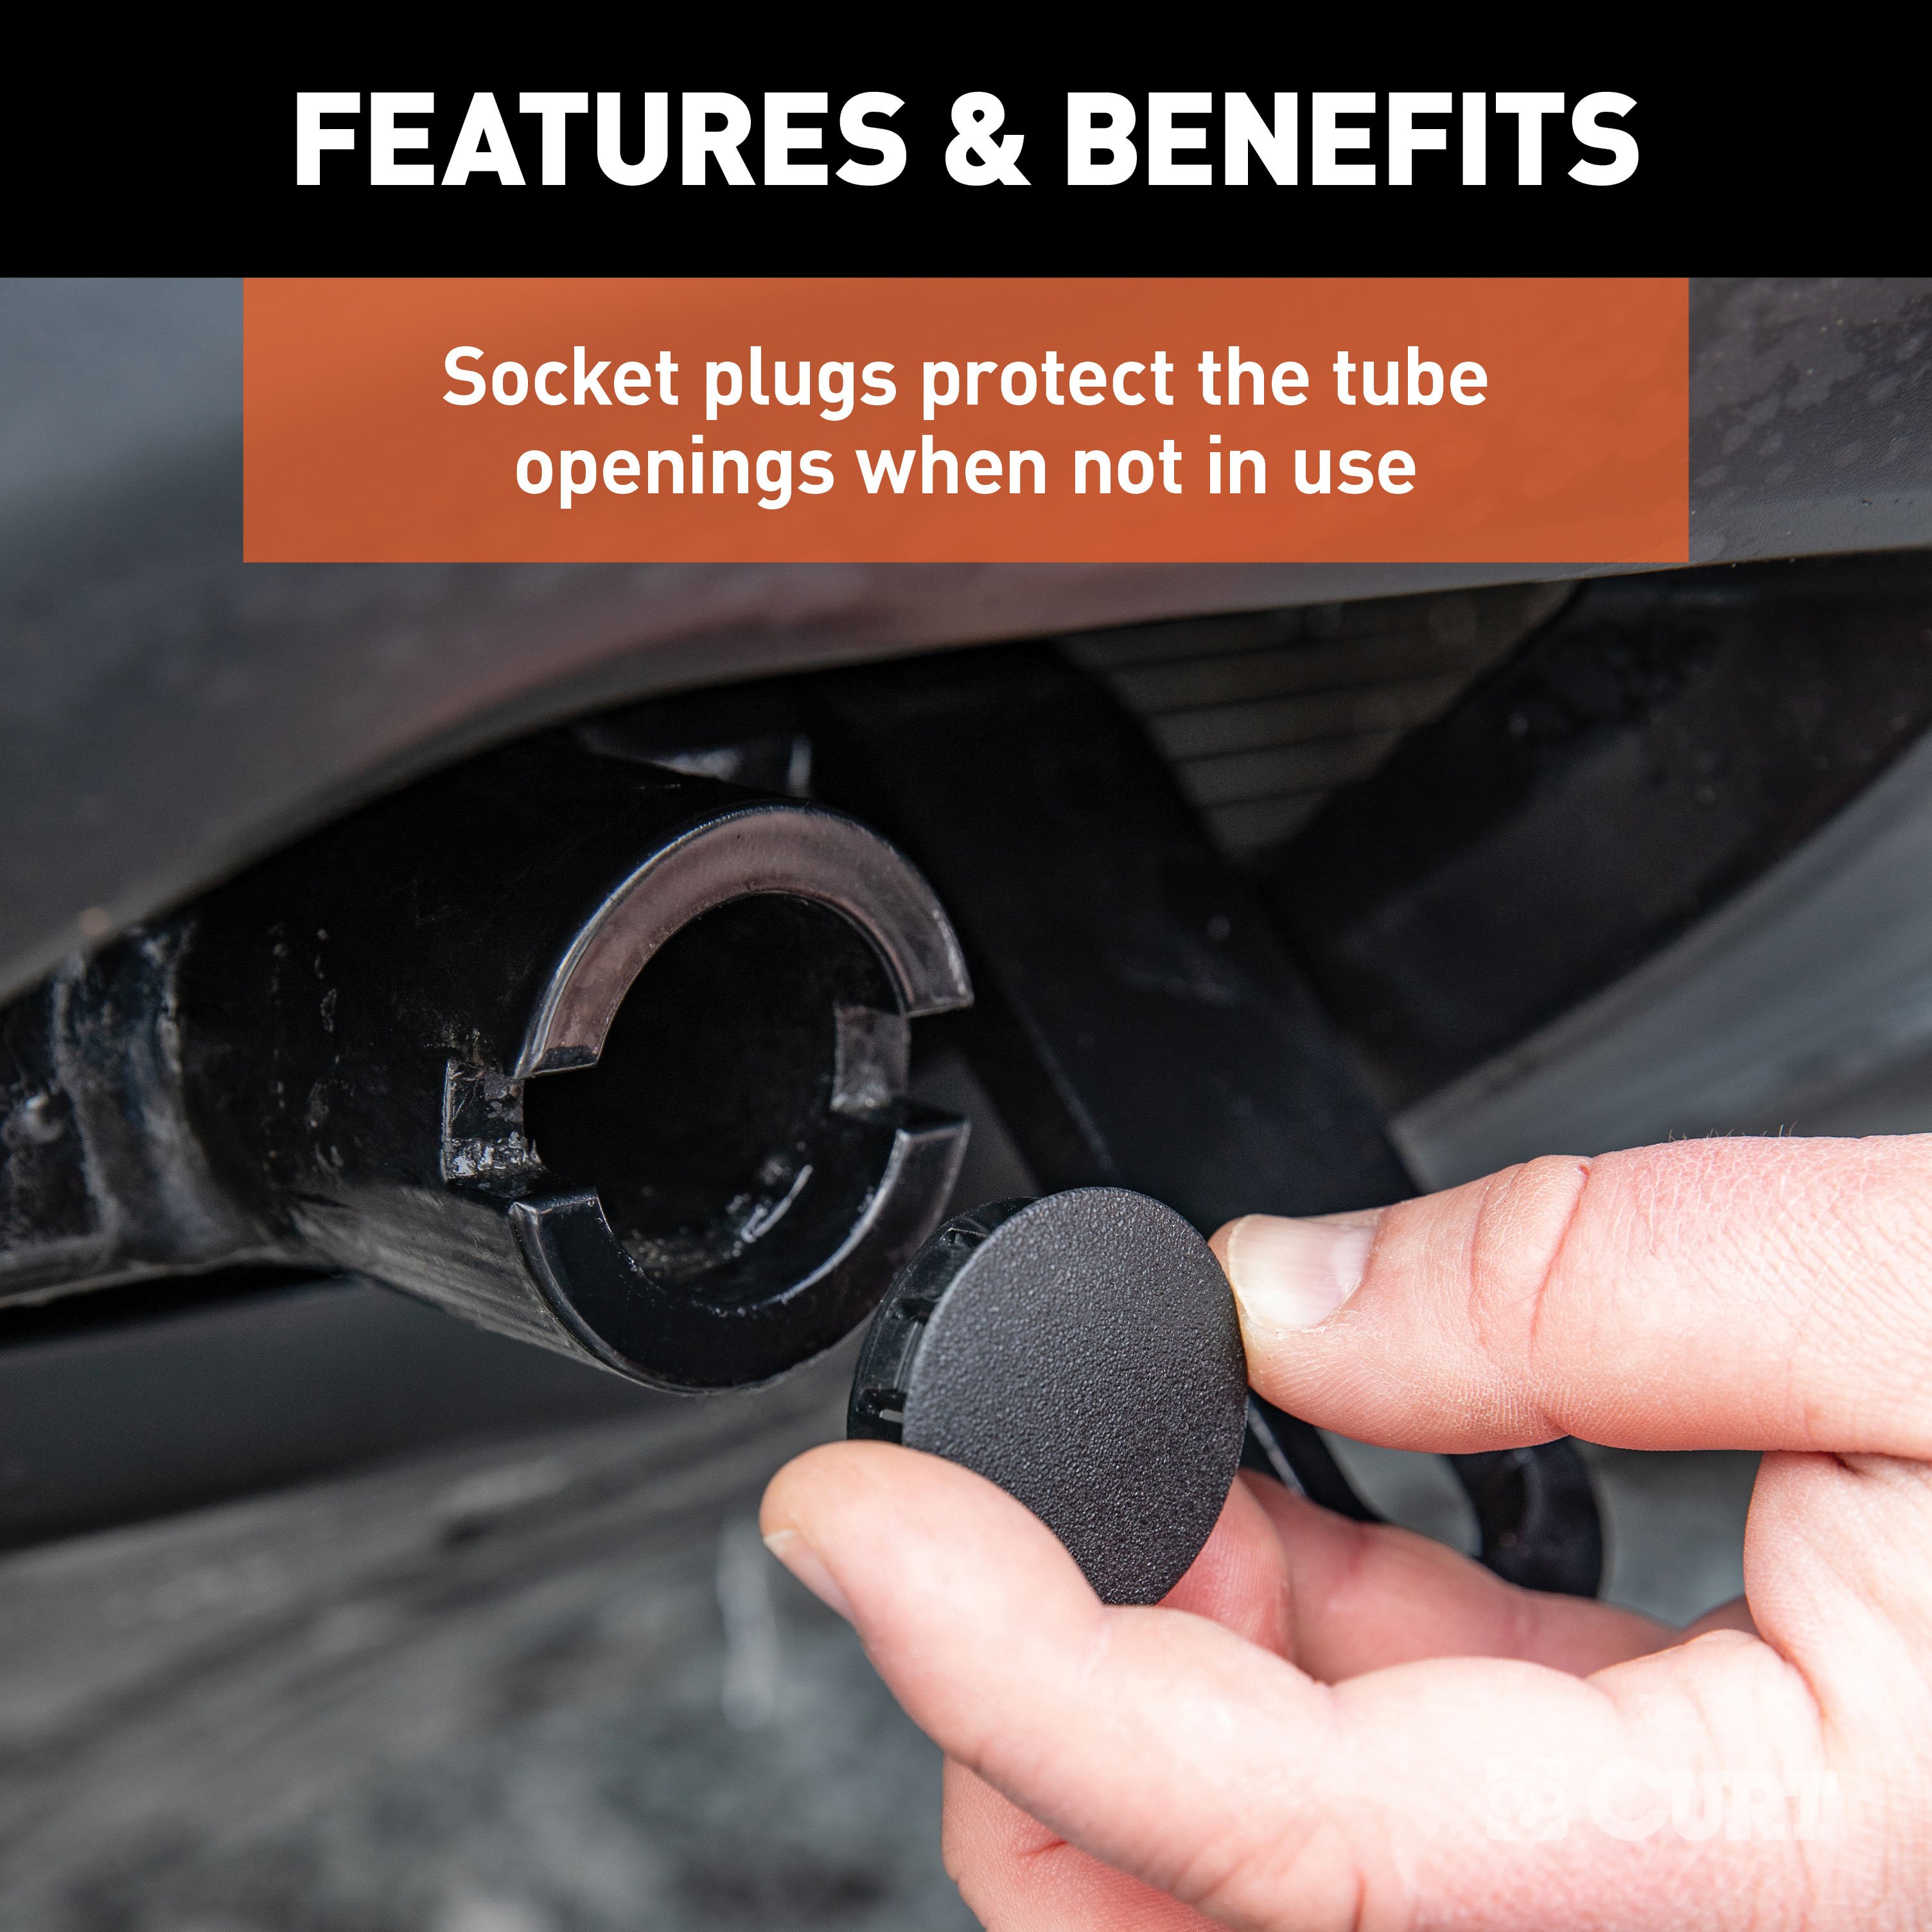
Yes, the kit includes all fasteners needed: hex head cap screws (1/2"-13 grade 5 and 1/4"-20 grade 8), carriage bolts (3/8"-16 in two lengths and 3/8"-16 2" grade 8), serrated flange nuts (3/8"-16 and 1/4"-20 grade 8), flat washers (1/2", 3/8", and 1/4"), lock washers (1/2"), handle nuts (1/2"-13 grade 8), square hole spacers (1/4" x 1" x 2"), fishwire (3/8"), safety cables (7,500 lbs rated), quick links (1/2"), and caplugs. See the Parts List on pages 1-2 for complete quantities.
You must temporarily remove the bumper cover, horn, washer reservoir, and air temperature sensor. The specific removal steps vary by vehicle: Lincoln MKS and MKT have separate procedures, and Ford Flex has its own sequence. Follow the vehicle-specific bumper removal instructions on pages 3-8. After base plate installation, the temperature sensor is reattached with a spacer, and the horn and washer reservoir are reinstalled.
Yes, drilling is required. You will drill multiple holes using three different bit sizes: 1/4" (for ACC bracket on adaptive cruise control models), 13/32" (for rearward bottom four holes and bottom front holes), and 17/32" (for bumper holes for the 1/2" bolts). The manual also requires trimming plastic shrouding below the bumper beam for clearance, and on adaptive cruise control models, trimming along the shutter face and center tab.
Trim the plastic shrouding below the bumper beam on both sides of the vehicle. For non-active shutter models, trim as needed for clearance. For active shutter models, trim along the face of the shutter, then back out to the front at the base, and trim off the center tab flush to the shutter face. Additionally, trim the front mounting tab of the washer reservoir as needed before reinstalling it. The manual cautions to take care when cutting plastic to avoid injury.
Yes, after base plate installation, you may need to trim the bumper cover for clearance. When reinstalling the horn, some slight bending may be necessary to clear the base plate. Hold the bumper cover as close to its original position, mark and trim as needed for base plate clearance. The manual also notes that when positioning the base plate, you should mark the inward side of the ACC bracket for trimming, being mindful of the radiator.
Torque all 3/8" fasteners (carriage bolts and serrated flange nuts) to 37 lb-ft. This applies to both the rearward bottom four holes and the vertical side plate fasteners. The manual does not specify torque values for the 1/2" handle nuts or 1/4" ACC bracket fasteners. Use a torque wrench to ensure proper tightening.
After removing the bumper cover, horn, washer reservoir, and temperature sensor (steps 1-7), follow this sequence: (1) Trim plastic shrouding for clearance (step 8); (2) Install ACC bracket if equipped and drill holes (step 9); (3) Remove weldnut for handle nut clearance (step 10); (4) Raise base plate onto frame, level, clamp, and drill/install rearward bottom four holes with 3/8" bolts (step 11); (5) Drill and install bottom front holes with 3/8" x 2" bolts (step 12); (6) Drill bumper holes and install 1/2" bolts with handle nuts (step 13); (7) Reinstall washer reservoir with spacers (steps 14-15); (8) Install safety cables (step 16); (9) Reinstall horn and bumper cover (step 17).
Fishwiring is a technique used to install fasteners through the vehicle frame. In step 11, you fishwire 3/8" x 2-1/2" carriage bolts with spacers into the frame and install 3/8" flange nuts. The same technique is used for the vertical side plate fasteners. The kit includes 10 pieces of 3/8" fishwire for this purpose. This allows fasteners to be secured in locations where direct access is limited.
In step 11, raise the base plate onto the frame and use a level to ensure it is properly positioned. Once level, clamp it in position using a large clamp before drilling the rearward bottom four holes. The manual also notes that when positioning the base plate, you should mark the inward side of the ACC bracket for trimming, being mindful of the radiator.
Square hole spacers (1/4" x 1" x 2") are used when fishwiring 3/8" carriage bolts into the frame in step 11. Flat washers (1/2") are used as spacers between the bumper and base plate in step 13 as needed. In step 15, seven 1/4" flat washers are used as spacers on the upper rear hole of the washer reservoir to keep the base plate from rubbing on the reservoir.
In step 7, unclip the air temperature sensor from the bottom of the bumper. Remove the top spacer and reattach the sensor to the bumper with one spacer. This allows the sensor to be repositioned to clear the base plate installation.
Yes, you must unplug all electrical connections from the bumper cover before removing it. The washer reservoir has electrical lines that must be unhooked before pulling it to the side. The air temperature sensor must be unclipped from the bottom of the bumper. After installation, ensure the bumper cover is reinstalled with all electrical connections restored. The manual emphasizes that nothing must be installed in front of the ACC sensor, as obstructions will affect sensor accuracy.
Wear safety glasses at all times during installation. Take care when cutting any plastic or metal to avoid injury. Never exceed the vehicle manufacturer's recommended gross vehicle weight rating (GVWR). When installing safety cables, ensure they do not pinch or interfere with hoses, wiring, or other components. The manual rates installation difficulty as Difficult, so proper tools and expertise are important.
Two permanent safety cables (7,500 lbs rated each) must be installed, one on each side of the vehicle. The cables must be connected to the base plate and the vehicle frame. Each cable must meet or exceed the gross weight of the towed vehicle. Cables must not pinch or interfere with hoses, wiring, or other components. Safety cables are not a replacement for safety chains connecting the tow vehicle to the towed vehicle. Use quick links (1/2") to connect the cables to the base plate.
After installation, verify that all fasteners are tight and that all structural components are sound. Ensure the base plate is level and properly secured. Confirm that the safety cables are correctly installed on both sides, connected to the base plate and vehicle frame, and do not interfere with hoses, wiring, or other components. Check that the bumper cover is properly reinstalled with all electrical connections restored. Verify that nothing is installed in front of the ACC sensor. Do not tow with worn or damaged parts.
Periodically check the condition of all towing equipment. Ensure all fasteners remain tight and that all structural components are sound. Do not tow with worn or damaged parts. The manual recommends removing the base plate attachment tabs when not in use. Review your vehicle and trailer owner's manuals for specific towing recommendations, capacities, and requirements.
The installed attachment tabs are 15" in height and 20" in width. The manual does not provide overall base plate dimensions or other specific measurements beyond these tab dimensions.
The manual rates installation difficulty as Difficult based on time and effort involved. Installation may vary depending on installer expertise, vehicle condition, and proper tools and equipment. The installation requires temporary removal of multiple components, drilling, trimming, and fishwiring fasteners. If you are not experienced with automotive installation, professional installation is recommended. Contact CURT product support at 877-287-8634 for installer referrals.
The CURT 70135 is designed for Lincoln MKS, Lincoln MKT, and Ford Flex models. Confirm your specific vehicle model and year match before purchasing.
Torque all 3/8" fasteners to 37 lb-ft. Torque specifications for 1/2" and 1/4" fasteners are not provided in the manual.
Two permanent safety cables rated for 7,500 lbs each are included. Both must be installed, one on each side, connected to the base plate and vehicle frame. They are not a replacement for safety chains.
Temporarily remove the bumper cover, horn, washer reservoir, and air temperature sensor. Follow vehicle-specific removal instructions for your model (Lincoln MKS, MKT, or Ford Flex).
Yes. An adaptive cruise control bracket (70135-ACCB) is included for equipped models. The bracket is installed on the driver side and the outer edge is cut off with a reciprocating saw. Nothing must be installed in front of the ACC sensor.
In step 11, raise the base plate onto the frame and use a level to check positioning. If not level, adjust the position and recheck with the level. Once level, clamp the base plate in position using a large clamp before drilling the rearward bottom four holes. Do not proceed with drilling until the base plate is properly leveled.
In step 17, some slight bending of the horn may be necessary to clear the base plate. Hold the bumper cover as close to its original position, mark and trim the bumper cover as needed for base plate clearance. If bending alone does not provide sufficient clearance, trim the bumper cover to accommodate the horn.
In step 16, when installing the permanent safety cables, ensure they do not pinch or interfere with any hoses, wiring, or other components. If interference occurs, reposition the cables to loop around the vehicle frame without contacting other parts. The installation guidelines state that cables must be connected to the base plate and vehicle frame, with one cable on each side. Refer to the safety cable installation illustrations on page 13 for proper routing.
In step 15, use seven 1/4" flat washers as spacers on the upper rear hole of the washer reservoir to keep the base plate from rubbing on the reservoir. If rubbing still occurs after installation, add additional 1/4" flat washers to increase the spacing between the base plate and reservoir.
On Sale Today
Original price was $752.95. Current price is $367.99.You save $384.96 (51%)
Free Shipping
Ships free on all orders
 Authorized Dealer


Quick Ship
In stock and ready to ship — order now!
Shipping from Lancaster, TXFREE SHIPPING
Estimated delivery Thu, Sep 17 - Sat, Sep 19
Order before 2 PM EST Monday–Friday for same-day processing
Guaranteed safe & secure checkout
Total for 1 item:
$367.99$752.95
No reviews have been added for this product.