
CURT Custom 5th Wheel Brackets, Select Ram 2500, 3500 Fifth Wheel Trailer Hitch BracketCURTOriginal price was $265.95. Current price is $214.95.In Stock
View productOur in-house experts typically reply within one business day.

CURT
Verify Fitment
Select your vehicle to confirm this part fits.
2014 - 2026 Ram 2500
Confirmed to Fit

Always the correct part
We know our products
Quality Products
Free Shipping!
Always the correct part
We know our products
Quality Products
Free Shipping!
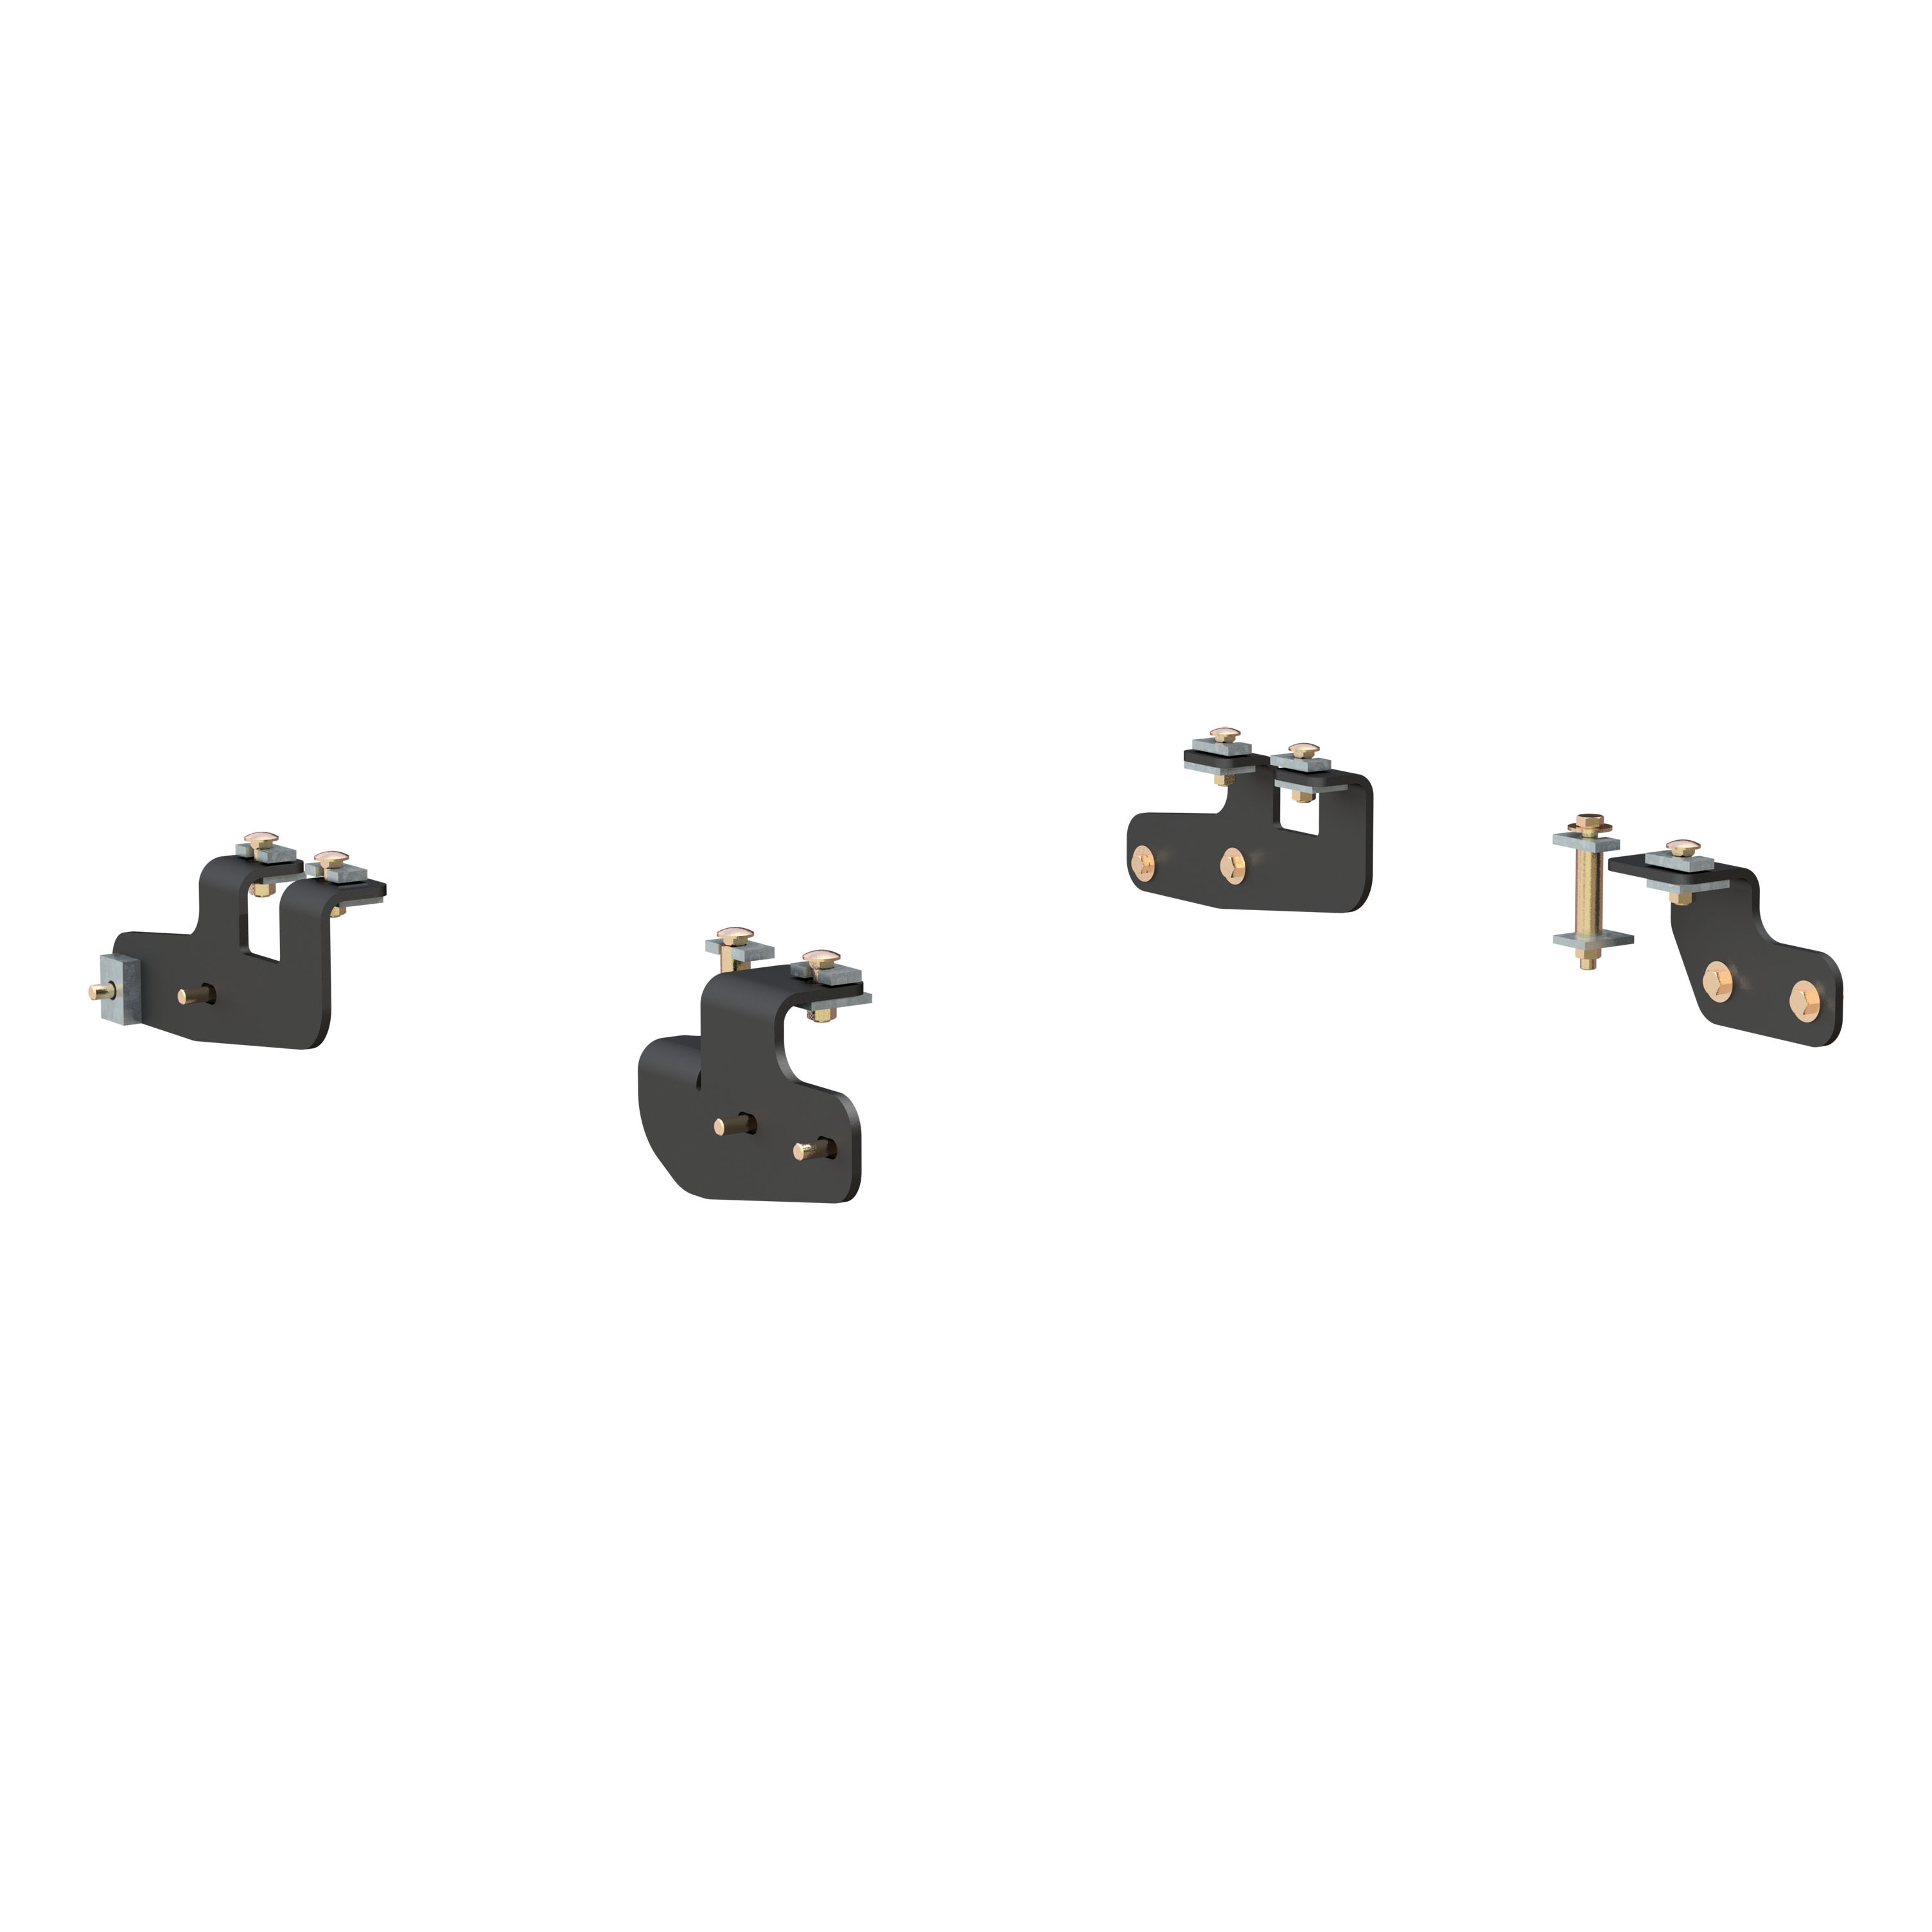
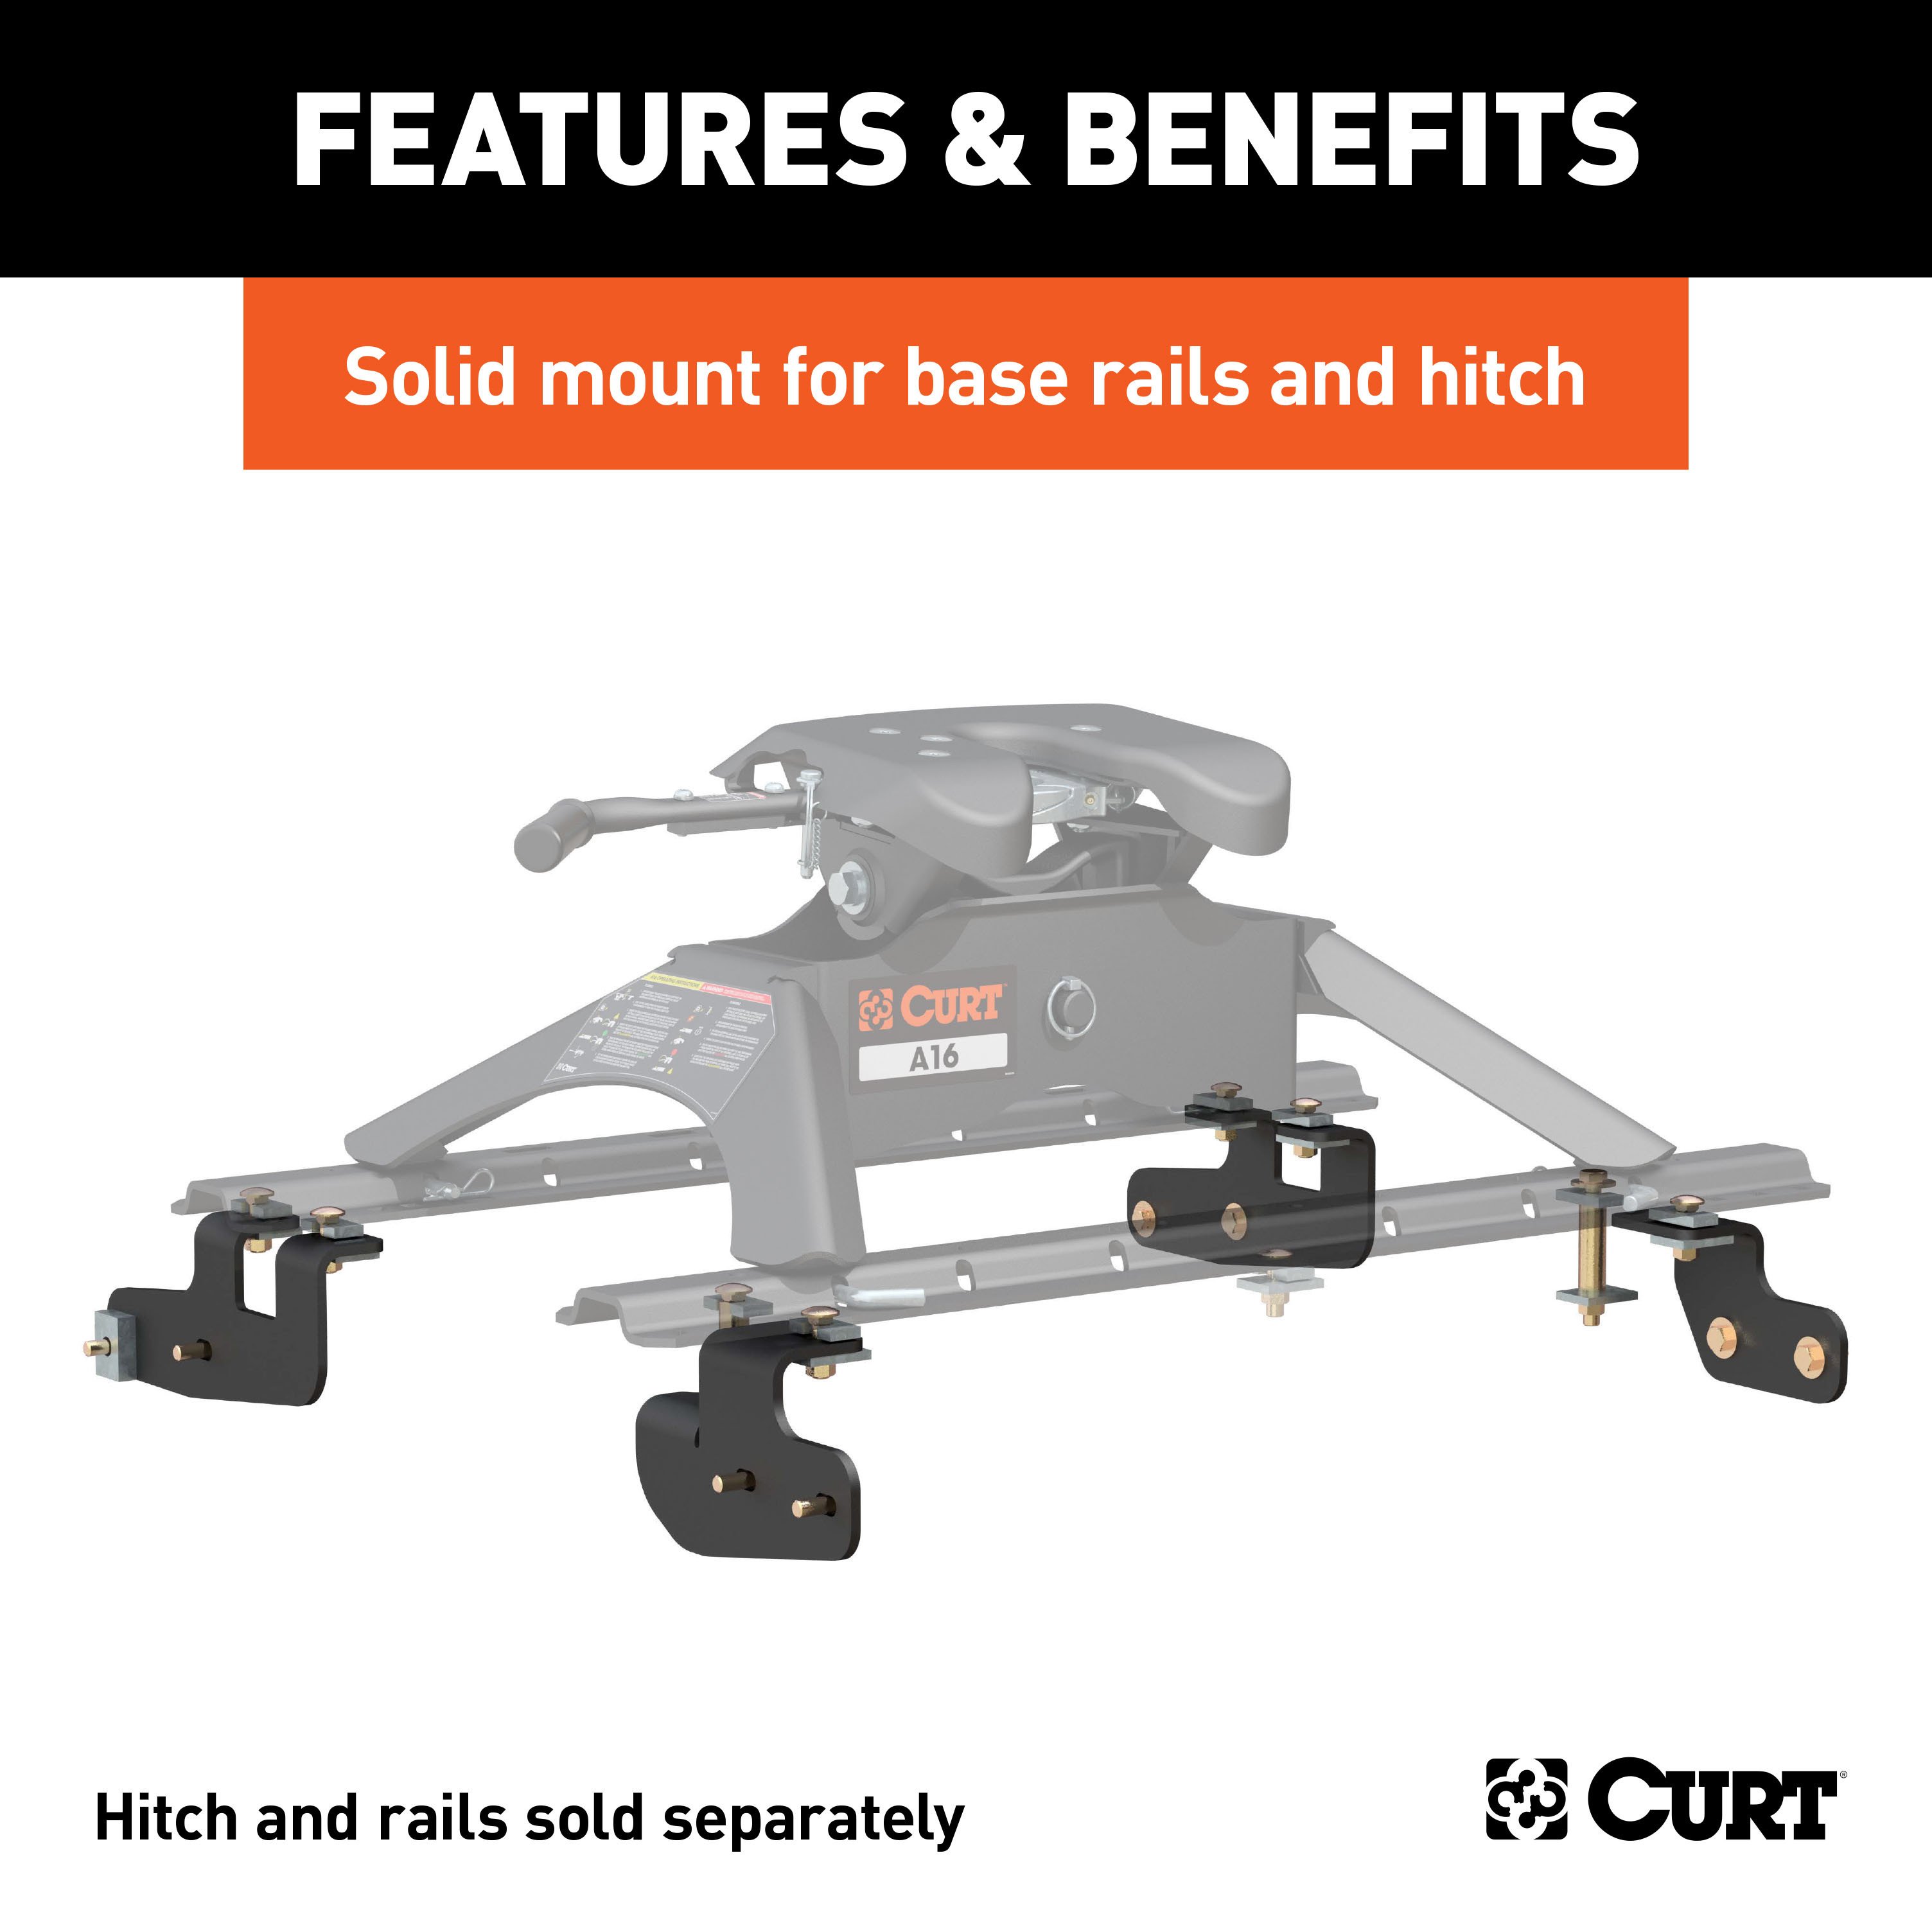
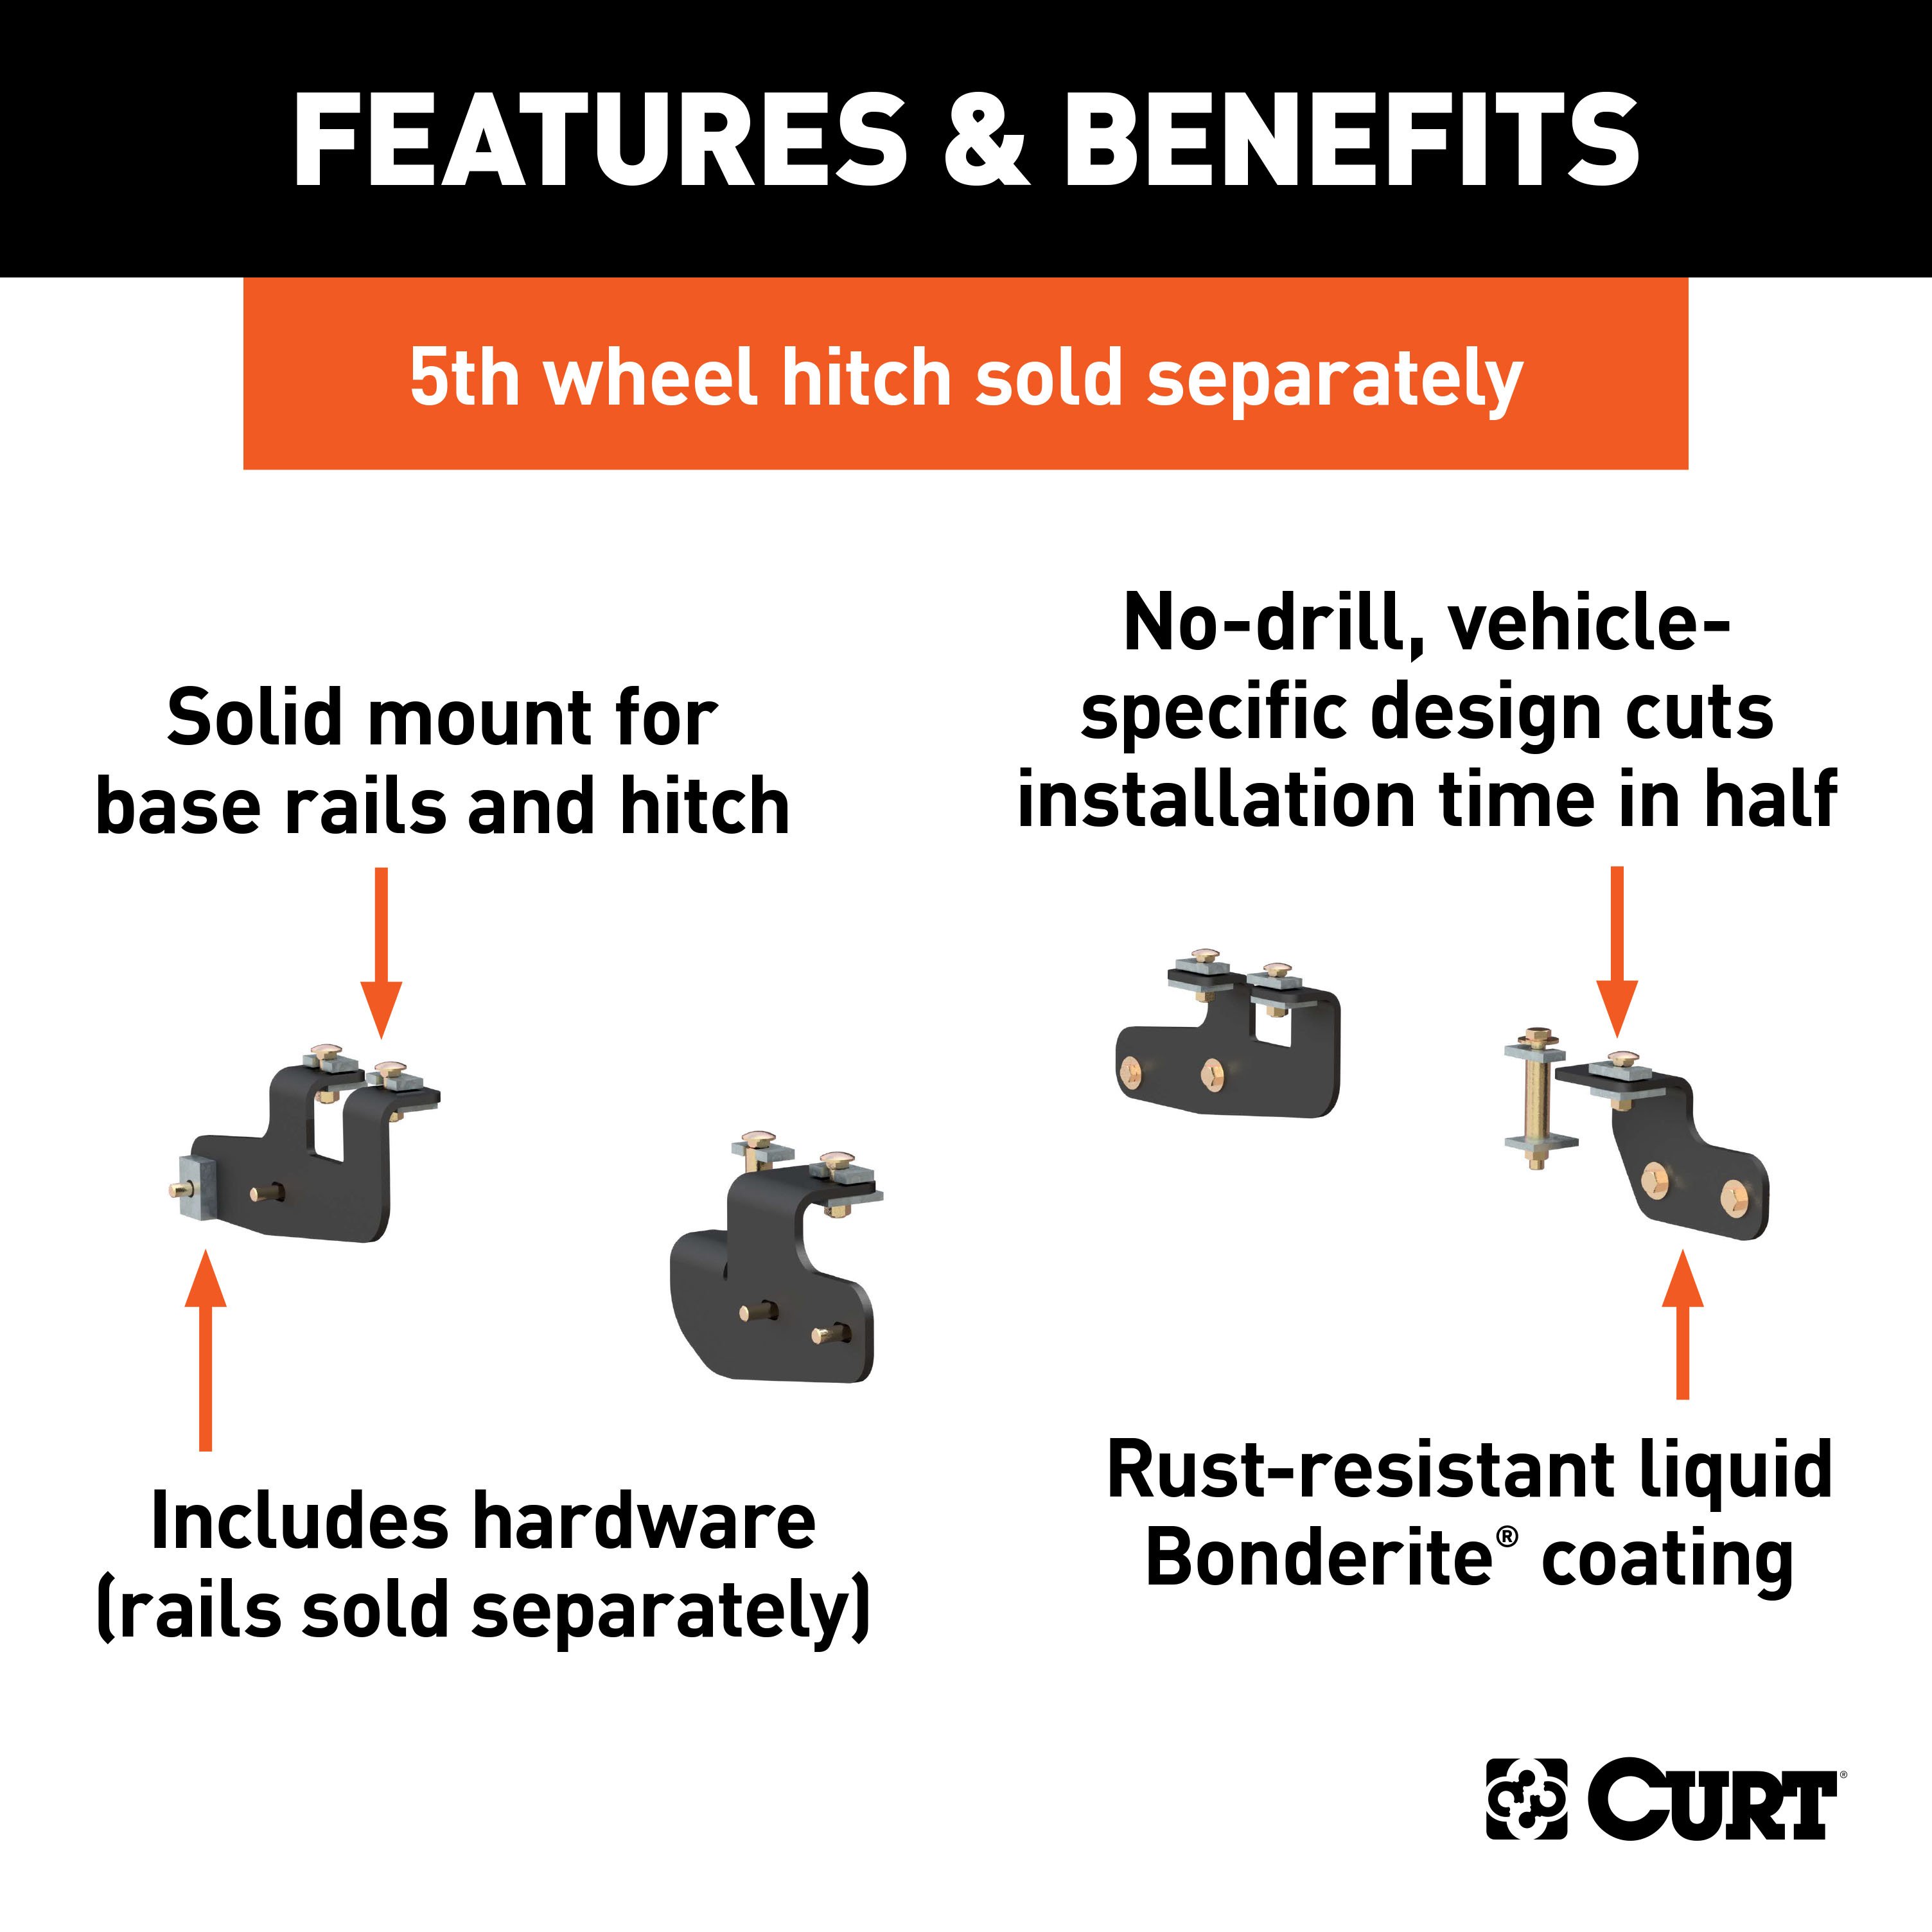
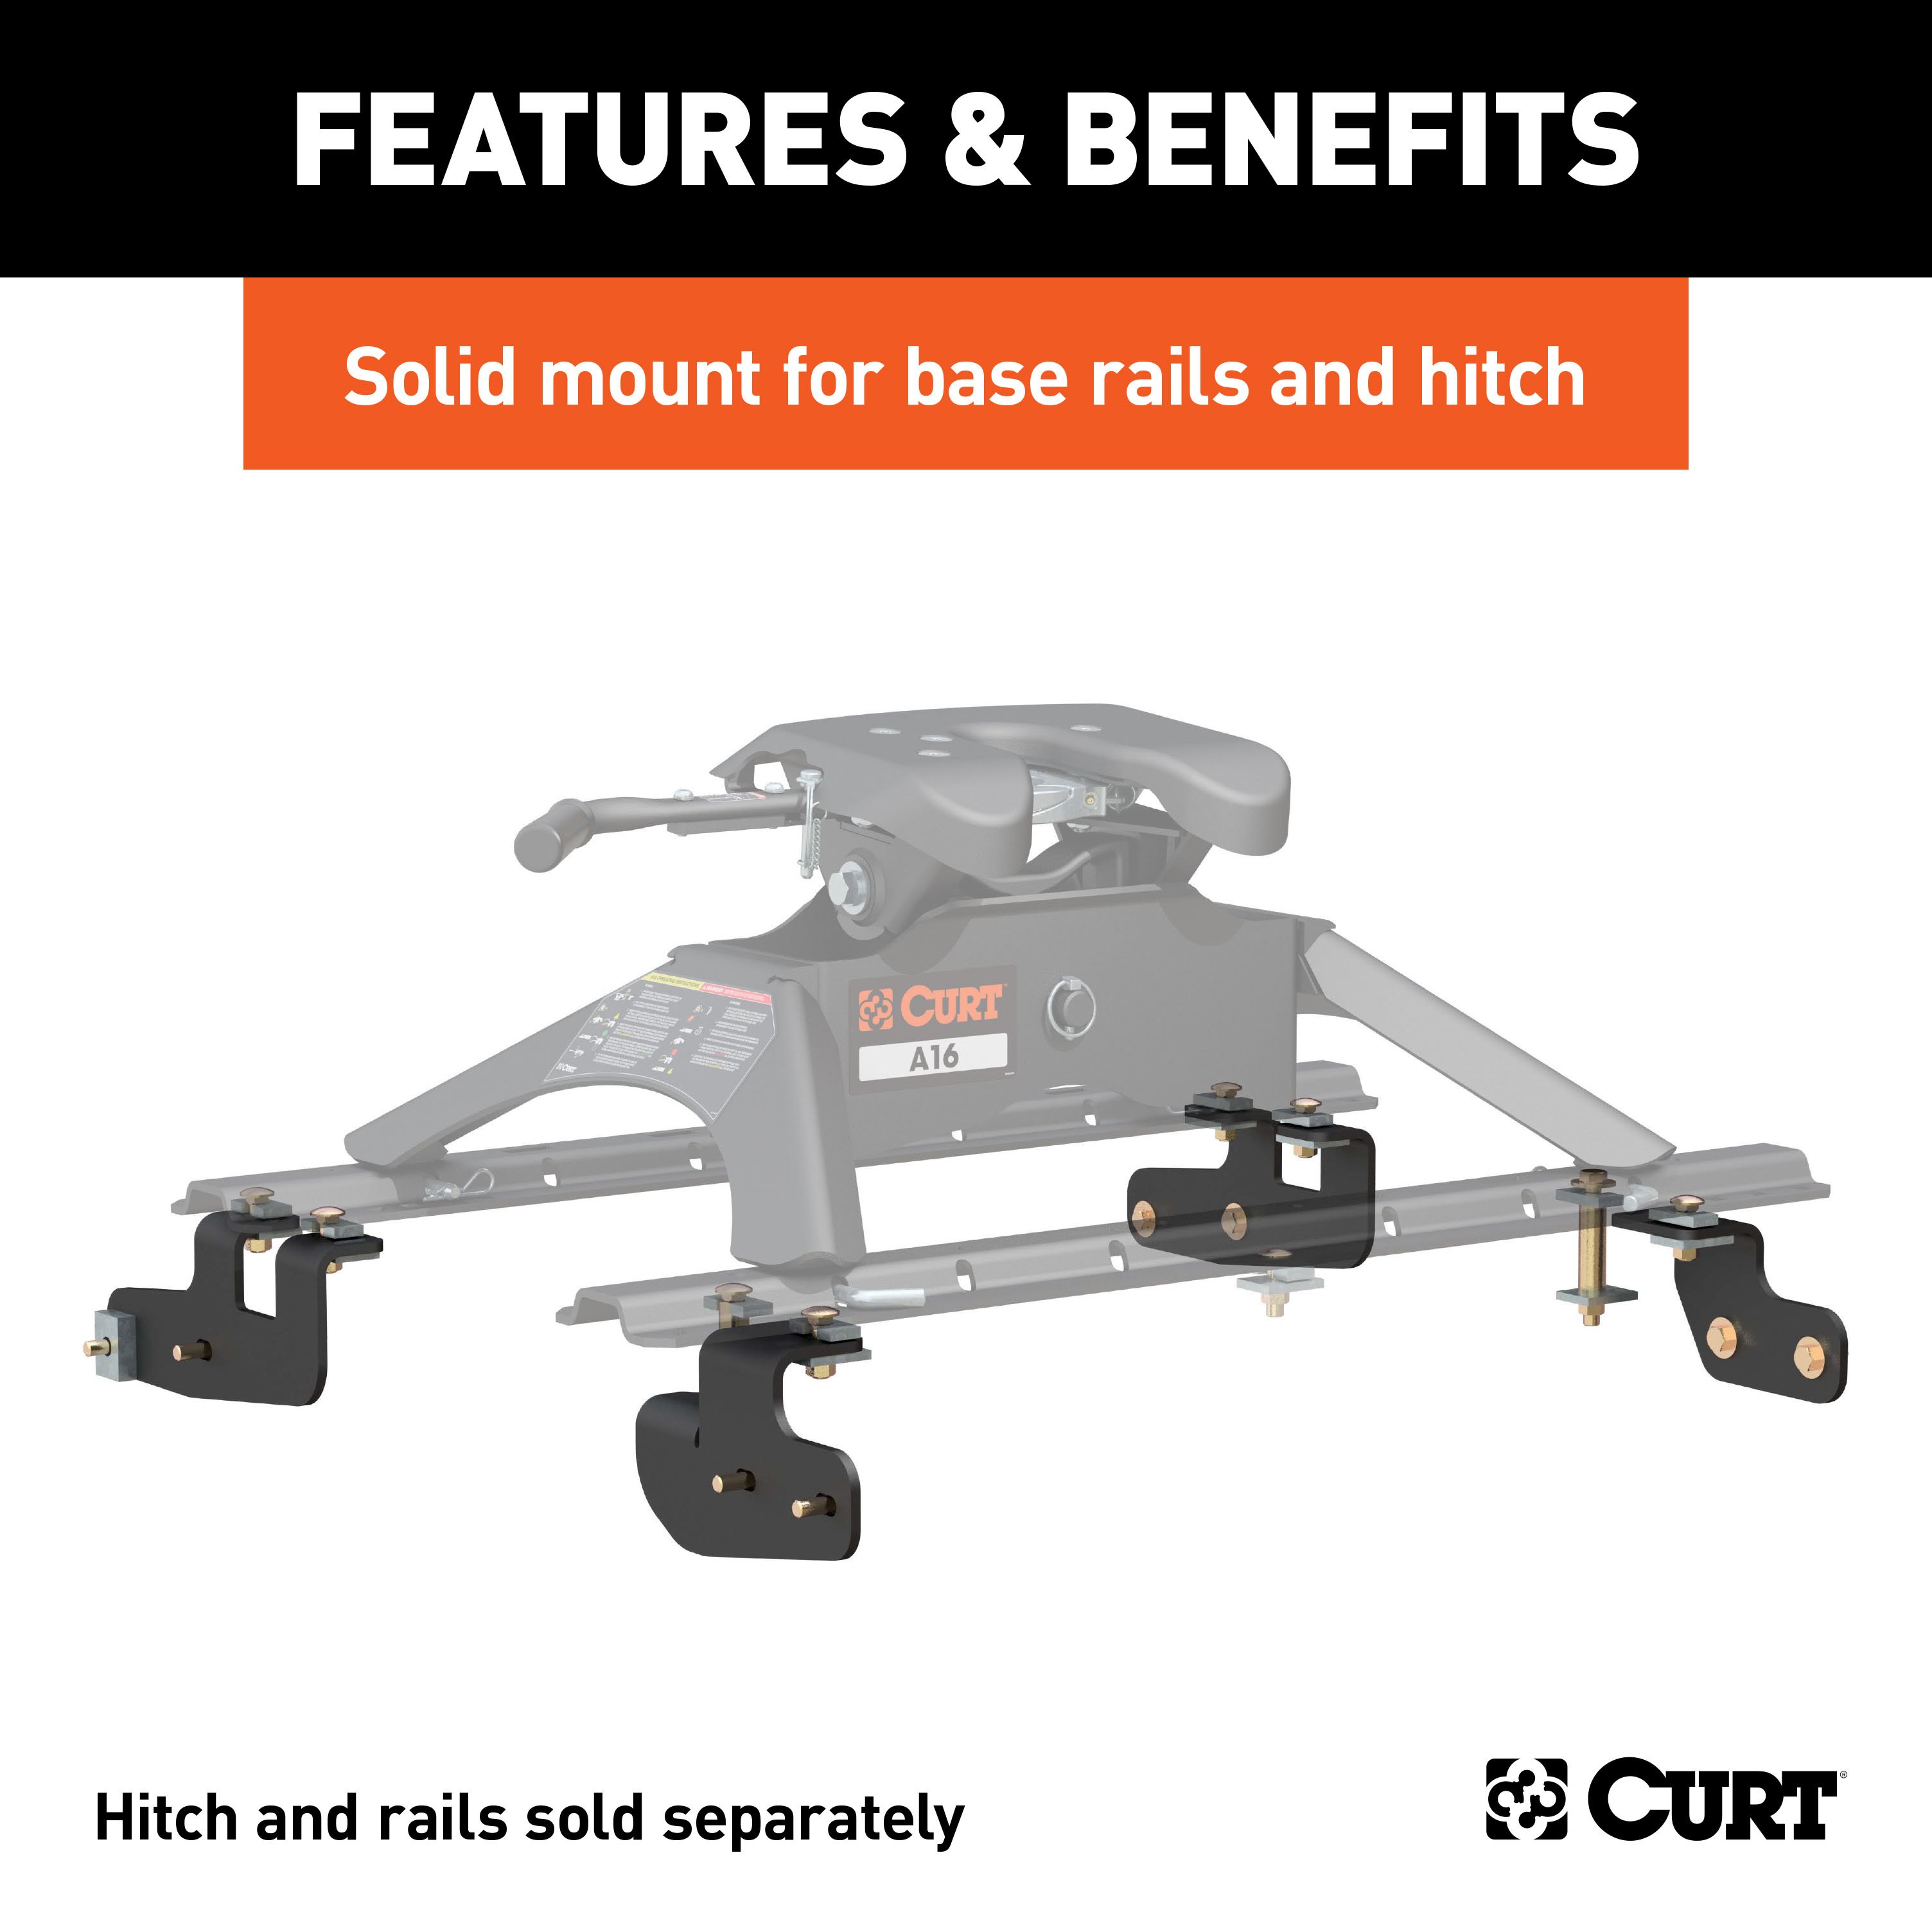
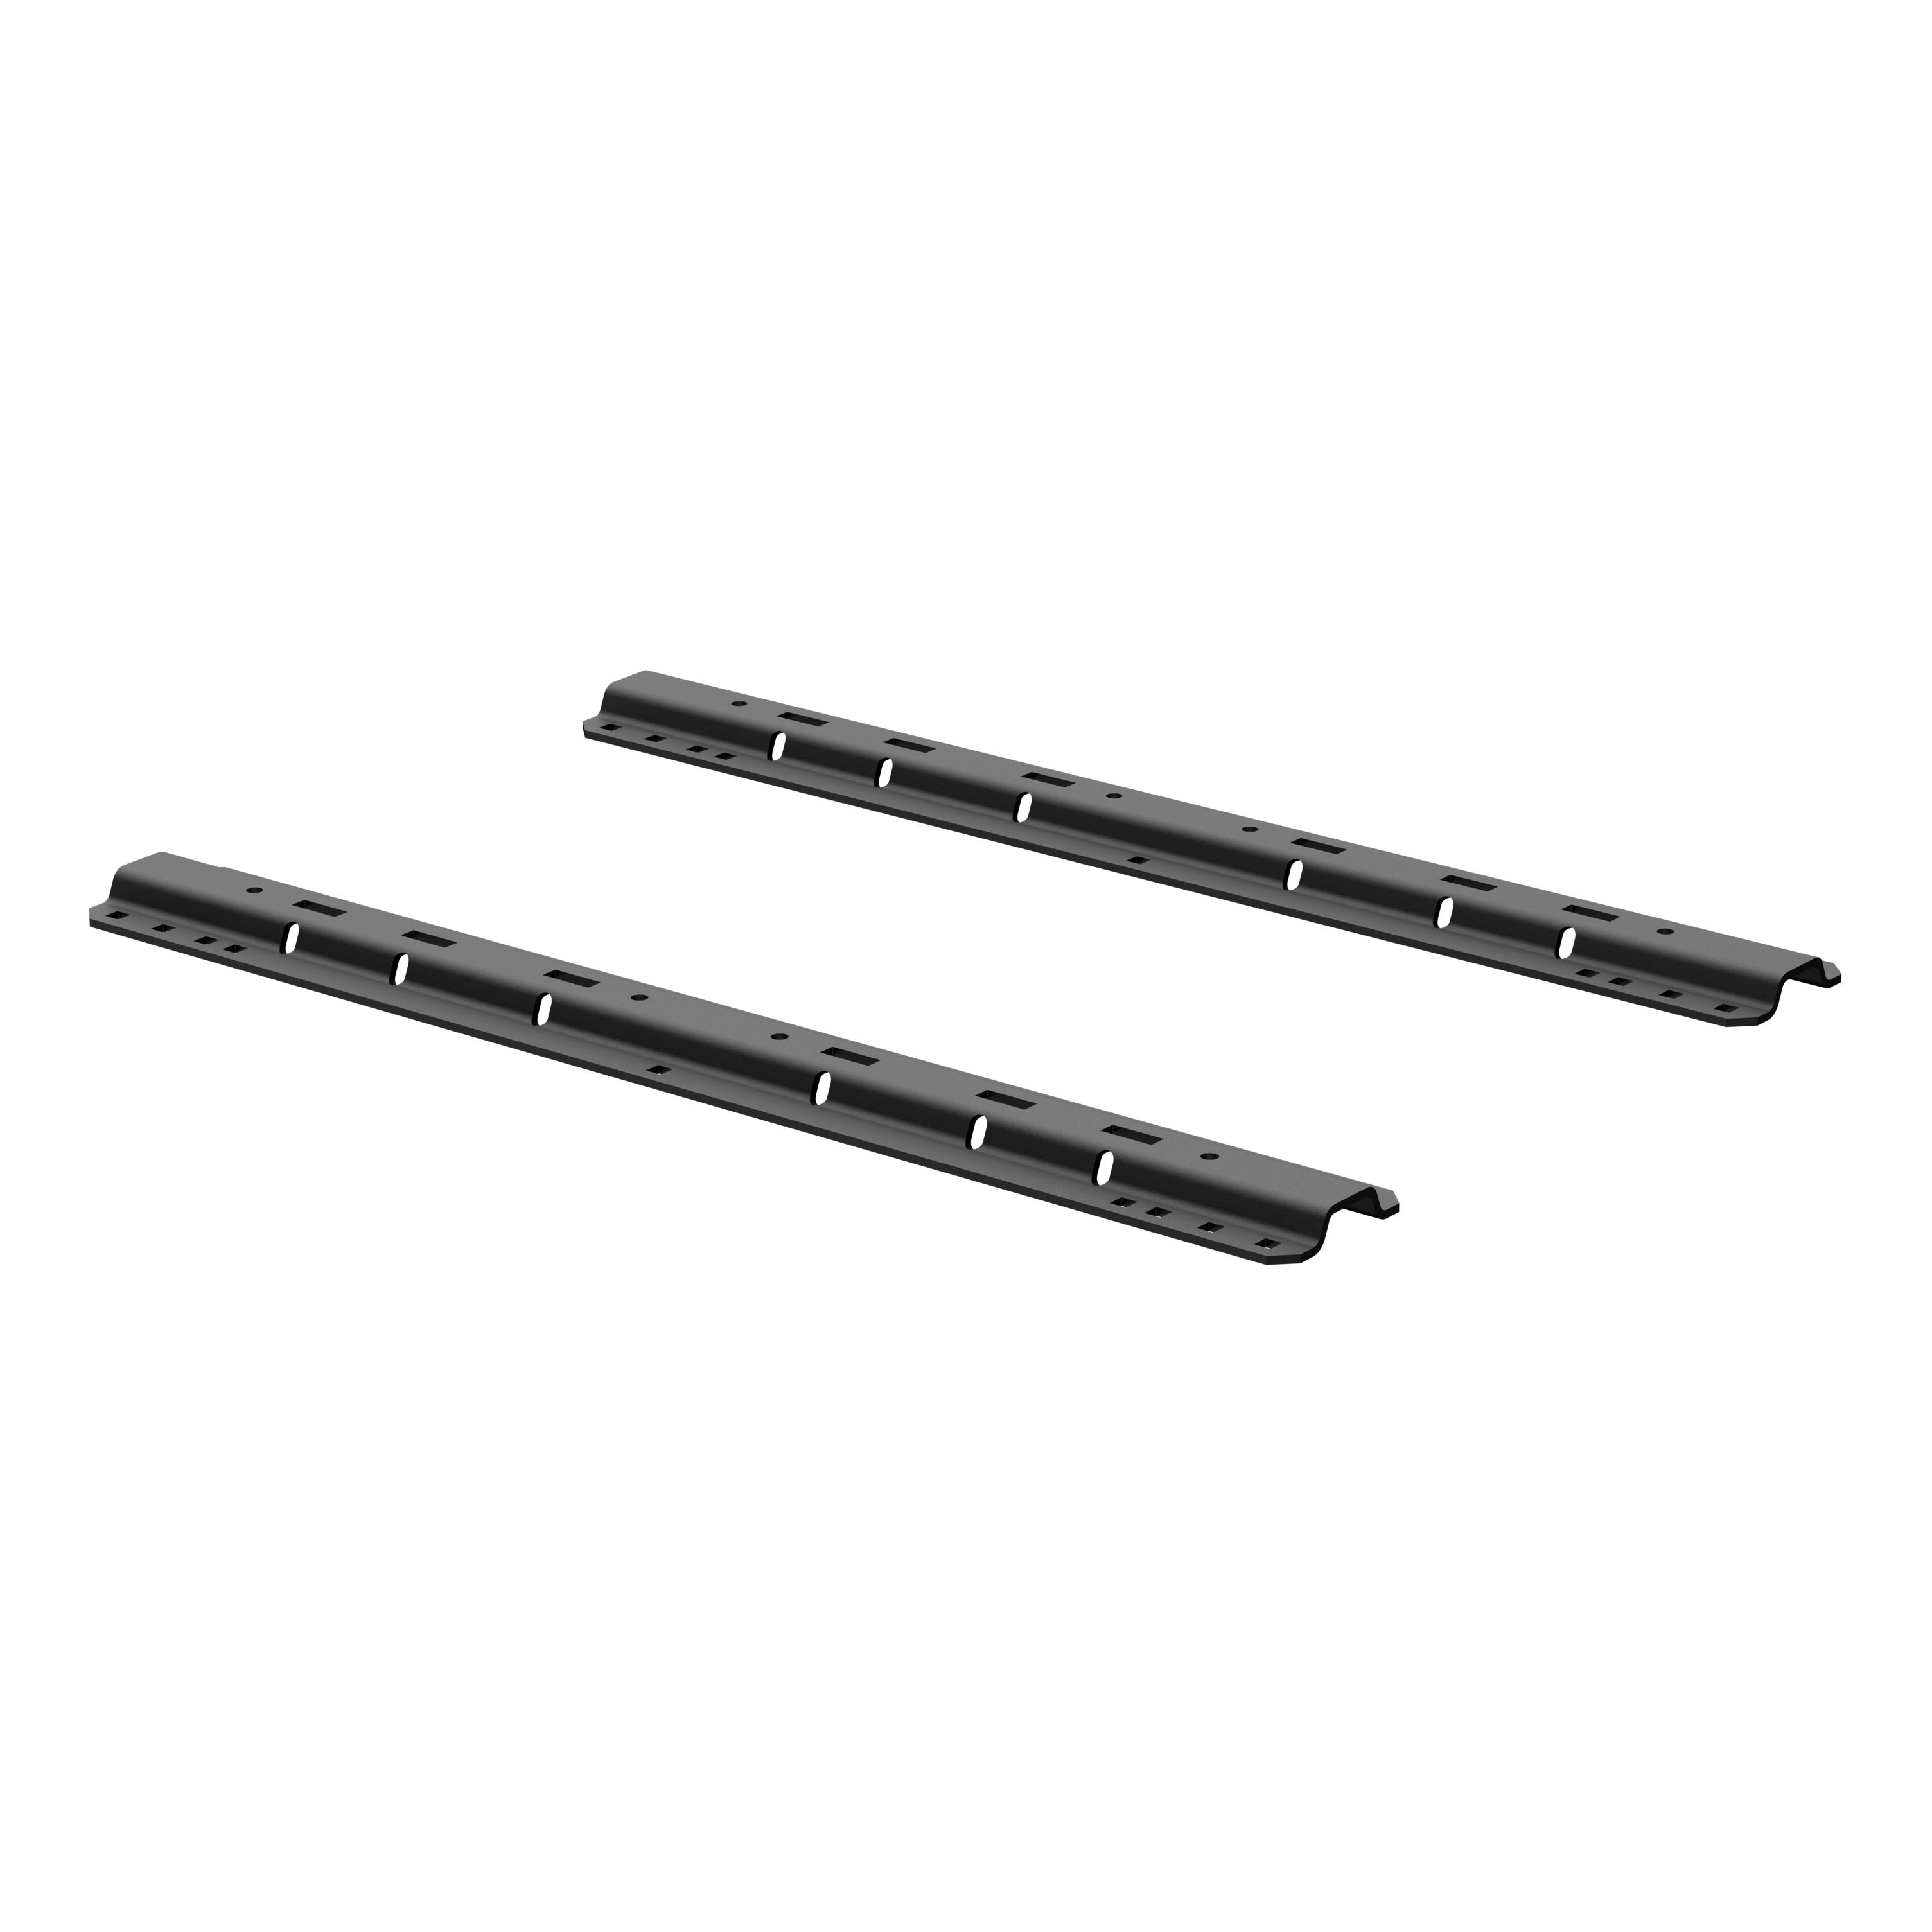
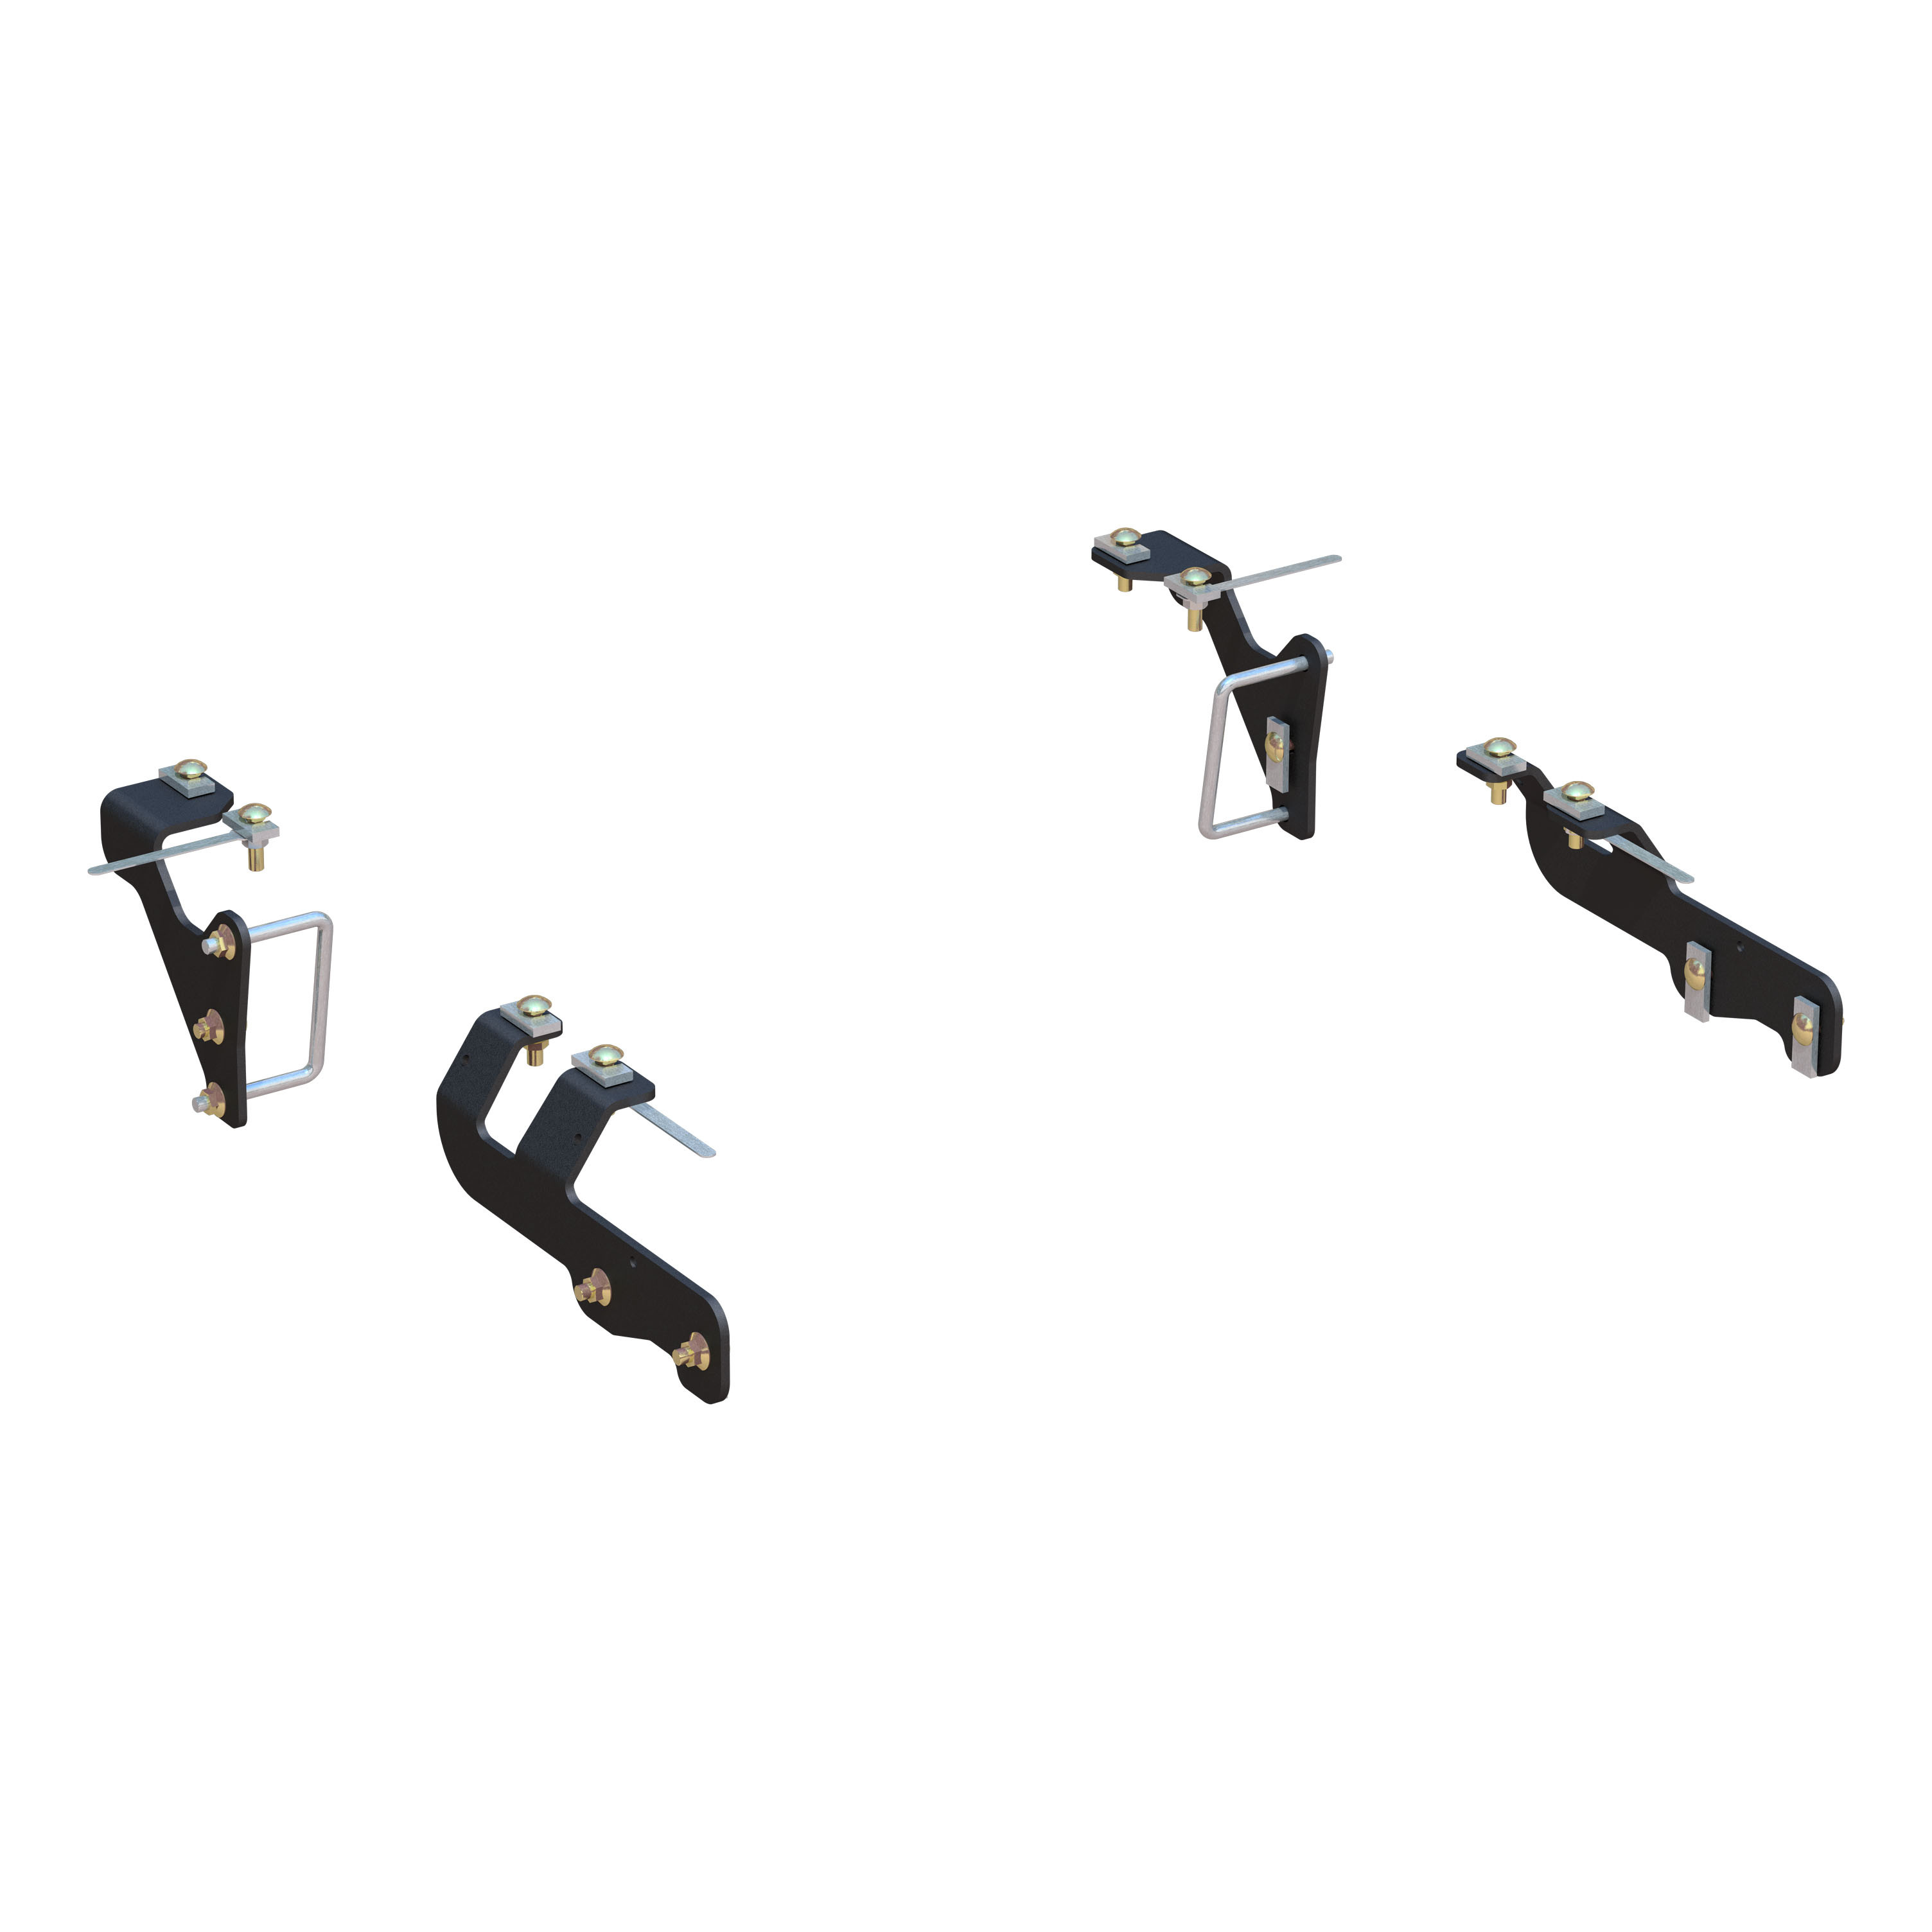
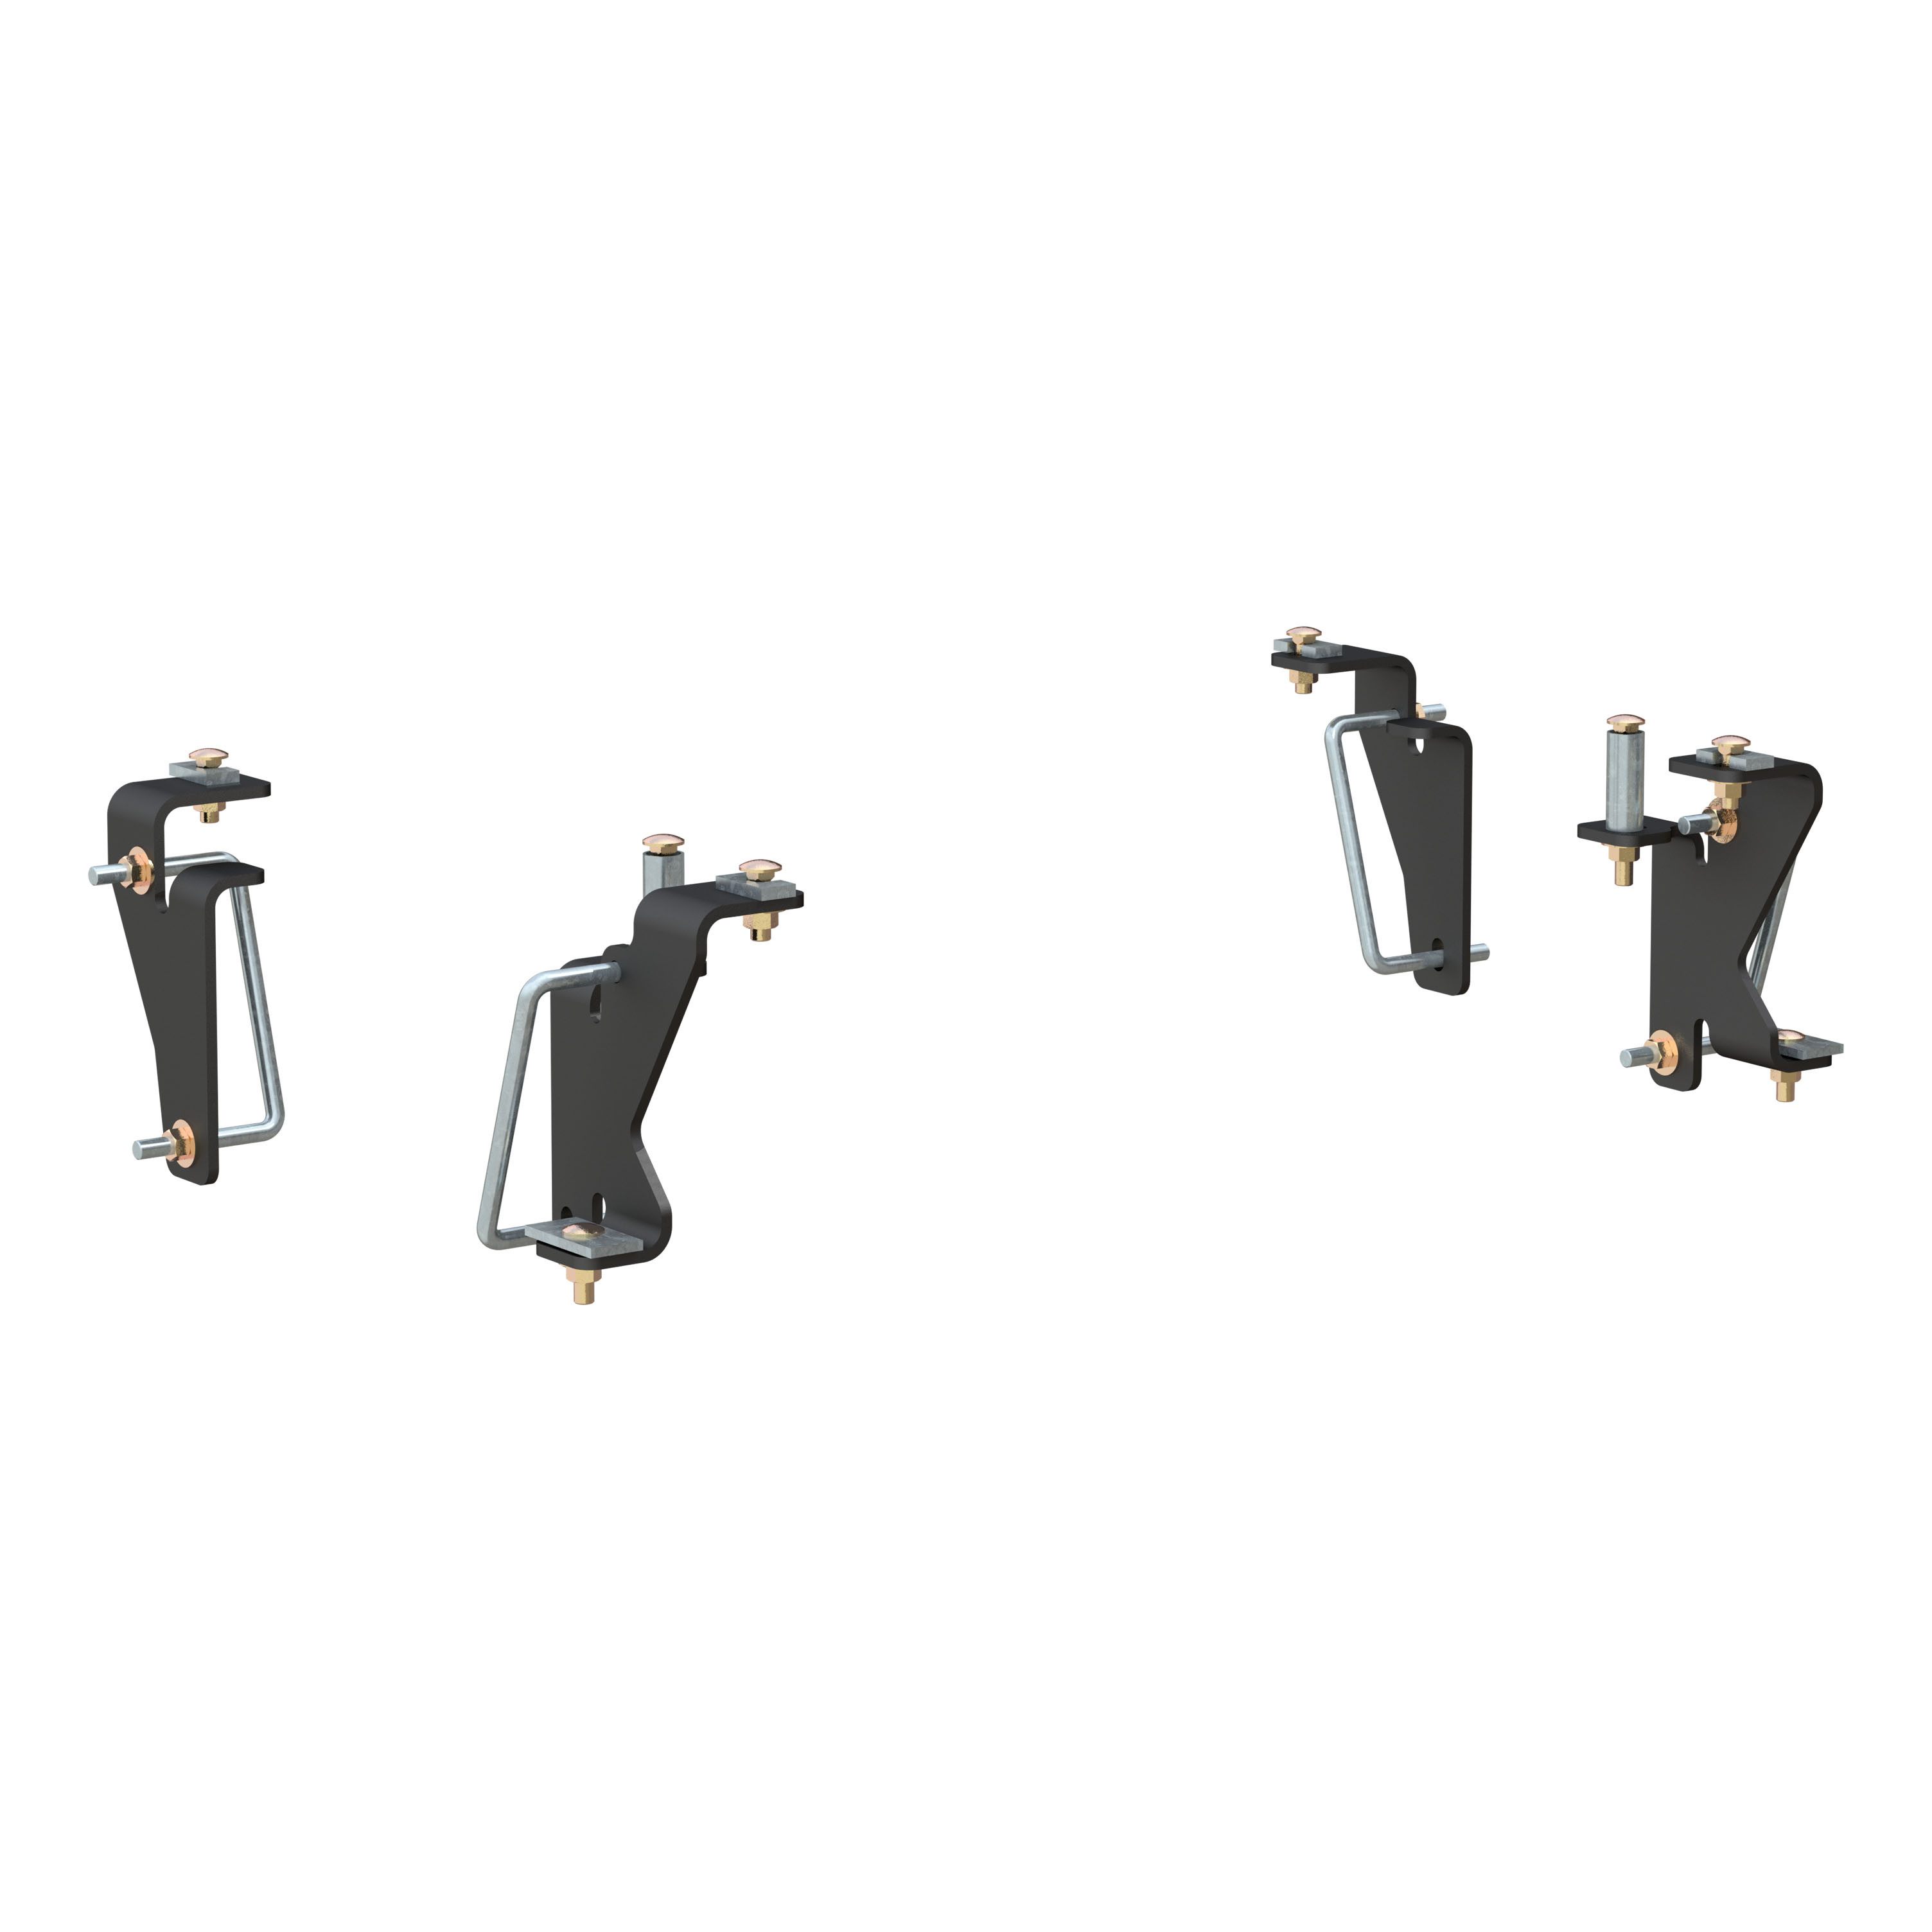
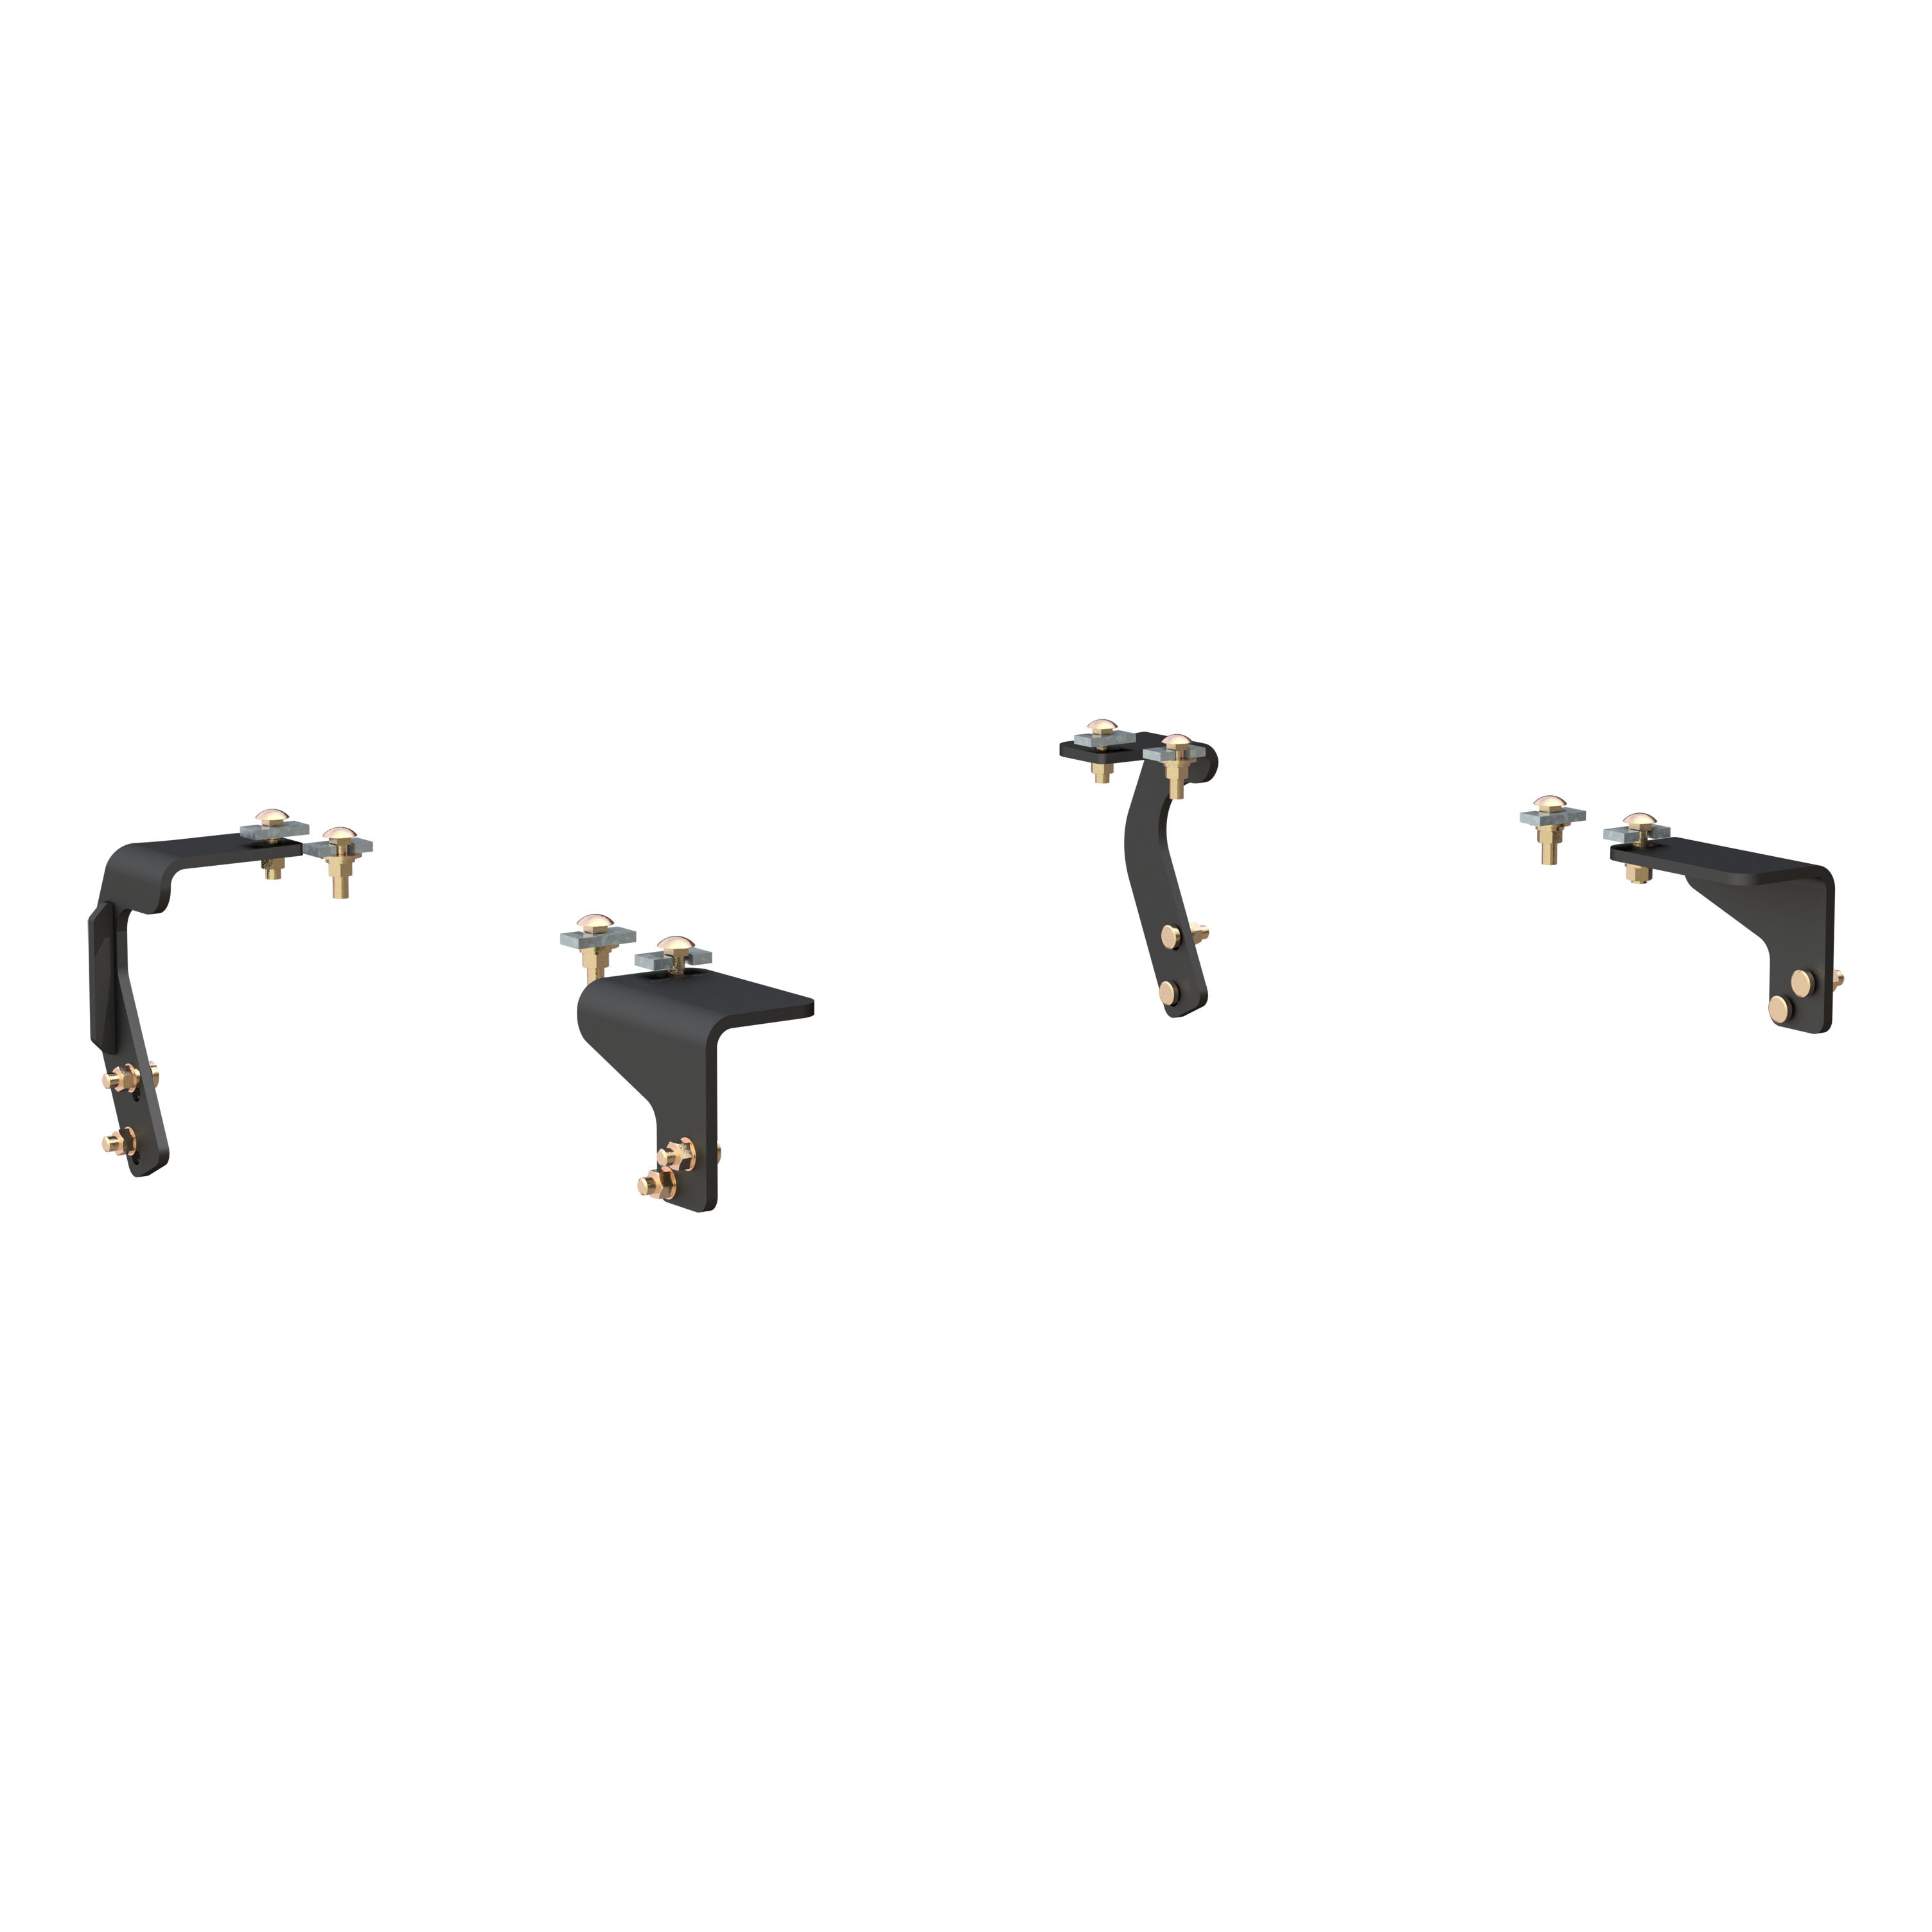
Includes mounting hardware (base rails sold separately)

Includes mounting hardware (base rails sold separately)
Warranty: Limited Lifetime Warranty (One-Year Finish, One-Year Parts)
Finish: A-COAT
Installation Time Exact (Minutes): 0
When you purchase a 5th wheel trailer hitch, you expect it to be capable of towing your RV, flatbed or whatever other 5th wheel trailer you own. While a 5th wheel hitch does offer an impressive amount of towing strength, it cannot get far without the proper installation equipment. Engineered for specific makes and models, CURT custom 5th wheel brackets provide the ideal solution for complementing the power of your 5th wheel trailer hitch. A custom 5th wheel bracket features a shape that contours to the frame of your truck and uses pre-drilled holes in the frame wherever possible to make installation quick and easy. Depending on your model of pickup truck, they also reduce or eliminate the need for drilling. These particular custom 5th wheel brackets offer a custom fit for certain model years of the Ram 2500 (except with 5th wheel prep package) (see application info to verify fitment). Finished in a durable liquid A-coat, CURT custom 5th wheel brackets are made to last. They include all necessary mounting hardware and are designed to be used in conjunction with CURT industry-standard 5th wheel base rails #16104 or #16204 (base rails sold separately).

CURT offers a variety of high-quality trailer hitches and accessories for select vehicle models. Find the perfect fit for your towing needs at TowUniverse.
CURT, a Lippert brand, offers a complete line of towing products and is the leading manufacturer of custom-fit trailer hitches. We offer the broadest selection of custom-fit hitches, and each one is designed, welded, and coated in Wisconsin.
CURT is also a leader in flat towing products, as well as 5th wheel, gooseneck, and weight distribution hitches, ball mounts, electrical components, cargo solutions, and other towing accessories.
For everything from passenger cars and vans to full-size pickups and SUVs, CURT is 'The First Name in Towing Products®.'

Experts available to answer your questions
Call 888-634-9494Rediscover "Us" Time | Tested. Proven. Safe. Towing Products
1 compatible vehicles
| Year | Make & Model | Notes |
|---|---|---|
| 2014 - 2026 | Ram 2500 | No Drilling Required Installation Time - Excluding 5th wheel prep package |
Yes, the CURT Custom 5th Wheel Brackets, Select Ram 2500 (Except with 5th Wheel Prep Package) Fifth Wheel Trailer Hitch Bracket (Part #BKDK16427) is designed to fit the 2014-2026 Ram 2500.
The CURT Custom 5th Wheel Brackets, Select Ram 2500 (Except with 5th Wheel Prep Package) Fifth Wheel Trailer Hitch Bracket (Part #BKDK16427) fits the following vehicles: 2014-2026 Ram 2500. Always verify your specific year, make, and model before ordering.
The CURT Custom 5th Wheel Brackets, Select Ram 2500 (Except with 5th Wheel Prep Package) Fifth Wheel Trailer Hitch Bracket (Part #BKDK16427) fits 2014-2026 Ram 2500 models. The 2026 model year is the last year covered by this part number. For newer models, check for an updated version.
The CURT Custom 5th Wheel Brackets, Select Ram 2500 (Except with 5th Wheel Prep Package) Fifth Wheel Trailer Hitch Bracket (Part #BKDK16427) Drilling is not required for installation. Typical installation time is . Basic hand tools are typically all you need.
No. Part number 16427 is designed for RAM 2500 WITHOUT PREP PACKAGE only. If your truck has a prep package, you will need a different hitch model.
Yes. The manual provides specific rail location measurements for both bed lengths: for an 8-foot bed, measure 55-7/8" from the back of the bed to the front of the front rail; for a 6-foot bed, measure 54-1/4". The king pin should be centered over the axle, with approximate cab-to-king-pin distances of 56" for 8-foot beds and 36" for 6-foot beds.
The hitch weight capacity is 180 lbs. However, you must not exceed your vehicle manufacturer's recommended towing capacity.
The kit includes: 10 U-shaped spacers (CM-SP136), 7 square hole spacers (CM-SP33), 8 half-inch carriage bolts 1-3/4" long (10-10272), 9 half-inch serrated flange nuts (20-00062), 1 half-inch carriage bolt 4-1/2" long (10-10297), 2 square hole spacers (CM-SP44), 6 M12x1.5 hex head cap screws 35mm (10-10411), 2 M12x1.5 hex head cap screws 45mm (10-10412), 9 half-inch conical tooth washers (30-00149), 1 tube spacer (16427-TS), 1 half-inch handle nut (20-00174), and 1 half-inch hex bolt 1-3/4" (10-10370). Use only these supplied fasteners for installation.
The kit includes four mounting plates: driver side front plate (16427-DSF), passenger side front plate (16427-PSF), driver side rear plate (16427-DSR), and passenger side rear plate (16427-PSR). Two 0.625" x 2.00" spacers (16427-SP) are also included; depending on bed style, these spacers may be installed above or below the bed mounting rails.
Yes. You must lower and remove the spare tire before installation to allow adequate access. The spare tire should be reattached after installation is complete.
Yes. The manual specifies that you should lower and remove the exhaust heat shield for ease of installation. It should be reattached after installation is complete.
No, not without modification. The manual explicitly warns: do not install mounting rails over plastic bed liners. Plastic liners must be trimmed for metal-to-metal contact. However, spray-on liners may be installed over. Trimming is required to ensure proper fastener engagement and prevent bed collapse.
Yes, drilling is required despite the "no drilling required" note on the parts list. You must drill 1/8" pilot holes in the truck bed at specific row locations, then enlarge them to 9/16". The manual also requires enlarging the driver side rear bed support hole to 7/8". When drilling, be aware of potential risks to vehicle components and use appropriate safeguards to protect them from damage.
First, drill 1/8" pilot holes at the marked row locations (Rows 1-4 depending on which rail). Then enlarge these holes to 9/16" for the carriage bolts. Additionally, from under the vehicle, enlarge the driver side hole in the rear bed support to 7/8" to allow the tube spacer to pass through more easily. Do not enlarge the holes in the bed itself beyond 9/16".
Install the front mounting rails first (steps 3-4), then the rear mounting rails (steps 5-9). For the front rails: temporarily install brackets A and B, mark hole locations with a center punch, drill and enlarge holes in Rows 3 and 4, then install the forward mounting rail with carriage bolts and u-shaped spacers. For the rear rails: position the second rail 22" on center from the front rail (or use the hitch attachment if available), drill and enlarge holes in Rows 1 and 2, then install the rear mounting rail with the tube spacer on the driver side.
Temporarily install the front mounting brackets into position on the frame using 12mm bolts and 1/2" conical tooth washers into existing weldnuts in the frame. Use spacers (E) as needed in front. The plate should straddle the truck bed support. Pull the plates tight to the back of the bed support so that they are the same distance forward and aft. This ensures the mounting rail will be perpendicular to the length of the truck bed.
The u-shaped spacers (CM-SP136) are placed between the bracket or mounting rail and the bed to prevent the bed from collapsing when the bolts are tightened. They distribute the load and protect the bed structure during fastener installation.
From under the vehicle, slide the tube spacer (16427-TS) up through the bed support and around the carriage bolt on the driver side rear. While holding the tube spacer in position, reinstall the rear mounting brackets (C and D) and mounting rail with the 1/2" x 1-3/4" carriage bolts and u-shaped spacers in Row 1. Then loosely install the 12mm bolts, 1/2" conical washers, and 1/2" flange nuts. Note: the tube spacer may need to be shortened depending on bed corrugation.
Temporarily detach the wire harness from the inside of the driver side frame to allow the rear bracket to be positioned correctly. After installation is complete, reattach the wire harness.
Use step 5b: place the rear mounting rail in the bed and position it 22" on center from the front rail. Center the rail side to side. Use a center punch to mark the Row 1 hole locations. This process verifies that hole locations are correct due to bed support location variances. Once aligned, drill the 1/8" holes in Rows 1 and 2.
On the passenger side Row 2, install a 1/2" x 1-3/4" hex bolt with a 1/2" conical washer.
Install a 1/2" x 1-3/4" carriage bolt in the center hole of the mounting rails. Place a u-shaped spacer between the rail and the bed, and secure the bolt with a 1.5" x 2" spacer and 1/2" flange nut on the bottom.
Torque the mounting rails to the frame brackets to 110 lb-ft. This is the first step in the torque sequence.
Torque the frame brackets to the truck frame to 96 lb-ft. This is the second step in the torque sequence, performed after torquing the mounting rails to the frame brackets.
Follow this two-step sequence: (a) torque the mounting rails to the frame brackets to 110 lb-ft, then (b) torque the frame brackets to the truck frame to 96 lb-ft. This sequence ensures proper load distribution and structural integrity.
Before installing the mounting rails and hitch, measure to ensure there will be enough clearance between the truck and trailer to allow for turns. This is critical for safe operation and to prevent collision damage during turning maneuvers.
You must not exceed your vehicle manufacturer's recommended towing capacity. The hitch itself has a 180 lb hitch weight rating, but the truck's manufacturer specifications take precedence.
After torquing all fasteners, reattach any components that were detached during installation: the wire harness and vacuum lines (if detached in step 2 or 5b), the exhaust heat shield, and the spare tire. Verify that all fasteners are properly torqued and that the mounting rails are secure before using the hitch.
The Curt 16427 fits RAM 2500 trucks WITHOUT a prep package. If your truck has a prep package, you need a different model. It works with both 6-foot and 8-foot beds.
You will need a drill with bits for 1/8" and 9/16" holes, a center punch, a wrench or socket set for 12mm and 1/2" fasteners, and a torque wrench calibrated to 96 and 110 lb-ft. The manual does not specify additional tools required.
Yes. You must drill 1/8" pilot holes in the truck bed and enlarge them to 9/16", and enlarge the driver side rear bed support hole to 7/8". Plastic bed liners must be trimmed for metal-to-metal contact.
Lower and remove the spare tire and exhaust heat shield. If your truck has a plastic bed liner, it must be trimmed for metal-to-metal contact. Temporarily detach the wire and vacuum lines from between the frame and fuel tank to position the driver side front plate.
Torque mounting rails to frame brackets to 110 lb-ft, then frame brackets to truck frame to 96 lb-ft. Use only supplied fasteners.
The hitch weight capacity is 180 lbs. Do not exceed your vehicle manufacturer's recommended towing capacity.
Check that both plates are pulled equally tight to the back of the bed support so they are the same distance forward and aft. If they are not aligned, loosen the 12mm bolts and reposition the brackets, ensuring equal spacing from the bed support. This alignment is critical because it ensures the mounting rail will be perpendicular to the length of the truck bed.
Adjust the center marks side to side as required before drilling. The manual instructs to place the forward mounting rail in the bed and check that Rows 3 and 4 align with the center punch marks, then adjust center marks side to side as needed. This allows for correction before drilling the 1/8" holes.
Reposition the rear mounting rail to center it between the box sides on the length of the truck box floor. Proper centering is essential because it positions the mounting rail in the correct location and ensures that the 5th wheel will have a snug fit to the truck. If using step 5b, center the rail side to side before marking with the center punch.
The tube spacer may need to be shortened depending on bed corrugation. The manual notes this as a potential requirement in step 7. Measure the spacer against the hole and bed support geometry, and shorten it as necessary to allow it to pass through the 7/8" hole and sit properly around the carriage bolt.
Total for 2 items:
$315.94$438.90
On Sale Today
Original price was $301.95. Current price is $190.99.You save $110.96 (37%)
Free Shipping
Ships free on all orders
 Authorized Dealer

Quick Ship
In stock and ready to ship — order now!
Shipping from Eau Claire, WIFREE SHIPPING
Estimated delivery Sun, Sep 27 - Tue, Sep 29
Order before 2 PM EST Monday–Friday for same-day processing
Guaranteed safe & secure checkout
No reviews have been added for this product.